
- Powerful extruder
- All-metal hot end
- High-temperature print bed
- Impressive print cooling
- Superb cable management
- Practical handles
- Excellent print bed temperature uniformity
- Cantilevered bed has limited stability
- Stock acceleration settings are too ambitious
- No PEI-coated bed
- Short power cable
- Missed opportunity for CoreXY
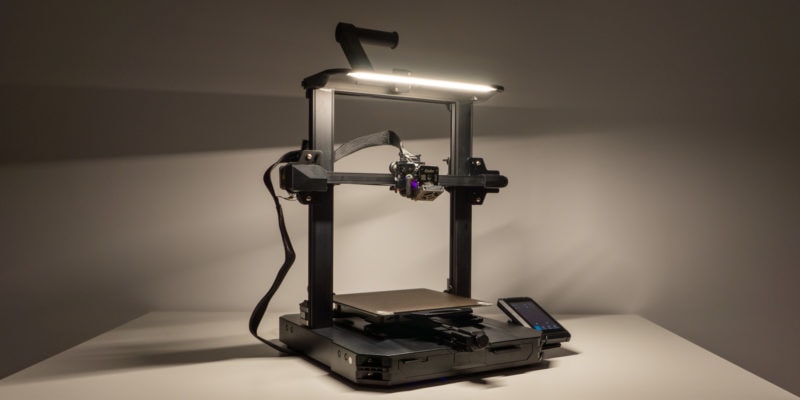
We have since tested the second generation of the Ender 5 S1. The summary above and the print results below have been updated to reflect this.
Fast 3D printing is focused on more and more nowadays. From the increasing popularity of CoreXY and Delta 3D printers to the release of standalone Klipper pads like the Sonic Pad, there’s a clear interest in shortening 3D print times.
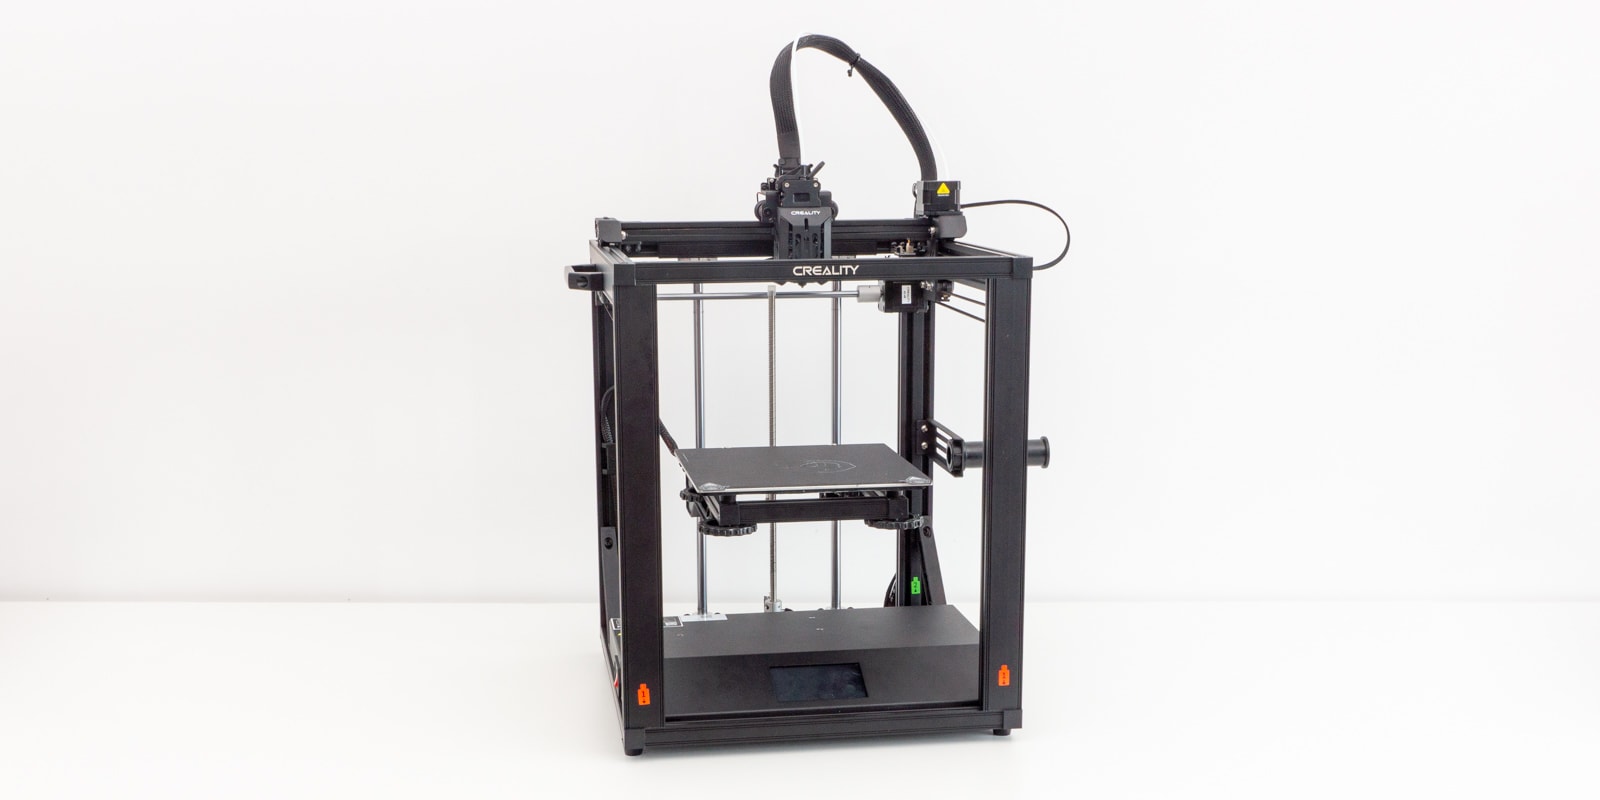
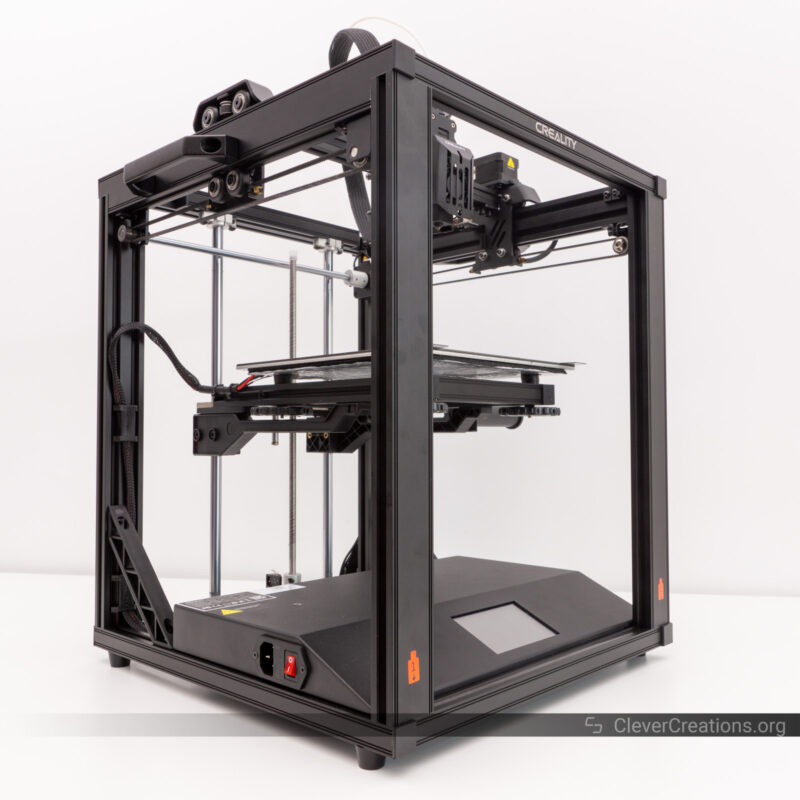
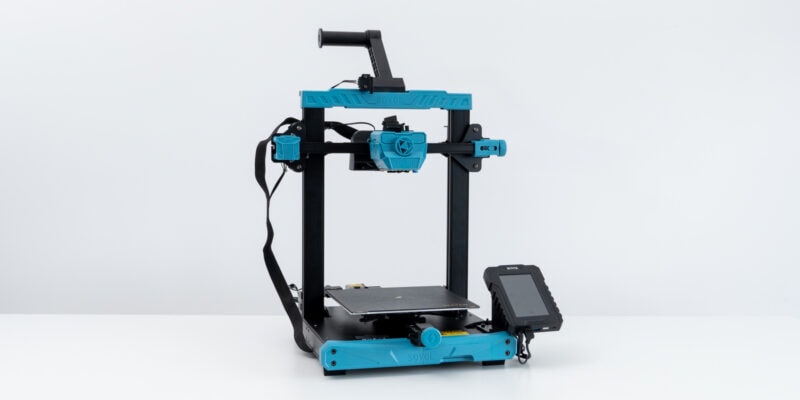
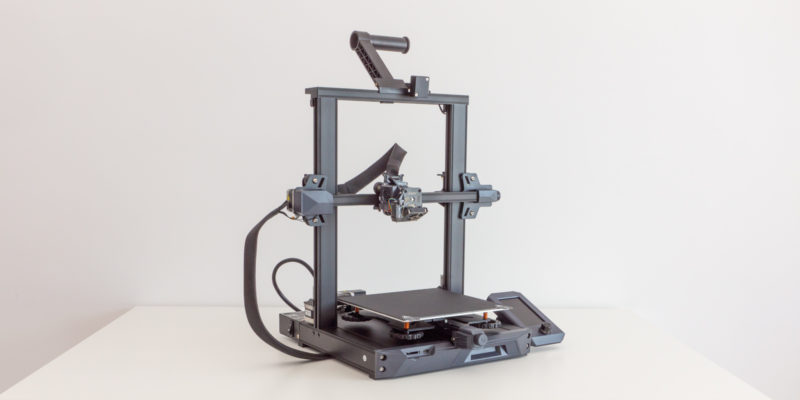
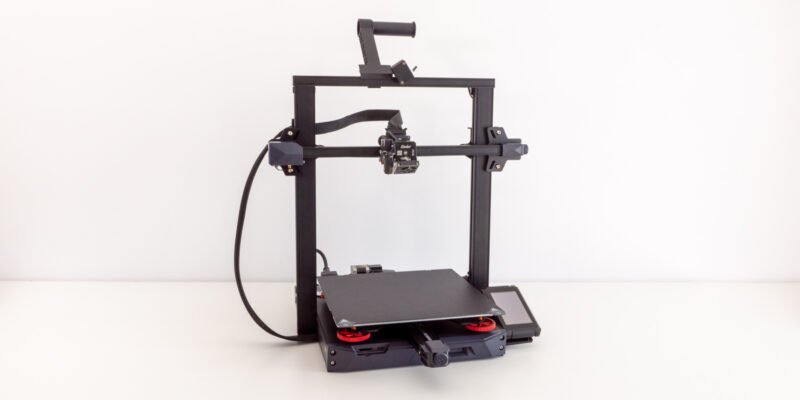
The Creality Ender 5 S1 is one of the latest offerings from the Chinese manufacturer that promises typical printing speeds of 120 mm/s and maximum print speeds of 250 mm/s. If delivered, these numbers would put the Ender 5 S1 in the upper echelon of fast 3D printers.
Whether that is the case is something we’ll explore in this review. You’ll also see us delve into all the other aspects of the machine, because speed is not everything and there are plenty of other 3D printers you can choose from.
So let’s get started and see how this 3D printer fares!
Unboxing the Ender 5 S1
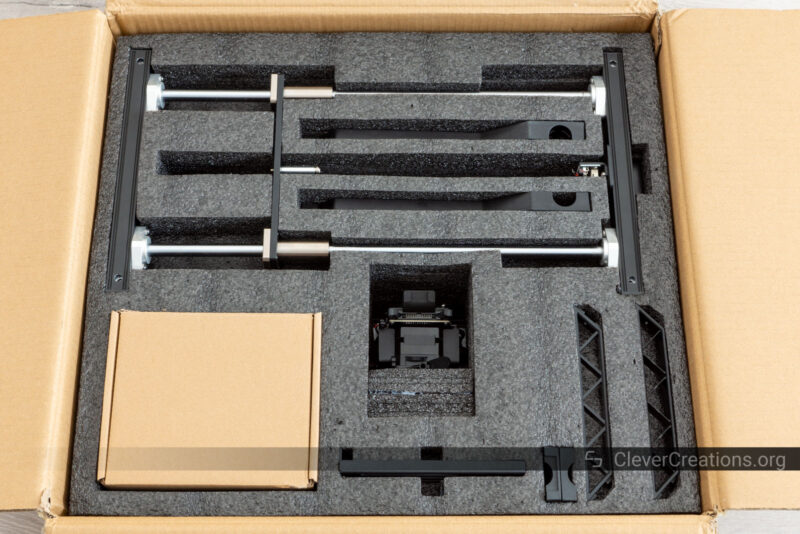
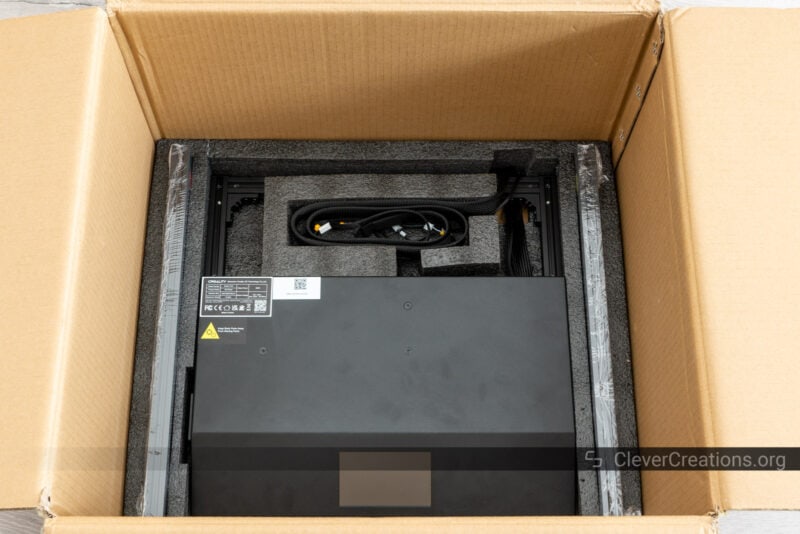
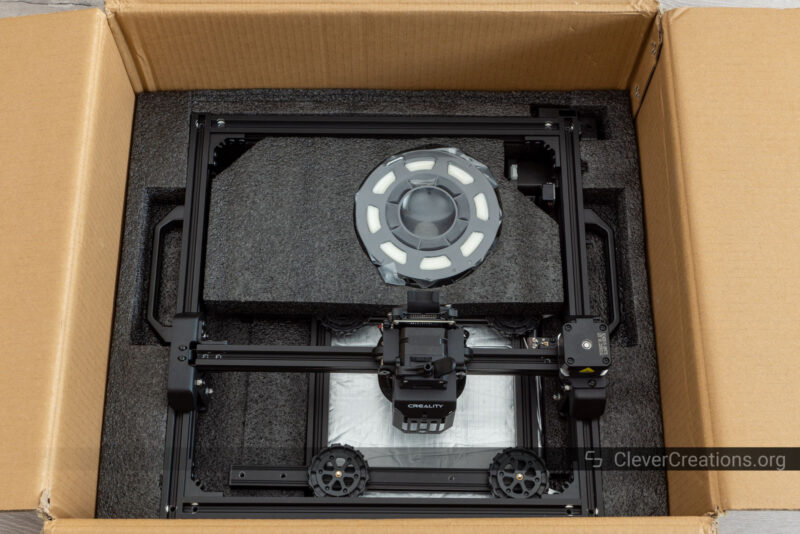
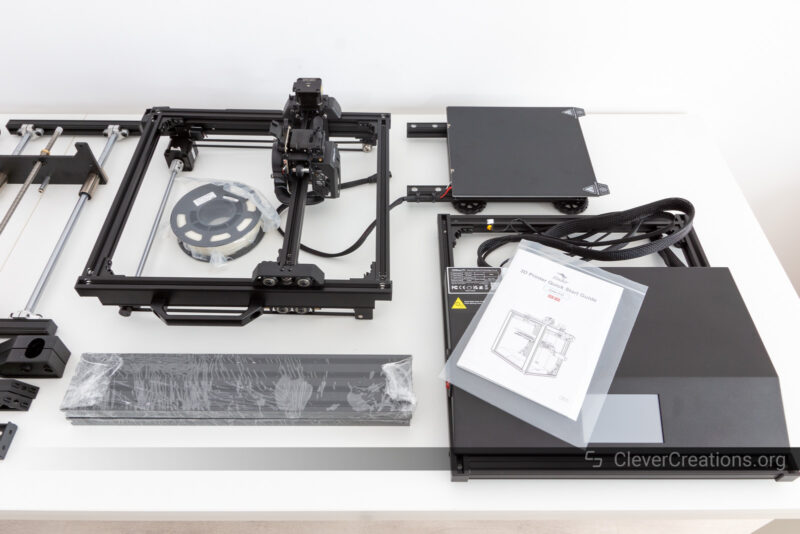
Compared to the size of the Creality Ender 5 S1, the box is relatively small. It’s no surprise then that there is a good amount of assembly involved with this 3D printer.
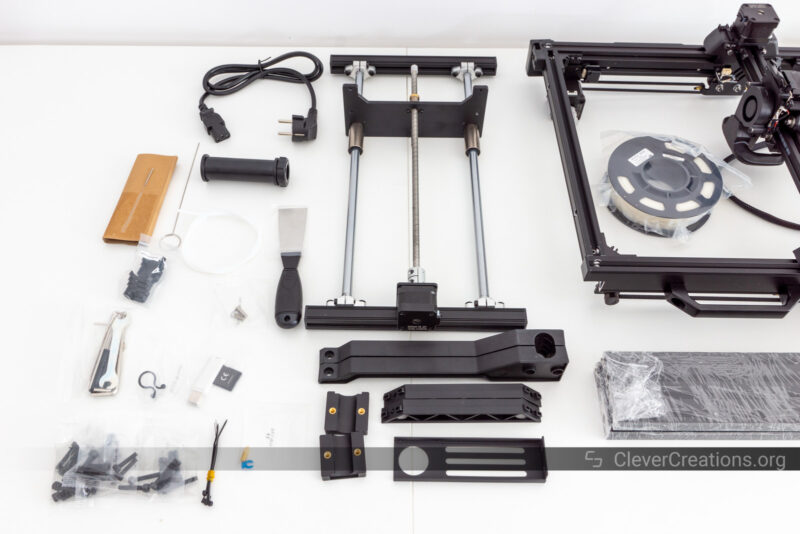
You’ll find that the components are packed in three separate foam layers inside the box. It makes everything a bit easier to unbox. Altogether, you’ll find the following:
- Ender 5 S1 frame base
- X/Y frame assembly
- Cantilevered bed assembly
- Bed support bracing
- Z-axis assembly
- Aluminum profiles
- Diagonal bracing
- Spool holder
- Cable management components
- Small spool of filament
- Several different 3D printing tools
- Various tools for assembling the 3D printer
- Bolts for assembling the 3D printer
It’s a good number of parts and more than what you would find in a more traditional open-frame 3D printer.
That’s not to say that the Ender 5 S1 is difficult to put together. Most of the parts come pre-assembled, and compared to previous Creality 3D printers, the instructions are more clear and more concise.
There are still a few important setup steps missing, so check the details below if you plan on buying the Ender 5 S1.
Getting Started
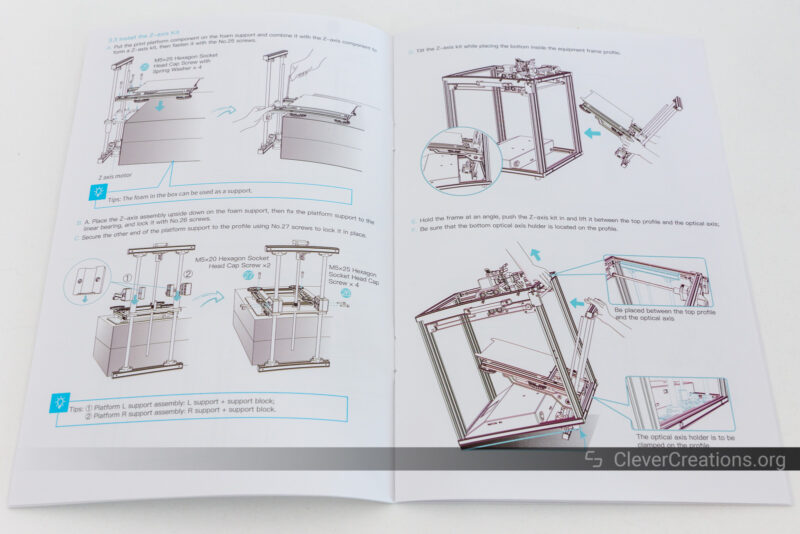
As pointed out above, the Creality Ender 5 S1 assembly instructions are reasonably clear. You still want to pay extra attention to several details.
- Make sure to correctly arrange the vertical profiles. Doing this incorrectly can lead to having to take the 3D printer apart again halfway through the assembly. It’s similar pitfall as we encountered in our Snapmaker 2.0 review and can lead to a lot of frustration.
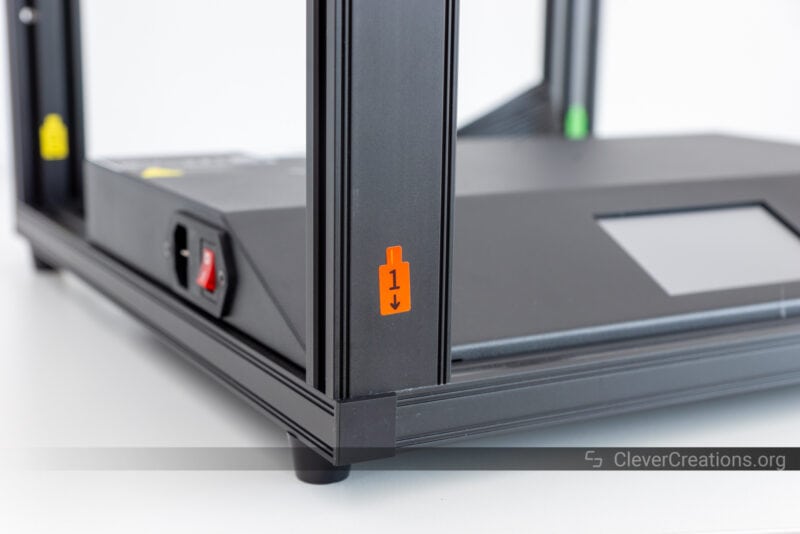
- Don’t tighten the bottom bolts of the vertical profiles until you have secured the top assembly. This will make it easier to align all frame components before securing them in place.
- As always with Creality’s machines, make sure to tighten the belts and eccentric nuts before you start 3D printing. The company often omits these steps from the instructions, but they are essential for getting good results.
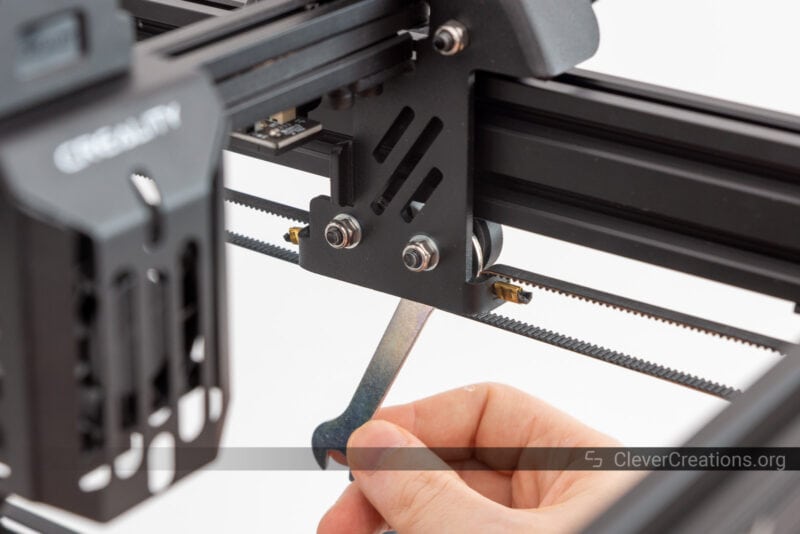
The Ender 5 S1 does not have easy-to-use thumbscrew belt tighteners and some of the eccentric nuts are more difficult to access. So make sure to factor in some additional time for these steps.
Ender 5 S1 Features
Sprite Extruder
The Creality Ender 5 S1 uses the same “Sprite” extruder as we have seen on the Ender 3 S1 series. It comes with dual drive gears and a 1:3.5 gear ratio, resulting in a claimed push force of 80N.
In practice, it is sufficiently fast and powerful for high-speed 3D printing. Especially when combined with the Ender 5 S1’s all-metal hot end, which we’ll discuss in more detail below.
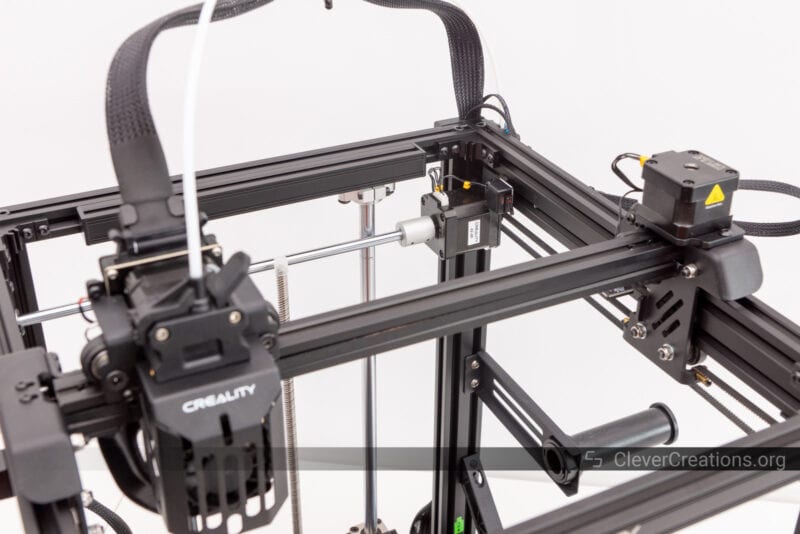
Compared to the Sprite extruder of the Ender 3 S1 series, the one on the Ender 5 S1 is rotated on the Z-axis by 180 degrees. This means that the stepper motor is facing backward and positioned directly over the X-axis, offering a better weight distribution of the print head.
Creality has also added a reverse Bowden tube from the spool holder to the direct drive extruder. This gives the filament a good path to move through and eliminates the risk of the filament catching on something inside the 3D printer.
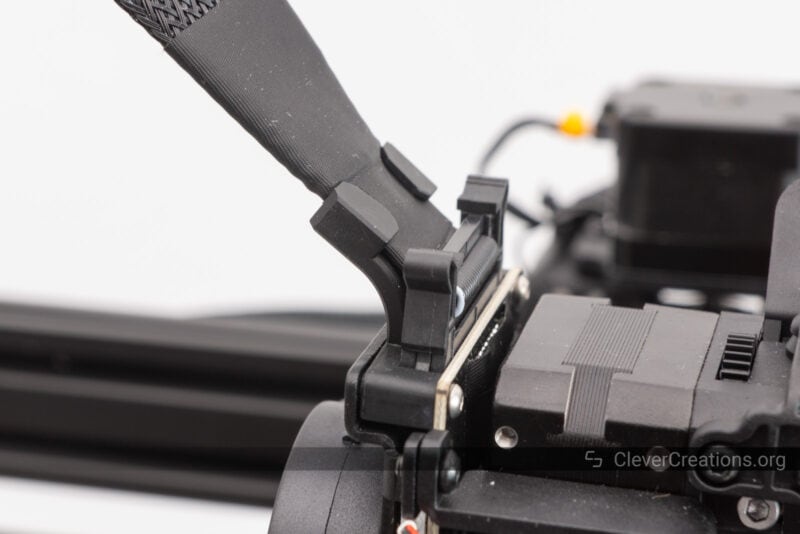
A new improvement over the previous iterations of the Sprite extruder is a rubber strain relief for the ribbon cable. Before, we’ve only seen Creality use a more rigid plastic strain relief.
The rubber strain relief has more give and should increase the durability of the extruder ribbon cable. The extra flexibility also makes the cable easier to insert in the strain relief during assembly.
All-metal Hot End
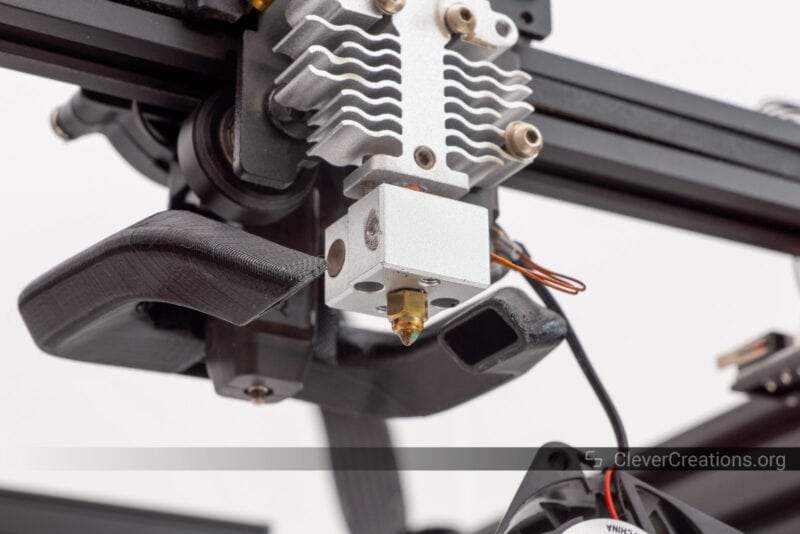
Different from the stock Sprite (Pro) extruder is the hot end of the Creality Ender 5 S1. While it is still an all-metal hot end that can reach 300°C, just like on the Sprite Pro, the Ender 5 S1 heater block is much beefier.
This doesn’t only increase temperature stability, but it also lets the hot end melt more filament in a shorter amount of time. Ideal for high-speed 3D printing.
A larger heater block also means a different nozzle size. Compared to a typical MK8 nozzle, the thread is about 4 mm longer.
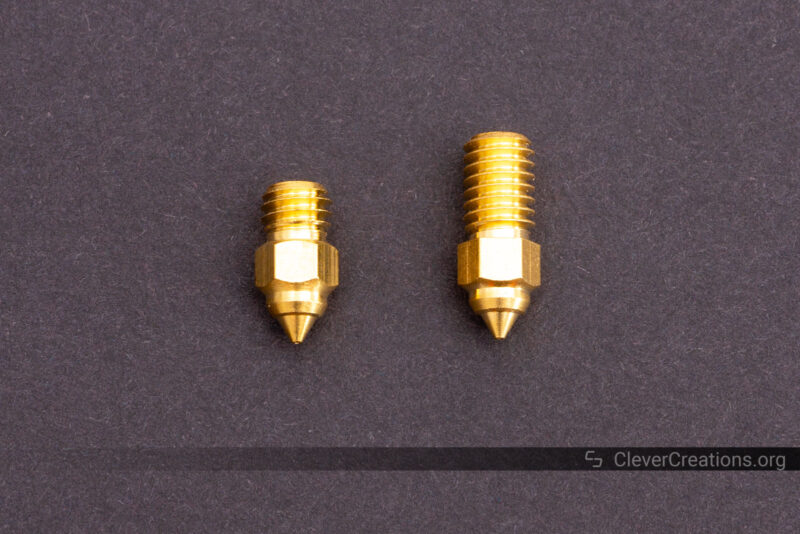
The added thread length helps with heat transfer to the filament but can make it more difficult to source replacement nozzles.
Compared to the Ender 5 Pro, the 300°C maximum nozzle temperature of the Ender 5 S1 is a welcome addition. In combination with the 110°C bed and the optional acrylic enclosure panels, this makes the machine more suitable for 3D printing high-temperature materials.
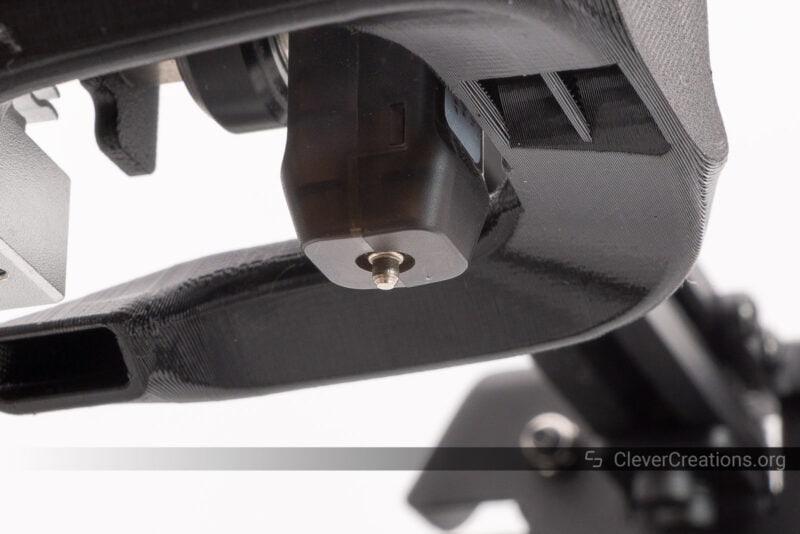
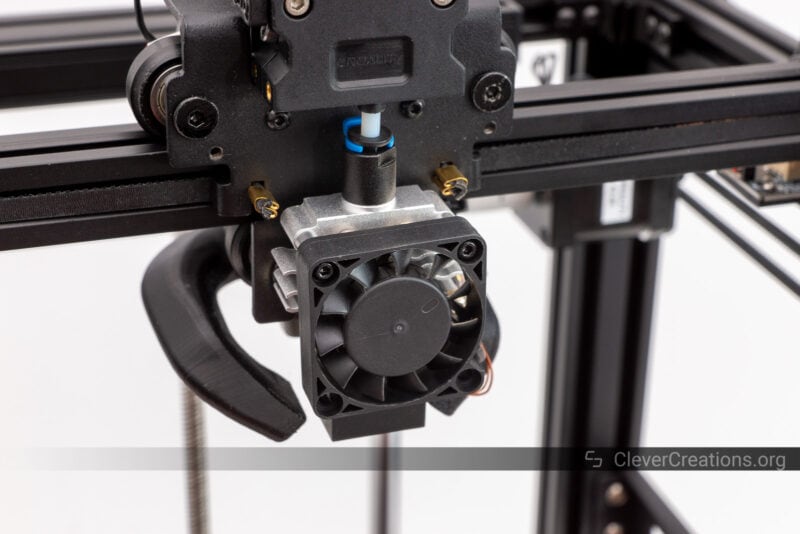
Print Cooling
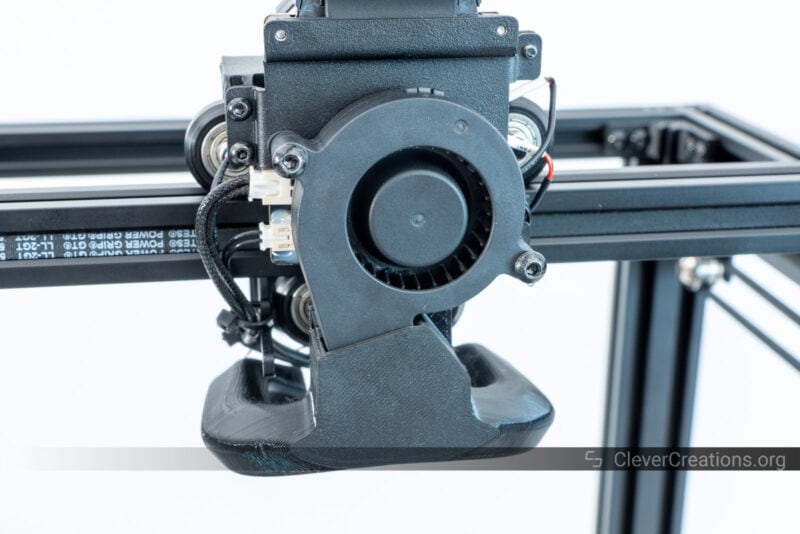
The print cooling of the Creality Ender 5 S1 is something that we are impressed with. The powerful 50x50x15 mm blower fan with a dual-sided fan shroud makes quick work of cooling the extruded filament.
One of the few weaknesses we noted with the stock Sprite extruder is its poor print cooling. Its small 40x40x10 mm fan sucks warm air from above the print bed, leading to sub-optimal print cooling when printing fast.
The Ender 5 S1 addresses this problem by mounting a larger fan on the back of the print head. Along with a fan duct that better guides the airflow to the nozzle from multiple directions, this results in much better print cooling performance.
The duct is FDM 3D printed, presumably in ABS. Despite its complicated geometry, we couldn’t detect any issues with poor-quality overhangs or warping.
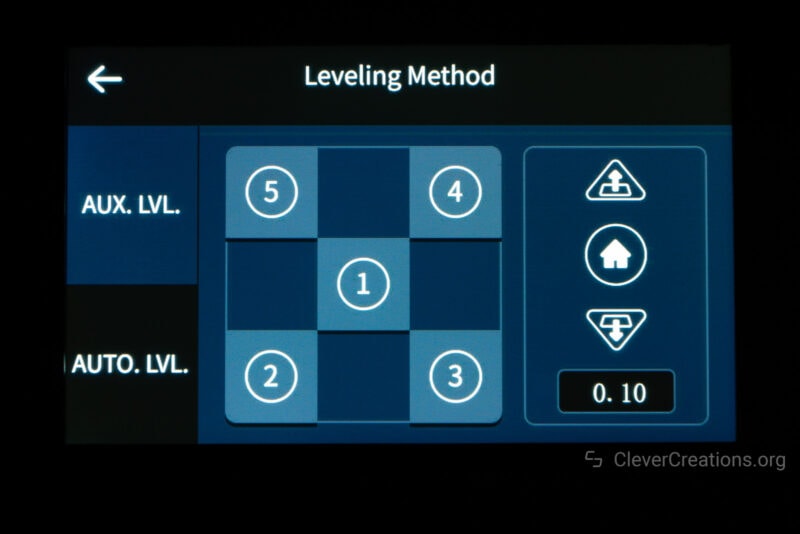
Automatic Bed Leveling
To help compensate for unevenness in the print bed, the Ender 5 S1 uses a CRTouch bed leveling probe. Even though we have seen this probe a lot in Creality’s other new releases, it is a new addition to the Ender 5 line-up.
The CRTouch probe works as it should. We do not have any negatives to point out, but there is nothing special about it either. In practice, it performs about the same as other probes, like the BLTouch and inductive probes.
Print Bed
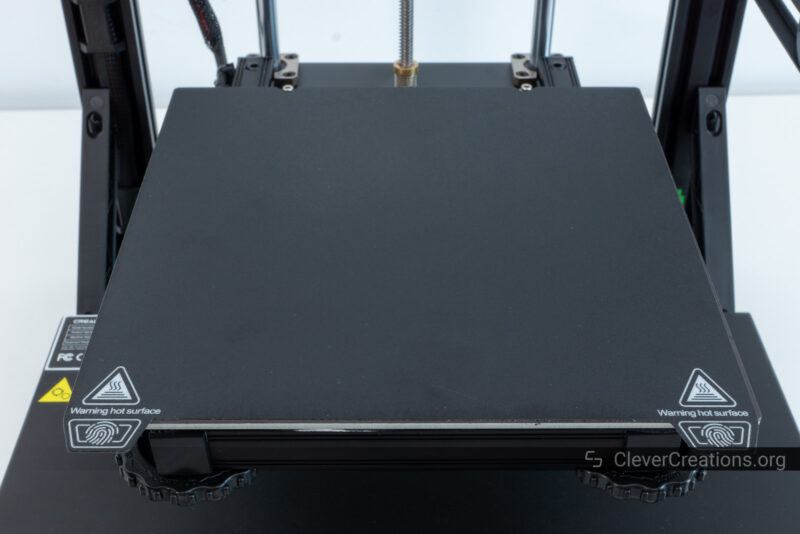
The print bed of the Creality Ender 5 S1 measures 220×220 mm and is capable of reaching up to 110°C. As mentioned above, its temperature makes it compatible with a wider range of filament materials.
Its print area is standard and sufficient for the majority of users. We would have liked to see a larger bed, but based on Creality’s history it is likely that they reserve this for the Ender 5 S1 Plus.
As the removable print surface, the Ender 5 S1 uses a flexible PC-coated plate. In our experience, this type of surface wears out relatively quickly. We would have preferred to see a PEI-coated build surface instead.
Again, it’s likely that Creality reserves this for one of the other models in this line-up, namely the Ender 5 S1 Pro. It’s the same approach that Creality takes with the Ender 3 S1 series.

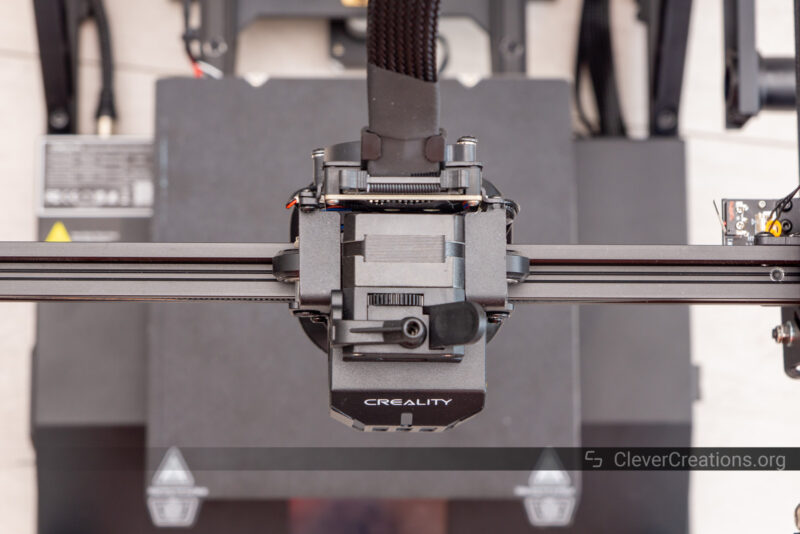
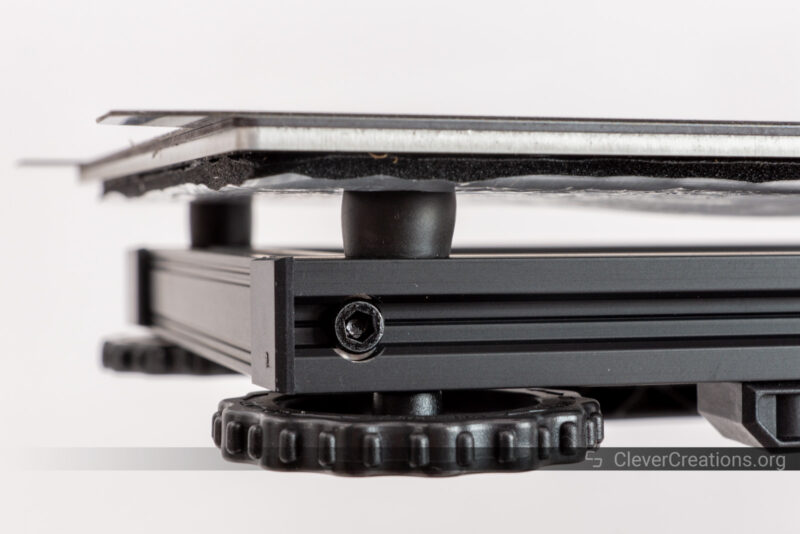
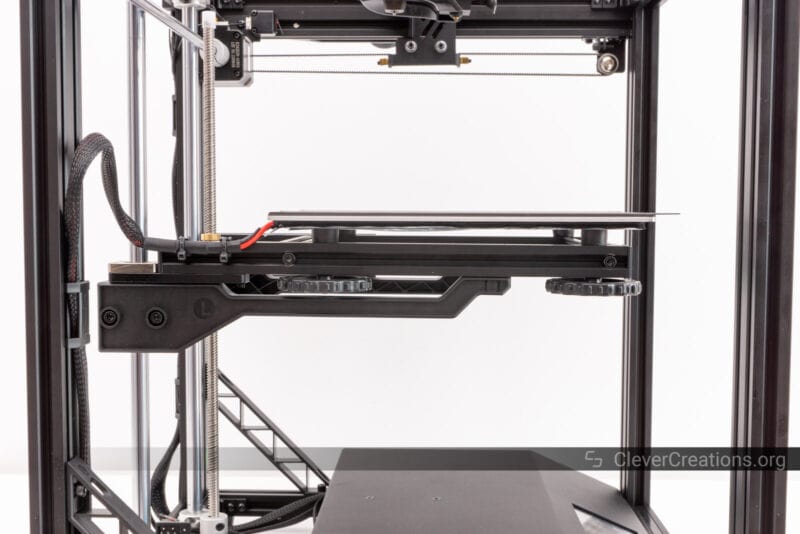
It is interesting to see that Creality has used rubber grommets instead of regular springs for manual leveling.
Because of the inherent instability of the cantilevered bed (more on this later), you want to avoid extra movement in the print bed as much as possible. These rubber grommets do exactly that.
They still allow you to adjust the bed height but offer a much more stable platform during 3D printing. Their downside is that they have less ‘give’ if the nozzle crashes into the print bed.
Temperature Uniformity
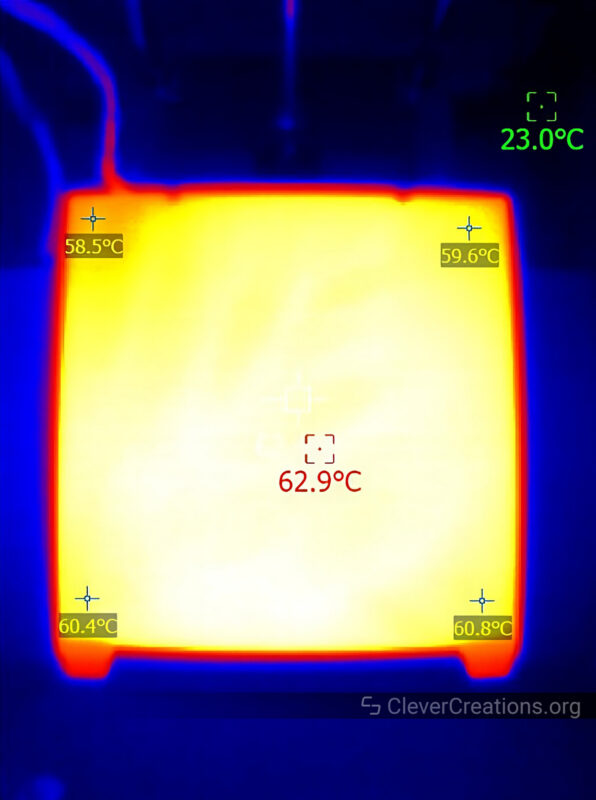
We are impressed with the temperature uniformity of the Ender 5 S1 print surface. Even in the far corners, there is barely any deviation from the target temperature.
We mostly see this kind of performance on enclosed 3D printers, so having access to it on an open 3D printer like the Ender 5 S1 is a nice surprise.
If you want to make use of the full print area, you won’t have to worry about temperature differences affecting the quality of your 3D prints. The uniformity allows for consistent printing corner-to-corner with reduced risk of your prints warping.
Ender 5 S1 Build Quality and Construction
Build Volume
With a 220x220x280 mm build volume, the Ender 5 S1 falls a bit short compared to the older Ender 5 Pro. It’s not a big difference in practice, but if you were hoping for a bump in build volume, you will be disappointed.
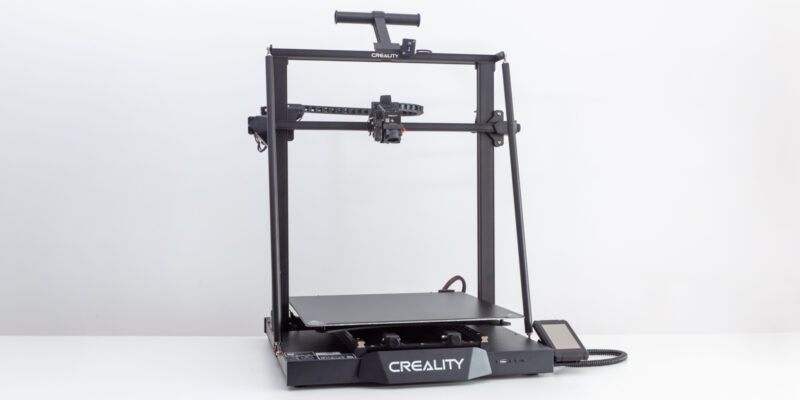
If you are looking for a large 3D printer, there are plenty of other options to consider. You could also wait for a potential Ender 5 S1 Plus.
Motion System
We are a bit disappointed that Creality has chosen a traditional Cartesian system for the Ender 5 S1. While it is one of the simplest systems to work with, it is also one of the worst in terms of attaining fast print speeds and high print quality.
As it is now, the weight of the X-axis stepper motor adds a lot of extra inertia that can cause ringing and other problems.

For better results, we would have loved to see a CoreXY system. This would fix all stepper motors to the frame and reduce the amount of moving weight.
Not only would have allowed for much higher print speeds, but it would also have resulted in better print quality.
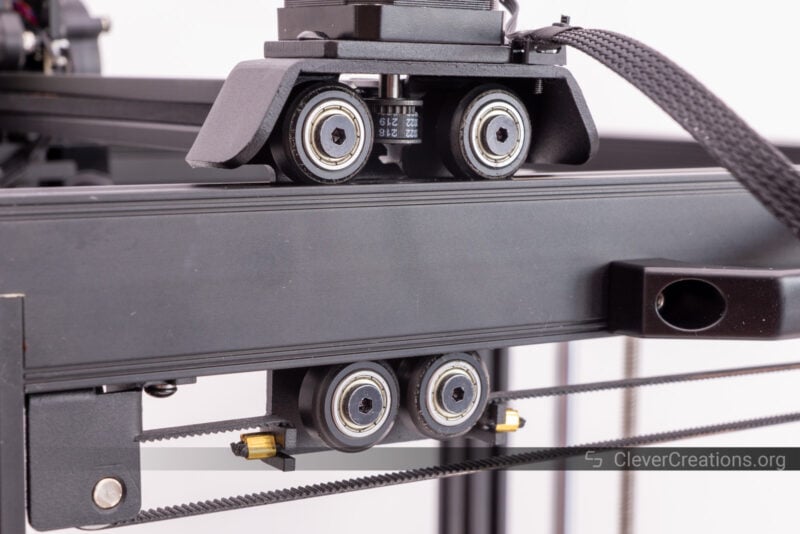
In the same spirit, linear rails would have been far superior to the V-wheel setup that Creality picked. Linear rails are more accurate, have less friction, and are just generally easier to work with. Not to mention they are more durable.
While V-wheels are the more budget-friendly option, we don’t feel like they are a good pick for a performance-focused 3D printer like the Ender 5 S1.
Frame
The 2040 + 2020 aluminum extrusion used in the Ender 5 S1 is a standard choice for a 3D printer this size. It is the same width used as the rest of the Ender 5 series. We would have liked to see a bit more reinforcement in key areas, however.
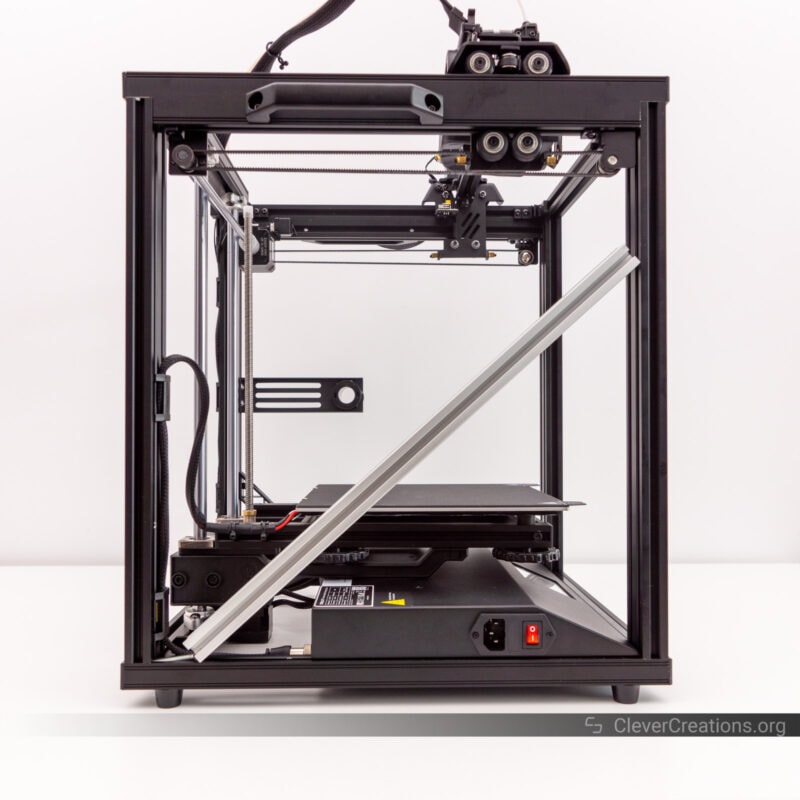
For example, we would have preferred to see a longer aluminum brace across the entire diagonal. The included plastic braces are better than nothing, but they are small and do not provide a whole lot of rigidity
Then again, it is relatively easy nowadays to filter out ringing caused by poor frame stiffness with Klipper‘s input shaping feature.
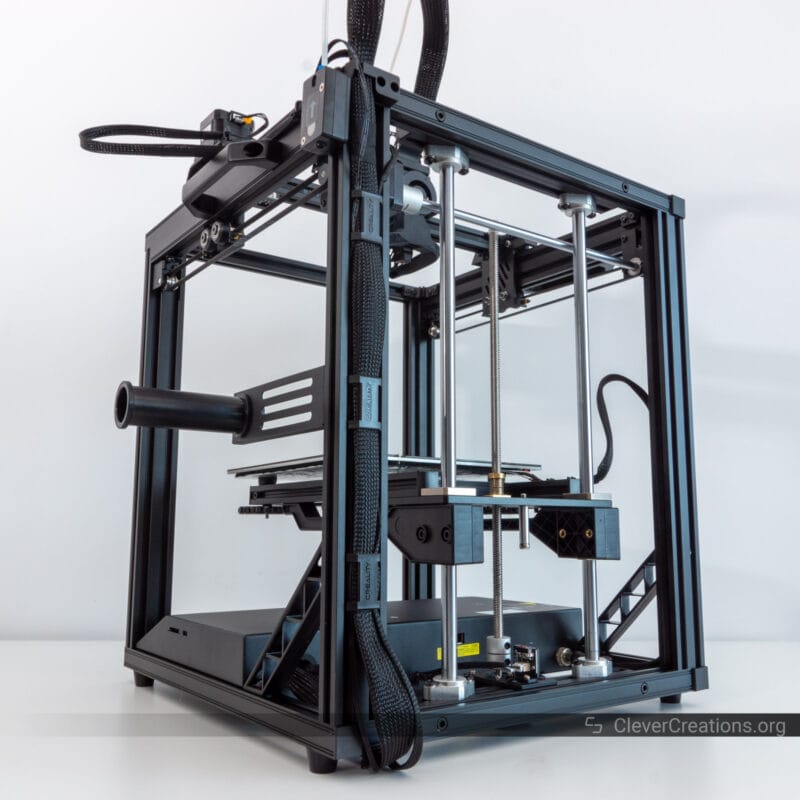
Cantilevered Bed
The main issue that we have with the Ender 5 S1, is its cantilevered bed. If you’re going to make a high-speed 3D printer, this setup comes with serious limitations.
Cantilevered beds are only supported on one end of the Z-axis, which makes them very easy to deflect. This can cause all sorts of problems, from print quality issues to prints failing halfway through.
Especially on tall 3D prints, the deflection can be quite severe.
The good news is that this can be limited by reducing print speeds and accelerations, but that kind of defeats the purpose of having a high-speed 3D printer in the first place.
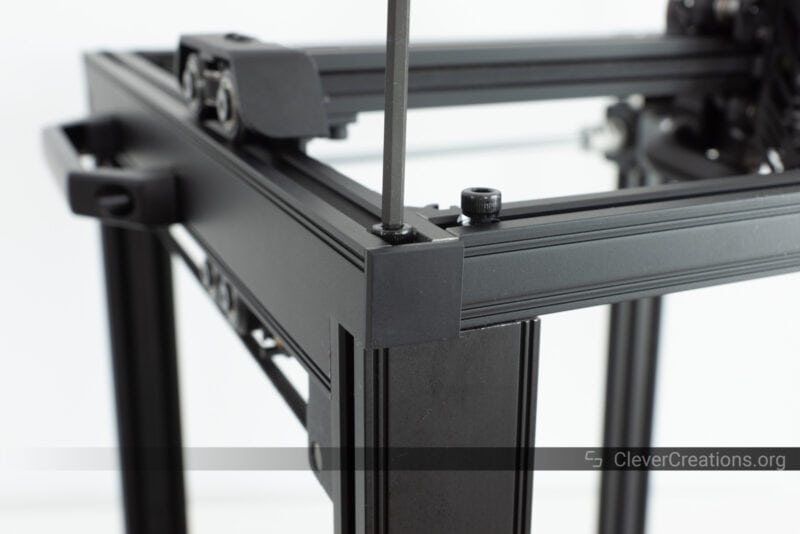
What we can give Creality credit for, is choosing 12 mm linear rods for the Z-axis. In our experience, this is the minimum diameter to go for with a cantilevered bed. 8 mm or 10 mm thickness simply doesn’t cut it.
For a high-speed 3D printer, however, a dual lead screw setup, like on the Ender 5 Plus, would be vastly superior. A triple lead screw system would be even better, but that’s out of the question for a 3D printer in this price range.
The plastic bracing under the bed platform is helpful too. But just like with the plastic frame bracing, we would have preferred to see some kind of aluminum solution for extra rigidity.
In short, the cantilevered bed is the biggest weakness of the Creality Ender 5 S1 and something that you will have to take into account if you are considering this machine.
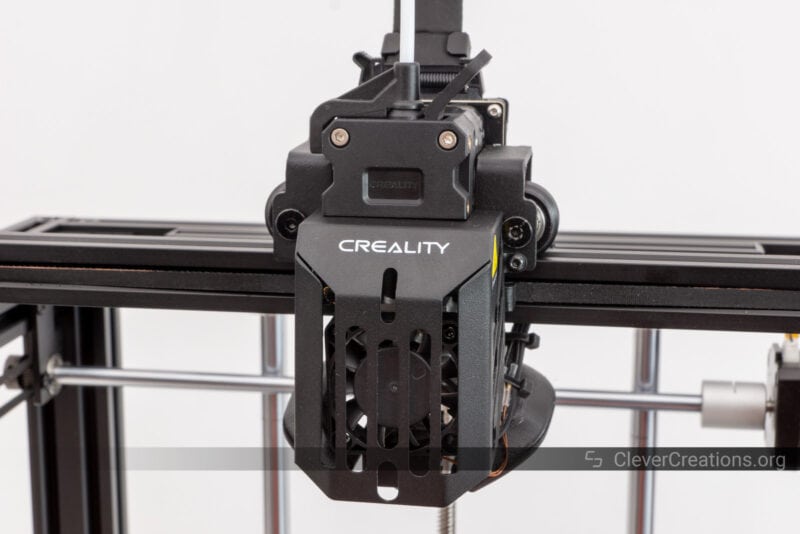
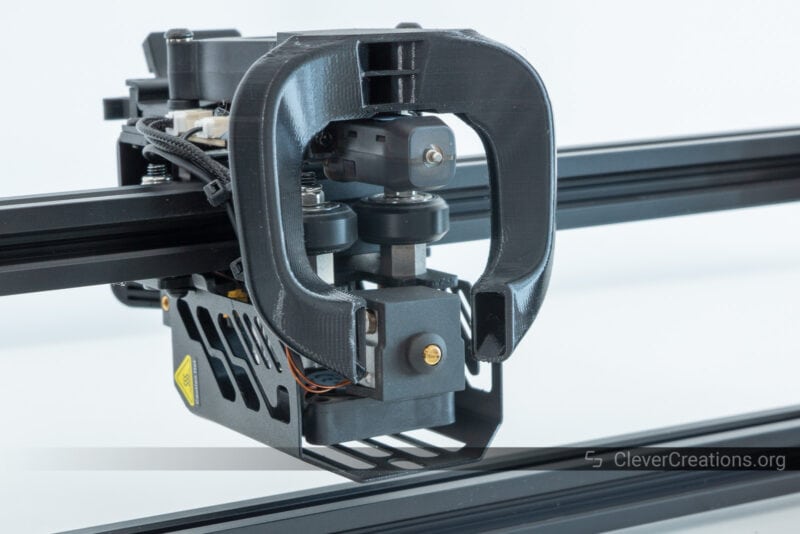
Print Head Cover

The print head of the Ender 5 S1 is covered with a metal shield, which feels like overkill.
If Creality added the shield for aesthetic reasons, a plastic version would have been just as effective. With the main goal of high-speed 3D printing, the added weight of the metal shield is better avoided.
On the other hand, if the shield is there for safety reasons (e.g. avoid fingers in fans), a small fan guard would do just the same. Even though the boxy frame already does a good job at keeping fingers away from the print head.
So we don’t see any reason why you shouldn’t just remove the shield and run the Ender 5 S1 without it.
Electronics
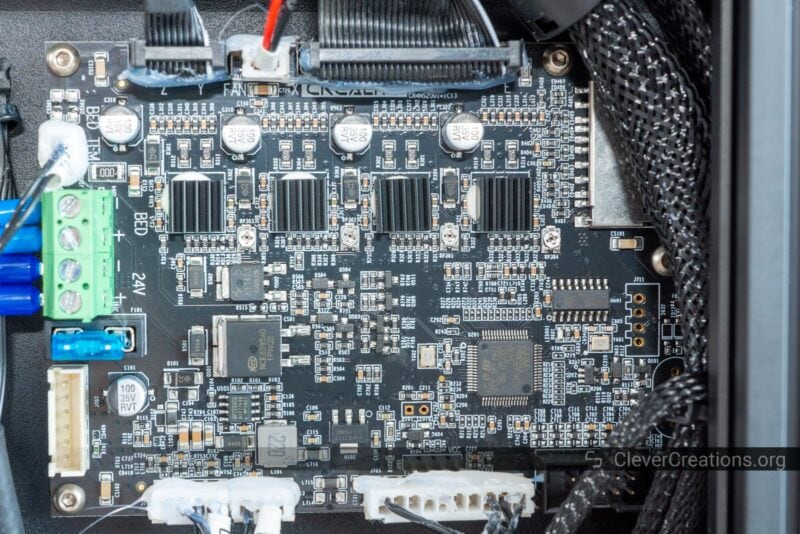
As we are used to from Creality, the Ender 5 S1 comes with a 32-bit 3D printer controller with an ARM STM32F401 chip. It’s the exact same board that comes with the Ender 3 S1 series.
For driving the stepper motors, the controller board uses four Trinamic TMC2209 drivers. They provide silent operation and come with the latest features, like SpreadCycle and StealthChop2.
These are good drivers, but we would have preferred to see them set up in UART mode to make use of features like Linear Advance and sensorless homing.
While you can manually rewire the drivers to UART mode, this is something that we would really like to see out of the box.
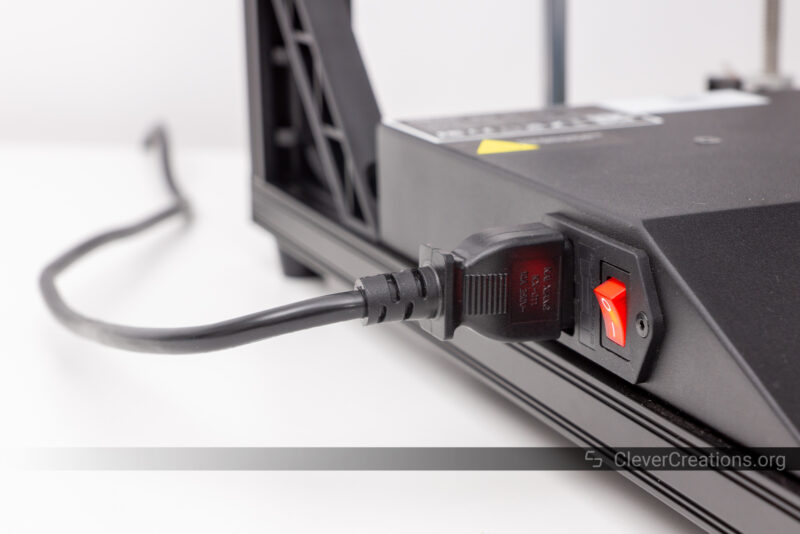
Wiring & Safety

As far as the wiring and safety aspects of the Creality Ender 5 S1 go, it’s all up to standard. There’s proper grounding, strain relief, and crimped instead of tinned wires, which is good to see.
All wiring is clearly labeled too, which makes it easy to find your way around if you need to do any repairs or upgrades.
Similarly, the cable management of the Ender 5 S1 is great. All wires are kept close to the frame through the use of plastic clips and tie wraps. It’s more than enough to avoid any interference with moving parts.
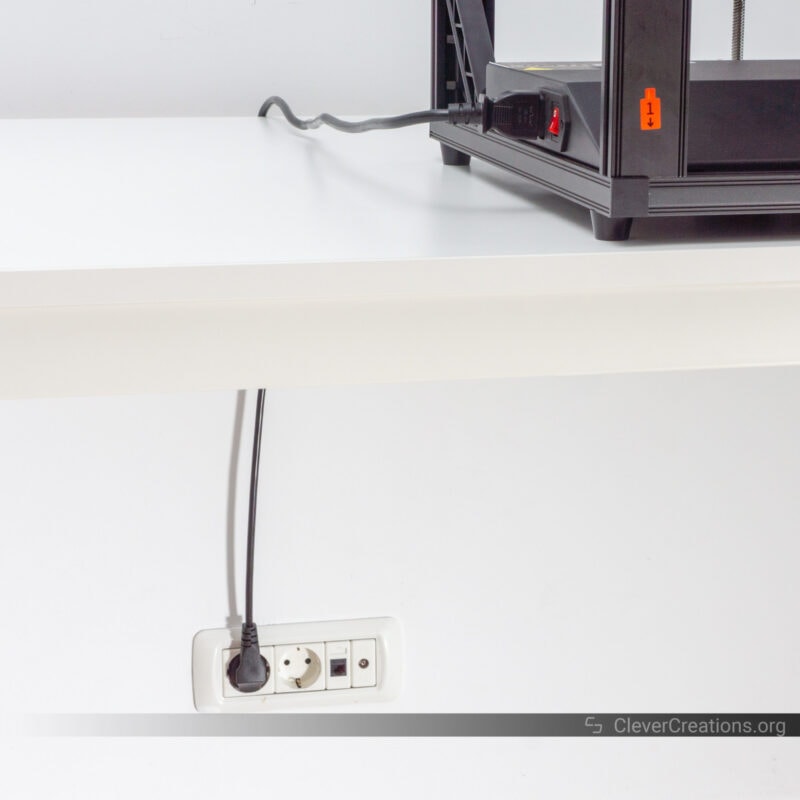
The only thing of note is that the power cable felt a bit short at times. The power input port is placed far forward on the machine, so if you place the Ender 5 S1 near the front of your desk and run the power cable over the back, you might not have enough length to reach an outlet without adding an extension cord.
Of course, if you have a dedicated 3D printer table with built-in power sockets, this won’t be an issue. But we assume most people will be running the Ender 5 S1 on a regular desk or table.
Ease of Use
Touch Screen
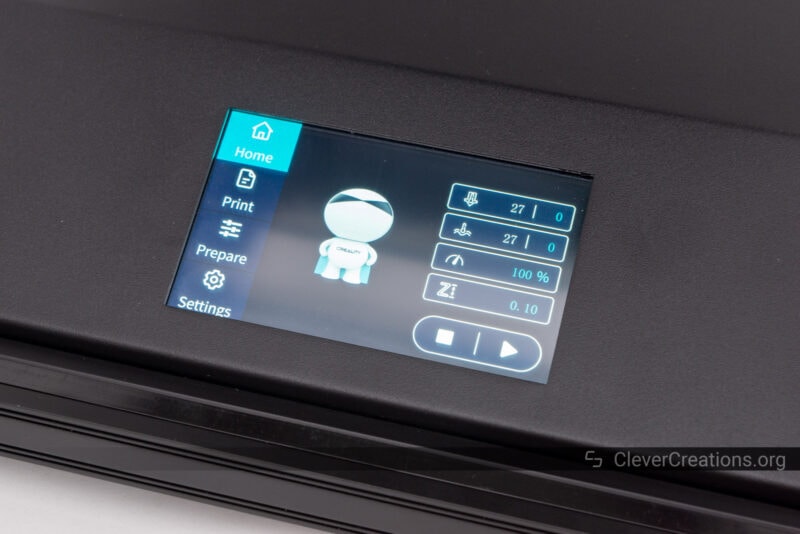
Your main interaction with the Ender 5 S1 will be through the 4.3-inch color touch screen on the front of the 3D printer. It’s a similar, if not identical touch screen as is used on the Ender 3 S1 line-up.
It has good enough colors and contrast and responds quickly enough to the touch.
Just like on machines like the Ender 5 Plus and Artillery Sidewinder X2, the screen is embedded into the 3D printer. This gives the machine a sleeker look and reduces assembly time, but does make it slightly more difficult to troubleshoot any issues with the touch screen, if necessary.
User Interface
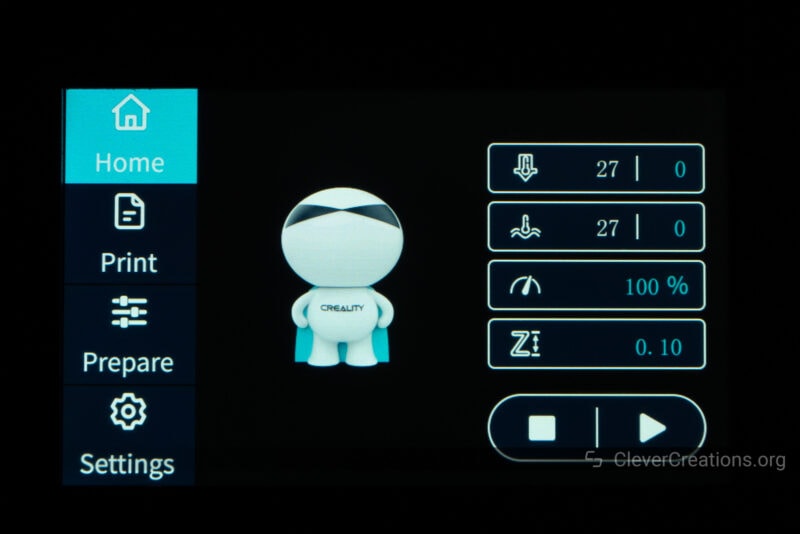
The user interface of the Ender 5 S1 is straightforward and easy to use. It’s based on the same UI that Creality has used with their other recent touchscreen machines. So if you’re familiar with that, you’ll feel right at home.
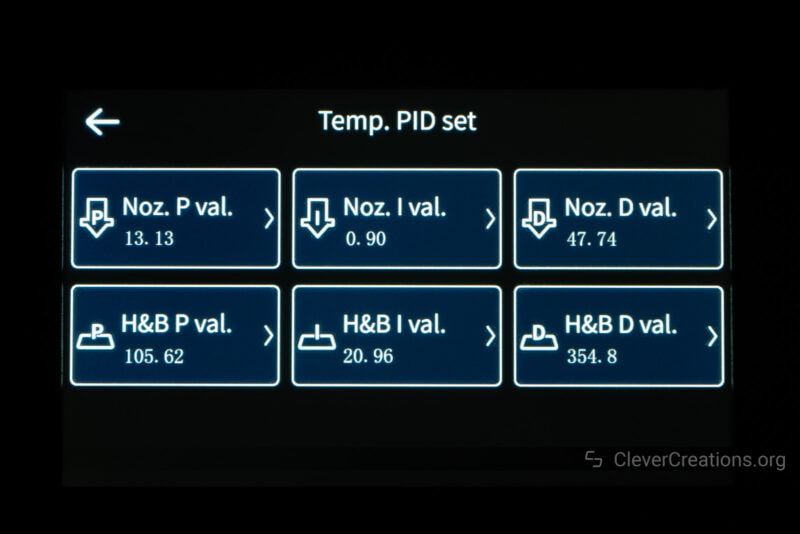
The most in-depth settings you can configure are things like maximum speed, acceleration, jerk, and PID settings. It’s enough for most users, but for more, you will have to flash custom firmware.
An improvement we noticed in the UI is that we can now long press to rapidly change the Z-offset. It’s a small change, but not having to repeatedly press for every increment is a nice addition.
At the same time, there are still things that can be improved. For example, it is easy to accidentally click the ‘Home Z’ button when setting the Z-offset. Because the Z-homing sequence takes a while, it can be frustrating to have to wait for it to finish when you didn’t even want to home Z in the first place.
Input/Output Ports
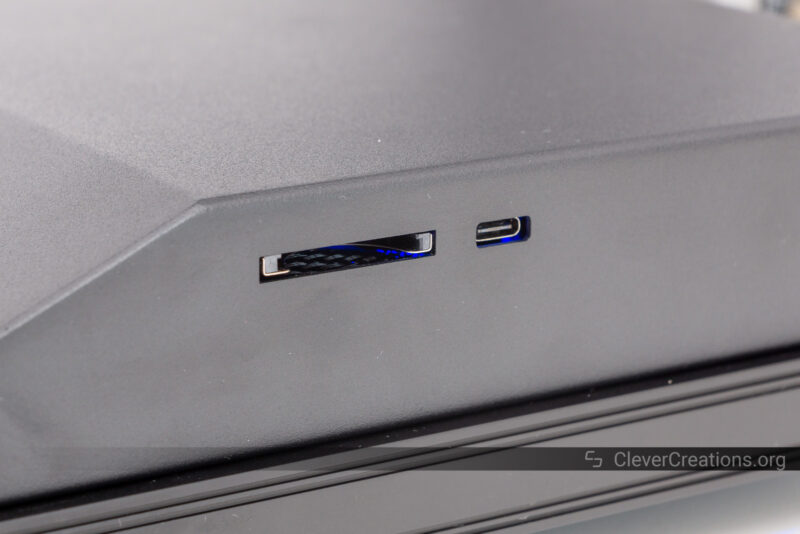
The Ender 5 S1 comes with a full-size SD card slot and a USB-C port. Both are convenient, as you don’t have to work with small TF cards or flip the USB cable twice before you can insert it.
What we’re not a fan of is the fact that all ports (including the power input) are mounted on the side of the 3D printer. It makes the I/O ports harder to access and more difficult to keep cables tidy and out of the way.
Ender 5 S1 Print Quality
All prints were done with the Ender 5 S1 Acrylic Enclosure installed on the machine. The last print was done in combination with the Creality Sonic Pad.
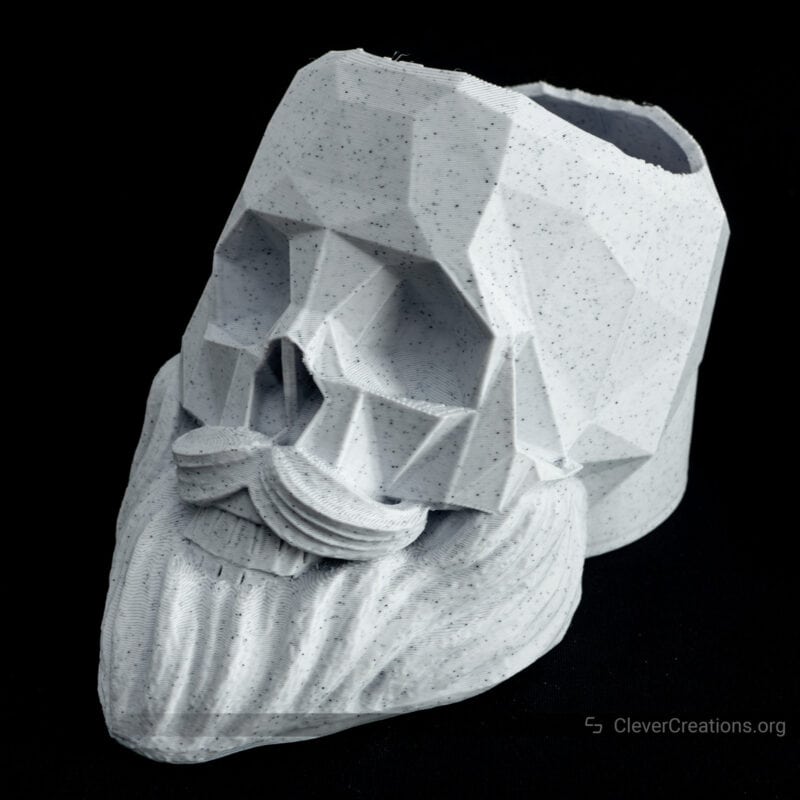
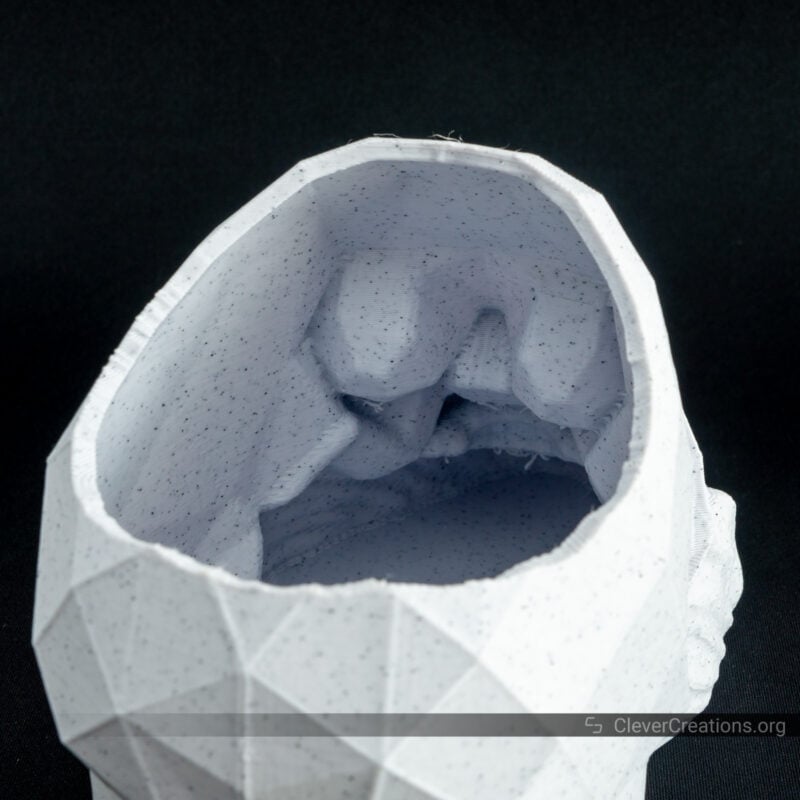
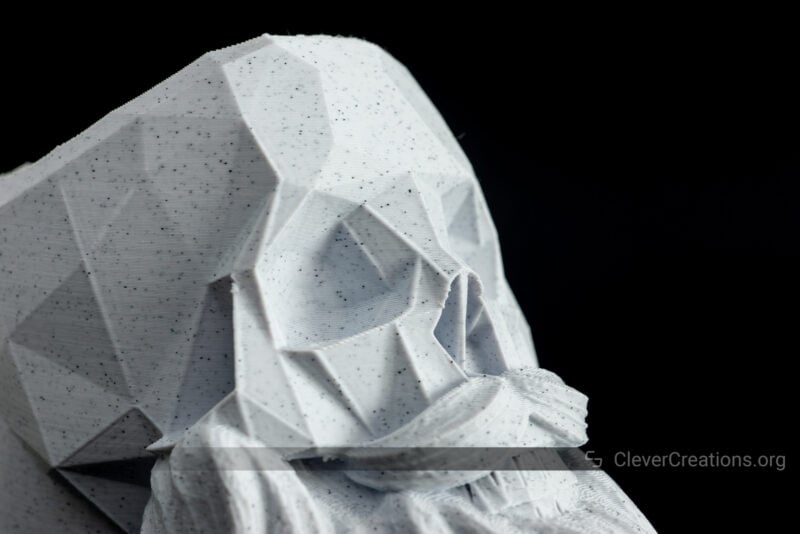
Barber Skull
This bearded skull was our first print on the new version of the Ender 5 S1 and it came out quite nicely. Barely any stringing, no blobs, good details, and impressive performance on the overhangs.
Given the powerful cooling and the Sprite direct extruder, this performance wasn’t a big surprise. But it’s still good to have it confirmed.

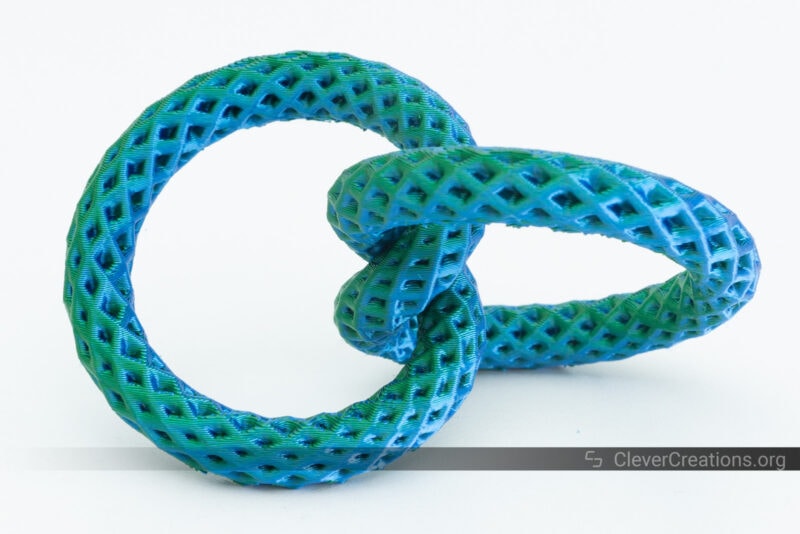
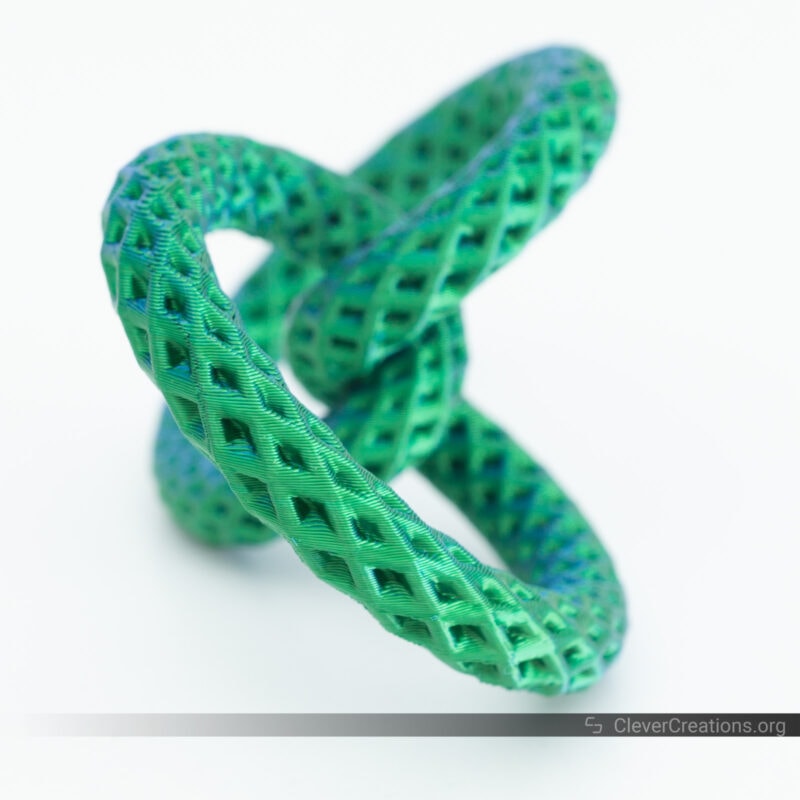
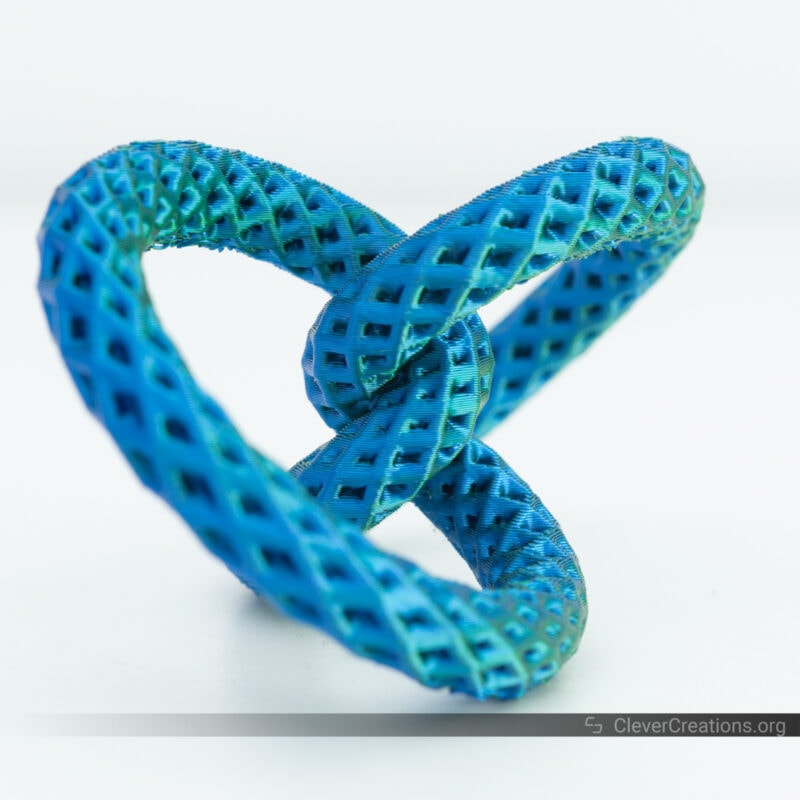
Morton’s Rolling Knot
The same goes for this rolling knot. The Ender 5 S1 printed all overhangs without problems. For reference, we only used supports on the steepest sections of the big arches.
Despite the increased print speed and thicker layers, the beefy hot end managed to melt the high volume of filament as requested. No complaints about this one.
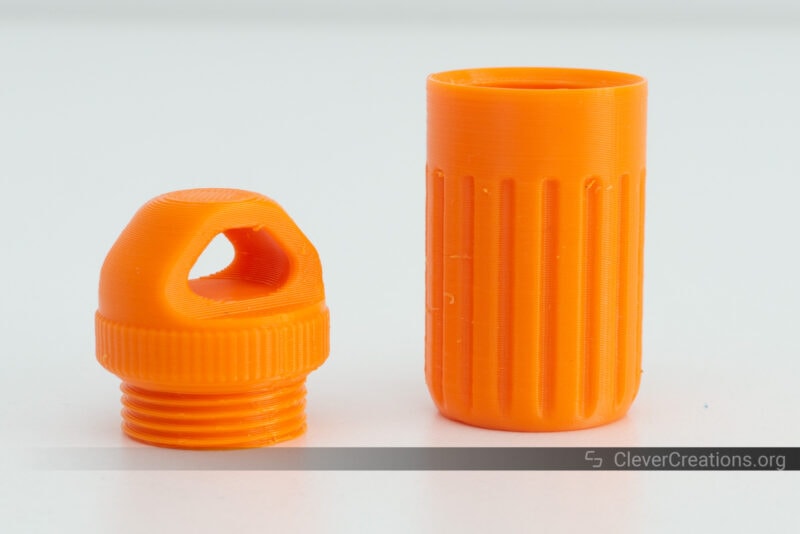
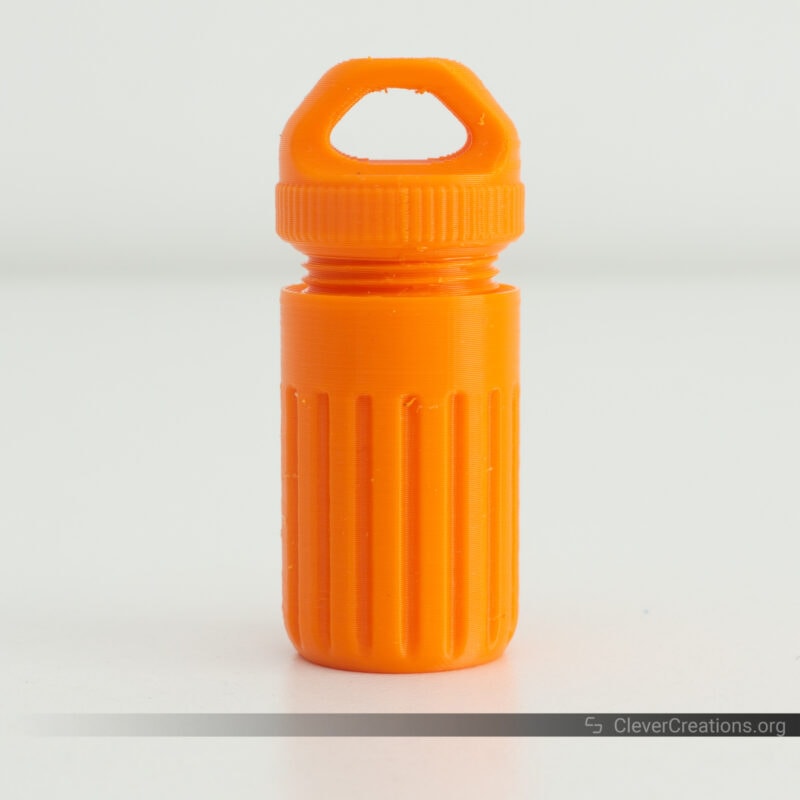
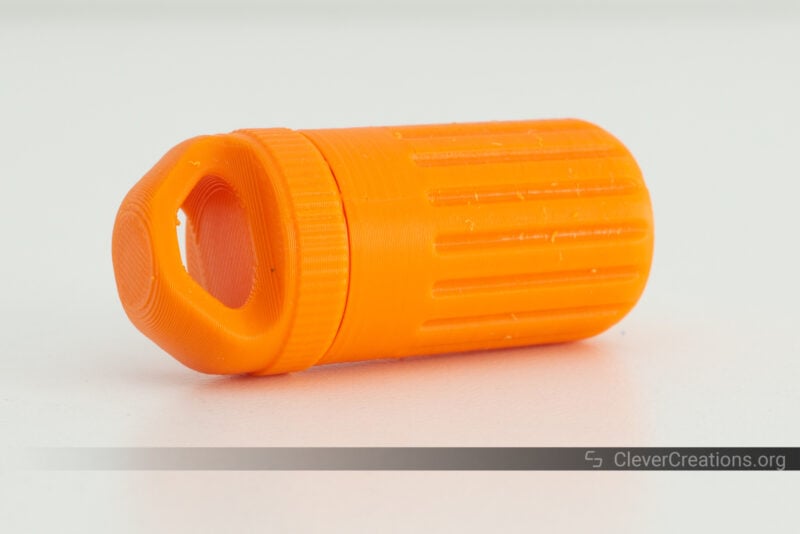
Mini Storage Container
The performance on this PETG storage container was less impressive. Even though the model came out dimensionally accurate, there are a number of blobs present on the outer shell. There was some PETG stringing on the inside as well.
We suspect it might have been caused by the specific roll of PETG filament we used, since this was the only filament we ran into this issue with. Increasing the retraction by 1-2 mm next time should fix it.
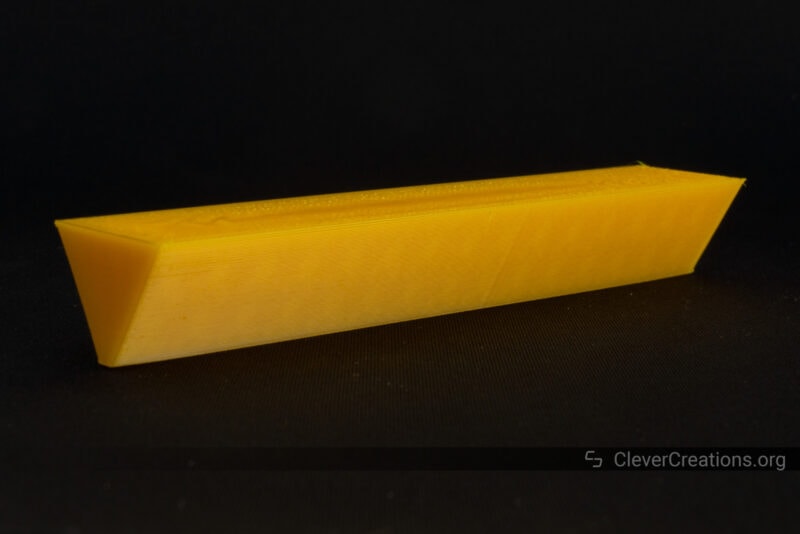
Warping Test
Because we used the official Acrylic Panels for the Ender 5 S1, we wanted to do a quick test of the ABS warping performance with this 3D printer.
This basic warping test came out perfectly straight, and did not require a brim or raft to keep sticking to the print bed. Better than what we have seen on a similar open frame printer.
For larger prints, you’ll still want to improvise a top panel for the Ender 5 S1 to keep more heat in. Because the official panels leave the top of the printer exposed, there’s plenty of heat escaping upwards due to convection.
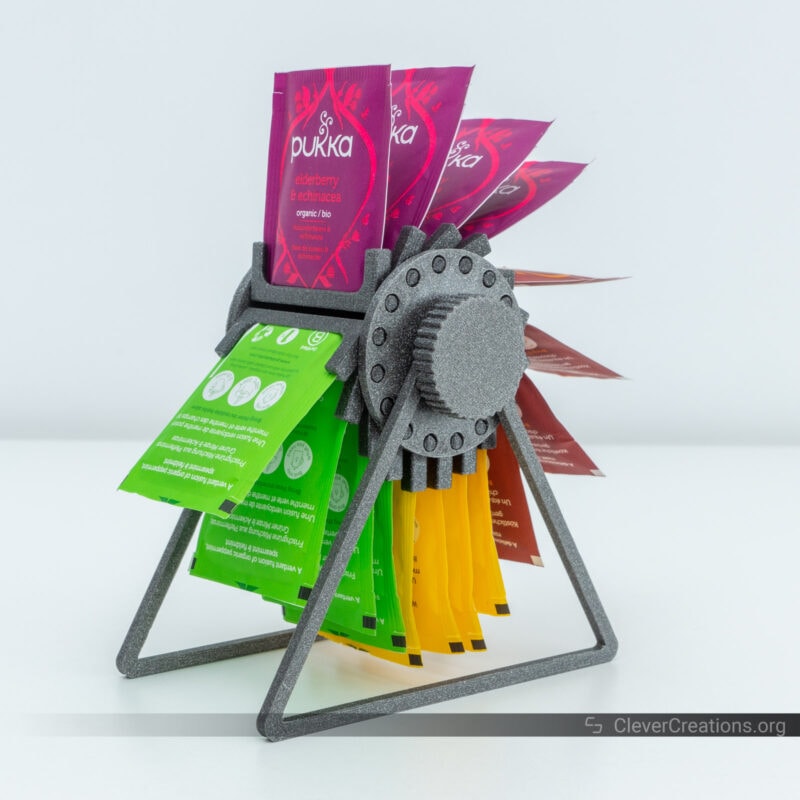
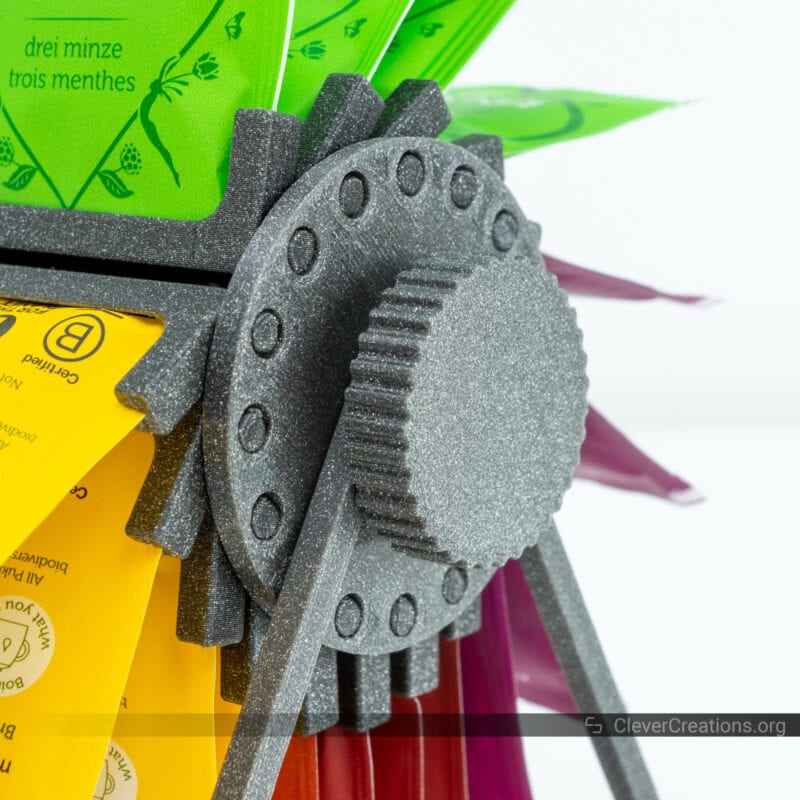
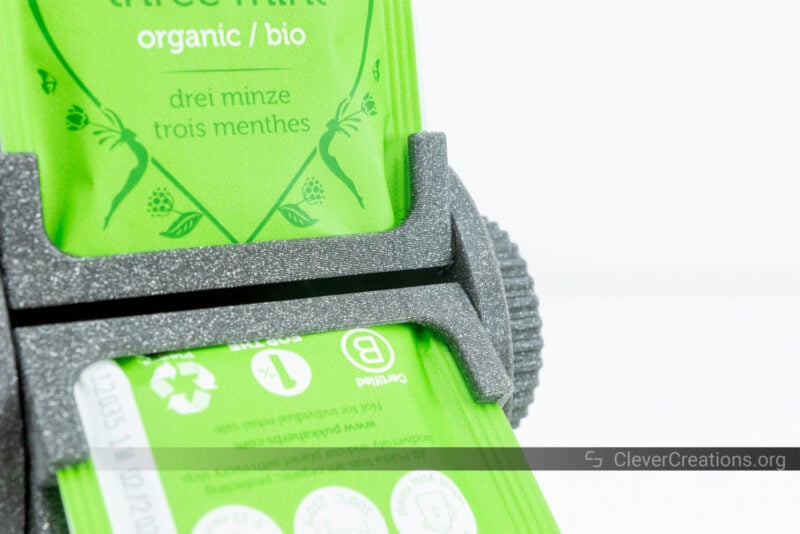
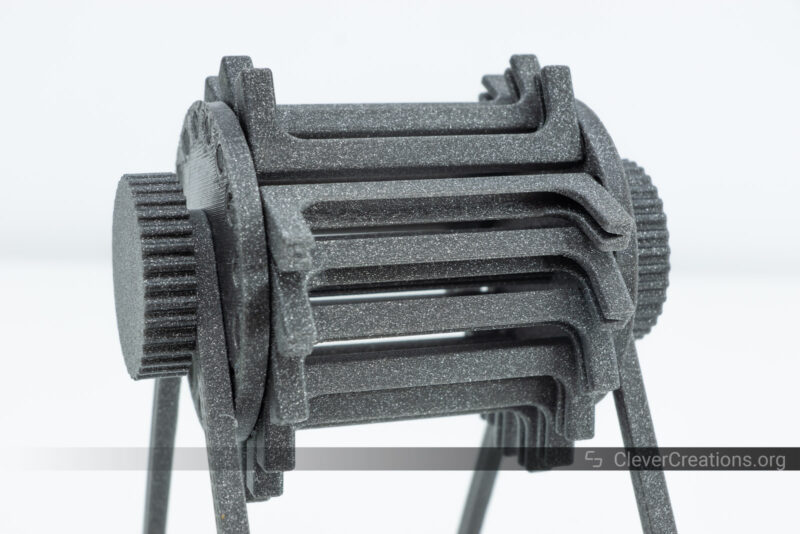
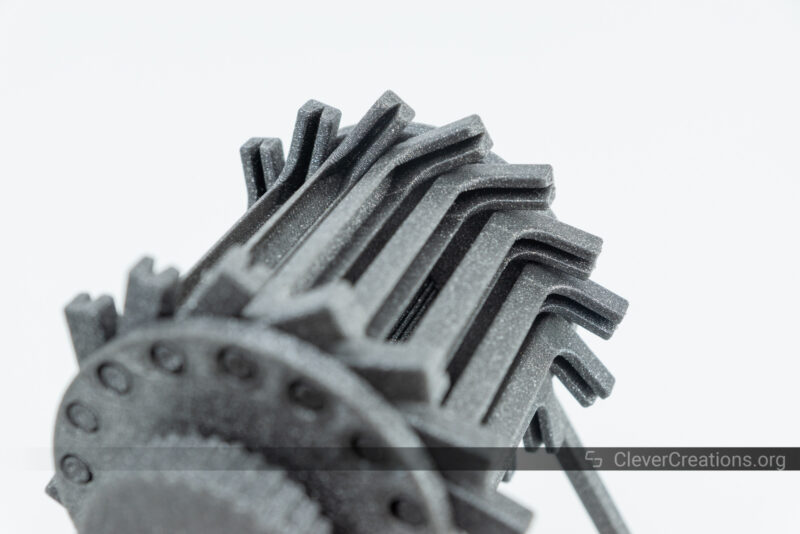
Tea Bag Rolodex
Lastly, this tea bag rolodex was made with the Sonic Pad controlling the Ender 5 S1. It lets you use Klipper firmware and its associated features, like pressure advance and input shaping. Or in simper terms: print much faster without sacrificing quality.
The 3D printed model is not one that specifically stress tests the capabilities of the 3D printer, but it’s still a great example of what the Ender 5 S1 can do with this setup. Flawless parts and excellent dimensional accuracy despite exceeding typical print speeds.
Ender 5 S1 Specifications
| Ender 5 S1 Specs | |
|---|---|
| Price | Creality (US/UK/EU) | Amazon |
| Build Volume | 220x220x280 mm |
| Leveling Method | Auto-leveling with CR-Touch |
| Nozzle Diameter | 0.4 mm (standard) |
| Layer Thickness | 0.05-0.35 mm |
| Precision | ±0.1 mm |
| Typical Print Speed | 120 mm/s |
| Max. Print Speed | ≤ 250 mm/s |
| Nozzle Temperature | ≤ 300 °C |
| Bed Temperature | ≤ 110 °C |
| Filament Compatibility | TPU, PLA, ABS, PETG, ASA, HIPS, PC |
| Screen | 4.3″ LCD Touch Screen |
| Rated Power | 350 Watts |
| Input Voltage | 100-120V~, 200-240V~, 50/60Hz |
| Power Loss Recovery | Yes |
| Filament Detection | Yes |
| Slicing Software | Creality Slicer, Cura, Simplify3D, etc. |
| Languages | 中文, English, Español, Deutsche, Français, Pусский, Português, Italiano, Türk |
Verdict: Is the Ender 5 S1 Worth Buying?
Taking all of the above into consideration, we feel like the Ender 5 S1 is not an easy purchase at its current $559 price. While the 3D printer has a number of excellent features, it also falls short in key areas.
The most glaring issue is its cantilevered bed. At high accelerations, it simply doesn’t provide a stable enough platform to produce high-quality results. To get around this, you would have to lower the acceleration settings, which in turn increases your print times.
With that in mind, we think the Ender 5 S1 is still a good 3D printer. Its high-temperature printing capabilities, rigid frame, and enhanced print cooling can be worth the premium for some users.
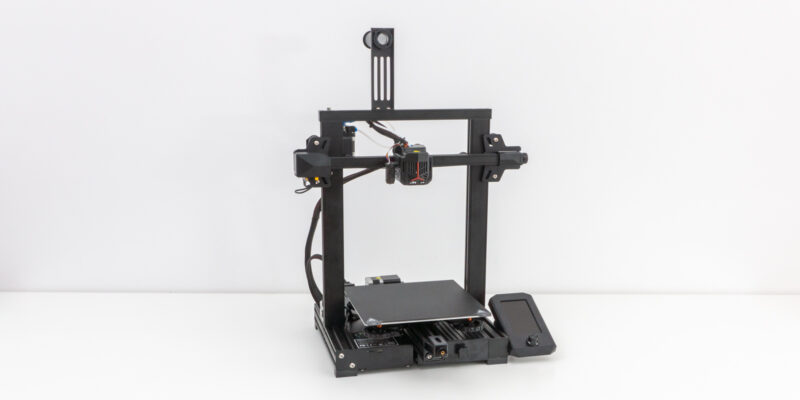
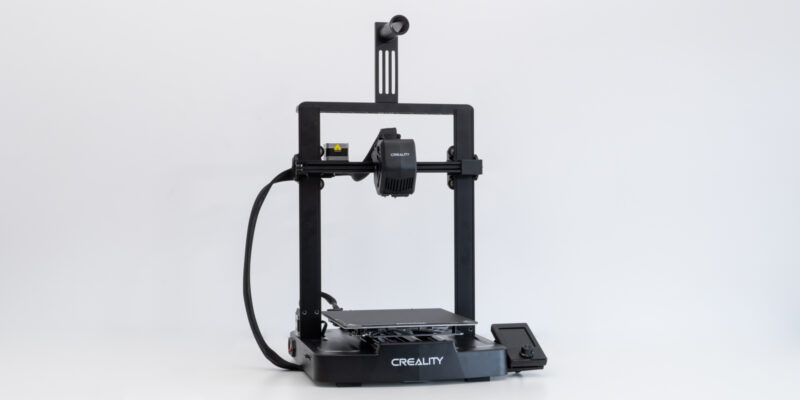
If you don’t need those, you might as well go with the Ender 3 S1. It has a practically identical build volume and many of the same quality-of-life features as the Ender 5 S1 but costs $160 less.
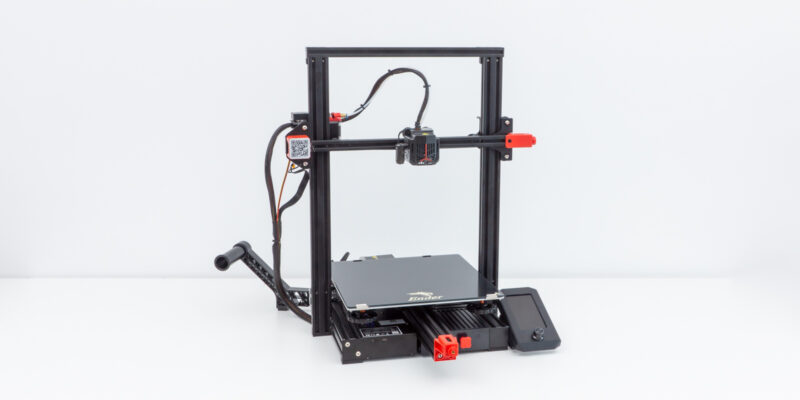
Alternatively, if you have the time and resources to tinker and upgrade your 3D printer, the Sovol SV05 can be a great choice. With a construction similar to the Ender 5 S1 but a less modern feature set, it’s a great foundation on which you can build. Especially for close to half the starting price.

Hi, I have ender5s1 with sonic pad. worked great until sonic pad upgraded to new fw. now my level bed on the right side is too close to the nozzle, and the left side is low. i turned off sonic pad and installed stock fw on ender5s1. the same thing happens to me with bed. the right side is high and the left side is low. the printer is about 10 days old and has no mechanical damage. what can it be? can i restore previous fw on sonic pad? can I reset the sonic pad and put the fw with which the printer worked properly?
Alen, I have the same setup as you with the printer and Sonic pad and I have exactly the same issue. I also had the printer and sonic pad about two weeks or so and originally it worked fine for levelling the bed and now, even thought the Sonic pad says the bed is level it is clearly, even by eye, not level.