Klipper is an open-source 3D printer firmware that’s developed for high-speed 3D printing. It utilizes an additional single-board computer for extra features and improved print quality at fast print speeds.
Klipper firmware is swiftly gaining popularity in the 3D printing community because of its improved feature set compared. It stands out as a viable alternative to Marlin and the barrier to entry is lowering as we speak. With off-the-shelf solutions like firmware pads and 3D printers with Klipper, there’s little reason anymore to not use Klipper.
In this article, we’ll go over the ins-n-outs of Klipper firmware. We’ll take a look at its workings, its various benefits and drawbacks, and help you figure out if it’s the right fit for your 3D printer.
Let’s Klip it up!
What is Klipper Firmware?
Klipper is a 3D printing firmware designed to deliver faster print speeds without loss in print quality. It’s completely open-source, free to use, and has a vast library of features that gives it an edge over other firmware.
The first-ever release of Klipper was in 2016. Ever since, Kevin O’Connor, the creator of Klipper, has released almost ten iterations of the original version. Its open-source and free nature keeps the developer community quite active. Besides Kevin, there are around 300+ developers who contribute to improving Klipper firmware.
You can use Klipper 3D printer firmware with Cartesian, Delta, CoreXY, and Polar printer configurations. There are 100+ 3D printers compatible with Klipper, but you can also fully configure Klipper to work with a 3D printer that you build from scratch.
The secret behind Klipper’s popularity doesn’t just lie in its feature set and community. It’s also due to the way Klipper functions using an external processor.
Let’s understand the workings of Klipper firmware in detail. It’ll give you an insight into Klipper’s various features and help you understand Klipper’s quick rise in popularity.
How Does Klipper Work?
Before we dive into understanding how Klipper works, let’s understand the working of a typical 3D printer firmware, like Marlin.
Typically, 3D printer firmware runs on a 3D printer controller board. The controller board is tasked with processing the Gcode file and controlling the printer’s operations. Here you can think of the controller board as the brain of your 3D printer.
Without it, the stepper motors, heating elements, and other components of the 3D printer won’t be able to move and execute a print job. So all the print commands, including move and heating, are processed by this controller board.
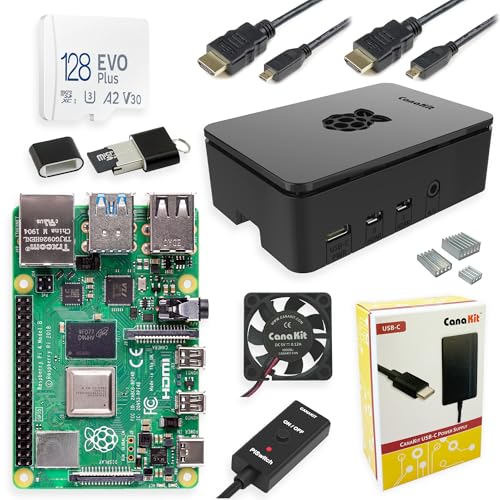
Klipper takes a different approach and uses an external single-board controller, like a Raspberry Pi, with the printer’s motherboard. The Raspberry Pi and the printers’ controller work in a master-slave configuration, with the Pi carrying out the majority of the tasks with its additional computing power.
Klipper is designed such that the Raspberry Pi takes care of the entire Gcode processing and computing of the printers’ movements. This information is relayed to the printer’s motherboard, whose only function is to interface with the stepper motors and other hardware.
This firmware architecture splits the tasks of processing commands and controlling the printer onto two separate hardware devices.
Now, even a previously underpowered 8-bit 3D printer motherboard can utilize the full benefit of a powerful Raspberry Pi.
This helps bring 3D printing to the next level, with features like linear advance that were previously unavailable or limited on 8-bit boards. Klipper also enables printers to perform complex functions such as resonance compensation using an accelerometer.
Klipper is also not restricted to the Raspberry Pi controller, and you can use several other single-board computers with it. Many users even managed to run Klipper on the Windows system.

Why Should I Use Klipper firmware for my 3D printer?
Klipper 3D printer firmware has various features that enhance the functionality of your 3D printers. In this section, we’ll look at some of the key features of Klipper firmware and how it can benefit your 3D printing experience.
Fast and Precise 3D Printing
The Raspberry Pi (or other single-board computer) helps Klipper compute the Gcode and calculate precise stepper motor movements. Each stepper motor command is computed well in advance and relayed to the motor with high timing precision.
This allows for faster processing of the Gcode on slow 8-bit printer controllers. Without it, these printer controllers would struggle to process fast movements without running into buffer limitations.
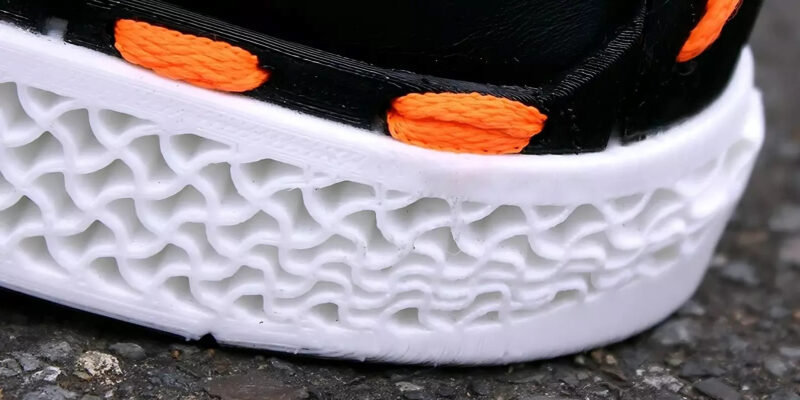
The result is that with Klipper you can achieve higher stepping rates on many 3D printers. These high-stepping rates enable faster acceleration and printing speeds.
It is not uncommon to reach speeds of up to 100 mm/s and acceleration of 2000-3000 m/s2 on basic 3D printers. Here you can think of your typical inverse T-frame 3D printer under $300, or 3D printer under $500.
In day-to-day use, these higher printing speeds reduce your printing times and help you increase the total output per hour from your printers. Ideal if you are running a 3D print farm or want to otherwise make money with your 3D printer.
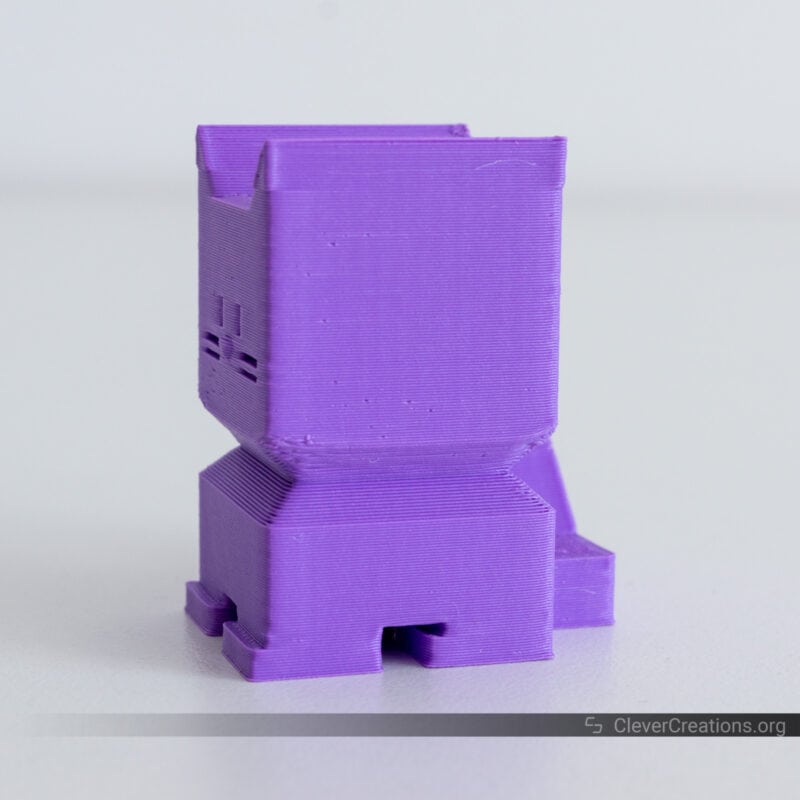
Input Shaping
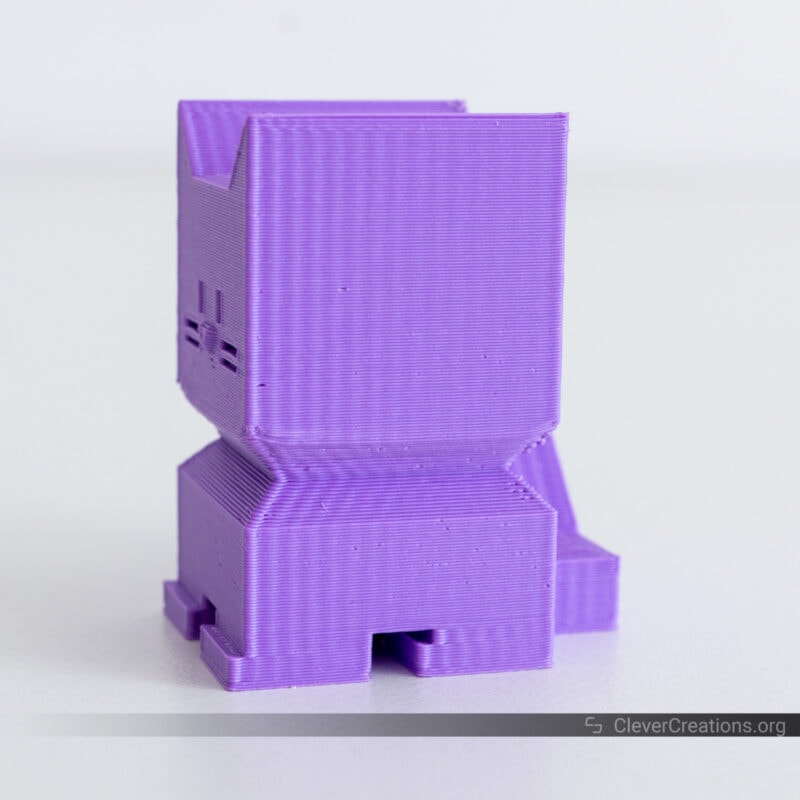
With a faster print speed and acceleration, your printer will shake and vibrate more than at lower speeds. The vibrations or resonating frequencies show up in your printed models as artifacts. These artifacts are known as ringing or ghosting and are a common side-effect of higher print speeds.
Klipper 3D printer firmware helps solve this issue by adjusting the stepper motor movements to reduce the effects of vibration. In short, if one stepper motor command causes the printer to resonate more than necessary, the next command will compensate for this vibration and cancel it out. This adjustment is known as Klipper’s Input Shaping, and it’s one of the firmware’s most unique aspects.
With fine-tuning and calibration, you can get near-perfect 3D prints without echoing, ringing, or ghosting. And there’s plenty of documentation on Klipper’s website that details the calibration process.
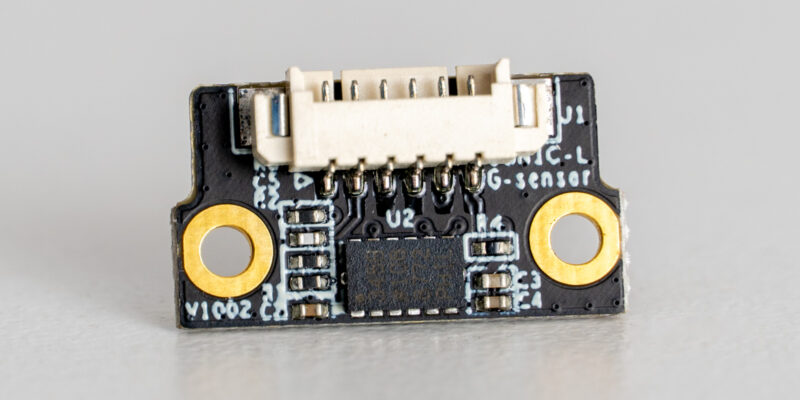
We recommend using an ADXL345 accelerometer to automate the process. It gives you a precise measure of the vibrations on your printer’s frame and can be used to adjust the input shaping parameters.
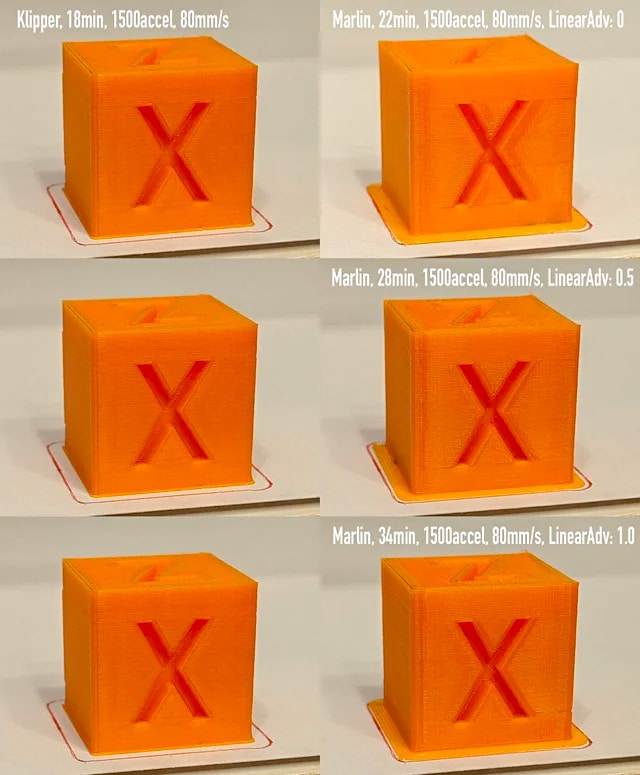
Pressure Advance
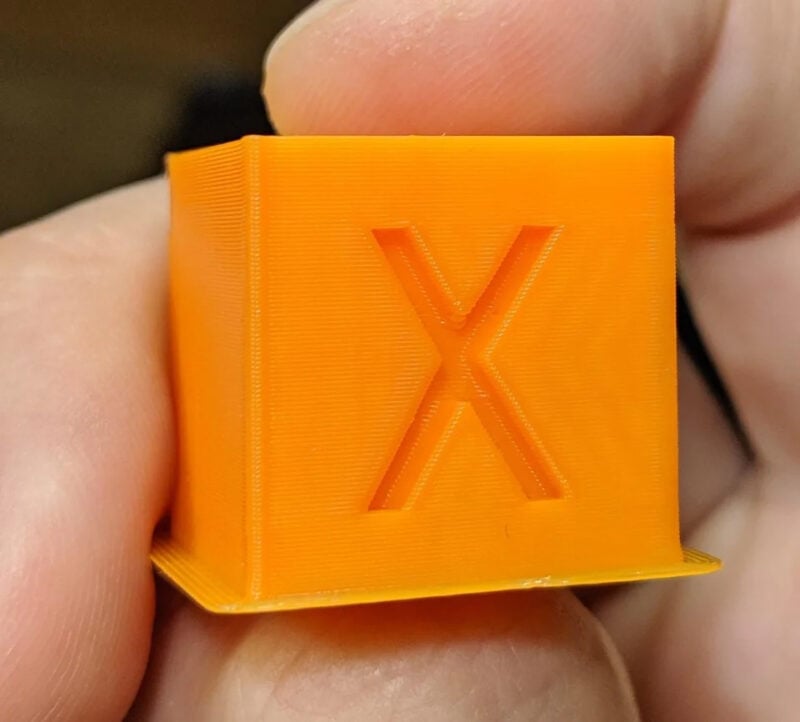
Pressure advance is another feature that Klipper supports which helps with the quality of your 3D prints. It compensates for the kinetic energy in the filament by pre-compressing it before it reaches the nozzle.
This helps reduce retraction issues with your 3D prints, like filament oozing, stringing, and surface blobs. If these are issues that you often encounter with your 3D prints, then Pressure Advance can be a great way to get better print quality in those aspects.
This smooth pressure advance also helps achieve sharp and precise corners by accurately tuning the filament flow in those areas. Overall, it results in better print quality and less time in post-processing to clean up the strings and smoothen the print’s surface.
As with all of Klipper’s functionality, there’s some calibration that you’ll need to perform to dial things in. It’s relatively easy and is worth the effort. Especially if you plan to print a lot at higher print speeds.
Easy To Code and Open-source Software
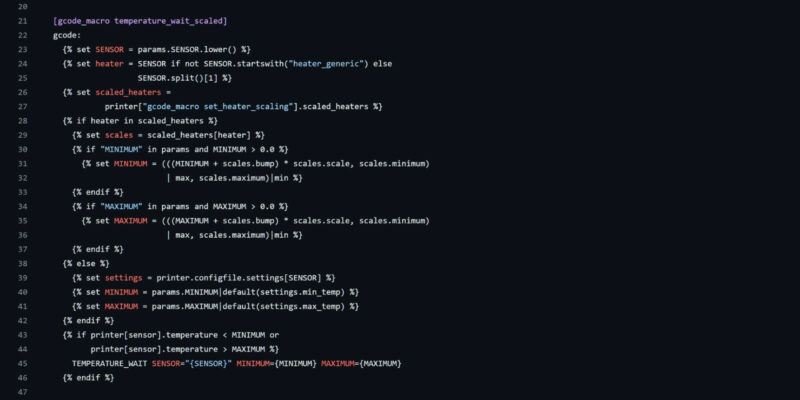
Most of the crucial functions of Klipper are written in Python, a very high-level and easy-to-understand coding language. It enables developers to add new features and improve existing functionalities with minimal hassles.
As mentioned earlier, over 300 individual contributors commit to Klipper’s continuous development. Developers can easily customize Klipper as per their needs using its free source code.
As an end user, this functionality benefits you immensely. The developer community, continuous improvements, open-source nature, and a free-to-use design are the key reasons behind Klipper’s various features and reliable functioning.
Vast Printer Compatibility
The mix of easy code structure and open-source nature has led to the excellent development of Klipper’s core functionalities. It has led to the wide adoption of Klipper and put it as one of the best 3D printer firmware options.
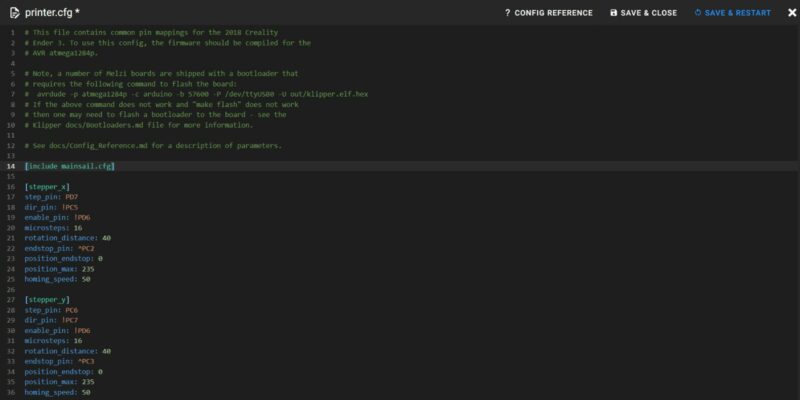
Klipper supports over 100 3D printers by featuring their configurations in its repository. Using these configurations, you can easily install and configure your 3D printer to work with Klipper within a few minutes.
If you find a particular printer missing in the library, you can create one yourself; Klipper has the essential files for various machine kinematics.
Some prominent names in the 3D printing community, such as Voron design, use Klipper in all their Voron 3D printers. Prusa has also hinted at the possibility of running Klipper firmware in their upcoming Prusa XL 3D printer.
Excellent Community Support
Another one of the key features of Klipper is its active user community. Several forums and groups have tremendous amounts of information on Klipper firmware. Klipper’s website has excellent documentation, and you can easily find additional guides on Klipper with a simple web search.
This community support comes in handy to quickly iron out any issues you might encounter with Klipper. It serves as a good backup, and you can be assured that there’s always help available in case you need it.
Plugins
Klipper firmware is also compatible with a wide range of Klipper plugins, giving you even more functionality. These plugins offer additional features, tools, and shortcuts that can make your 3D printing workflow more efficient and enjoyable.
For example, you can find plugins for remote print monitoring, excluding objects during 3D printing, advanced Gcode visualizers, Klipper installation scripts, and more. The plugin ecosystem is quite robust and continues to grow, thanks to Klipper’s active developer community.
Why Not Use Klipper Firmware?
We’ve discussed the benefits of using Klipper and how it would help you with your 3D printing workflow. But Klipper is not without its flaws; albeit relatively minor, it’s helpful to be aware of them.
Additional Hardware Requirements
Klipper utilizes an external processor for more processing capacity. Typically, a Raspberry Pi is the favored option with Klipper 3D printer firmware. And with the recent chip shortage issues, it has become challenging to buy a Pi board.
While you’re not limited solely to a Raspberry Pi, you still need an external single-board computer for running Klipper firmware. It means that you’ll need to consider the extra hardware requirements.
These include a desktop system to set up and run Klipper, an extra power supply for the controller, an SD card, and USB cables.
Aside from the money aspect, the additional hardware might not be procurable at all in some regions.
If you’re still relatively content with your printer’s performance and don’t want to deal with the additional hassle, it is understandable to just skip out on using Klipper.
Challenging Initial Setup Process
Despite the abundance of guides and documentation, Klipper is not the friendliest 3D printing firmware to set up on a 3D printer. Specifically, new users and beginners can get confused while configuring Klipper for their printers.
You need to be aware of your printer’s specific controller board, the Raspberry Pi specifications, setting up a web interface, and other minor things. It can be overwhelming for inexperienced users who’re unfamiliar with the workings of a 3D printer.
Klipper has not reached a plug-and-play solution yet (even though Creality’s new Sonic Pad comes close). If you’re someone who is uncomfortable with setting up and configuring your own software, Klipper might not be ideal for you.

How to Install Klipper on a 3D Printer?
The drawbacks of Klipper 3D printer firmware are trivial compared to the benefits it offers. Once you get past the initial learning curve and setup, you’ll have a better understanding of Klipper.
The Klipper installation process is straightforward, but the procedure is long and extensive. As mentioned earlier, it’d be helpful to have some previous knowledge about the workings of a 3D printer firmware.
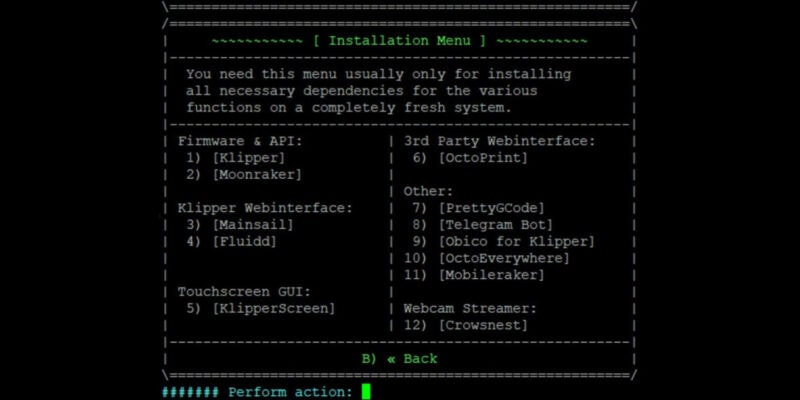
There’s a detailed Klipper installation guide on Klipper’s official website that explains the entire process. It uses Octoprint’s interface to run Klipper on your 3D printer. The guide might not be the most detailed one, but it does a decent job of outlining the installation process.
This video guide by Chris Riley uses Mainsail OS for installing and using Klipper on a 3D printer. It’s a great resource that goes into more detail about the process.
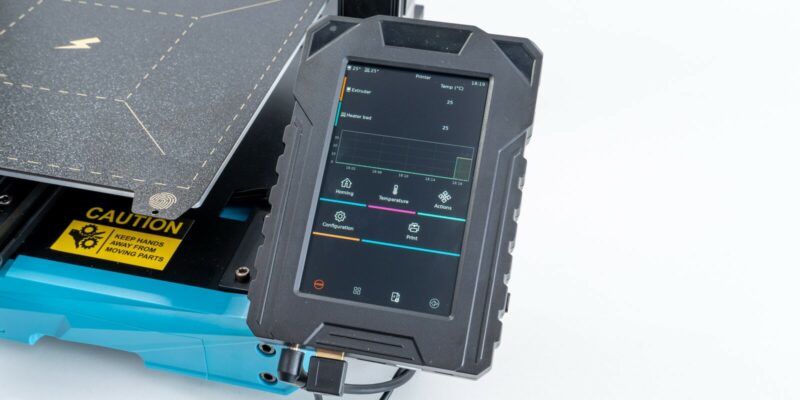
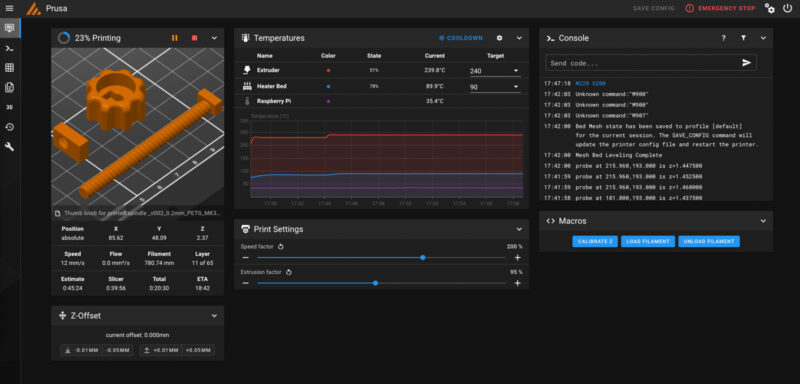
Fluidd and Mainsail OS give you a dedicated web-interface that’s developed around Klipper firmware. These interfaces offer several customization options and enable you to access Klipper’s functionality easily. They’re relatively easy to set up and update and are very popular amongst the 3D printing community.
Verdict: Who Should Use Klipper Firmware?
The need to use Klipper firmware comes down to the user’s experience level. If you’re new to 3D printing, then Klipper might not be the best option for you. You’d be better off using the stock firmware until you get accustomed to the 3D printing process.
Installing Klipper firmware is a great choice for experienced users who want better control over their 3D printers. It offers an array of features for fine-tuning the behavior and performance of your 3D printer.
The useful web interface, Pressure Advance, Input Shaping, and other features make Klipper one of, if not the most powerful 3D printing firmware out there.
Similarly, for 3D printing farms and professional applications, the fast print speeds and better quality translate to reduced printing costs and increased part yield. In a world where time is money, Klipper shines as the go-to firmware for faster and more precise 3D printing.
Just keep in mind that you’ll need to purchase a Raspberry Pi or single-board solution for the additional computing power. That could be a deterrent for those who don’t want to deal with the different hardware requirements.
Overall, Klipper is an excellent 3D printing firmware with rich features to suit various workflows. If you’re ready to tinker a little and overcome the initial learning curve, Klipper will breathe new life into any new or old 3D printer and let you utilize it up to its full potential.