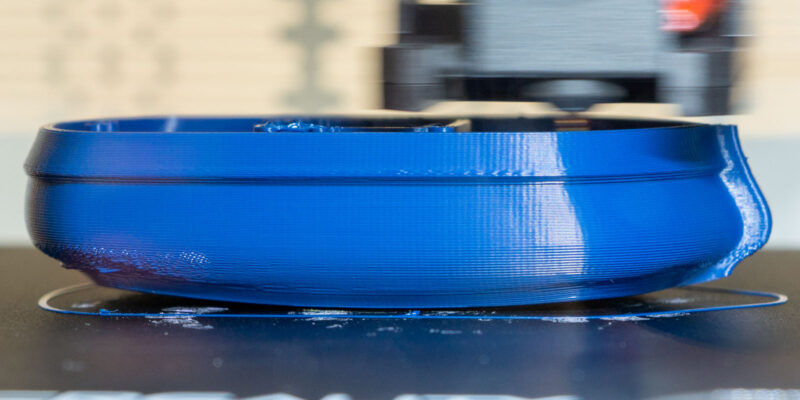

It’s like a dream come true when you get a beautiful first layer in your prints. A first layer that is smooth and free of flaws gives your prints a clean look and gives the upper layers a strong base. Not to mention it improves your 3D printing experience.
Cura has several tools that can help you make a good first layer, but Cura’s Z offset setting stands out. Despite its utility, some people like it, and others struggle with it.
Today we will explain what Z offset is, why it’s important for 3D printing, and how to use the Cura Z offset feature to improve your first layers.
Let’s set off!
What Is Z Offset and What Does It Do?
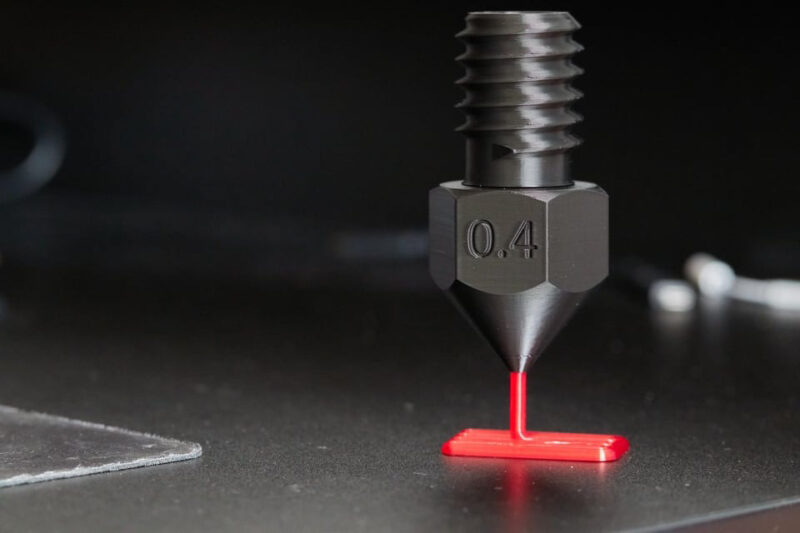
Z offset is a setting that allows you to adjust how far your printer’s nozzle is from the print bed. It becomes particularly useful when you use an automatic bed leveling (ABL) sensor such as the BLTouch or the CR-Touch.
When you home your printer, the ABL probe is often used to determine the zero position of the Z-axis. However, this zero position may not be the exact distance between the nozzle and the print bed.
For example, when homing the 3D printer with the probe, the distance between the nozzle and the print bed may be 2.4 mm. But how does the printer know how much further to move the nozzle down to get to the print bed? Printing at the probing height would start the 3D printing process at a 2.4 mm height, which is not what we want.
This is where the Z-axis offset comes in. You measure the distance between the nozzle and the print bed after leveling and “offset” that value. For instance, if you need to bring the nozzle down by 2.4 mm until it touches the print bed, the Z offset value is -2.4 mm.
Some 3D printers set the Z-offset value automatically, like the Creality K1 and Ender-3 V3 SE that we recently tested. Other machines guide you through the process in the calibration, but you can also adjust Z-offset values in Cura.
Regardless, the Z-offset ensures that the 3D printer prints the first layer at the right height. If you run into over- and under-adhesion issues, you can even adjust it on the fly to prevent having to re-calibrate again.
Why Use The Cura Z Offset Feature?
Setting the Z-offset in Cura comes with some good advantages that can help you get better print quality.
Improved Bed Adhesion
The Z offset feature helps you get better adhesion on the first layers of your 3D prints. By fine-tuning the layer height, you can resolve most issues with filament not sticking to the print bed. This, in turn, increases the chances of your prints’ success and improves your overall 3D printing experience.
Of course, there are other factors to take into account as well. For example, the material and age of your print surface and the quality of your filament material. But optimizing the nozzle height to get the perfect amount of squish is in our experience the number one factor.
Compensating for Different Materials
Each 3D printing material has its own unique characteristics. For instance, PLA and ABS filaments are better when they’re slightly squished into the build plate. In contrast, PETG benefits more from a larger gap between the nozzle and the build surface for optimal adhesion.
The Z offset setting in Cura makes it easy for you to set the correct Z-axis offset for each material you print with. By adjusting the offset directly in the slicer’s print settings instead of on your 3D printer, it is much easier to switch between different materials.
Printing on Top of Other Models
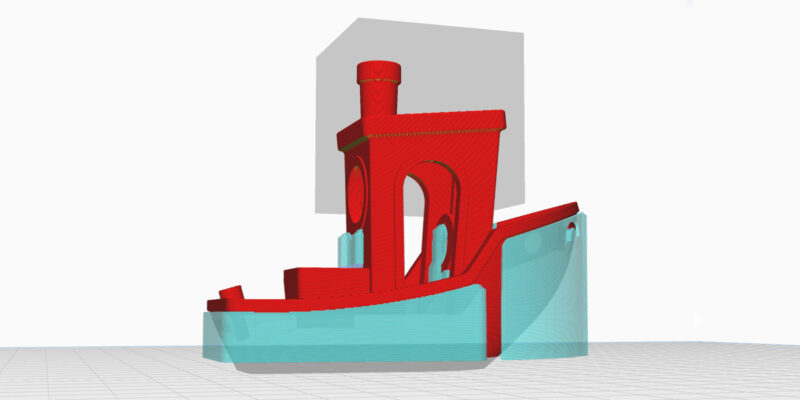
Using Cura’s Z offset, you can print on top of previously printed 3D models. This lets you be creative with multi-color prints that are otherwise harder to do.
For instance, you’ve 3D printed a cube of 10 mm in height. Now, you can increase the Z offset by +10 mm and start 3D printing an additional object on top with different colors or materials.
It makes printing multi-color 3D prints quite simple and straightforward. You can compare it to the Cura filament change feature. But instead of changing filament mid-print, you simply print a whole model on top of another one.
How Do You Use Cura Z Offset?
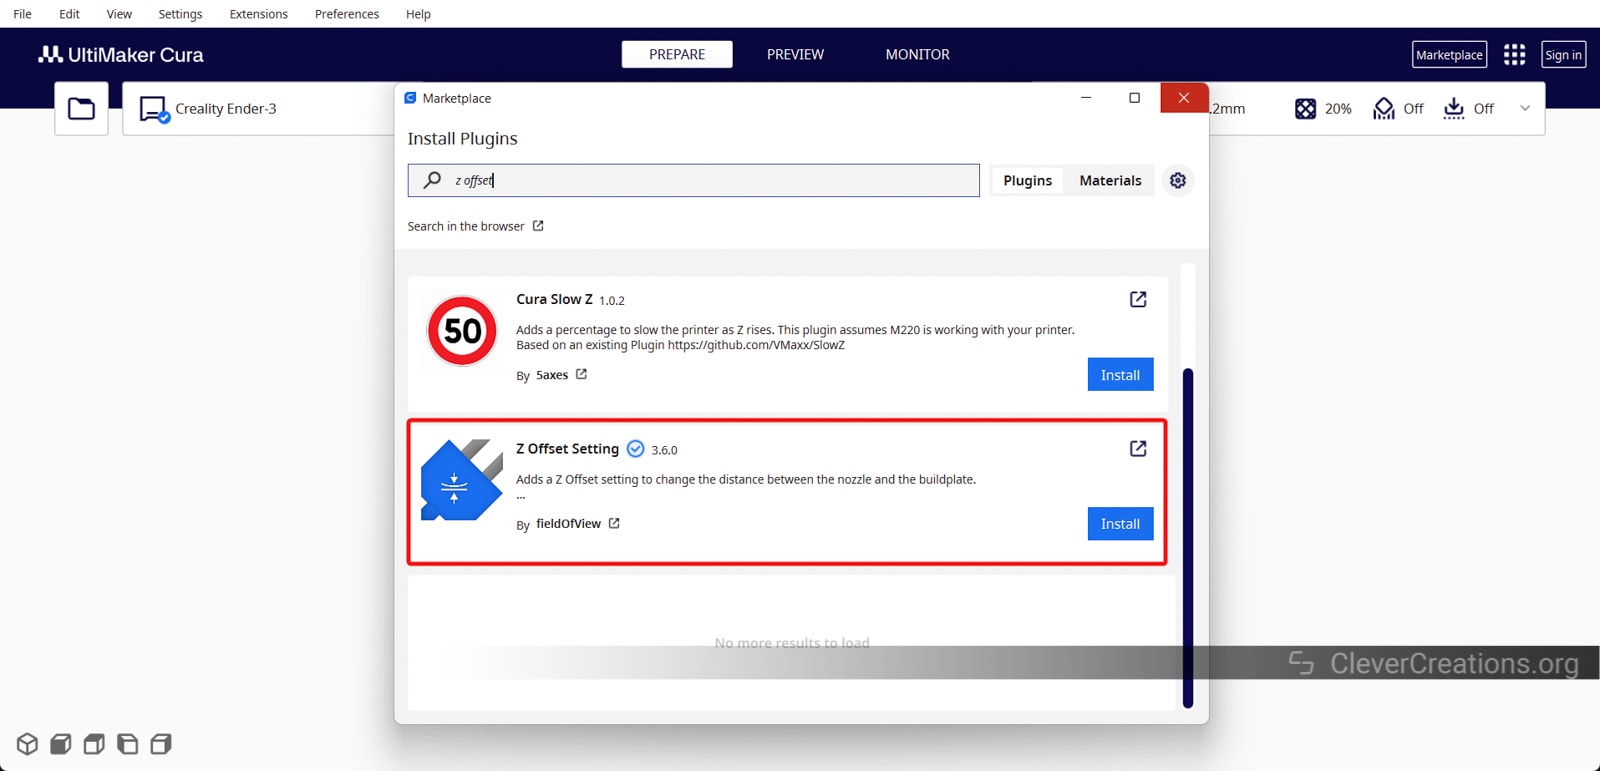
There’s an easy-to-use plugin in Cura which makes using the Z offset extremely easy. Let’s go over the steps of setting it up.
- Open Cura and Open the Cura Marketplace.
- Search for the Z offset plugin.

- Install the plugin and Restart Cura.
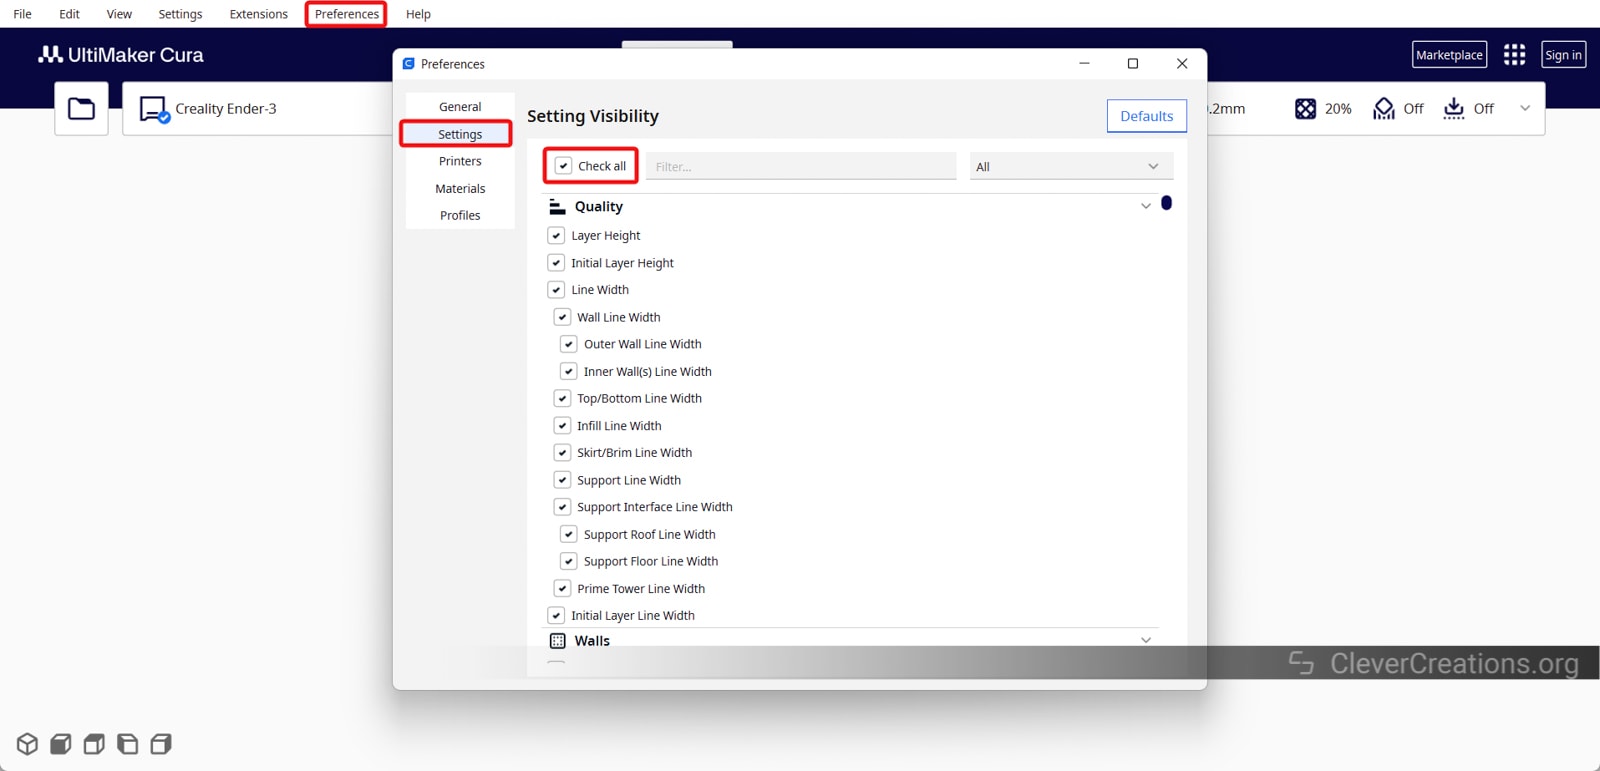
- Click on Preferences and Configure Cura.
- Open the Settings menu and select the Setting visibility to All. Close the window.
- Go to the Printer Settings section in the Main window.
- Search for the Z offset settings and set the value. A positive value will increase the distance between the nozzle and the print bed. A negative value will bring the nozzle closer to the print surface.
- Slice the model.
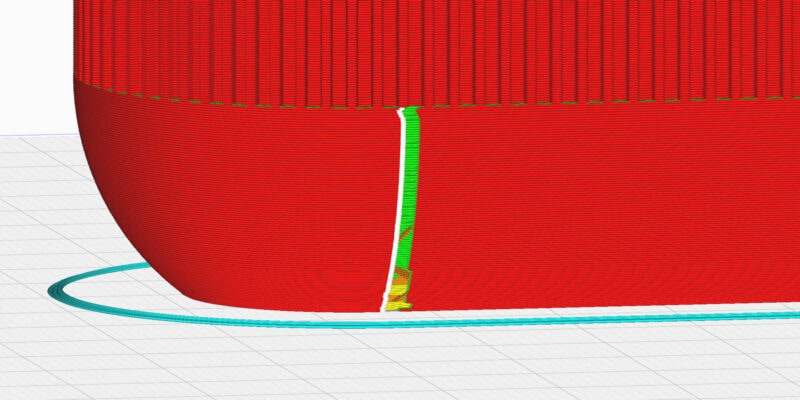
That’s it for the Cura Z offset setting. You can see in the image above that the height for the initial layer is now 2.2 mm. It takes the 0.2 mm as the first layer height and adds the 2 mm offset per the settings.
How Can You Add Z Offset to G-Code?
Adding the Z offset to the G-code is more tricky than using the Cura plugin method. Nonetheless, it’s not complicated to do once you understand how it works.
- Open the G-code file in any G-code editor or a text editor like Notepad++.
- Find the G28 command or G29 that is responsible for auto bed leveling. Then add the Z0 command at the end to move the nozzle to the zero point on the Z axis.
- Locate the command that sets the initial Z position, G92.
- As an example, you can set it to G92 Z0.1 to set a negative offset of -0.1 mm. This brings the nozzle closer to the print bed by that amount when the 3D printing starts. The positive values reduce the distance between the nozzle and the print bed.
- If you want to increase the distance between the nozzle and the print bed, type in a negative offset value, i.e., -0.1 mm. In this case, the command will look like G92 Z-0.1.
- Save the modified G-code file and send it to your 3D printer.
You can adjust the value of the Z-offset based in the G-code depending on your needs. Just remember that a positive value decreases the Z-axis distance from the nozzle to the build plate, whereas negative values increase the nozzle height. This can sometimes be confusing.
It’s also important to always home and measure the distance between the nozzle and the build surface before you set the Z offset value. Following these steps will help ensure that you don’t end up damaging the nozzle or the bed surface.
What Should Your Z Offset Be?
The correct Z offset will depend on the particular printer setup you’re using. Let’s consider two examples to determine the value of your Z offset.
Manual Bed Leveling
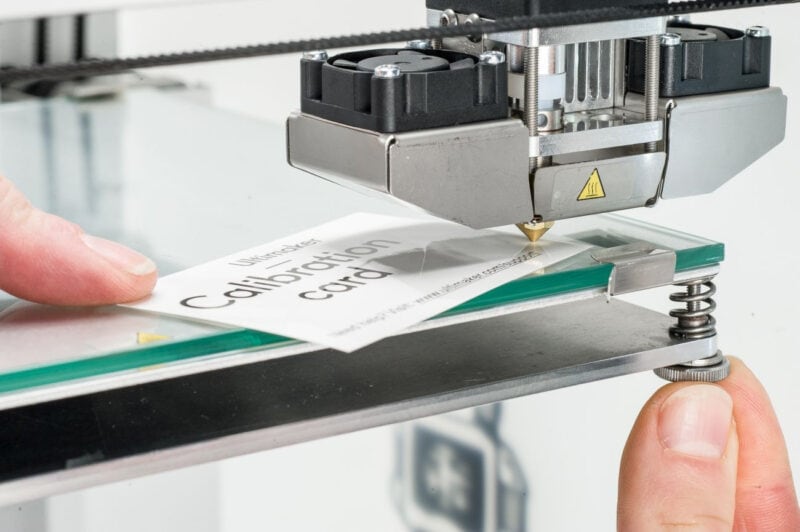
When performing manual bed leveling, you typically use a piece of paper to level the bed. The thickness of the paper dictates the Z offset value.
For example, if you use a 0.4 mm thick piece of paper, there will be a gap of +0.4 mm between the nozzle and the bed surface. Without a Z-offset adjustment, a first layer of 0.2 mm thickness would print at a 0.6 mm Z-axis height instead of the 0.2 mm set in the slicer.
Many modern 3D printers help you adjust for this in the calibration process. If your 3D printer doesn’t, or if you want to solve it through Cura, you should set your Cura Z Offset to -0.4 mm. This will allow the slicer to output the correct nozzle height for the first layer.
Automatic Leveling
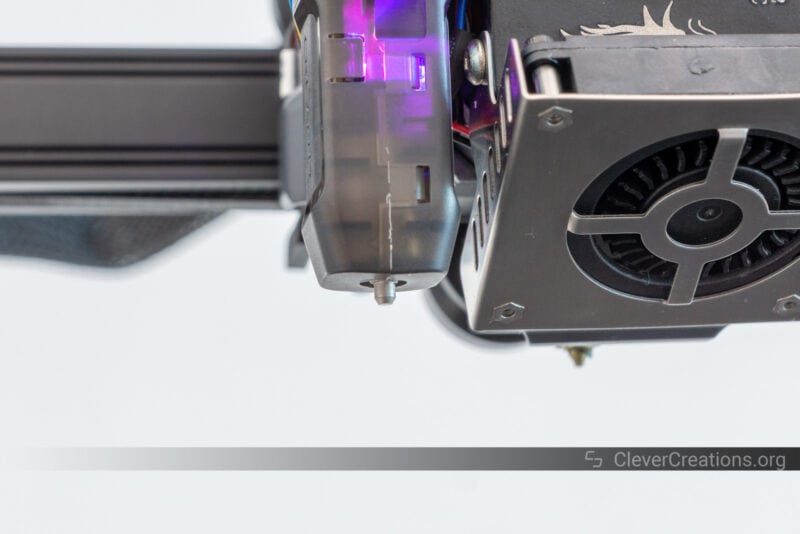
If there is a gap between the build plate and the nozzle after automatic leveling, you will need to adjust your Z offset as well.
To do this, slowly lower the nozzle height using your printer controls until it touches the print surface in its current position. Take note of this distance, as you will use it for your Z offset setting in the (Cura) slicer or G-code modification
For instance, if you lower the nozzle by 0.2 mm and it touches the bed surface, your Z offset value should be -0.2 mm. You can refine this value by lowering the nozzle in smaller increments until you get a more precise Z offset value.
Just like when manually leveling the bed, your 3D printer will likely have a guided method for setting the Z-offset before or after the automatic bed leveling process.
Conclusion: Should You Set the Z-Offset in Cura?
The Cura Z Offset functionality is a great tool that can help you achieve impeccable first layers in your 3D prints. Especially when you combine it with a perfectly leveled bed. The Z Offset lets you set a precise starting Z-axis starting point for your 3D models, optimizing filament adhesion and improving print quality.
Using the Z offset, you can also compensate for the “squish” of different materials and even start printing from a custom height. Best of all, Cura makes it extremely easy to adjust Z offset settings with its Z offset plugin from the plugin marketplace.
We believe this guide has helped you get a better grasp on the concept of Z offset in 3D printing. If you still have any unanswered questions or doubts on how to approach this, feel free to comment below.