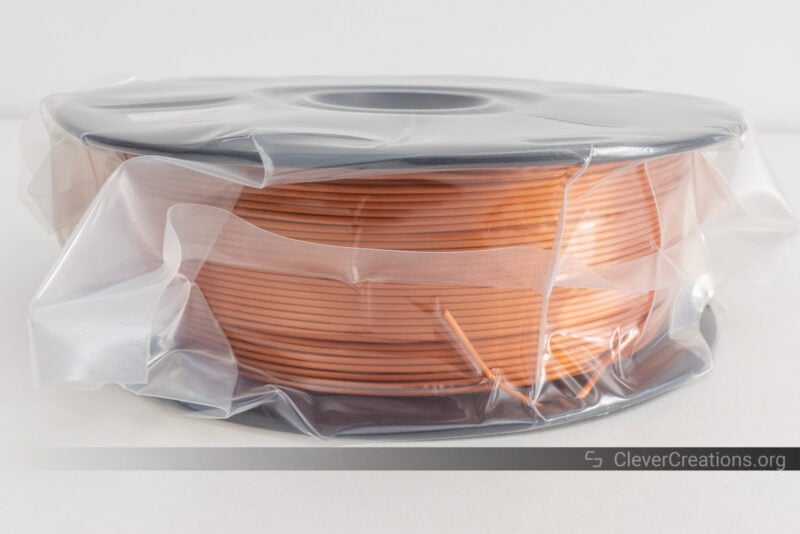
PLA is one of the easiest 3D printing materials to work with. It has a low printing temperature, practically no shrinkage, and little to no fumes while printing. However, even with its superior printability, many users have trouble with PLA not sticking to the bed at one point or another.
If your PLA prints have bad bed adhesion, keep reading! We’re going to cover the possible causes of your PLA not sticking to the bed and how to fix each potential issue. We’ll also go over a few basic products like bed adhesives that can offer extra help in making your PLA stick to the build plate.
What Causes PLA to Lift From the Print Bed?
There are many reasons for PLA to lift from the build plate. PLA shrinks very little, especially when compared to other 3D printing materials like ABS. However, it is not immune to bed adhesion problems. Factors like an unlevel bed, uneven extruding, and too much cooling can all contribute to your PLA prints not sticking to your print bed.
The wrong print settings can also contribute to issues with how well your PLA sticks to your print bed. For example, your first layer print speed and bed temperature settings have a big impact on build plate adhesion.
How to Get PLA to Stick to a Heated Bed
Set the Correct Z-Offset
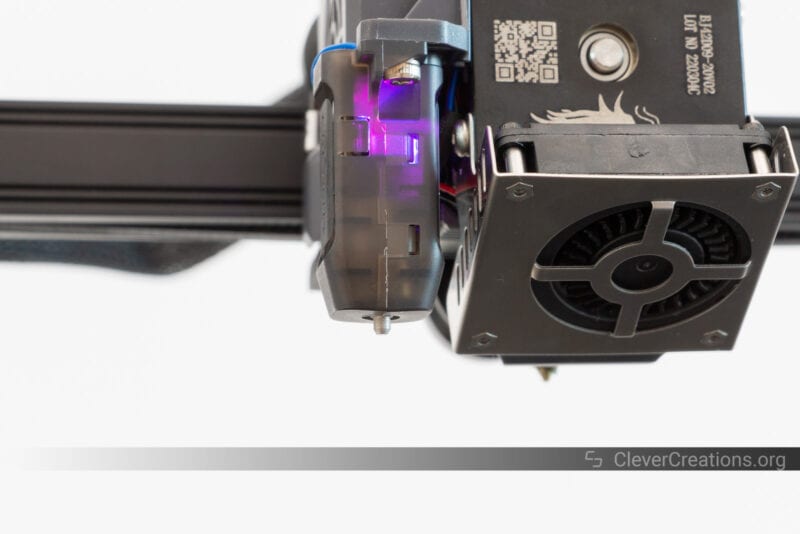
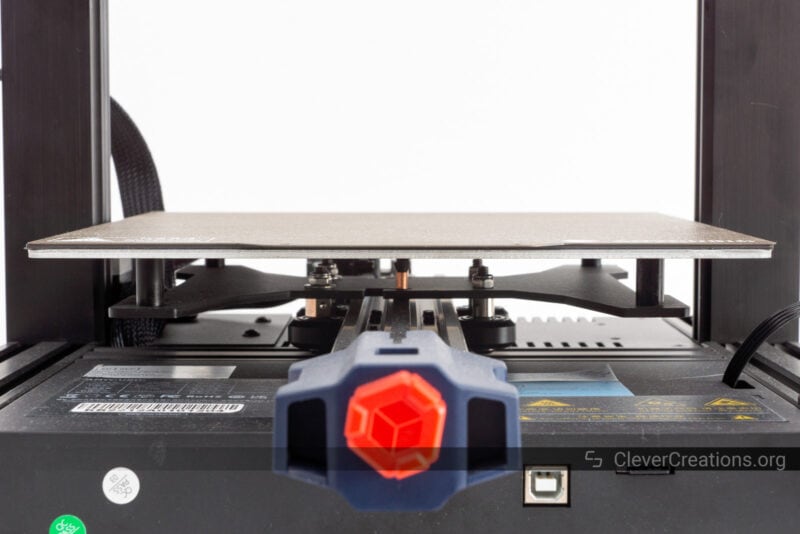
The Z-offset is the distance between the hot end and the print bed in the Z-home position. Changing the Z-offset will change the height of the nozzle after homing.
The higher the Z-offset, the further away the nozzle is from the bed. This can result in poor adhesion and a messy first layer. On the other hand, if your Z-offset is too low, it can cause the filament to be squished by the nozzle. This also leads to poor adhesion.
You usually don’t need to change your Z-offset value unless you make a change to your printer or it wasn’t set properly to begin with. For example, if you swap a PEI-coated print surface for a glass one, you’ll need to raise your Z-offset value to compensate for the added height.
If the first layer of your prints consistently looks like it didn’t firmly press onto the build surface, your nozzle is most likely set too far away from your build plate. Instead of trying to raise the bed to fix the gap, you can change your Z-offset to bring the nozzle closer to the bed.
The process for adjusting the Z-offset value varies from 3D printer to 3D printer. Most printers give you the capability to change it directly through the printer’s menus. If your 3D printer doesn’t have that function, you have to change the value over USB through Gcode.
Level Your Bed
One of the most common reasons for PLA not sticking to bed surfaces is an uneven print bed. When your bed isn’t properly level, the nozzle is close to some parts of your layers and farther away from others.
The parts of the print that have more distance between the nozzle and the build plate are more likely to have bed adhesion issues. This is because they weren’t able to get close enough to the bed during extrusion to stick properly.
Manual Leveling
Manual leveling is the basic type of bed leveling system that is usually found in budget 3D printers. The print bed is on springs that are tightened or loosened by knobs beneath them. This raises or lowers the print bed accordingly.
The easiest way to manually level the bed is to adjust the knobs until the space between the hot end and print bed is just high enough for a sheet of paper to slide between them with some resistance.
Automatic Leveling
Automatic leveling is usually a much easier and more precise bed leveling process than manual. The automatic leveling process typically uses a probe to gauge the distance to the print bed.
The 3D printer then maps the different heights of various points on the print bed and adjusts the nozzle height as needed during 3D printing.
This system usually comes as the factory default for most mid-to-high-end 3D printers. However, many 3D printers feature this type of bed leveling system nowadays. There’s no reason to not use it anymore.
Even if a 3D does not come with such a sensor by default, you can always upgrade with one later.
Regardless of the machine you use, with automated bed leveling, you don’t have to worry about manually adjusting knobs and spending time calibrating the bed. The printer will do it all for you on each print job.
The only exception is during the initial setup of the 3D printer. In that case, you’ll want to use the manual leveling system to ensure the bed is sufficiently level. Automated leveling can only adjust so much. If the bed is too far off, it won’t be able to compensate for it.
Clean the Build Plate
If your print surface is dirty, your print may have some issues with bed adhesion. Over time, dust, dirt, filament, and adhesives build up in a thin layer on the bed surface, which makes it difficult for the extruded layers to get a good grip on the build plate.
You can clean most substances off your build plate by wiping the bed down with a small amount of isopropyl alcohol. Certain types of bed adhesive products have their own cleaning instructions, so you should always check the product label or the manufacturer’s website first.
Clean/Unclog Your Nozzle
While a clogged nozzle probably isn’t the first possible cause that comes to mind when dealing with bed adhesion issues, a clogged or dirty nozzle can affect your layer adhesion and make it difficult for your initial layers to get a good grip on the print bed.
When the printhead is clogged, your filament will extrude unevenly. That means some areas of your print will have more material than others, leading to some areas having weak adhesion. When this happens on your first layer, your nozzle may not extrude enough material in some places to complete your layer.
Add a Bed Adhesive
An easy way to keep your PLA prints stuck to your bed surface is to use an adhesive. There are several types of glues and substances you can apply to your build plate to increase bed adhesion.
This is especially useful for glass print beds. PEI-coated and PC-coated bed materials usually don’t need any extra adhesion enhancers because they have a grippy texture that helps the filament hold on.
There are several substances you can use as a 3D printing adhesive. While some are made specifically for 3D printing, you can use some fairly common materials as well.
Magigoo Adhesive Pen
Made for use with 3D printing, Magigoo is designed to increase adhesion during the printing process and to release the prints cleanly when the print is done. It comes in a plastic tube with a felt nib that makes it easy to apply to your build plate in a thin layer.
It’s formulated to work with various 3D printing materials, so you can use it for anything from low-temperature PLA and PETG filament to higher-temperature materials such as ABS and ASA. It’s even suited for flexible filaments such as TPU, so as far as a universal solution goes, this is it.

3DLAC Spray Adhesive
Spray adhesives are another popular option for getting good bed adhesion. 3DLAC is an option formulated specifically for 3D printers. It’s designed to withstand high temperatures and stick to smooth surfaces like borosilicate glass or mirror. It is unscented and transparent, so it won’t discolor the bottom of your prints and won’t leave any lingering smells on your projects.

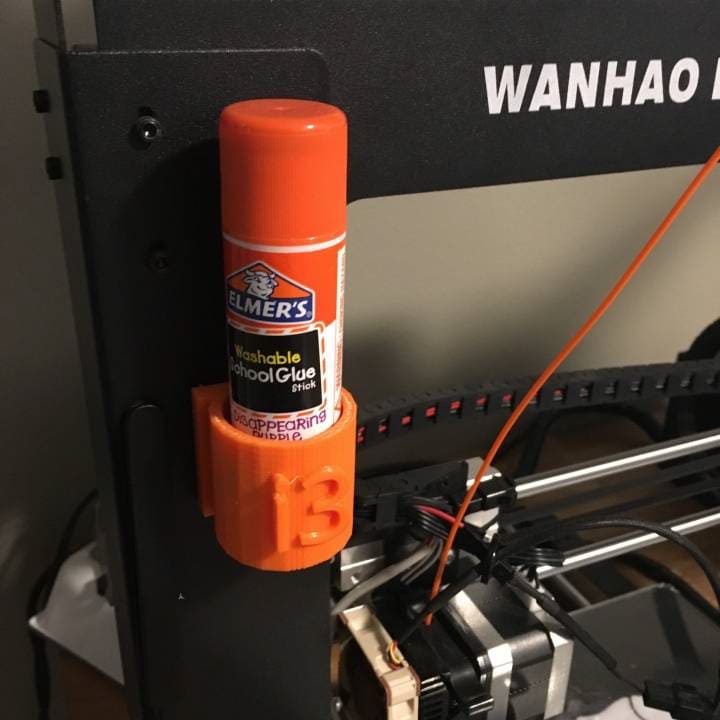
Elmer’s Disappearing Glue Stick
Basic but effective, a PVA glue stick like Elmer’s is another effective way to make PLA filament stick to the bed.
These are especially helpful if you need something right away and can’t wait for a special adhesive to be delivered. Glue sticks are fairly easy to come by locally and you might already have one lying around.
You only need a light coat of it on your print bed to achieve good results with it, so one glue stick should last for a long time.

Hairspray
Another cheap bed adhesive option that is easy to find is hairspray. This works on heated glass beds and is quite effective at helping prints stick to the bed.
However, while this works well in the short term, it is best to get a spray product dedicated to 3D printing for your long-term use.
There’s also the risk of flammable vapors lingering around, especially in an enclosed 3D printer, so hairspray should be used with caution.
Configure Your Print Settings
Reduce First Layer Speed
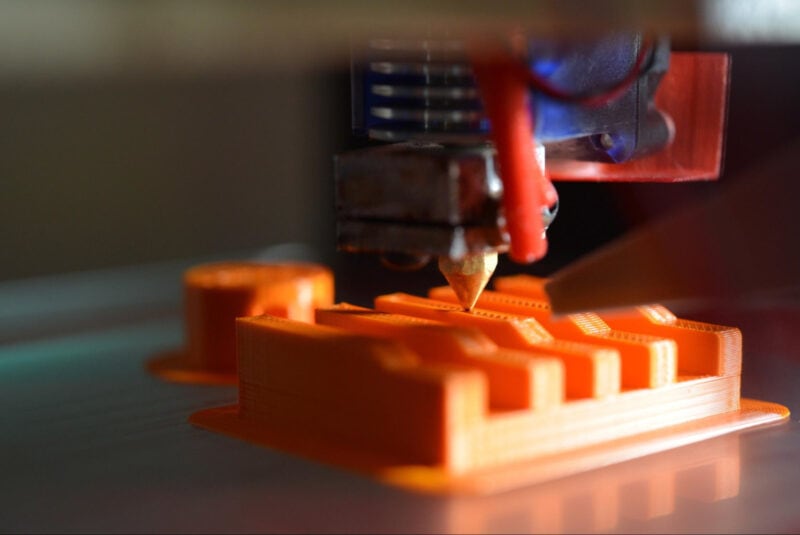
Slowing your first layer speed (or your first few layers) can help your PLA stick to the printing bed. The first layer is the foundation for your entire 3D print. You want it to be as perfect as possible since it is what the rest of the model is built on.
A slower first layer printing speed means that your filament has more time to extrude properly and bond with the print surface. This will help it stick better and give a stronger foundation for future layers.
Use the Right Nozzle Temperature
Aside from using the optimal PLA bed temperature of 60°C, also make sure you’re using the right printing temperature for your PLA filament. If you try to print your PLA too cold, it won’t melt sufficiently and you will see a reduced flow rate.
This can cause uneven extrusion, poor adhesion, and even nozzle clogs. Cold layers also don’t melt enough to fuse well with other layers and can easily delaminate from each other and from the build surface.
PLA filament is a low-temperature print material, so it usually works well in the 190-220°C range. However, this varies from brand to brand (and sometimes even from color to color!), so you should always check your manufacturer’s suggested range first.
Bumping up the nozzle temperature of the first layer can help PLA stick to the bed better. If you’ve already tried all of the other methods but are still having trouble with bed adhesion, see if increasing the first layer printing temperature helps.
Add a Raft or Brim
Rafts and brims are processes that add excess printing material to your print model to help it stick to the bed. You can add them to your print jobs in most slicer programs.
Rafts are horizontal mesh surfaces printed underneath your object to create a more level and stable surface for the print. Since your model isn’t printed directly on the build surface, it is less likely to have issues with curling or warping.
Brims are single-layer borders that attach to the first layer of your print and extend outward. They are meant to keep the edges of your print from curling off the print bed.
Rafts offer support for the entire print, while brims support and hold down the edges. Rafts are the preferred option for prints with small footprints.
Brims are better suited for large objects with flat bottoms. Rafts go underneath the print and use far more filament than brims, which only extend out from the sides of the model.
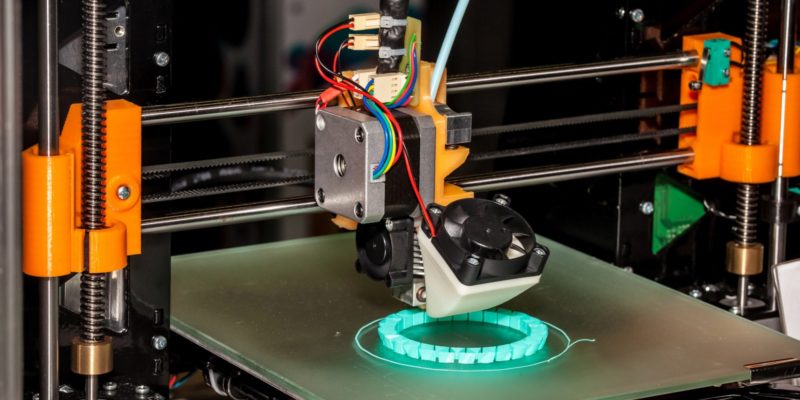
Optimize Cooling Fan Settings
PLA is a 3D printing material that requires a cooling fan. Other types of filament usually need their cooling settings to be turned off completely or set to a low level (20% or less) for the whole printing process to prevent shrinkage and warping.
Thanks to PLA’s low melting temperature, it tends to deform if it gets too hot. This can cause the edges of the prints to curl up if the cooling fan isn’t used during printing.
The ideal cooling process for printing PLA filament is to keep the fan at 0% for the first couple of layers to avoid warping and then set it somewhere between 60-100% for the rest of the print.
Try a Different Filament
If none of the above methods work, try using a different filament. The filament might have taken on moisture or been contaminated. It may also just be a low-quality product with added fillers that make it behave poorly. Or perhaps you are using one of the types of PLA filament that has more adhesion issues to begin with.
Make sure you use standard filament from one of the best PLA brands as a test. Also, make sure the filament is dry, since it absorbs moisture from the air. If you are dealing with brittle PLA from excess moisture absorbtion, you will have more trouble getting it to stick to the bed. The PLA shelf life is something to consider as well.
A new roll of filament that was in an air-tight container with desiccant is the best option since this is unlikely to have moisture, but you can also use a filament dry box before printing to be sure.
Replace the Bed
If you’ve tried all the other methods listed here and you are still having bed adhesion issues, try replacing your bed or bed surface.
Your bed may be warped, which means it will never be perfectly level. Sometimes your bed comes warped from the manufacturer, so don’t rule this out just because your printer is new. Likewise, a print surface can warp from being set to a high bed temperature for an extended time, so a bed that was previously flat can easily deform.
This explanation is especially likely if you have a plain aluminum heated bed. This is a common problem with them.
Some users have found success by attaching a flat piece of borosilicate glass on top of their warped heated bed to avoid replacing it. This works well because a glass pane is less likely to be uneven and because a glass print bed gives prints a nice smooth bottom layer.
Aside from borosilicate glass, there are print surfaces that can give you good bed adhesion. Special sheets like PEI or BuildTak can be applied to your build plate like a sticker. They have specially textured surfaces that can help your prints stick to the bed.
Even applying masking tape or blue painter’s tape to your print bed can give your first layer more surface to grip. You can layer it over your metal or glass bed and simply replace it when it wears out.
Final Thoughts: Can You Solve PLA Not Sticking to Bed?
The first layer is the most important part of any 3D print. It needs to have good adhesion to the print bed to have a successful print. There are several possible reasons for PLA not sticking to bed surfaces.
You may need to perform a bed leveling sequence, reduce your print speed, increase your nozzle temperature or bed temperature, use bed adhesives, add a raft or brim, or adjust your cooling settings.
If none of those work, then try a different filament or replace the bed surface with one that provides better adhesion.
By following these tips and troubleshooting the issue, you should be able to get your PLA prints sticking to the bed every time. Good luck and happy 3D printing.