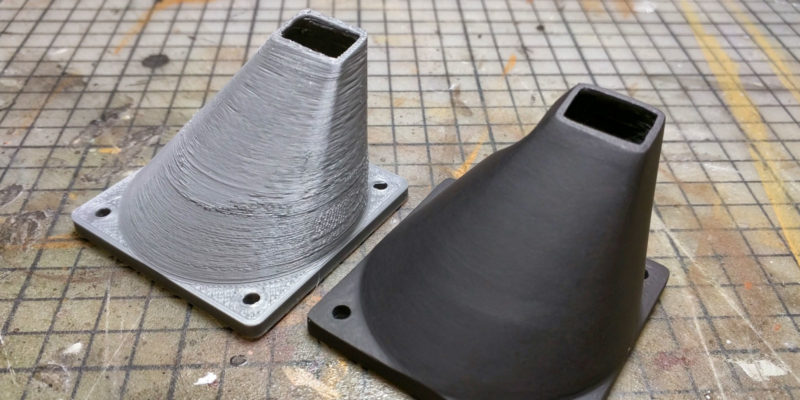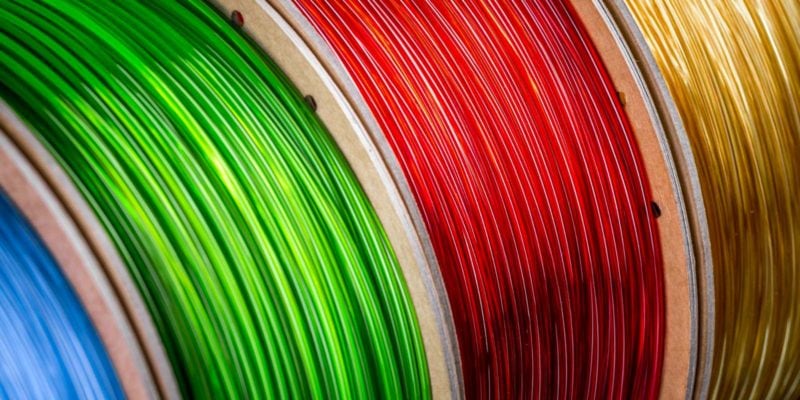


PLA, or Polylactic Acid, is a great material for 3D printing. The low price and high printability make it the material of choice for all newcomers to 3D printing.
Now picture this: One fine evening, you’re all set to 3D print your masterpiece. You have set the bed temperature for printing, leveled the build plate, and pressed the print button. But you notice that those stubborn print layers just won’t stick! Even the quality of the print is not what you had hoped for. It’s annoying, right?
When PLA prints turn out poorly, the problem is often the print temperature. It’s one of the most important parts of printing with PLA, and a 5-10°C change can often mean the difference between a good print and a great print.
In this post, we’ll talk about everything you need to know about PLA printing, from the required print temperature settings to other settings that can help you make the perfect PLA 3D prints.
Let’s jump in and get ready to PLA(y) like the pros!
Why Do You Need a Heated Print Bed?

First, let’s talk about how important the heated bed temperature is when you want to 3D print PLA filament or any other type of material. We’ll use the printing of the first layer to better understand this idea.
When the 3D printer extruder pushes out hot filament, the thin strand of plastic falls onto the bed surface. With a heated bed, the temperature difference between the hot filament and the build plate is relatively small.
As a result, the freshly extruded PLA plastic stays soft for a bit longer and sticks better to the heated bed. And as layers pile up, the print bed’s heat reduces the temperature differential between the new layers and the cooled plastic.
Without a heated bed, this temperature differential can become too big, causing stresses to build up inside the model. This leads to further issues like prints peeling off the build plate (warping), weak first layer adhesion, and ultimately layer delamination.
These issues are not as common with PLA filament as with other materials, like ABS and Nylon. Those tend to be more sensitive to variations in printing temperature and even ambient temperature.
The general opinion is that you don’t need a hot print bed for PLA. But that does not apply to all situations. Without a heated bed, models with a big, flat surface are more likely to warp at some point.
Bed adhesives like glue sticks, Magigoo, and Bed Weld also tend to perform better at higher temperatures.
And with the many types of PLA out there nowadays, you will encounter PLA filaments that you can’t print on a room-temperature bed surface altogether.
Long story short, a heated bed nearly always gives better results than one at a low temperature. This is why you won’t find many 3D printers without a heated bed, and we recommend you always get a printer that has one.
What PLA Bed Temperature Do You Need?

As an inexperienced 3D printing beginner, you might accidentally set the PLA bed temperature to one of two extremes. Either the surface of the heated bed will be set too cold for the filament, or it will be too hot. We need to prevent both of these outcomes by settling on a temperature that strikes a happy middle ground.
With a print bed at a too-low temperature, the extruded material cools down too quickly. This causes warping, poor first-layer adhesion, and in some cases layer separation in your 3D prints.
The exact ‘too cold’ bed temperature varies on the specific PLA type and brand that you use. For some filaments, it is 40 degrees Celsius, whereas for others it is room temperature.
In contrast, if the build plate is too hot, problems like Elephant’s foot will occur. This happens when the initial few layers stay heated above the filament’s glass transition temperature.
Still soft, the first layers get compressed by the additional layers above them. This affects both your 3D prints’ dimensional accuracy and visual appeal.
The best PLA bed temperature is between 50°C and 60°C. The extruded PLA is just hot enough between these temperatures to prevent warping but not too hot that it causes Elephant’s foot in your prints. This is also the temperature range that you will see recommended most often by PLA filament manufacturers.
Bed Factors for PLA Filament Success
The heated bed temperature is not the only setting that is important when printing PLA filament. While it is important for first-layer adhesion, there are other factors you’ll need to consider. Let’s look at them in detail.
Bed Leveling

Bed leveling ensures that the space between the nozzle and the print bed is the same over the entire print area. This distance needs to be just right so that the material can come out of the nozzle and stick to the print bed.
If the nozzle is too close to the print bed, you’ll have problems with under-extrusion and the extruder skipping steps. In some situations, the PLA parts can stick to the print bed too well, making it hard to take them off when the printing is done.
On the other hand, if the nozzle is too far from the print bed, you’ll still have poor first-layer adhesion. This happens regardless of the bed temperature you set.
This is easy to identify by the PLA not sticking to the bed. You might also see the edges curling or even rising up. The bigger the nozzle height discrepancy, the more likely your print is to fail in the end.
We need to avoid both of these problems by leveling the bed so that the first layer is just a little bit flattened. A print bed that is exactly level helps you get good print binding and a smooth first layer. It also makes sure that your prints are the right size.
There are plenty of 3D printers with automatic bed leveling available that address most leveling these issues. But even those might need initial manual bed leveling before you can use them. You can read our guide on 3D printer bed leveling for more information on how to do this.
Print Surface

A good print surface helps you get a better first-layer quality and reduce the number of failed prints. PEI-coated print surfaces, PC-coated surfaces, and glass beds are the three options most used by 3D printer manufacturers at the moment.
When printing PLA, you can get great first-layer quality with glass surfaces. It creates a smooth surface on the underside of your 3D prints, and if the glass is clean, you won’t even need to use a bed adhesive.
The problem is that the PLA parts can stick a little too well to the print bed if you aren’t careful with the bed leveling or use too much adhesive.
In such cases, flexible print surfaces provide the optimum blend of quality and convenience of usage. PEI print beds are the best option. They heat up quickly and you can remove parts after 3D printing with a quick bend of the print sheet.
Most of the time, you don’t need an adhesive with PEI bed surfaces because PLA parts stick well enough on their own. But you can improve first-layer adhesion with hairspray or a glue stick. This does tend to get messy over time because it is difficult to remove adhesives from the surface’s coarse finish.
Enclosure

A heated print bed and enclosure go hand and hand to give you better printing results. The heat comes from the print bed, and the enclosure helps keep the heat in the print area.
PLA isn’t as sensitive to changes in temperature as ABS, Nylon, and other high-temperature 3D printing materials. But you can still have trouble with big PLA parts warping and layers not sticking together well.
With an enclosure, the print area heats up passively because of the heat of the bed and hot end. Usually, the temperature around the printer increases to somewhere between 30 and 40°C.
This keeps the temperature difference between the print and the ambient temperature relatively small. In turn, this lowers the chances of the issues mentioned above and increases your 3D printing success rate.
What Nozzle Temperature Is Best for PLA Filament?

The nozzle temperature controls how easily the PLA filament comes out of the hot end. A higher printing temperature smoothens the filament flow and lets you print faster.
But if the nozzle temperature is too high, the PLA filament that comes out of the nozzle is just too runny to stay in place. It’ll ooze out of the nozzle during the travel moves and take longer to cool and harden.
This will cause problems like strings, blobs, bridges that sag, and elephant’s foot in your prints. Furthermore, because this hot PLA won’t cool rapidly enough, you’ll lose out on the tiny details of the model.
On the other hand, if you set the extruder temperature too low, the PLA filament won’t melt and flow properly. If the rate of PLA melting is different from the rate of extrusion, back pressure will build up in the hot end.
When the back pressure is high enough, the extruder gear will start to skip, and the prints will be under-extruded. The parts will look like spider webs, and you will only get failed prints.
Because of this, it is very important to get the nozzle temperature right. The range for PLA print temperature can be anywhere from 180°C to 240°C. Not only does it depend on the recommended printing temperature set by the filament manufacturer, but you have to factor in print speeds and the type of PLA.
For most PLA filaments, however, the best printing temperature is between 200 and 210 °C. We recommend you use a temperature tower to help dial in the perfect print temperature settings for your setup.
Nozzle Factors for PLA Filament Success
As with the heated bed, there are a number of things that affect how the nozzle interacts with your PLA material. For example, the nozzle affects how the PLA melts and the quality of the layer lines that are put down. Let’s look at these factors in more detail.
Nozzle Material

Most 3D printers’ hot ends have nozzles made of brass. Brass nozzles are cheap, easy to find, and very good at transferring heat.
You can also find nozzles made of stainless steel and hardened steel. These materials wear less than brass, making them great for 3D printing abrasive filaments. But steel nozzles are less good at transferring heat and cost more to fabricate than brass ones.
When printing standard PLA filament, brass nozzles are good enough. Most PLA is not abrasive, so a brass nozzle is perfectly fine.
It’s a whole different story if you’re 3D printing PLA plastic that has been mixed with additives. For example, glow-in-the-dark PLA filament, carbon fiber PLA, and wood PLA are all abrasive materials that will quickly wear out a brass nozzle.
In this case, you should use a nozzle made of stainless steel or a different hardened material. It lasts much longer and will give better results when you 3D print PLA mixed with abrasive additives.
Nozzle Age (Wear and Tear)

The material and age of a nozzle go hand in hand. As you read above, brass is a soft material, so the brass nozzle that is included with your 3D printer will wear out relatively quickly. Even with regular PLA material, there’s only so much life you get out of it.
It’s not a problem right away, but too much wear on the nozzle will lower both the structural and visual quality of your prints.
When a nozzle degrades too much, its opening is much bigger than it should be. It can also become oddly shaped. The more non-circular the opening becomes, the worse the layers will look coming out of the nozzle.
A worn-out nozzle can be hard to catch and is an under-diagnosed problem when troubleshooting 3D printers. Unless you know exactly what to look for, it is hard to catch.
It’s most easily identified when looking at the nozzle directly under a microscope. If you don’t have one, you can also look at your 3D-printed models themselves. If you have unexplained under-extrusion, over-extrusion, blobs, and odd spots, it’s a good chance that your nozzle is worn out.
You can’t (easily) restore a worn-out nozzle, so it’s best to replace the entire nozzle. Afterward, you’ll likely notice a big increase in the quality of your PLA 3D prints, with layers coming out more evenly.
Nozzle Size
Typical nozzles for 3D printers range in size from 0.2 to 1.0 mm. Most 3D printers have a 0.4 mm nozzle size by default. This diameter gives your 3D printers a great mix between speed and print quality.
Smaller nozzle sizes—0.3 mm and below—are typically used when 3D printing PLA in a high level of detail. These sizes are ideal for printing highly detailed models as you can print at lower layer heights and reproduce finer details of your 3D models.
The catch is that the printing takes a lot longer, but you also need to keep in mind that smaller nozzles tend to get clogged more often. Even a tiny piece of dirt or any other impurity in your PLA plastic might block the hole in the nozzle.
This leads to under-extrusion, which hurts the quality of your prints. A bigger nozzle size, on the other hand, will result in prints with thicker layers. This cuts down on the total time it takes to print and makes your 3D printer more productive overall.
A bigger nozzle is great for 3D printing huge models where detail isn’t as important. But on detailed models, you’ll end up losing all the fine features of your print.
So, if you want the best quality from your PLA filament, choose a nozzle size that fits the needs of your printing. For fast printing on big models, the nozzle needs to be bigger. For high-quality 3D printing on small models, the nozzle needs to be smaller.
Additional Print Settings for PLA
We’ve already talked about how to set the PLA print temperature to get the best print quality. You won’t be surprised to learn that there are other print settings that are almost as important.
This part will go over some of the settings that you need to fine-tune for your roll of PLA material. These will help you refine the quality of your prints and get better results every time you hit the print button.
Print Speed

The printing speed of PLA is an important factor that has a big effect on how your print will turn out. While a faster printing speed saves time, it has a negative impact on surface quality and print strength. Slower printing speeds, on the other hand, produce better print quality.
On most 3D printers, like the Ender 3 or the Anycubic Kobra, 60–80 mm/s is a good printing speed for PLA. With newer 3D printers, like the Creality K1 and Prusa MK4, you can print at speeds of up to 300–500 mm/s.
If you’re using a low- or mid-level 3D printer, we advise you to create your PLA parts with a printing speed of 60–80 mm/s at the most. This speed range gives you a good mix of how fast your prints go and how long they take.
Retraction Settings

The retraction settings control the behavior of the extruder when the 3D printer makes a travel move. By quickly retracting the PLA filament back into the hot end when not extruding, the machine limits strings and blobs in your prints and helps the quality of your parts.
The retraction settings depend on the extruder system of your 3D printer. For a direct extruder, a typical retraction distance for PLA ranges around 0.5-2 mm. This number can be as high as 4–6 mm for a Bowden extruder.
As for the retraction speed setting, it varies greatly between printers. The sweet spot for your particular setup could be anywhere between 20-80 mm/s. Following the manufacturer’s recommendations is a good idea in this situation.
Whenever you use an unfamiliar PLA material, it is a good idea to do a retraction test. It helps you set precise retraction values for your PLA. We have linked a few test prints further down that should help.
Part Cooling
Part cooling is an often-overlooked but important step in the printing process. The part cooling fan controls how fast the new layer cools down.
When 3D printing PLA, you should always turn the part cooling fan off for the first few layers. This helps the first layers stick to the print bed and gives the rest of the print a strong foundation to build on.
For the rest of the layers, keep the cooling fan at 100%. It will help the PLA parts cool down quickly, improves overhangs and bridges, and you’ll get a better surface finish on your 3D prints.
Bed Adhesion

PLA is a forgiving material when it comes to bed adhesion. Most PLA parts can be printed without any bed adhesive and they will turn out just fine.
There are exceptions, however. For example, parts with a small surface area on the first layer, a large flat first layer, or big prints in general. These need some kind of bed adhesive to make sure that the first layer doesn’t easily come off. When this happens, the print typically fails and you’ll have to start over.
One of the best ways to make your prints stick better is to use the brim setting. It stretches the edge of your first layer and increases the chances of a good print. If you end up with the edge of the print curling, it will be on the brim itself. Since you can cut the brim off after 3D printing, this is not that big of a deal.
Rafts are also great if you have a lot of trouble with your prints warping. These take more material and time to remove afterward, but they help your model stay firmly attached to the heated bed.
Different PLA Filament Types, Different Temperatures?

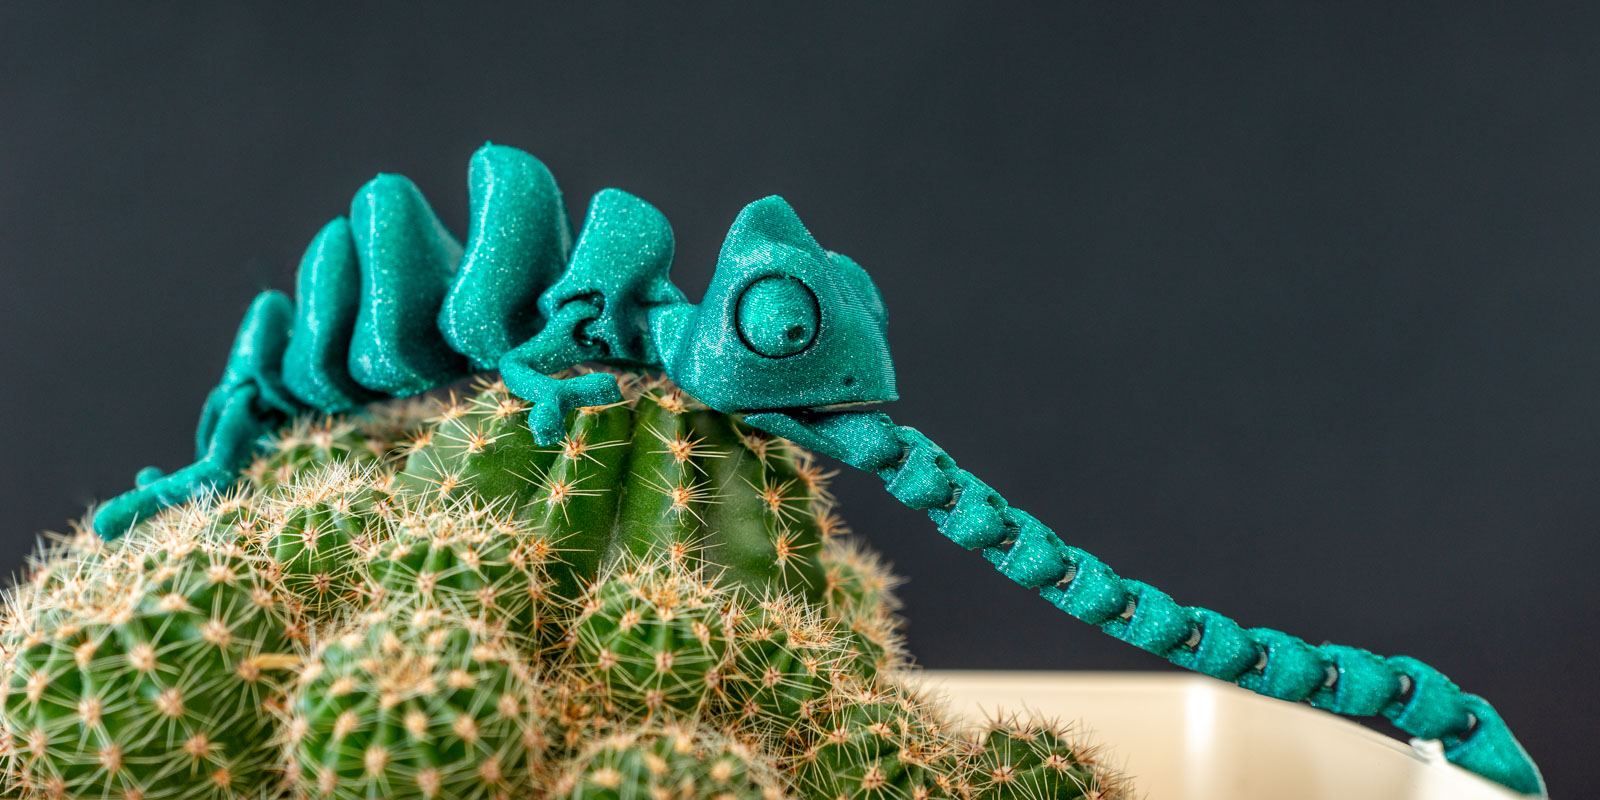
PLA is a popular 3D printing filament, and you might have come across multiple kinds of PLA already. PLA+/Tough PLA/, Glow-in-the-dark PLA, Silk PLA, Glitter, Lightweight, Wood-filled, and Metal-filled are all varieties of this versatile material.
PLA is the base plastic of all of these filaments. But they all make their own distinct blend of PLA filament by mixing various additives into the plastic.
Take wood PLA as an example. It is a mixture of PLA and fibers from different kinds of wood, such as willow, bamboo, or cork. These additives improve both the look and the strength of the standard PLA filament and give it wood-like properties.
In the same way, PLA+ has some additives that make PLA stronger and less likely to break. Or that gives additional temperature resistance, it depends on the specific blend you are dealing with. Not all PLA+ is the same.
Silk PLA, on the other hand, has additives that give it a smooth, silky glow. If you want your 3D prints to reflect light nicely, this is the material to go for.
When a manufacturer mixes PLA plastic with an additive, it changes the physical characteristics of the resulting material. Because of this, you can expect to print different types of PLA with different print settings.
Some blends need a different nozzle temperature, whereas others work better with a slower printing speed.
For example, the printing temperature of silk PLA is slightly higher than regular PLA (210-230°C) to avoid clogging and under-extrusion problems.
Even a different batch of the same PLA filament can have a different print temperature. You might be printing PLA at 210°C with one roll, whereas 205 or 215°C works better for the next one.
A lot of it depends on how well the manufacturer checks the quality. Low-cost PLA plastic usually has a lot of variety, as well as poor quality control. You can expect to have to dial in print settings for each specific spool if you want the best results.
The best PLA filament brands, like Hatchbox, PolyMaker, and Formfutura, are known for their stability and print quality. With their PLA filaments, you can keep the same print settings no matter which batch of their filament you are 3D printing with.
The lesson here is that different kinds of PLA filaments have different printing temperatures. Usually, manufacturers write the recommended printing temperature ranges on the filament spool itself. The best way to get the exact number is to print some test models and inspect them.
Recommended Test Prints for Dialing in PLA Settings
We’ve looked at the recommended temperature settings, retraction distances, printing speed, and rest. But how do you get the specific settings for your roll of PLA material to be just right?
The answer is test prints. There are many 3D models made by avid 3D printer users that you can use to get your print settings just right. You can use them to quickly and easily check the quality of your PLA roll and dial in the print settings.
Here are some of the best test prints you can use to get the PLA settings just right. Most come with instructions on how to use them.
- Temperature Tower by gaaZolee
- Retraction Test by deltapenguin
- Bridge Torture Test by triffid_hunter
- Bed leveling test by IOX_Creative
- Cooling fan torture test by TeachingTech
- Filament swatch by makkuro
- All-in-one 3D printer test by majda107
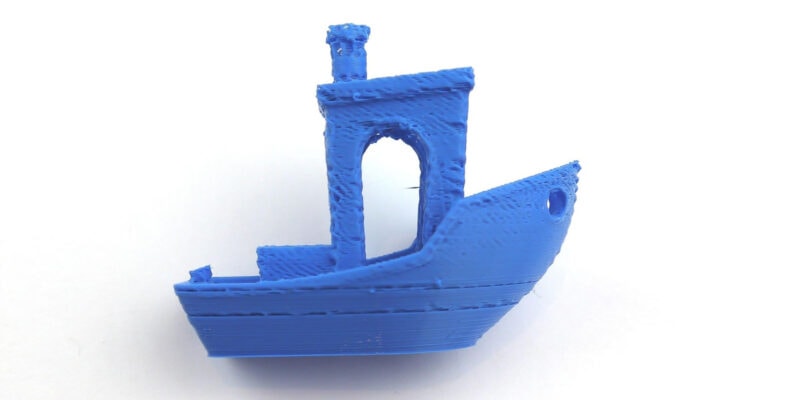
- 3D Benchy by CreativeTools
- Cali Cat by Dezign
Final Words on PLA Bed Temperature & Other Settings
When printing PLA plastic, you are unlikely to run into many issues. Its low glass transition temperature and low printing temperature mean that you don’t need a 3D printer capable of printing at high temperatures.
The recommended bed temperature of 50-60°C and nozzle temperature of 200-210°C are enough for most types of PLA to print reliably at.
All other parameters, such as print speeds, retraction distance, bed adhesion, and part cooling, are all dependent on the temperature settings. Take care of the PLA print temperature first, and the rest of these settings will fall into place.
If you want to improve bed adhesion with PLA, you can use a glue stick or other bed adhesive to get better results. With most coated print surfaces, this isn’t necessary, however.
Using test prints and the manufacturer’s instructions is the best option to find the right print settings for any spool of PLA filament. If you follow all of the steps in this piece, you can be sure that the PLA parts you make will be of the highest quality.
Share your newfound knowledge with the community, inspire others, and continue pushing the boundaries of what’s possible with PLA. Happy printing!