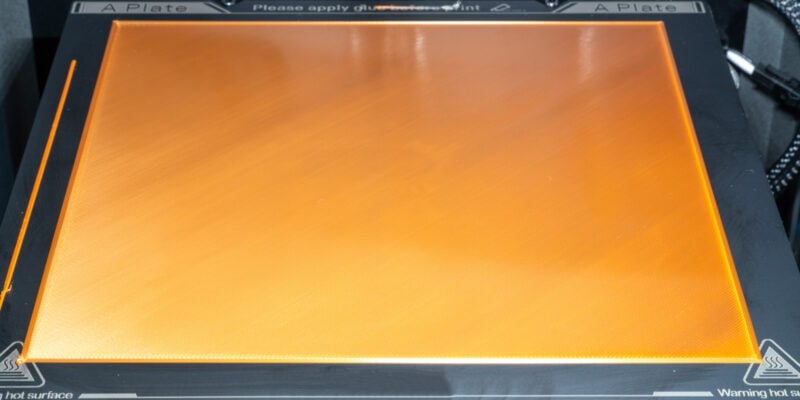

The first layer of an ABS 3D print is arguably the most important layer, as every subsequent layer depends on its success. And if you are dealing with ABS warping on the first layer, you open yourself up to a host of issues.
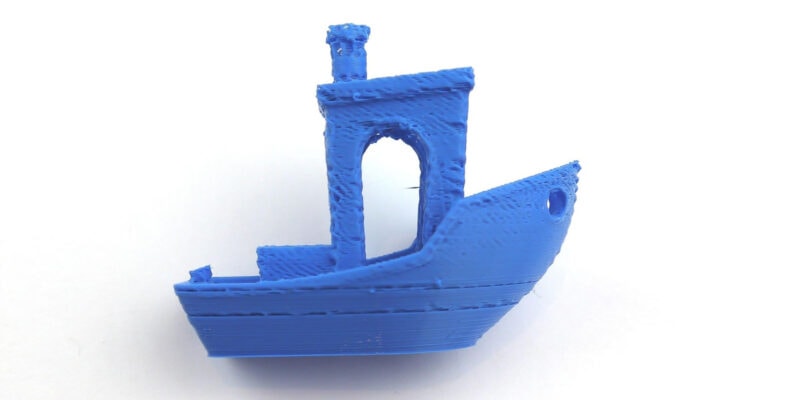
Warping, also known as curling, is a print quality issue that causes the first few layers to deform. And it’s especially common when printing ABS filament due to the material’s cooling properties.
If you’re lucky, it will only result in uneven and dimensionally inaccurate first layers. But, in more severe cases, warping ABS can cause the entire print to fail.
While you can’t really fix a warped or curled 3D print, you can avoid it in the future. In this article, we’ll explore the causes of ABS warping, as well as give you a handful of different ways to stop this issue and maximize the quality of your 3D prints.
What is ABS Warping or Curling?
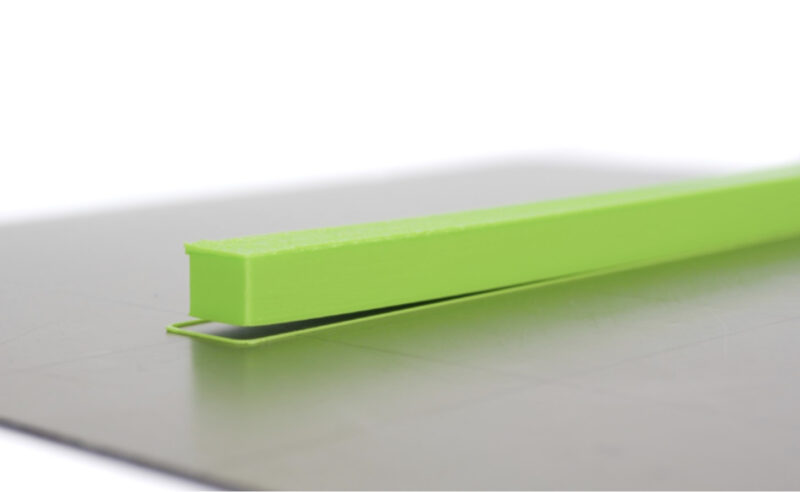
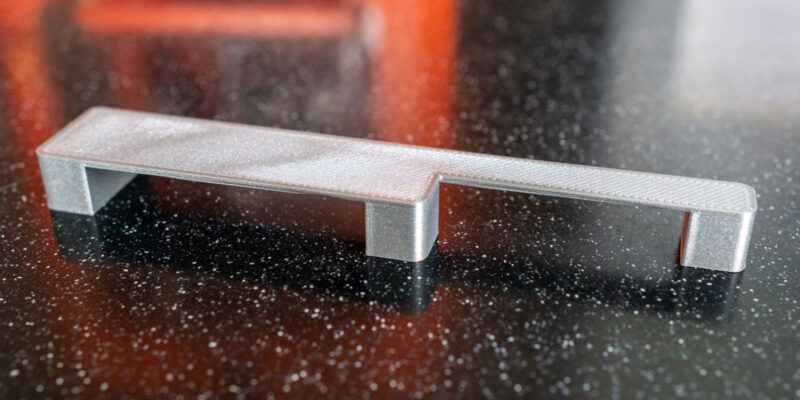
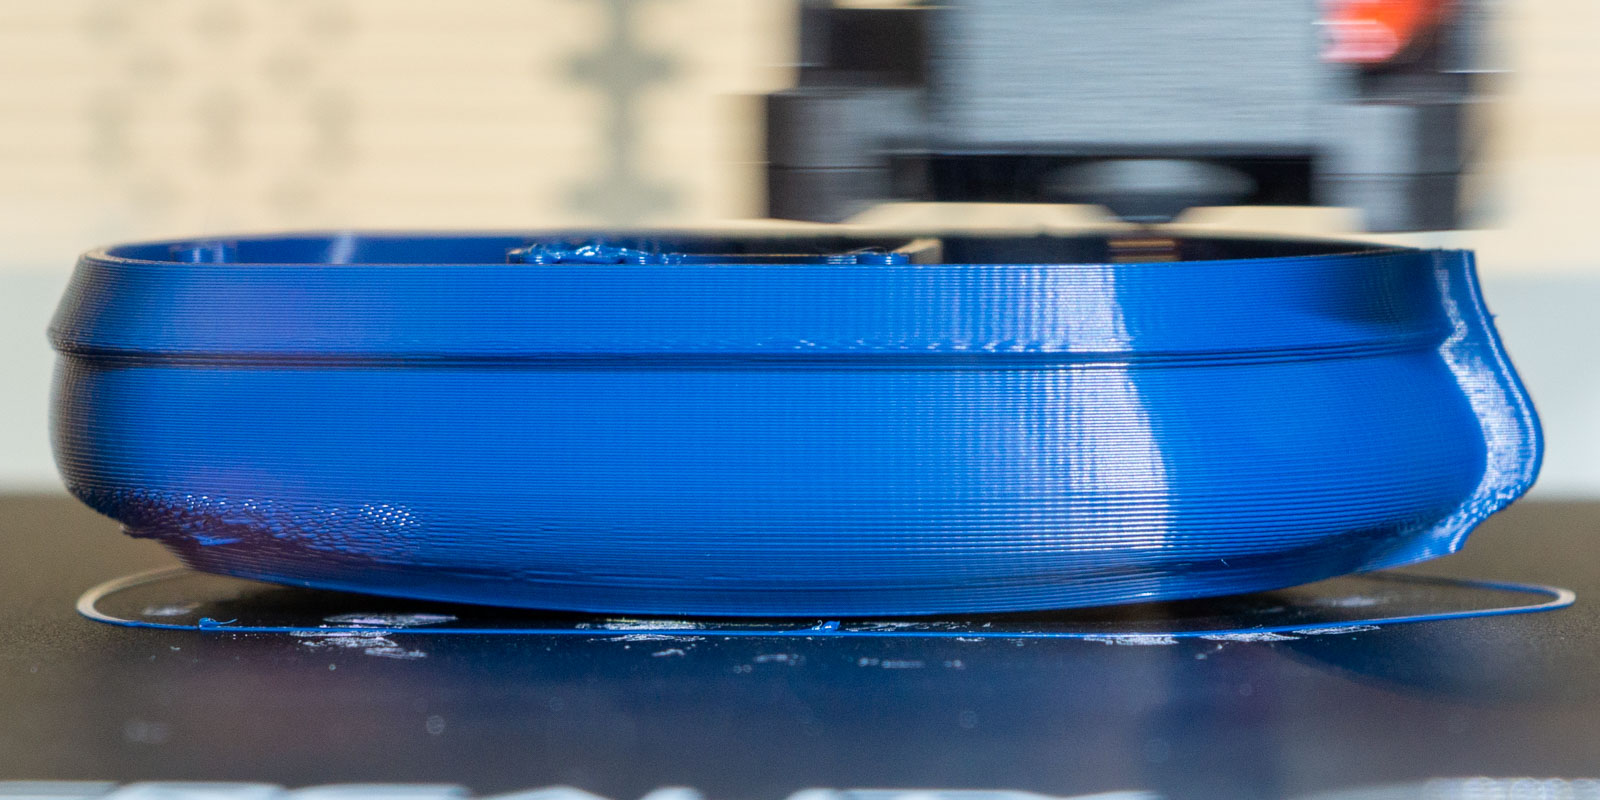
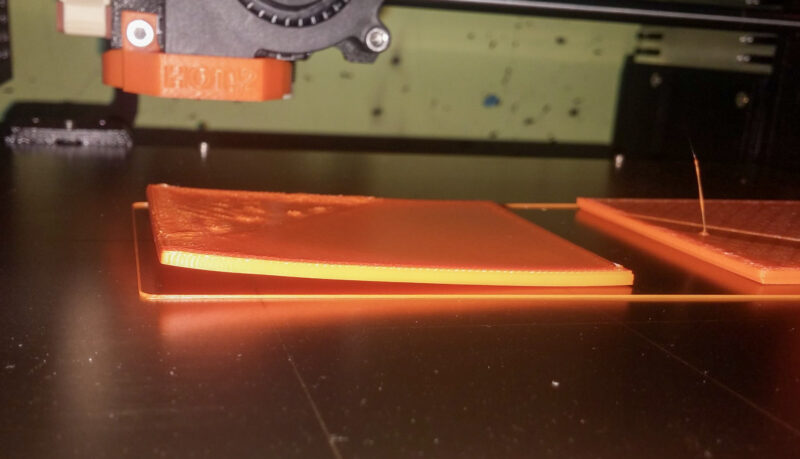
ABS warping, also known as curling, refers to when the corners or edges of the first layers of an ABS 3D print lift off the print surface. When this happens, the shape and dimensions of the model are permanently deformed.
As a result, you might not be able to use the 3D print as you intended. It might not fit with other parts anymore, or just look so unappealing that you can’t sell or gift it anymore.
Warping can happen when printing any filament material. However, ABS is one of the most vulnerable materials to this problem. This is mainly because of its high printing temperature and material properties.
Additionally, it’s worth noting that the severity of ABS curling can vary significantly based on factors like filament composition, build plate temperature, and more.
That’s good news! It means that you can avoid warping with our suggestions below. But if that does not work, you can also try switching to one of the best ABS filament brands or using one of the many ABS filament alternatives. ASA filament comes to mind here.
What Causes ABS Warping?
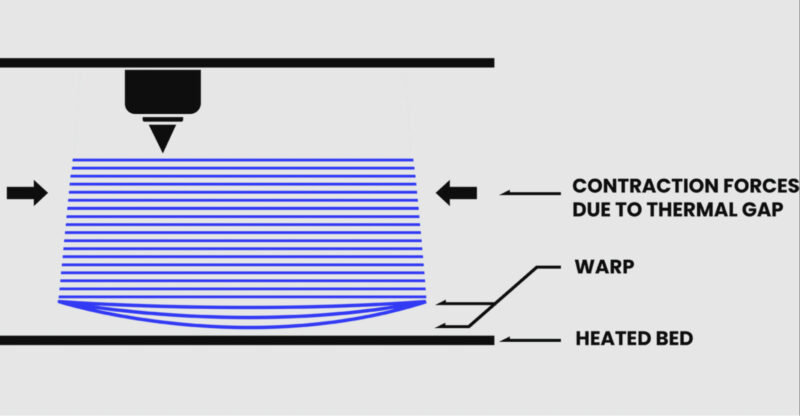
ABS warping occurs due to differences in temperature across different sections of a 3D print. It’s important to keep in mind here that when melted ABS plastic cools, it contracts and shrinks.
The main problem is that the corners and edges of your model shrink significantly more than the center of your model. This is because these outer sections are exposed to cooler ambient air.
The difference in shrinkage between the outer and inner regions of an ABS 3D print creates tension. This tension results in the bottom corners and edges of the model lifting up and creating the visible warping effect you are probably familiar with.
This process can occur when printing any filament material. However, as studies have pointed out, ABS plastic has a relatively high coefficient of thermal expansion compared to other materials, like PLA or PETG.
There are several other notable differences between ABS and PLA, as well as between ABS and PETG. But its warping and the question of whether ABS is toxic are the main things that keep 3D printing enthusiasts away from ABS.
Regardless, shrinkage will be higher with ABS prints, resulting in more severe cases of warping.
It’s also worth mentioning that ABS filament warping can occur due to other factors unrelated to cooling. These can include wet filament, an unlevel bed, too fast of a print speed on the first layer, and more. To explore these, let’s look at the next section.
How Do I Stop ABS 3D Prints From Curling?
The main way to stop ABS 3D prints from warping is by cooling the plastic slowly after it leaves the nozzle. Additionally, there are a few other fixes that might work, depending on the root cause of your case of warping ABS.
Increasing Bed Temperature
Because the main victim of warping is the first layer, increasing the heated bed temperature can go a long way to prevent this issue. If the bed is hot, the heat will transfer to the first bottom layers of the 3D print, keeping them warm better until the printing process is complete.
Additionally, a higher bed temperature can help with first-layer adhesion. Even though it’s important to use the correct ABS print settings in the first place.
Increasing the heated bed temperature won’t necessarily stop the tension that causes warping, but it will essentially hold down the first few layers of the print to the print bed so the corners and edges don’t lift.
We suggest starting by increasing the build plate temperature in increments of 5 °C in your 3D slicer, starting at 90°C. Typically, a 100°C bed temperature works well. Don’t increase the temperature of the heated bed past 110 °C, as this is too hot for most ABS filaments.
Enclosing Your 3D Printer
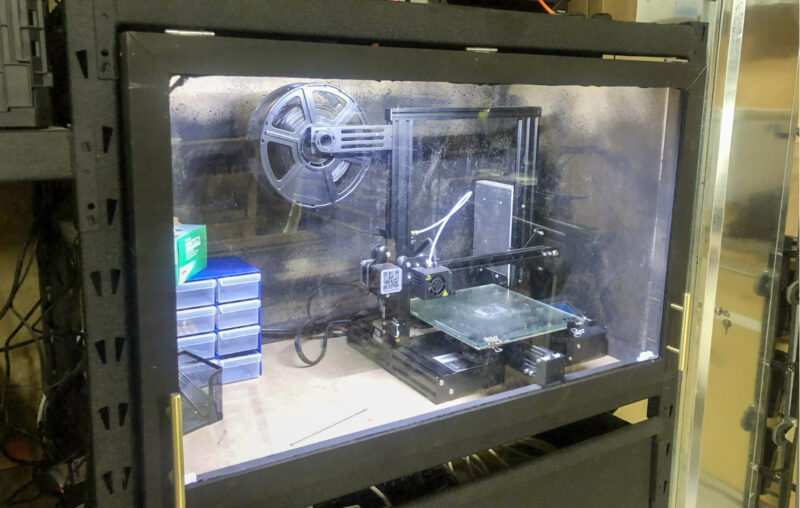
If you’re not already doing so, we highly recommend keeping your 3D printer inside an enclosure when printing ABS filament. An enclosure increases the ambient temperature in the print area and prevents cold air drafts from interfering with the printing process.
There are many enclosure options you can choose from, from DIY printer enclosures to off-the-shelf 3D printers with enclosures.
Regardless of the enclosure you choose, make sure it is (mostly) sealed so it can properly insulate the print space. We’ve found in our 3D printer testing that partly enclosed 3D printers don’t improve print quality as fully enclosed ones. That also means keeping the doors closed if the enclosure has any.
Using a Brim or Raft
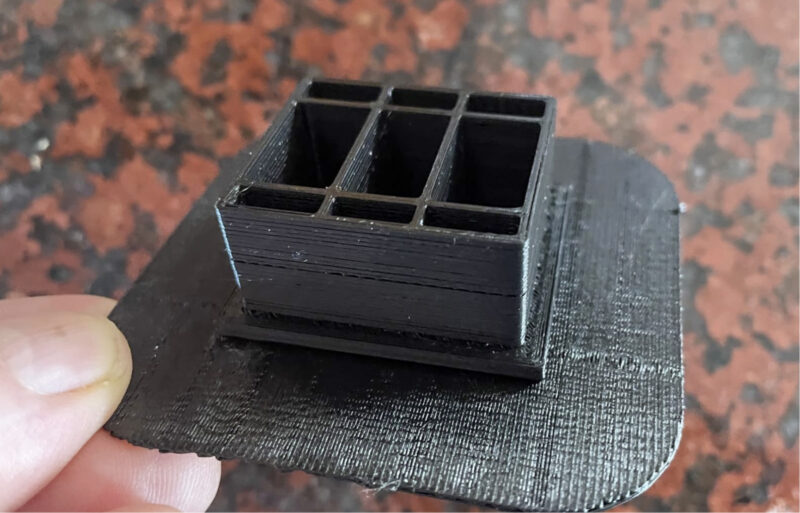
Rafts and brims are two slicer-generated features that attach to the first layer of your 3D print and expand the bottom surface area of the model. By expanding the area of the first layer, they help keep 3D prints attached to the print bed, preventing warping.
A raft is the more intensive of the two adhesive aids. It’s a rectangular structure, slightly wider than your model and a few layers in height. It gets printed first, creating a stable and warp-free surface under your 3D print.
When comparing rafts and brims, rafts are more effective in terms of bed adhesion. However, their good adhesion comes at the cost of more filament and time required for your 3D prints.
On the other hand, a brim is only one layer tall. Rather than going underneath your model, it attaches to the sides of the first layer to expand the surface area. Brims don’t prevent warping as well as rafts but add a lot less to the print time and filament consumption.
Brims and rafts are available in most 3D slicers, like Cura, PrusaSlicer, and IdeaMaker. You can easily activate them by searching for the setting and clicking its corresponding checkbox. We suggest starting with a brim and changing to a raft if you still have ABS warping issues.
Reducing Fan Speed
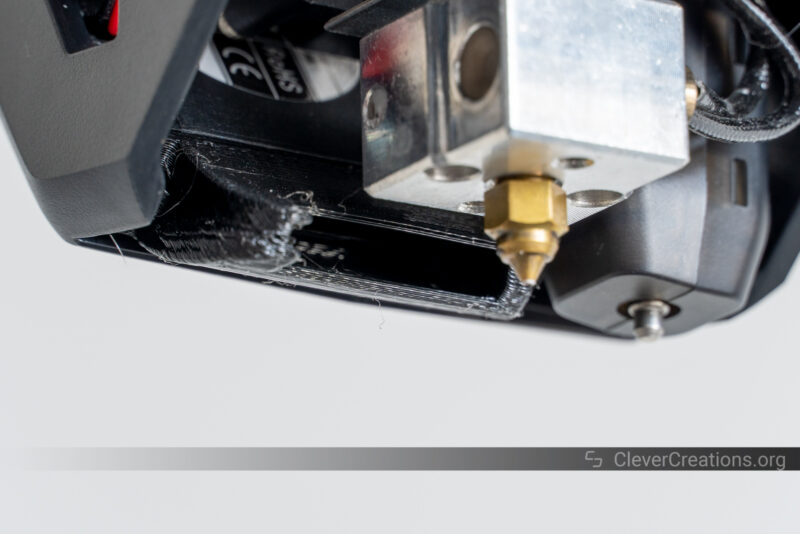
Another solution to ABS warping is to reduce the speed of the part-cooling fan on your 3D printer. For reference, the part-cooling fan is the one on your machine’s printhead that’s pointed toward the nozzle and is responsible for cooling melted plastic as it exits the nozzle.
The faster the fan spins, the faster the freshly extruded plastic cools. Great if you are working with PLA or PETG, but not if you are dealing with higher-temperature filaments that have a tendency to warp.
You can control the fan speed in your 3D slicer software, and it can help to turn the fan completely off when printing with ABS material.
However, if you suspect this is causing other printing issues (e.g. a hot-end jam), then consider setting the fan speed to 20-30%. This often provides enough air to prevent these issues, yet is low enough to avoid warping.
Using a Bed Adhesive
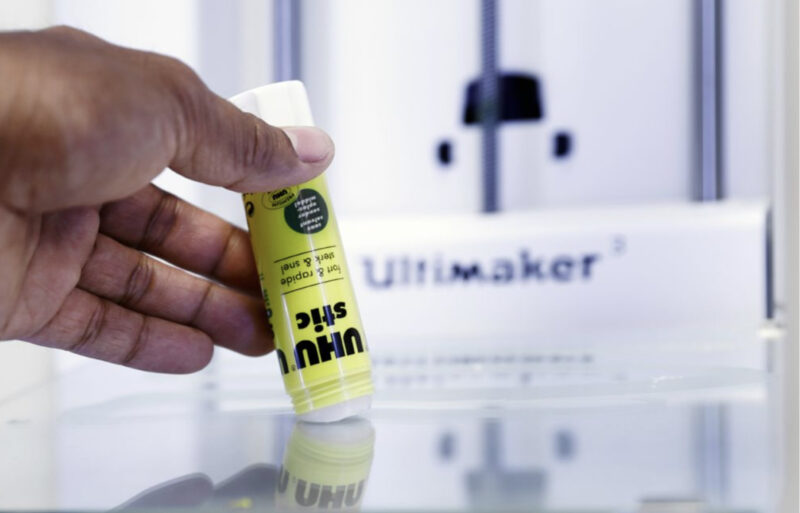
A rather simple solution to ABS warping is applying a bed adhesive to the surface of your print bed. Here you can think about off-the-shelf products like a simple glue stick, Bed Weld, or Magigoo. But using your own DIY ABS juice or ABS glue works wonders as well.
Bed adhesives like these help the first layer adhere better to the build plate. This makes it less likely to warp or curl when your 3D-printed part faces internal stresses.
It’s important not to over apply the adhesive to the print bed, as doing so can actually increase the chances of warping. As such, try to only add a thin layer of glue to the print bed. And don’t forget to clean the bed after every couple of prints.
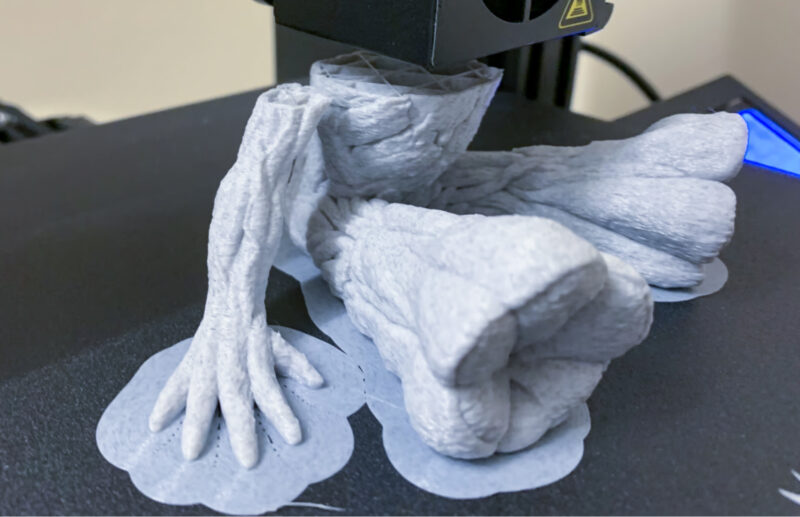
Dry Filament
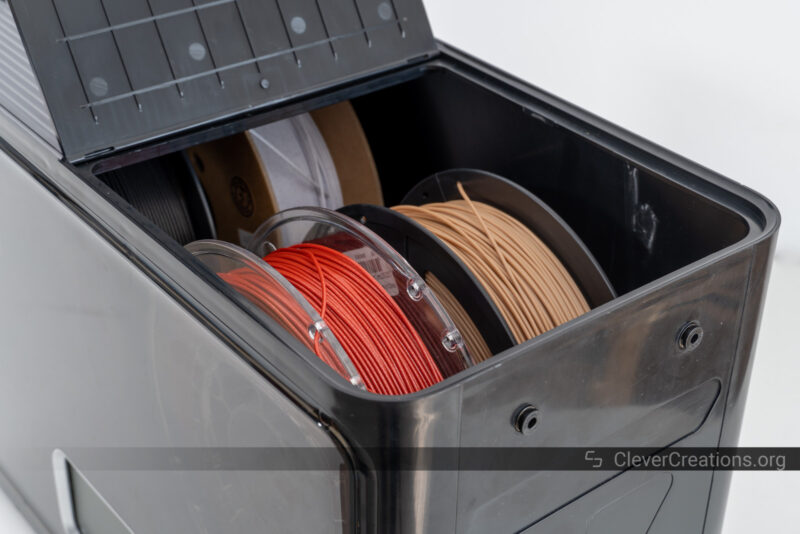
Next, if you’ve tried the other solutions and nothing is working, consider drying your filament.
Regardless of whether you print with ABS or a different material, when the filament gets exposed to humid air, the plastic absorbs moisture. This degrades the printing performance of the filament and this can result in warping prints.
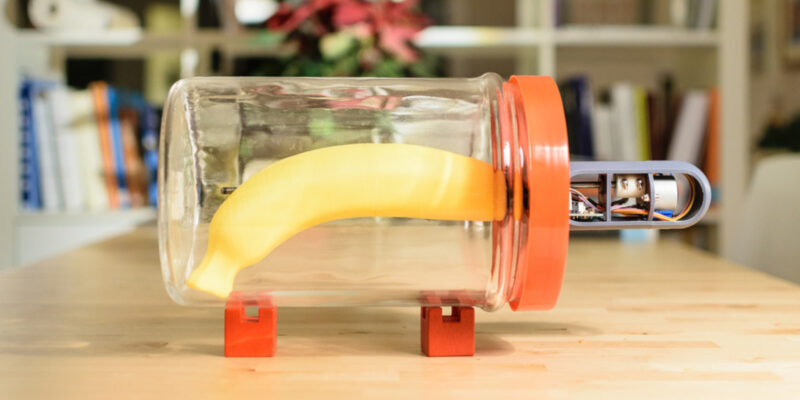
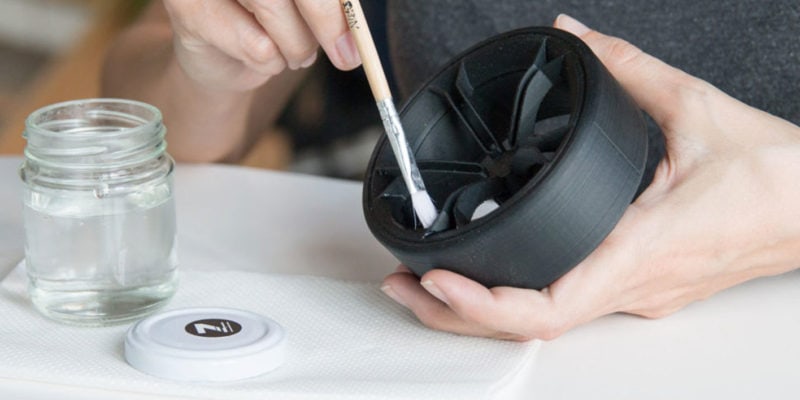
Drying your filament involves heating the material to release the trapped moisture, restoring the material’s printing performance.
You can do this with a filament dryer, like the FilaDryer S4, but you can also opt to modify a simple food dehydrator like in the image above.
Level the Bed
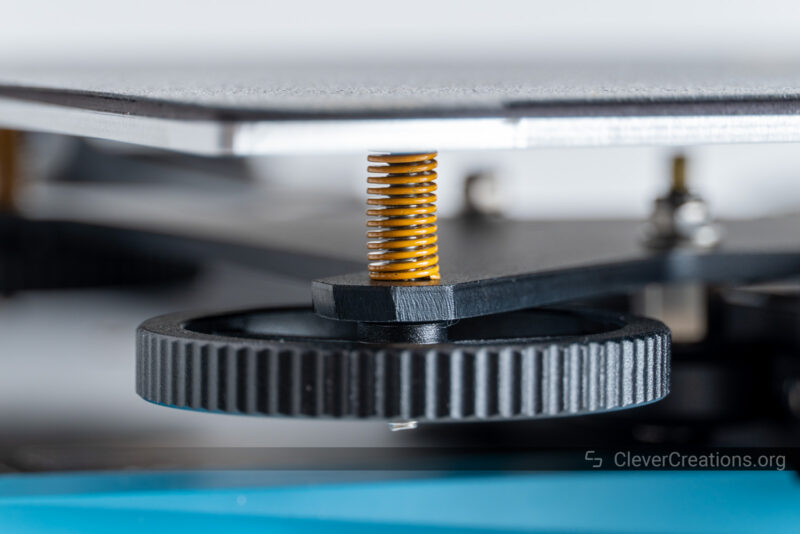
Finally, you should make sure to level your print bed. Just like the previous solution, leveling the heated bed won’t affect the cooling process at all. However, it can help prevent warping 3D prints by ensuring that the extruded filament has sufficient surface contact with the build platform.
Even if your printer has an automatic bed leveling sensor, it’s a good idea to manually level the bed once in a while to ensure that it isn’t tilted. Combine this with calibrating your machine’s Z-offset and you can get the optimal results you are looking for.
What Temperature Should the Print Bed Be to Prevent ABS Warping?
Generally, the best build plate temperature for printing ABS is between 90 and 110 °C. The higher end of this range prevents warping better because more heat equals reduced cooling and shrinking.
However, increasing the temperature of your heated bed alone likely won’t eliminate warping and curling from your ABS prints. Taking other measures, such as using an enclosure and reducing the fan speed, is equally important.
Which ABS Filament Has the Least Warping?
As you might expect, not all ABS filaments warp as much as others. If you’re looking for the smoothest ABS printing experience, you should look for ABS filament that is known for minimal warping, curling, and shrinking.
A few great options are MatterHackers Build Series ABS, Polymaker PolyLite ABS, and eSun ABS+. These filaments have been specifically designed to minimize warping and shrinking during the 3D printing process.
If you want to use a different ABS material, consider checking the reviews to see if other users have experienced warping with the filament. Keep an eye out for the context in which the filament was used, however. For example, was it used with a bed adhesive or an enclosure?
Conclusion
Warping and curling can ruin the quality, appearance, and functionality of your ABS 3D prints. While it is impossible to fix this on already warped prints, you can take measures to prevent this for the next ones.
The main cause of ABS warping stems from the material’s sensitivity to the cooling process and a lack of first-layer bed adhesion. With this in mind, a few effective solutions include reducing the fan speed, increasing the build plate temperature, and using an enclosure as well as a bed adhesive.
If that is not sufficient, it’s worth activating a brim or raft in your 3D slicer, as well as leveling your print bed and drying your ABS filament.
Altogether, these methods ensure that your prints cool more slowly, have a better sticking bottom layer, and ultimately have better chances at success.
If you have any questions about this topic, please don’t hesitate to leave a comment below.