
Painting PLA can be a bit more challenging than painting other 3D printing materials. While it might be tempting to skip a few steps to save time, that can lead to chips, bubbles, and all sorts of other issues with your paint job.
If you want to learn how to paint PLA the right way, keep reading! We’re going to give you a comprehensive guide to painting PLA, including which paints are best for 3D printed plastics, how to prep your prints for painting, and how to avoid some of the most common problems with painting plastics.
Why Paint PLA 3D Prints?

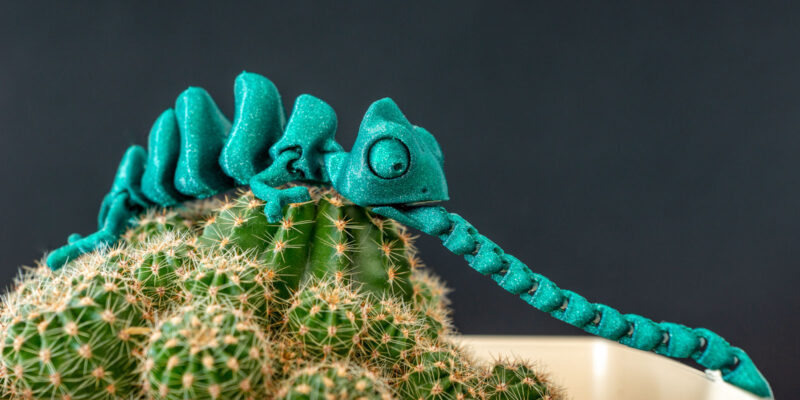
There are several benefits to painting PLA filament 3D prints. Whether you want to give them more personality, make them look more like an item they are replicating, or protect them from wear and tear, a bit of paint can completely transform the look and function of your prints.
What Kind of Paint Can You Use on 3D Printed PLA?
When choosing the best paint for your 3D prints, it’s important to choose one that bonds with plastic. While there is some variation between brands, most brands of the following types of paint work well with PLA. It’s always a good idea to check the label for supported materials and use a primer for extra protection.
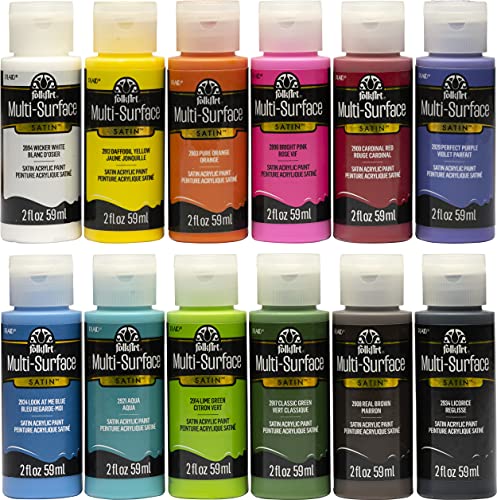
Acrylic Paint
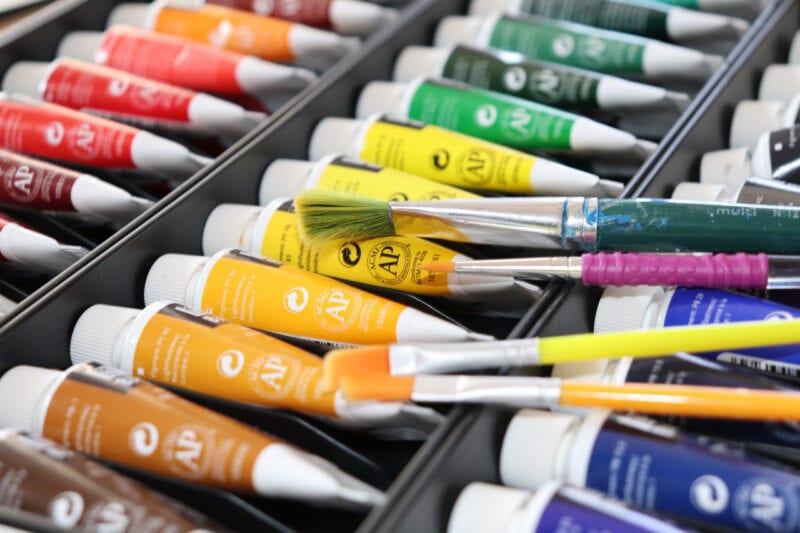
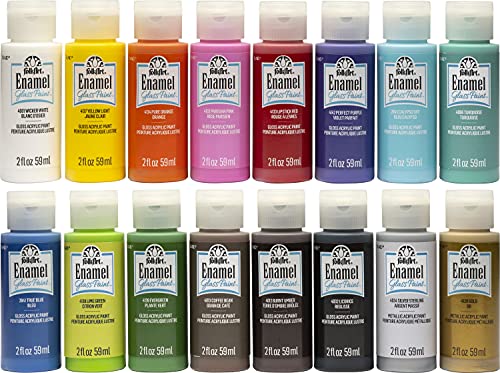
Acrylics are versatile, affordable, and accessible paints that work on various materials and surfaces. Since they are water-soluble, they produce less VOCs while drying and can be thinned with water. This makes them perfect for beginners or someone who is looking for ease of use.
You may be able to achieve some success painting them directly onto the prints, but you’ll deal with fewer chipping and color inconsistencies if you sand and prime your 3D prints beforehand.
Not all acrylic paints are created equal, with differences in their pigments and acrylic polymer binder. You may have to experiment a bit when it comes to what works best for you. The two most common types you’ll encounter in general and art stores are craft and artist.
Artist acrylics are high-quality paints meant for fine art painting on canvas. They are densely pigmented and produce vibrant colors even with thin coverage.
Craft acrylics are made for (you guessed it) crafting. These cheaper acrylic paints contain more water than artist acrylics, so they produce less vibrant colors and need more coats for consistent coverage. Just a single thin coat won’t be enough.
Spray Paint
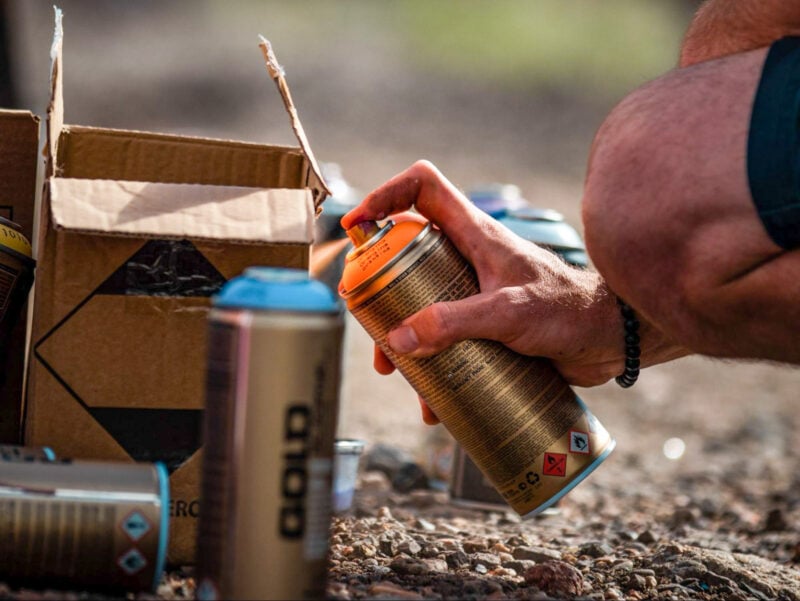
Spray painting is a great way to quickly cover a large surface area.
When it comes to saving time and energy, spray paints are essential. They provide quick and even coats and allow you to cover large surface areas in seconds. Their application is broad, so they are best for putting down base coats on 3D prints or for projects with 1-2 colors.
Spray paint is commonly used to paint or refinish outdoor plastic furniture, so a lot of the brands you’ll find in your local hardware or big-box store are formulated to work on plastic surfaces. Even so, spray paints are designed for a wide range of applications, including rust protection, lacquers, primers, textured, and 2-in-1 paint and primers.

Enamel Paints
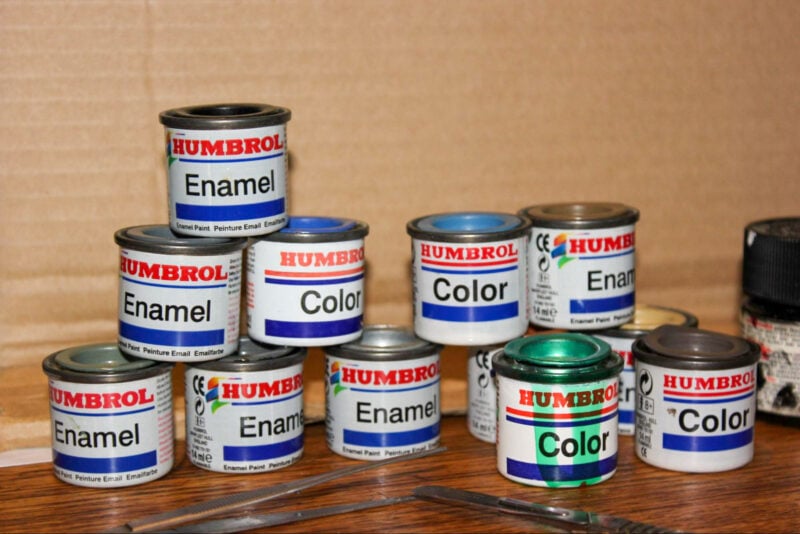
Common with scale model paints, enamel paints are solvent-based paints that dry firm and have a high luster. Enamels have a glossy finish that looks and feels glass-like when it cures. They are more durable than acrylics early on, but they turn brittle as they age.
Since they are solvent-based, enamel paints need paint thinner and other harsh chemicals to change their viscosity or to remove them from unintended surfaces. This makes them difficult to work with and intimidates many beginners from trying them.
However, if you can get over the more complicated properties, enamel paints have a distinct look that is hard to replicate with other options.
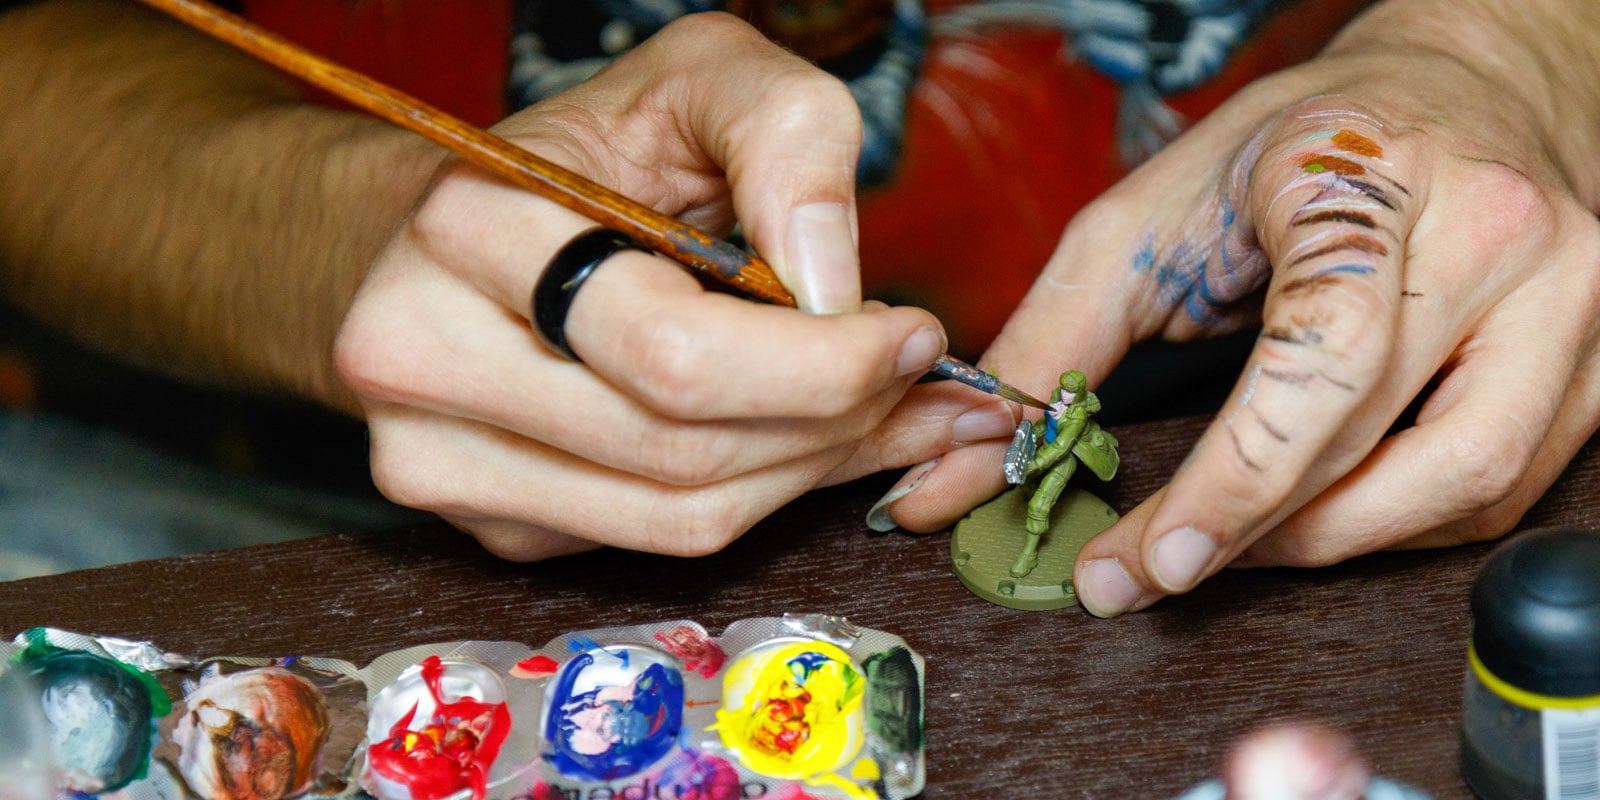
Model Paints
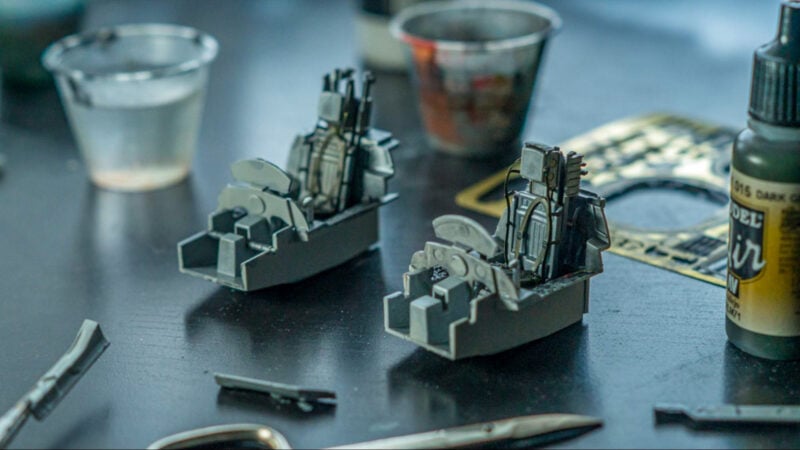
If you are painting something with a lot of fine details like miniatures, props, and figurines, model paints are a good option. Formulated for scale models, these paints work extremely well on the plastic surfaces of 3D prints.
Acrylic and enamel paints are the most common bases for scale model paints. While most modelers prefer the acrylic options, there is a distinct niche of modelers who prefer the high luster and professional painted finish that they can achieve with enamel paint.

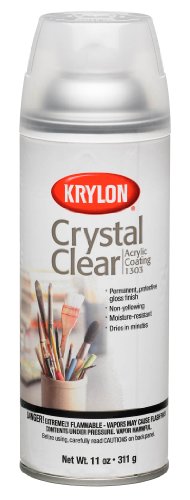
Lacquer and Clear Coats
Regardless of the type of paint you choose, you should seal your paint job with some type of lacquer or clear coat to protect it from dust, dirt, UV exposure, and general wear and tear. There are several different types of sealants, so choosing one that works well with your chosen paint is important.
If you choose a solvent-based spray paint or used enamel paint, you’re less likely to have unwanted reactions between the two layers if you use a solvent-based clear coat as well.
Depending on your intended final look, you can choose between a glossy or matte finish in your clear coat. A matte sealant works well with pieces that need to look more natural or organic, while a glossy clear coat adds a plasticizing effect to your parts’ surface.
Brush-on lacquers, decoupage glues, and resins can all be applied to your small PLA prints by hand. Clear spray paints and airbrush lacquers are perfect for spray painting or air-brushing prints with a broader surface area.

How to Paint PLA – Step by Step
Step One: Prepare for Post-processing
Depending on your printing process, you may need to prep your PLA print before you can start painting it. Use flush cutters like these to remove any support structures or over-extrusions. If any raft or brim pieces become stuck, use a pair of needle nose pliers to gently pry them off.
Try to remove as much material as possible before you get to the sanding stage. Any excess filament will just create extra work for you then.
Finally, glue any split 3D print pieces together if needed and let the adhesive set completely before continuing. There are a variety of PLA glue options available, so we recommend checking out our dedicated article on the topic.
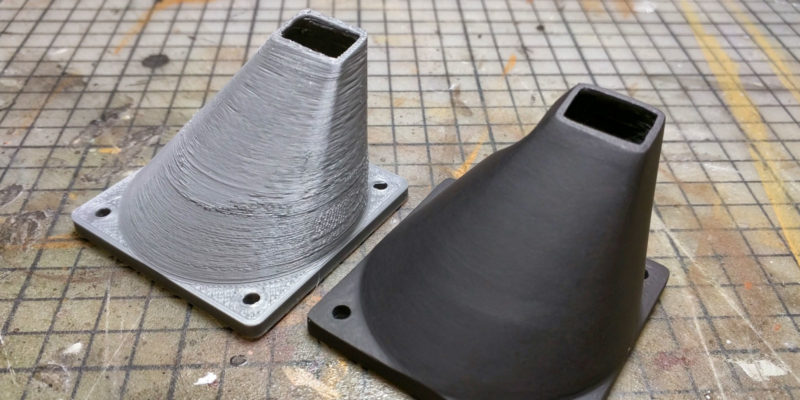
Step Two: Sand Your 3D Print
If you want your 3D prints to have a smooth surface finish, you have to remove the prominent layer lines created by the filament extrusion process. While other filaments like ABS and PETG can be smoothed with chemicals like acetone, PLA is resistant to acetone.
The only reliably safe way to smooth PLA is to sand it. While you could use a PLA solvent on the outer layer of your 3D print, it’s results and safety leave a lot to be desired.
Before you start, make sure you wear protective equipment. You need eye protection and a respirator mask with a particle filter throughout the entire sanding process. Sanding a PLA print produces ultrafine plastic dust in the air which can be harmful to breathe in.
Start with a course grit sandpaper like 50 or 60 grit. With an even pressure, sand the entire surface of your print until it is free of any surface defects or prominent layer lines.
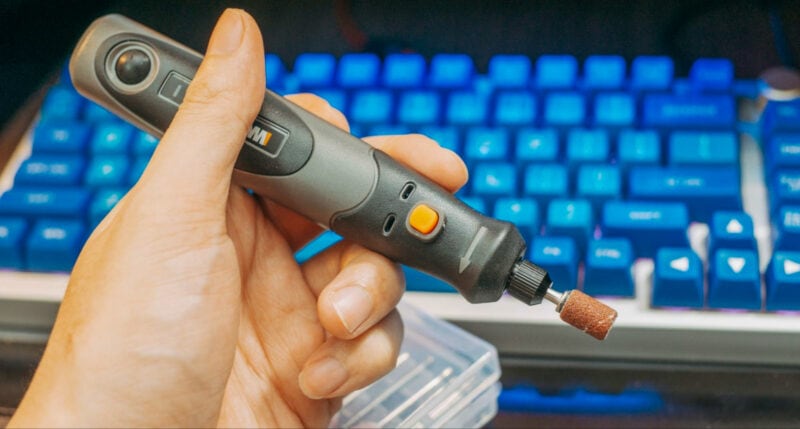
You can use an electric sander or rotary tool to help cover large surface areas or to get into small spaces for fine details. However, make sure that you don’t stay in one area for too long. PLA is a low-temperature filament, and too much friction can melt your print.
Repeat with the next grit size, working your way up through 80, 100, and 120. Keep your sanding slightly rough for painting, since it will help the primer bond to the PLA print.
If any parts of your print are going to remain unpainted, continue sanding those areas with finer grits until you achieve a smooth, polished surface. For grits 240 and finer, switch to wet sanding. Not only does this keep the majority of the dust out of the air, but it also helps smooth the print’s surface and keep the dust from accumulating on the surface.
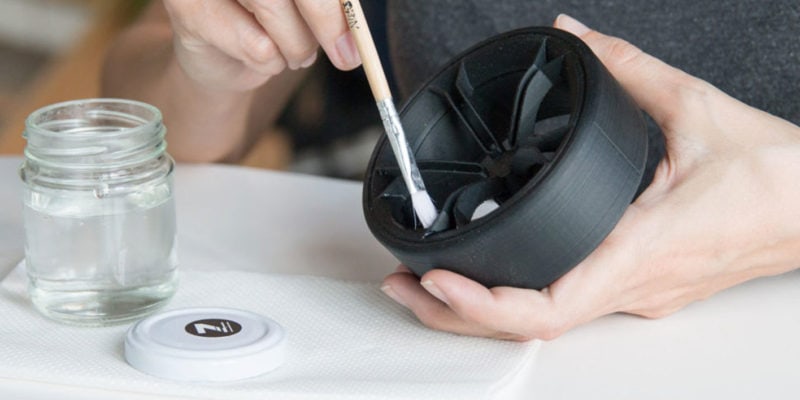
Step Three: Add Primer
While it may seem tempting to skip this step to save time, priming your prints is an easy way to fill in any surfaces left after sanding and to ensure your paint sticks to your PLA print. Even if your paint is formulated to work on plastic surfaces, priming it before your first coat of paint will still give you better coverage and a smoother print surface.
If you are using a brush on primer filler, spread it over the entire surface of the print in an even layer. Let it dry completely and add additional layers until PLA is fully covered and any surface imperfections are smoothed out.
If you use an aerosol primer filler, wear gloves, a respirator, and eye protection. Use it in a well-ventilated space and avoid spraying it towards yourself. Cover the PLA part in thin coats of primer filler and let it dry completely between layers.
Step Four: Paint Your 3D Print
Now it’s time to start painting!
Start with the first coat—also known as the base coat. Brush or spray on your primary color in thin layers until the color reaches your desired vibrancy.
For designs with a prominent secondary color, use blue painter’s tape to cover any areas of your PLA print that you don’t want to be painted. You may need to use cardboard or thick paper as well if your print is large.
Once only the intended areas are uncovered, brush or spray on your second color until it reaches your desired vibrancy. Carefully remove the tape and cardboard coverings.
To add fine details, carefully apply your paints with a small paintbrush, toothpick, or dotting tool. Lightly sketch the details onto the part beforehand if you need references for your designs.
Step Five: Seal Your Final Print
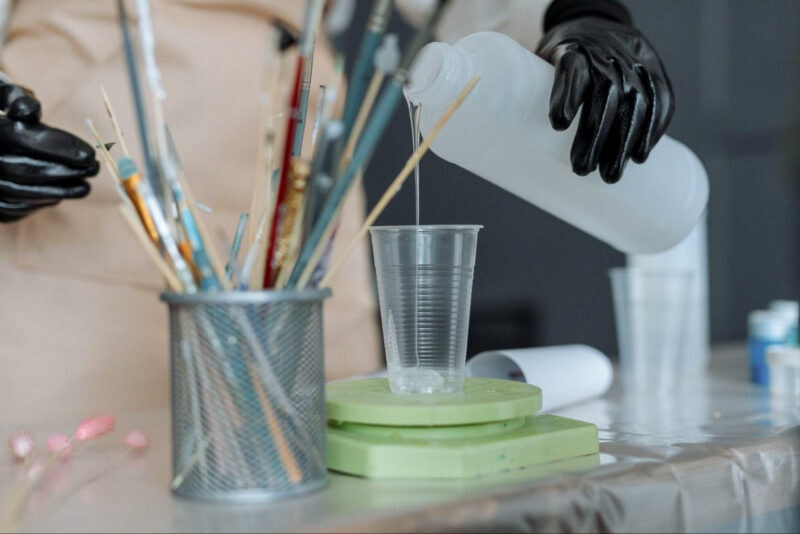
Once your painted print is completely dry, you should seal it with a layer or two of clear coat to protect it. For brush-on lacquers or sealants, use a soft-bristled paintbrush to cover the entire print in a thin, even layer.
The soft bristles are less likely to leave brushstrokes behind. This is especially important to avoid if your sealant has a matte finish. Textures are much more noticeable on a matte surface than on a glossy one.
To apply a sealant in an aerosol form, use the same safety precautions and safety equipment we outlined for spray painting.
An additional benefit of sealing your 3D print is that it makes the PLA filament food safe. It can negatively affect the biodegradability of PLA, however.
Troubleshooting
Why Is the Paint Chipping off My PLA Print?
The most common cause of chipping paint is poor surface adhesion. The easiest way to prevent this is to prime your 3D prints before painting them. Primers give the paint a more compatible surface to bond to than PLA, so even if your paint isn’t plastic-compatible, you can still have great adhesion.
Why Is My Paint Bubbling?
Like chipping, bubbling paint occurs when the paint peels away from the print surface. When moisture gets trapped between the paint and print surface, it gathers in pockets as the moisture under the paint evaporates and tries to escape. The pressure pulls the painted layers away from the substrate, resulting in noticeable bubbles.
To prevent bubbling, make sure you let your print dry completely if you wet sand it, and try to keep it away from overly-humid areas before you paint it. Priming your print can also help because it leaves fewer weak spots in the paint.
Does Painting PLA Make It UV Resistant?
If your PLA prints are fully covered by UV-resistant paint or sealant, then yes, it will offer some UV protection to your PLA. Many traditional paints are also UV sensitive and will fade and degrade with too much exposure, so look for paints branded for outdoor use to get the best results.
However, remember that PLA is more sensitive to heat than UV exposure. Even if your 3D prints are painted and sealed, they can still degrade and deform when they reach temperatures above their softening point.
For alternative filaments that have better UV and temperature resistance, we recommend reading our ABS vs PLA, PLA vs PETG, PLA vs PLA Plus, and Polycarbonate vs PLA comparison guides. While these materials are more difficult to 3D print than PLA, their superior material properties can be worth it for your specific project.
Can You Paint PLA Without Priming?
Technically, yes, painting PLA without priming it first is possible. However, priming your prints has several advantages, so it’s a good idea to do so. Primer will help your paint adhere to the print surface, which minimizes issues like bubbling and chipping.
Priming also helps smooth out your print. If you weren’t aggressive enough in the sanding stage, a few coats of primer can help cover some light layer lines.
It’s worth pointing out that some types of PLA filament adhere better to paints without priming. But regardless of the type, we recommend always using a primer before painting your PLA.
Does Acrylic Paint Wash Off PLA?
If you make a mistake while painting PLA with acrylic paint, you may wash it off with some warm water or mineral spirits if the paint is still wet. Acrylic paint can seep into bare plastic, so if you didn’t sand and prime your PLA beforehand, you probably won’t be able to wash it off completely.
However, even after the paint dries, it’s not completely protected against moisture. Acrylic paint can still smudge, bleed, and wash away when exposed to water. The best way to prevent this is to seal your finished project with a lacquer, clear coat, or other sealant.
Can You Spray Paint PLA 3D Prints Without Sanding?
It depends on the type of spray paint and if you primed your print’s surface first. Some of the textured sprays have difficulties adhering to a PLA print that hasn’t been primed or sanded.
If you want to cut down on post-processing time when spray painting, choose the 2-in-1 spray paints with primer. It will bond better to an unsanded PLA surface better than just paint.
Verdict: Is Painting PLA 3D Prints Worth It?
Painting PLA prints can be difficult. Since most paints aren’t designed to work on plastics, there are so many things that can go wrong if you don’t prep your 3D prints right. And since PLA can’t be chemically smoothed, it has to be sanded, filled, and primed to get a smooth surface that’s ready for painting.
Despite the challenges, painting PLA parts adds so much dimension, personality, and functionality to your prints that it makes the extra work worth it