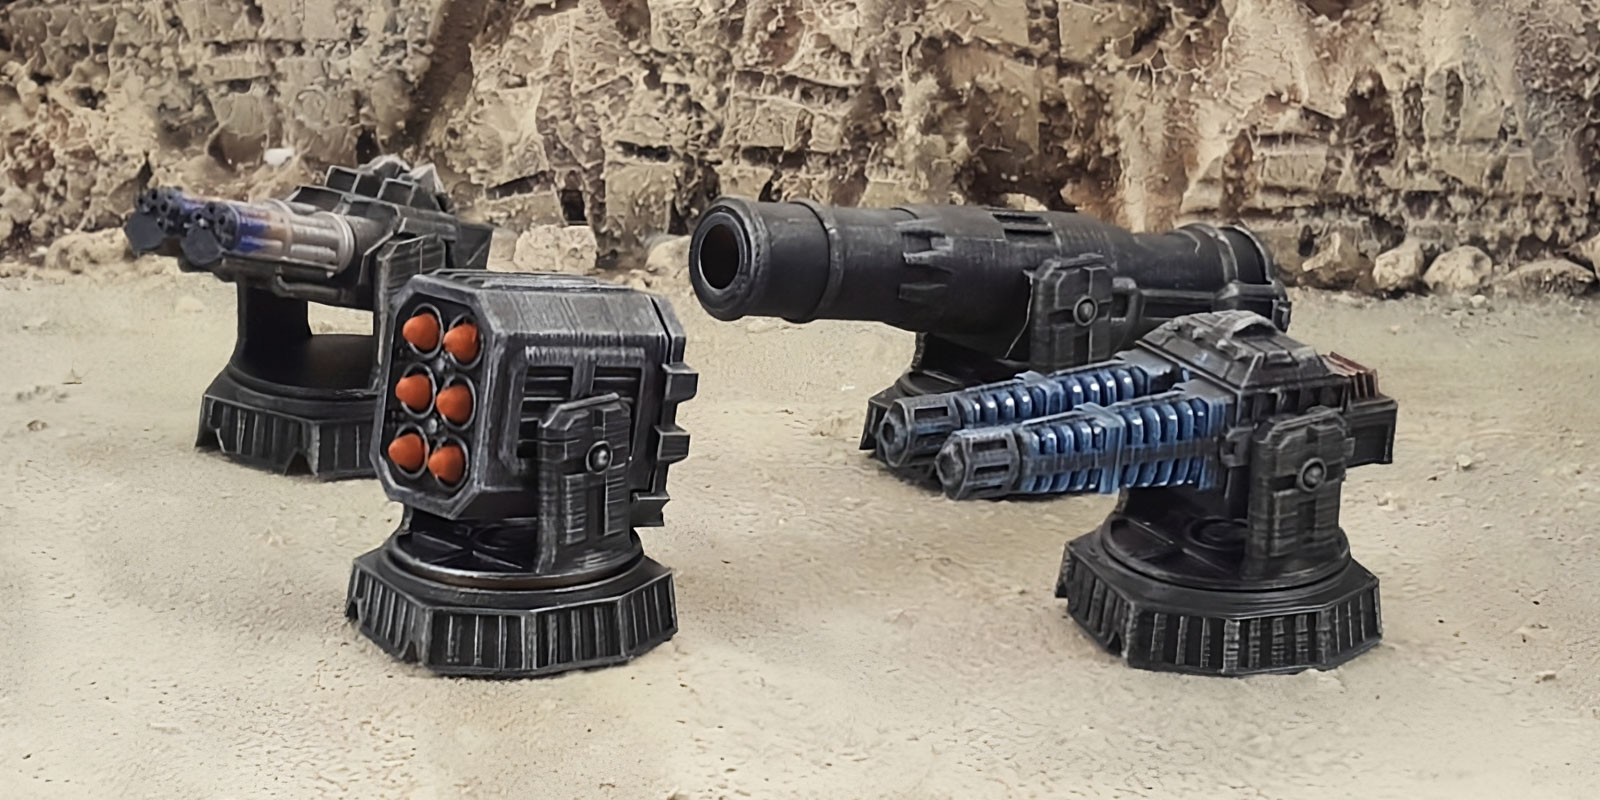

Painting 3D prints allows you to add an amazing amount of detail to them. It also adds some protection to your prints from moisture, dirt, and even some chemicals. But before you can pick up a paintbrush (or airbrush if you’re feeling brave), there is a lot you need to know. Using the wrong type of paint, primer, or prep work can ruin your print or compromise the paint job you spent so much time doing.
Ready to get started? Then keep reading! We’ll cover the best paint for 3D prints, and how to prep and paint your 3D prints from start to finish.
What Kind of Paint Should You Use on 3D Prints?
Acrylic
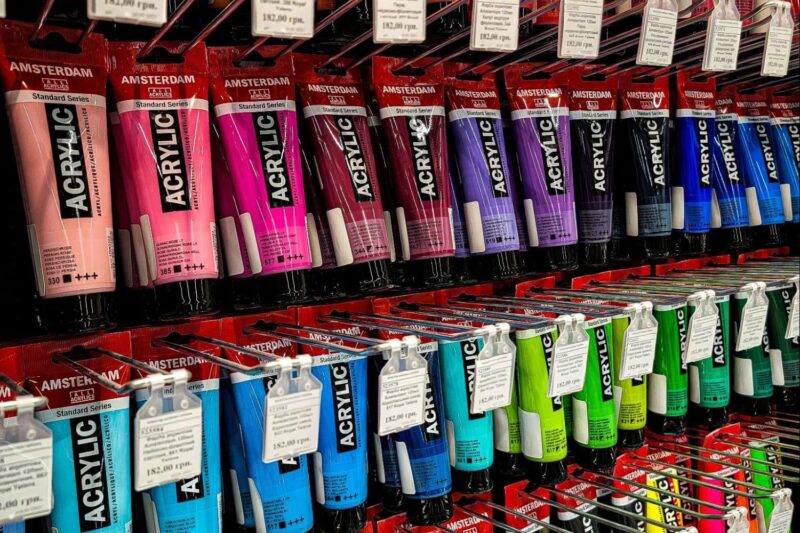
The most common type of paint used for 3D prints is acrylic paint. It’s the easiest type of paint to use and is also typically much cheaper than other varieties. As a water-soluble paint, it is washable and doesn’t require any harsh chemicals to use. It adheres well to a lot of different surfaces and has nice coverage.
It doesn’t blend as well as oil paints, which is a downside for traditional artistry but shouldn’t make much of a difference when painting 3D prints. It also dries quite quickly in comparison to other types of paint, so you can paint multiple layers or colors in a short amount of time.
Oil-Based
Another type of paint you can use to paint 3D prints is oil-based. It isn’t as easy or convenient to use as acrylic, but it can achieve vibrant colors and make highly realistic details on your prints.
Oil-based paints don’t dissolve in water, so they need to be cleaned and removed with chemicals. It also needs paint thinners to make it more usable, and these products are usually quite harsh.
Oil paints take several days to dry, which makes them perfect for traditional painting that requires a lot of blending during the painting process. This is not, however, ideal for painting models and 3D prints, which often need several coats of paint or different colors.
Spray Paint
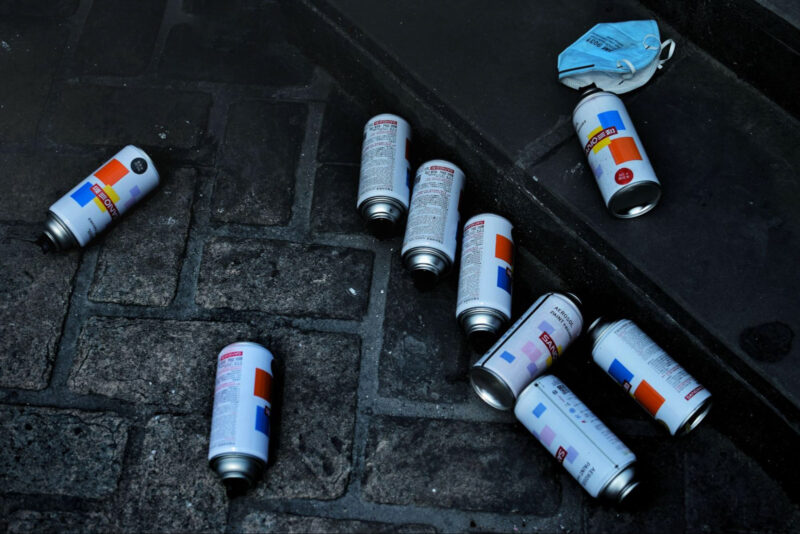
Spray paint is the best paint option to use when you have a large 3D print to paint, or when you only need one or two colors overall. Spray painting coats quickly and evenly, so it’s good for when you have fast and efficient painting projects (like full armor).
They also come in 2-in-1 formulas that paint and prime an object at the same time. This is helpful because it cuts down on the number of layers you need to add to your model and how long the overall painting and priming process takes.
The Best Paints for 3D Prints
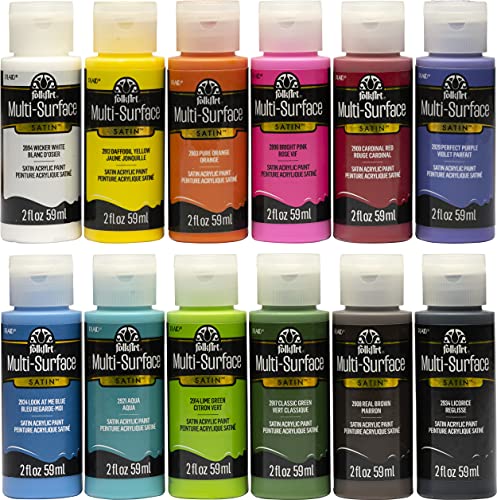
Best Overall: Folk Art Multi-Surface Acrylics
Folk Art’s multi-surface acrylic paints are some of the most versatile brush-on paints available. These are craft acrylics, so they are designed to adhere to many different types of materials (including plastic, like PLA, PETG, and ABS). This makes them one of the few acrylic paints that can be applied directly to your 3D prints without any primer and the best paint for adding some color to the naked filament.
While using a primer still offers the cleanest results, you may sometimes wish to avoid using them (like when you want the actual filament color visible) or save time by skipping the priming step.
The paints usually have a somewhat thick consistency and are dry to the touch within 24 hours. They fully cure between 48-72 hours. Like all acrylics, it’s water-soluble. Once fully cured, it should be sealed with a clear sealant spray.
Best Oil: Winsor & Newton Winton Oil Paints
As one of the leading artistic paint brands, the Winsor & Newton oil paints promise premium quality and longevity. Their pigment-dense designs promise excellent coverage and vibrant colors and makes them a great option to paint 3D prints.
Like most oil paints, it has a slow drying time, so be sure to plan for several days’ curing time when you use these paints. Despite their slow cure time, they are highly water-resistant once fully dry, so they don’t need additional sealants applied after painting.
Oil paints aren’t very flexible, so they are best used to paint 3D prints that will more or less stay in one place. This protects them from potential issues with cracking and peeling.

Best Sealant: Krylon Crystal Clear Acrylic Coating
As a glossy, non-yellowing spray sealant, Krylon Crystal Clear coats your painted 3D prints in a permanent moisture-resistant final coat. Crystal Clear coat not only protects your painted 3D prints, but its glossy ultra-clear formula also makes your colors more vibrant.
It only takes 10-15 minutes to dry to the touch, so you can quickly add multiple coats of it. Even a full cure only takes about 2 hours, so you don’t need to wait long before your print is fully usable.
Which Primer Should You Use on 3D Prints?
Priming your 3D print before painting not only expands the number of possible products you can use, it ensures that they go on smoothly and don’t crack/peel off the model. Some are brush-on formulas, while others come in sprayable cans like spray paints. Some spray paint varieties include the primer and paint in one can, letting you prime and paint in one go.
We recommend a sprayable primer of some sort, whether as a standalone or a 2-in-1 formula. Brush-on primers are difficult to work with and usually result in uneven priming or noticeable brush strokes on the surface of the model.
Best Spray-on Primer: Rust-Oleum Painter’s Touch 2X Ultra Cover Primer Spray
Rust-Oleum has some of the best spray-on products in general for 3D printed items, but their 2X ultra cover primer is perfect for covering FDM or resin 3D prints with an opaque, even coating. It is specially formulated to bond well with plastic, so it won’t peel off the print after it dries.
As the name implies, it has twice the coverage of other spray primer options, which means you will need fewer coats to achieve full coverage. This is especially important if you’re worried about dimensional accuracy, since the more primer, filler, and paint you add to your model, the bigger the print becomes.
No products found.
Best 2-in-1 Spray Paint and Primer: Krylon COLORmaxx Paint+Primer Spray
The Krylon COLORmaxx paint and primer combos are the perfect choice to paint 3D prints one color or for setting down a base color. They are made for indoor and outdoor use, so not only do they cover extremely well with fewer coats, but they also seal your 3D printed items against water and other outdoor elements.
Its quick-drying formula dries in about ten minutes, so your 3D prints will be ready to use fairly quickly. It goes on evenly from any direction thanks to the 360-degree sprayer on the can and is available in many different colors.
What Kind of Paint to Use on Resin 3D Prints
When painting resin 3D prints, the best paints to use are ones rated to work with plastics. However, it is not necessary when using a good primer. Like regular 3D prints, acrylics are a common choice because they are widely available and cheap.
However, enamel paints are often much better suited for resin (especially for 3D printed miniatures or other high-detail prints) because they go on thinly and are less likely to show brush strokes.
Plus, they are a resin formula themselves, so they also seal your prints and resist damage and wear for years. Paints sold for hobby model kits are an excellent choice when sourcing an enamel paint brand.
Revell Enamel Paint
Made by one of the leading model kit producers, Revell enamels are made with small details and smooth application in mind. They have a wide range of colors available; however, their most common shades are military greens and browns.
The Revell paints are easy to thin for use in an airbrush and can be removed from most surfaces with a specially formulated enamel cleaner. They take 4-6 hours to dry enough for multiple coats and about 24 hours to dry completely. Once fully cured, they are quite strong with impact and scratch resistance.
Vallejo Acrylic Paint
Another well-known brand, Vallejo makes a line of dedicated acrylic paints and acrylic treatments for smooth, glossy painting. They have many different colors available including metallic formulas, so you shouldn’t have any issues finding the shades you need for your projects.
Vallejo acrylic paints can be brushed or airbrushed onto your 3D printed parts. You need to thin them with their airbrush thinner to use them in an airbrush.
Regardless of your application method, you can also use Vallejo acrylic retarder to slow down the drying times of the paints, which will give you a smooth surface and glossier result.

The Best Airbrush Paints for 3D Printed Parts
The excellent thing about airbrushing is how versatile it is. You can use most types of paints in an airbrush as long as you thin them out beforehand. Acrylic, oil, and enamel paints can all be thinned with their respective thinning agents, so you may already have paint on hand that you can use with an airbrush.
If you don’t want to deal with the harsh chemicals in paint thinners or get the paints’ viscosity right, you can also purchase specially formulated airbrushing paints. This is easier than trying to make your own paint formulas.
You will need to get some equipment, and while you don’t need to spring for the best airbrush compressor and airbrush right away, it helps to get something decent.
Our go-to recommendation for beginners at the moment is the Master Airbrush Cool Runner II Kit.
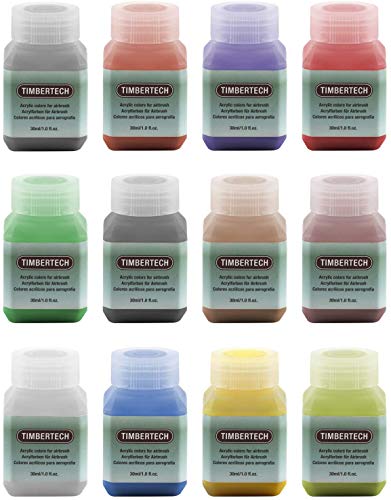
Timbertech Professional Quality Acrylic Airbrush Paints
Timbertech is a high-quality acrylic-based option for pre-formulated airbrushing paints. They can be used with a paintbrush like regular paints or loaded directly into an airbrush. These paints are available in opaque, transparent, pearlescent, and neon.
They dry quickly and are water-resistant once fully cured. Even so, adding a clear coat of varnish on top of them can give your designs better protection. This is especially important if your design will be kept outside and exposed to the elements.
How to Paint 3D Printed Parts
Preparing Your 3D Print for Painting
Removing Supports
The first thing you’ll need to do when prepping your 3D printed parts for painting is to remove any supports. Use a pair of needle-nosed or bent-nosed pliers to pull the support material free from print, removing as much extra material as possible. If needed, use a pair of flush cutters to cut away any stubborn pieces left.
Sanding
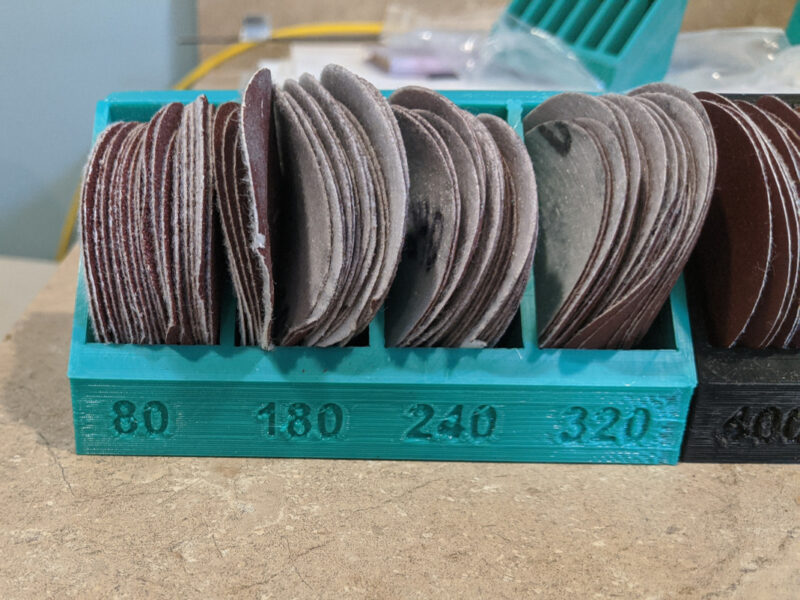
You will need to sand your models smoothly before you can prime or paint them. Not only does this remove visible layer lines, support remnants, and surface imperfections, but it also gives your primer a better surface to grip.
If you plan to use a filler like Bondo to cover up your layer lines, cover your model with it before you start sanding. It is easier to sand than the filament material, so you won’t need to sand as much to reach a smooth surface finish.
Start with a rough-grit sandpaper like 80-100. Use it to remove any excess material from layers or supports either by hand or with a small electric sander (be careful when using these since they can sometimes cause too much friction and melt your 3D printed parts). Choose a higher grit sandpaper like 120-150 and sand all over the print again. Keep repeating this process until you reach a high-grit paper like 1500-2000.
The above process can be done either wet or dry. Wet sanding keeps the dust from flying everywhere, so if you choose the dry sanding method, be sure to wear a dust mask to prevent breathing in any of the fine particles.
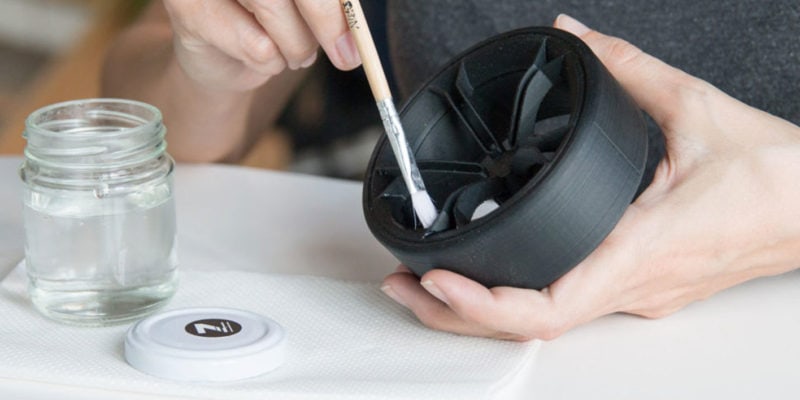
Clean Surface
Before you can apply any primers, fillers, or paints to your 3D print, you need to make sure your 3D printed object is clean and dry. Sanding generates a lot of dust, which must be removed. You can do so by running the print under water to get rid of any debris and using a soft-bristled brush to remove any stubborn materials.
Let your model dry completely before moving on.
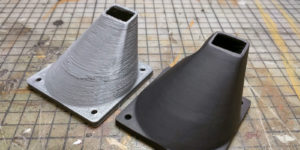
Priming
Once your 3D print is sanded smooth, clean, and dry, you can brush or spray on a primer coat. This gives the paint something to adhere to and prevents peeling. It also helps smooth out any small defects missed during the sanding process, so if your print isn’t 100% smooth, your primer may make it slightly less noticeable.
Priming your prints gives them an even color (usually light), so you will also have to use fewer paint coats to get full coverage.
Taping/Blocking
If you plan to paint 3D prints in multiple colors, you may need to tape or block off certain areas to keep your paint lines clean. Use blue painter’s tape or masking tape as a barrier between two different-colored sections when using a paintbrush. The tape will give you a nice, sharp line between the colors and keep paint from going where it shouldn’t.
If you are using an airbrush or spray paint cans for multiple colors, you’ll need to block your model by covering any areas that won’t be painted with masking tape and plastic/paper. This keeps the spray paint or airbrush spray from hitting unintended areas and needs to be repeated for each different color.
Painting Your 3D Print
Using a Paint Brush
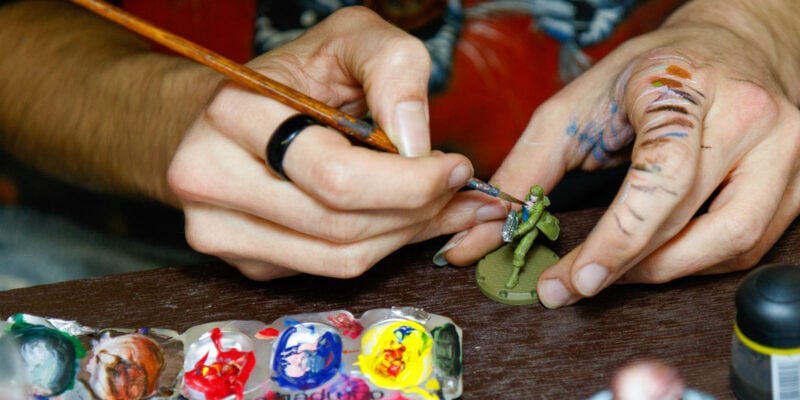
If you plan to use a paintbrush for painting 3D printed parts, make sure you have quality paintbrushes to get as smooth of a surface texture as possible. You may find it easier to spray paint the main color onto your 3D prints and use the paintbrush method for fine details (in which case, you will also want some high-detail brushes and possibly some dotting tools for small details).
Using your paintbrush of choice, spread your paint over your 3D print in thin layers. Be sure to let your print dry to the touch between layers and continue layering paint until you reach the desired amount of coverage.
Spray Painting
Spray painting your model (even if just for the base layer) is much quicker than doing it by hand with a brush. Go outside or into a well-ventilated area. Lay down cardboard, newspaper, or some other protective layer underneath your print to avoid spraying paint on your work surface.
Shake the can of spray paint and add a thin even coating all over the print. If you need to paint the bottom of the model as well, you may find it easier to add a screw to the bottom of the print and hang the print from a string. This will allow you to reach the entire surface of the print all at once, which can make your layers more consistent.
Sealing
Once your paint is fully cured, use a clear spray coating or some other type of varnish and add an even layer to your entire model to protect it from dirt and moisture.
General Tips for Painting 3D Prints
- Print as high quality as possible. For small objects, we recommend a resin 3D printer. The fewer defects and layer lines a print has, the less time you will need to fill and/or sand your prints afterward to get smooth surfaces.
- If your paint is thick and hard to work with, add a little bit of thinner to it. And if it is drying too quickly while you are adding fine details, mix in a little retarder to lengthen the pot time of your paint.
- Don’t paint directly onto the 3D prints unless your paint’s label specifically says it works on plastic. Otherwise, you will need to add a layer of primer to give the paint something to stick to before you can paint 3D prints.
- A dotting tool can be used to make circle shapes more neatly than you can achieve with a brush (such as for the small details within the eyes). It is also good for filling in concave areas.
- Wear gloves when working with enamel paints and any harsh chemicals like paint thinners or retarders. Wearing a respirator when using spray paints and clear coat sprays is also advised.
- If you have to mix your own color shades, use something as a reference so you can achieve the same shade later if you have to mix that shade again. A Pantone book or a paint swatch card (like the kind you can get for free from the paint section at most home improvement stores) is a great reference.
Mix your colors until they match a certain swatch perfectly. If you run out or have to do any touch-ups later, you can color-match that swatch again and match your original shade perfectly.
Final Thoughts
Painting your 3D prints can bring them to life and give them a much better appearance. While it isn’t a difficult process, it does require a lot of time and preparation to make sure you get the best results possible.
It certainly helps to get the best paint for 3D prints, or they might peel off your print later or react negatively with your print’s filament materials. Folk Art’s multi-surface acrylics are by far the most versatile option. They have plenty of color choices and work with most types of plastics, so you can even paint them directly onto 3D printed objects without using a primer.
Vallejo’s enamel paints are a close second. Similar to resin, they produce a smooth and durable layer that protects 3D printed parts and is resistant to damage. They also can be thinned out to work in an airbrush, making them an excellent choice no matter how you want to apply them.
We’ve only scratched the surface in this article. From the first coat to the final painted model, there is a lot you can do to paint your 3D prints the way you want. While you don’t need a spray booth or complete spray painting setup, it always helps to use the right techniques and paints.
What else would you like us to cover about painting 3D prints? Let us know in the comments!