The vase mode in Cura is a pretty unique tool that is both useful and fun to use. Think of it as making a whole model with a single strand of 3D printer filament. No seams, no transitions between layers—just one continuous line 3D print.
Even though Vase mode in Cura sounds fascinating, you can’t print every 3D model with it. There are a few things you need to watch out for when using this printing mode.
In this article, we’ll teach you exactly what to pay attention to when using Vase mode. When to use it, what print speed, line speed, and other settings you should use, and anything else you need to know.
Let’s see how Cura’s Vase Mode can give your prints a touch of flowerful magic!
What is Cura Vase Mode?
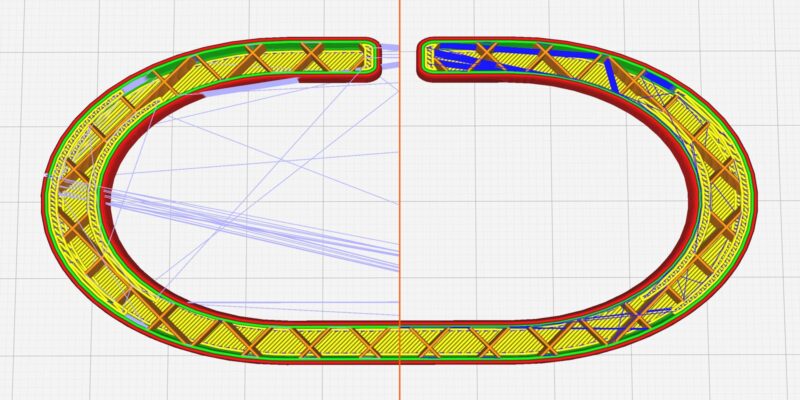
Vase mode is a Cura feature that allows you to print things with only one perimeter. Your whole model is just a continuous line of filament with a single wall.
Cura’s precise name for this function is Spiralize Outer Contour. This is perhaps more appropriate and descriptive of the feature. When you turn on this mode in Cura, it follows the outer shape of your model in a constant spiral. The nozzle slowly moves up—or your print bed down, depending on your 3D printer—on the Z-axis.
Let’s use a real-life case to help us understand it better.
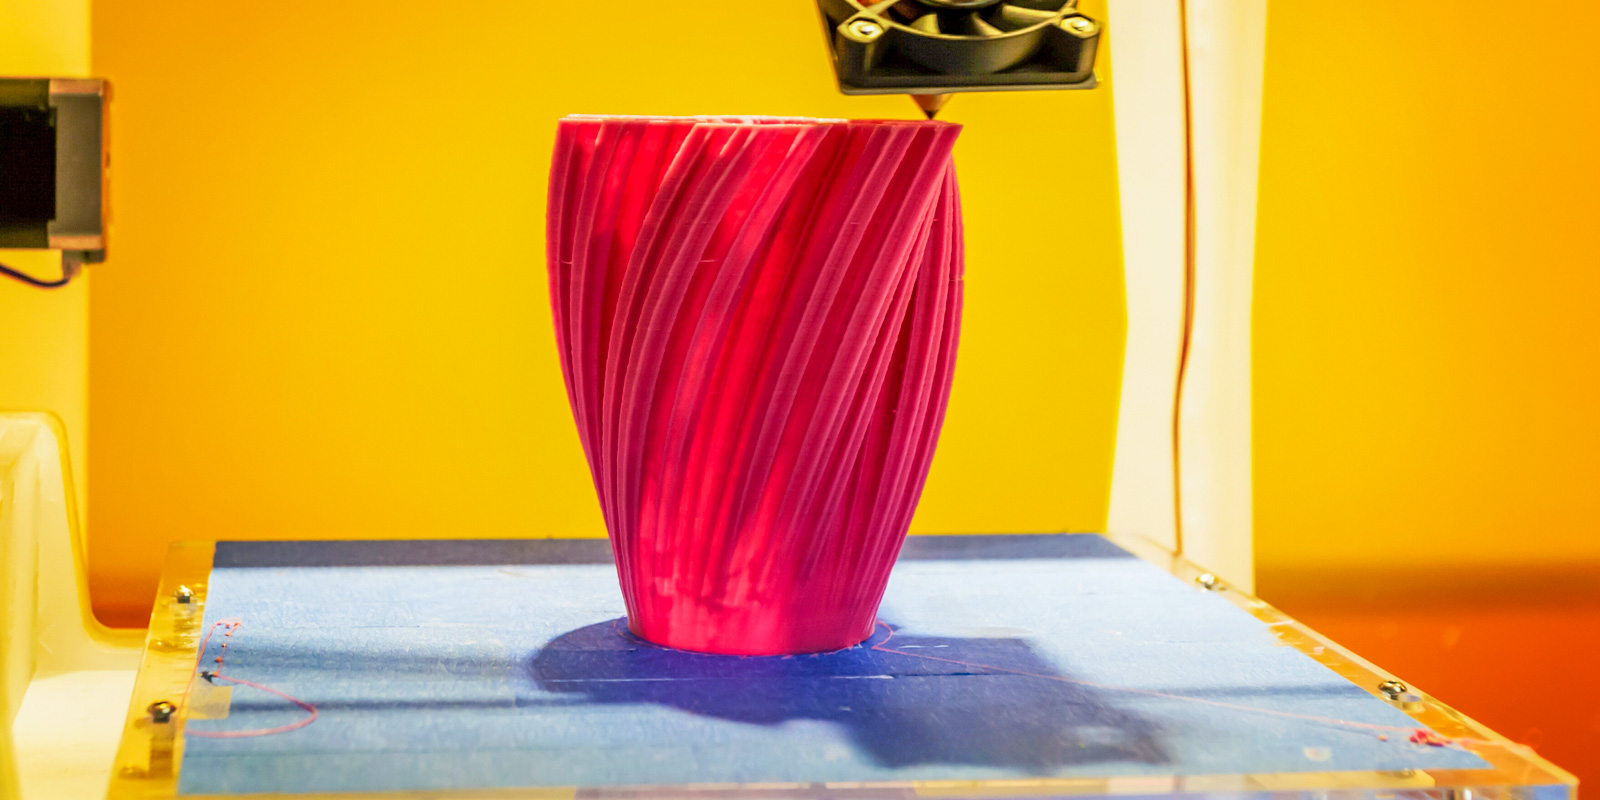
Picture yourself 3D printing a flower vase. When you choose the spiralize outer contour option in Cura, the nozzle follows the shape of the model. In this case, this is the circular outline of the vase. The nozzle keeps spiraling upwards without taking a break at any point.
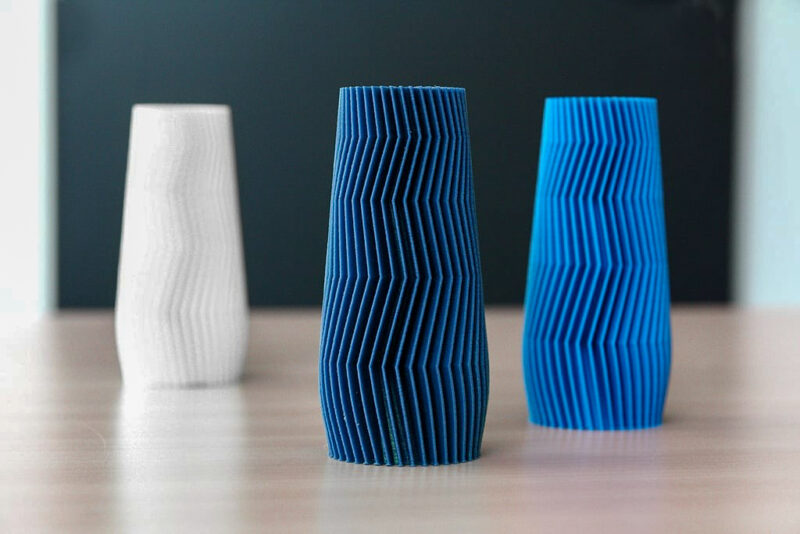
After printing, you’ll have a vase with a solid bottom, a single-line wall around the outside, and no top surface—all hallmarks of a 3D print made with Cura vase mode.
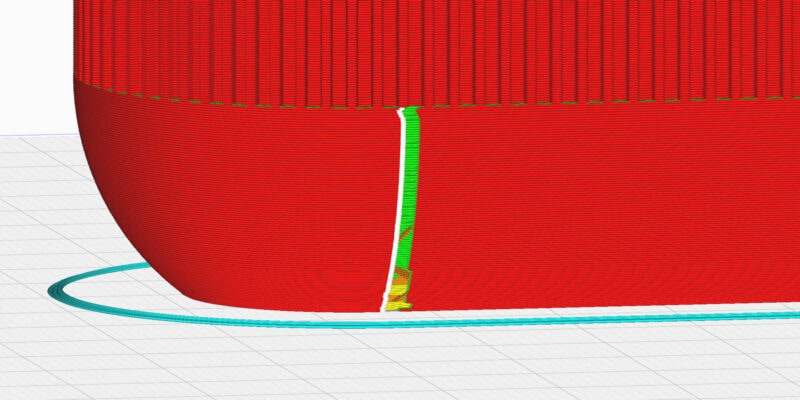
Aside from the first few layers, there won’t be any start or stop points. The upward spiral motion of the nozzle is mesmerizing to watch, and the whole procedure can feel magical to first-time users.
Advantages
Less Print Time
When printing with the vase mode in Cura, your 3D printer won’t spend time on retractions. There’s no retracting since the hot end is continuously pushing the filament out.
Furthermore, the printer also does not make any non-printing travel movements. The 3D printing process is constant, as the nozzle moves in a single continuous path. The absence of these moves gives you faster 3D print times.
Let’s illustrate it with an example.
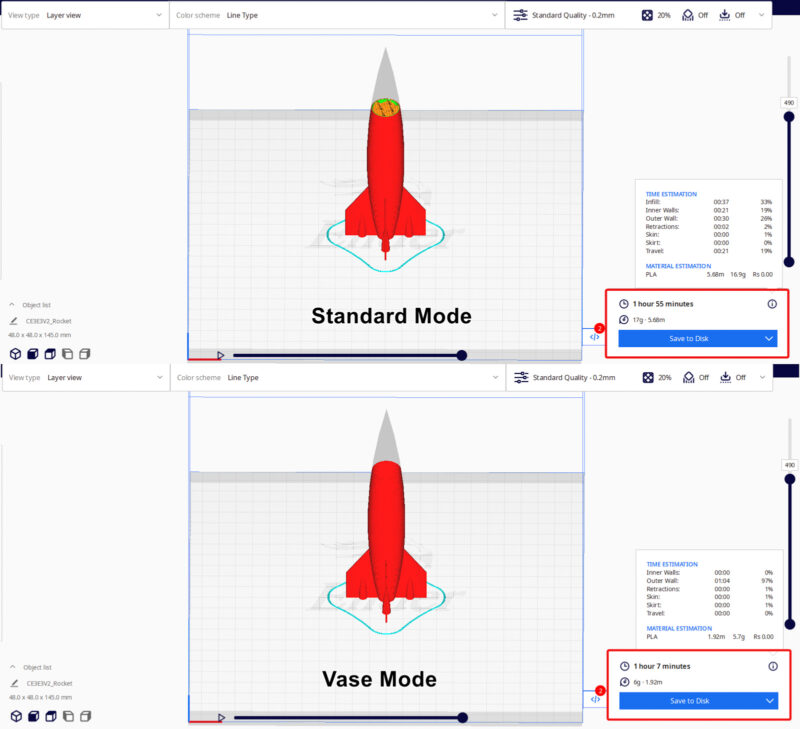
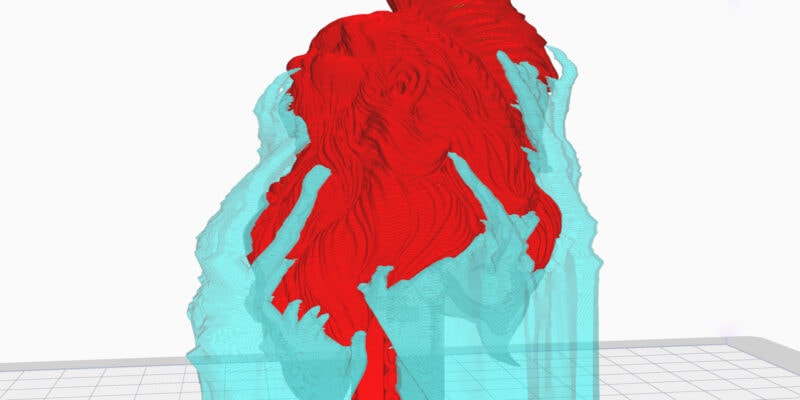
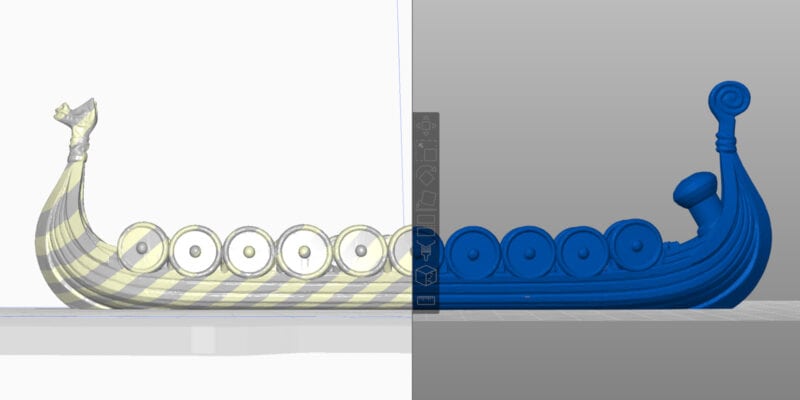
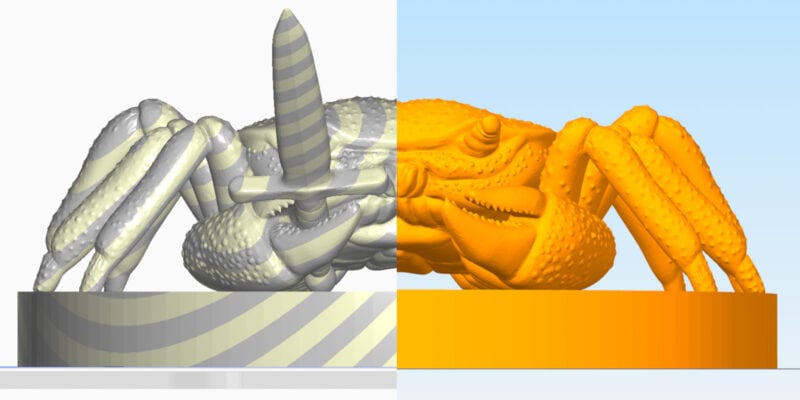
Using Cura’s standard quality setting, it takes about 1 hour and 55 minutes to print the Classic rocket by Botmaster shown in the picture above. With Cura’s spiralize outer contour mode turned on, it only takes 1 hour and 7 minutes to 3D print the same rocket model. This is almost half the time it took before!
It’s important to keep in mind that with Cura’s spiralize outer contour mode enabled, you end up with hollow objects. It’s the main reason for these print time savings. This is not a problem if you want to 3D print vases, but if you want to create structural parts again, make sure to disable this setting in your slicer.
Reduced Material Usage
In Cura vase mode, the printer prints only the outermost perimeter of your model. It’s just a single continuous line with no infill or interior walls. This ends up saving you money on the 3D printing filament.
Notice the above example of the same rocket. With normal settings, you need about 17 grams of material to 3D print it. When printed in vase style, however, the rocket requires just around 6 grams of plastic, or about a third as much as when produced using standard mode.
Beautiful Looks
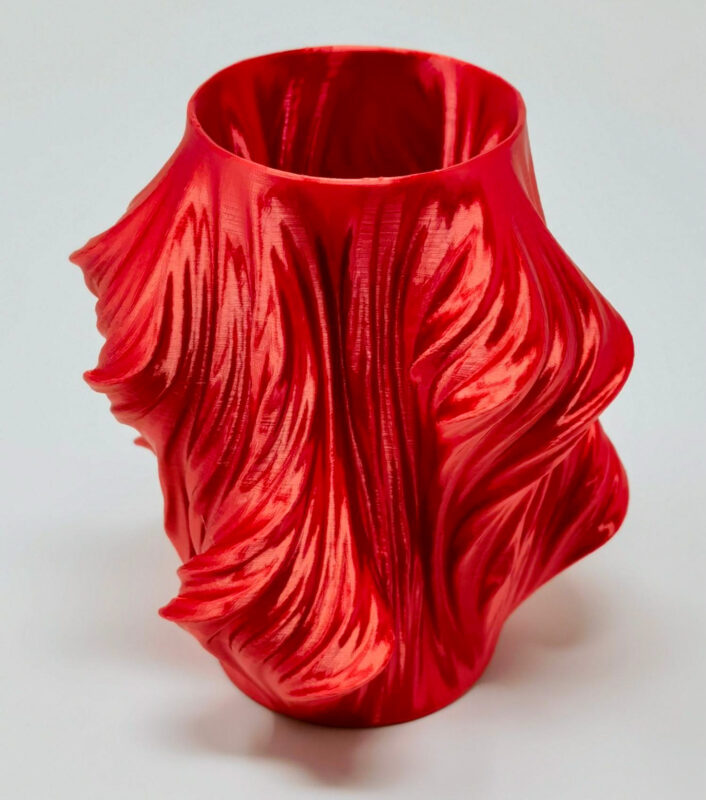
Vase mode prints stand out visually. Because of their continuous print speed and lack of Z-seams or bumps on the outside, you get seamless models that are ready to display or sell.
Certain models are designed to be printed in this mode and not in the standard one. These tend to be vases (obviously) but also lampshades, bottles, holders, and basically anything that has a continuous cross-section. If you’re going to 3D print models that are purely for aesthetics, consider printing them with Cura vase mode enabled
Disadvantages
Weaker Prints
3D printing in vase mode means printing without infill and with only one perimeter. Needless to say, this results in a print that is not very sturdy. It’s just a single-walled hollow shape.
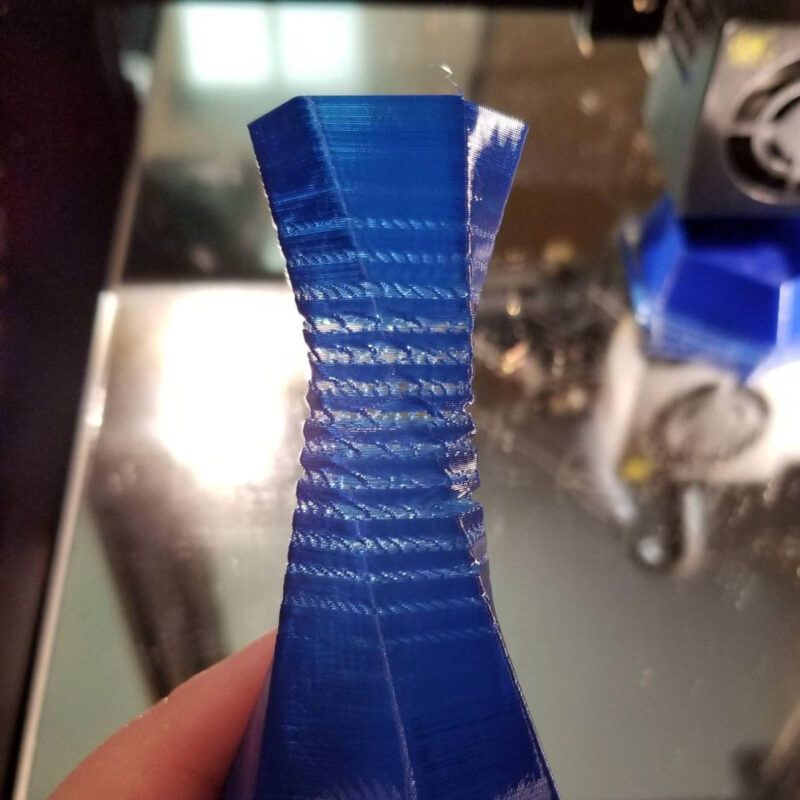
When you apply a bit of pressure on the horizontal directions to a model produced in vase mode, you’ll see that it flexes quite quickly. Press a bit harder, and you’ll hear the print crack and see the layers delaminate.
For this reason, you shouldn’t use vase mode for models that are expected to endure mechanical stresses. You can only use it to create aesthetic prints and not ones that will be used in the field, like a wrench.
If you want to increase the strength of vase mode 3D prints, you can increase the wall line width. A thicker line width gives the continuous cross-section a bit more strength. It’s not as much strength as a print with infill would have, but it still helps.
Limited Designs
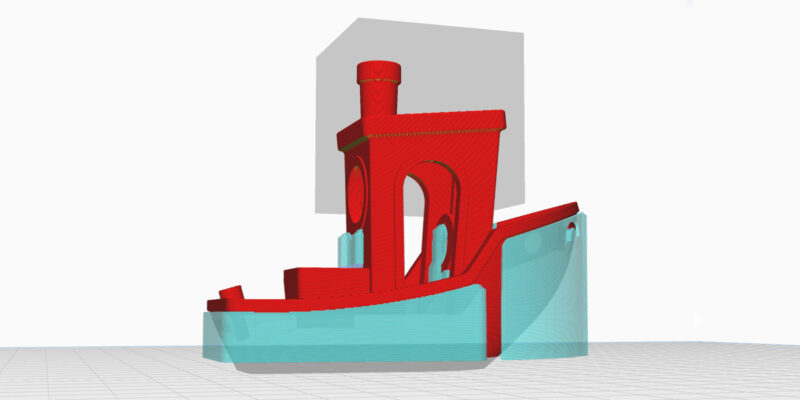
You can’t 3D print every model with Cura vase mode. It only works on designs that have a smooth, continuous geometry. The aforementioned flower vases, candle holders, lamp shades, and flower pots are good examples.
Things like flowers, pen cases, and rockets can be a bit more difficult. You’ll have to use a model that is specifically designed to be 3D printed in vase mode. Any design with overhangs, large holes, or multiple separate bodies is not going to work.
How Do You Turn On Vase Mode in Cura?
Turning on Cura vase mode is a straightforward process. You only need to do two simple steps, and then you can use the Vase mode.
1. Show the Spiralize Contour Setting
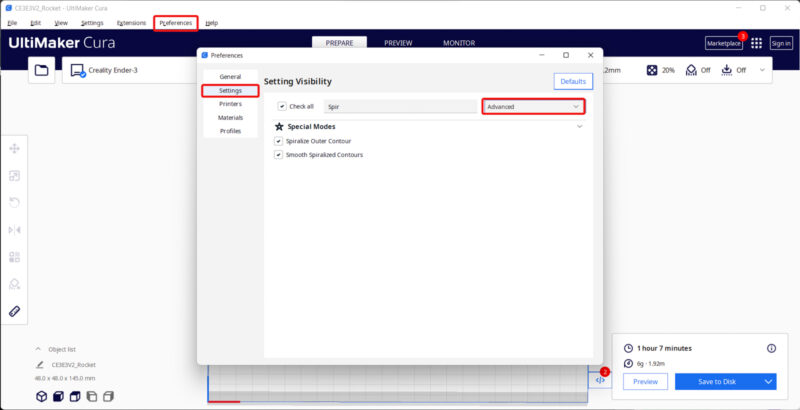
Open Cura and go to the Settings part of the Preferences menu. You can choose “Check All” or use the search box to find “Spiralize Contour” and “Smooth Spiralize Contour.” These are the Cura vase mode settings.
You can also turn this setting on by using the dropdown menu next to the search box and choosing the Advanced option.
2. Enable Vase Mode and Slice the Model
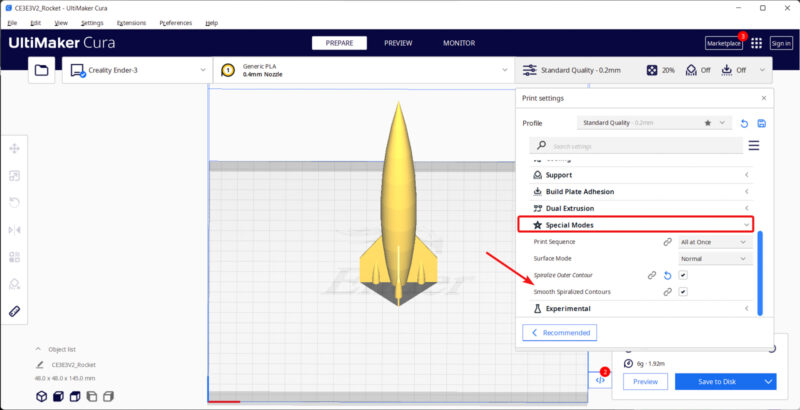
Under Print settings, choose the option that says “Show Custom.” Scroll down to Special modes to see the Spiralize contour and Smooth Spiralize contour settings. Check these boxes, and then slice the model with the layer height you want.
That’s all there is to it. Cura’s vase mode is that easy to use. This is just the first step in printing objects in Vase mode, however. For the best results, we recommend doing some tweaking of your print settings. Let’s show you how to do this.
What Are the Best Cura Settings for Vase Mode?
Cura’s vase mode is a bit different from the other slicing modes. So when you use this feature in Cura, you need to pay extra attention to certain settings.
Print Temperature
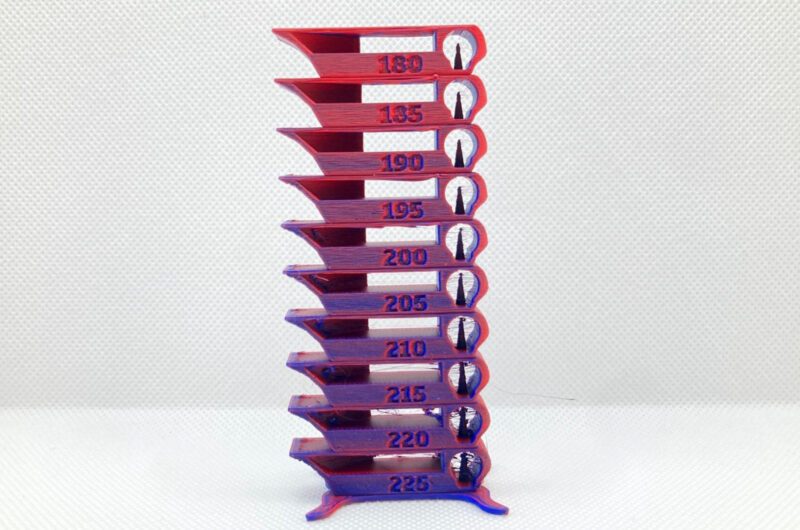
The print temperature determines how easily the extruded material flows. When you increase it, the filament will be more liquid and easier to push out of the nozzle.
With a slightly higher print temperature setting, the layers also stick together better. The hot nozzle can squeeze the layer below it and increase its line width a bit. All of these things add up to a thicker and stronger wall, which is very helpful for printing in Cura vase mode.
It’s important to not have too high of a nozzle temperature, however. If the filament does not cool in time before the next spiralized contour pass, there is a chance of your model ending up deformed.
In the other direction, a lower extrusion temperature helps the filament cool down more quickly. But if you push this too far, it can cause problems with under-extrusion.
Cura vase mode is not well suited for printing at lower temperatures. It takes a good amount of heat for the nozzle to continuously push material out without stopping. So it’s better to err on the side of printing hotter than cooler.
Unfortunately, there’s no ideal temperature that we can tell you to just use and start printing. It depends on your material, print speeds, and so on. However, using a temperature tower to determine the best print temperature settings goes a long way.
Printing Speed
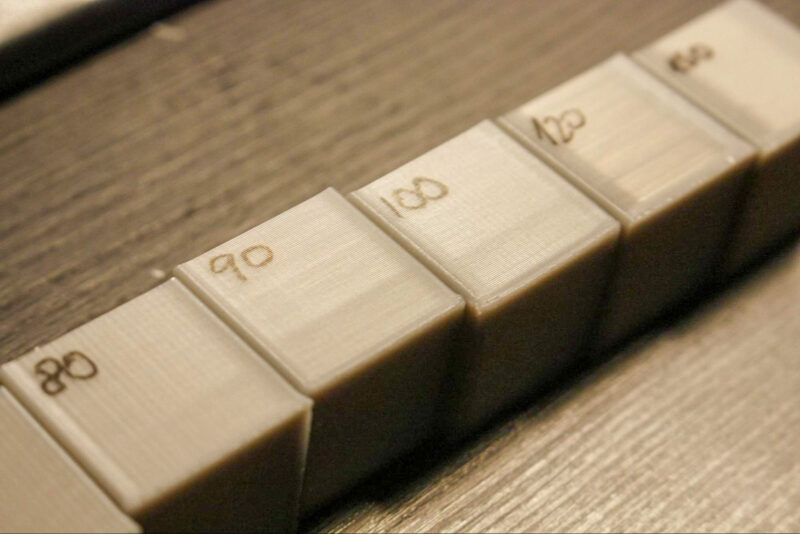
Your 3D-printed model’s overall look, feel, and quality are all affected by the print speed. In vase mode, a slower extrusion speed makes it easier for the layers to stick together. It gives the layers enough time to cool down and make a stable base for the next layer.
The best number for printing your vases is 50% of your normal print speed. If you usually print your walls at 60 mm/s, try printing in the vase mode at 30 mm/s instead.
The slower you go in the vase mode, the better the prints will be. This is true even if you don’t use Cura vase mode. However, printing faster means decreased print times, so it’s all about experimenting and finding the right balance.
Layer Height and Nozzle Size
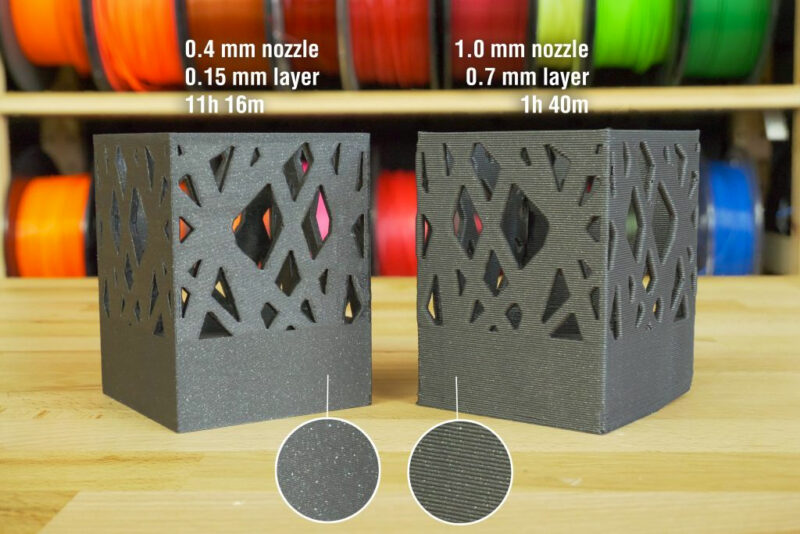
Nozzle size and layer height are linked and very important for Cura vase mode. The size of the nozzle you use determines both how wide the single wall line width can be and how high the layers can be.
For example, with a 0.4 mm nozzle, you can only print layers up to around 0.32 mm thick (80% of the nozzle width). Great for small-to-medium size vases, but less so for large vases.
With a larger nozzle, say one with a 1.0 mm opening, you can print layers up to 0.8 mm tall. Not only that, but you can also use it to print layers with a larger line width. If you want to give your 3D-printed vases extra strength, a higher line width is the exact option to go for.
Think about how important print quality, strength, and printing speed are to you, and choose a nozzle size that works best for your vases.
Conclusion: Should You Use Cura Vase Mode?
Cura vase mode is a great and useful way to make decorative objects. It reduces the printing time, saves materials, and the print quality is just top-notch. Seeing the outer single wall contour spiralize up the Z-axis is also more interesting to watch than the normal printing process.
You do need to know that the spiralize outer contour setting in Cura isn’t all bells and whistles. You can only use it on certain models, and prints with thin walls are going to be weak and won’t hold much weight.
Because the vase mode is so different from other slicing modes, we recommend dialing in your print settings and saving those specifically for these types of 3D prints.
Let us know in the comments how the vase prints work for you. If you have any questions or comments, feel free to ask, and we’ll be glad to help you out.
Good luck exploring the ‘stem’-ulating options of Cura’s Vase Mode!
