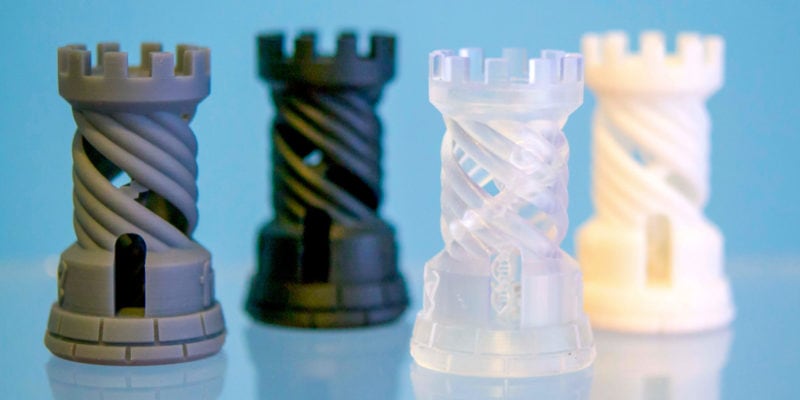
It is an exciting time to get into 3D printed miniatures. 3D printers are now more than capable of printing excellent quality minis and the prices of these machines are at an all-time low. You can create, customize, and 3D print your minis right at home.
Because of their small size and detailed features, 3D printing minis can be a difficult task. It could take some while before you get that first perfect print. In this article, we’ll give you all the tips you need to 3D print minis using both FDM and resin 3D printing techniques.
What Miniatures Can You 3D Print?
Miniatures come in all shapes and sizes, ranging from tabletop minis to diorama pieces. They can be used in various settings, like games or educational models. Let’s look at the different types of miniatures that you can 3D print.
Tabletop Miniatures
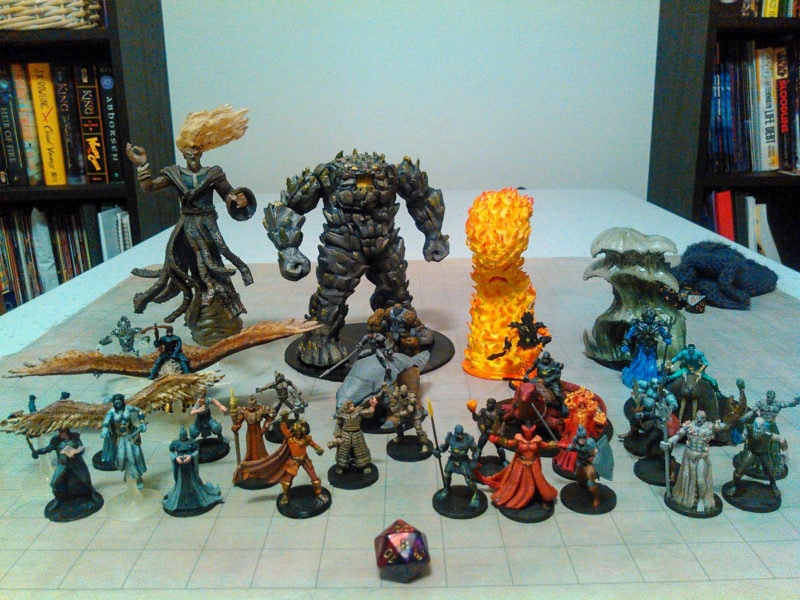
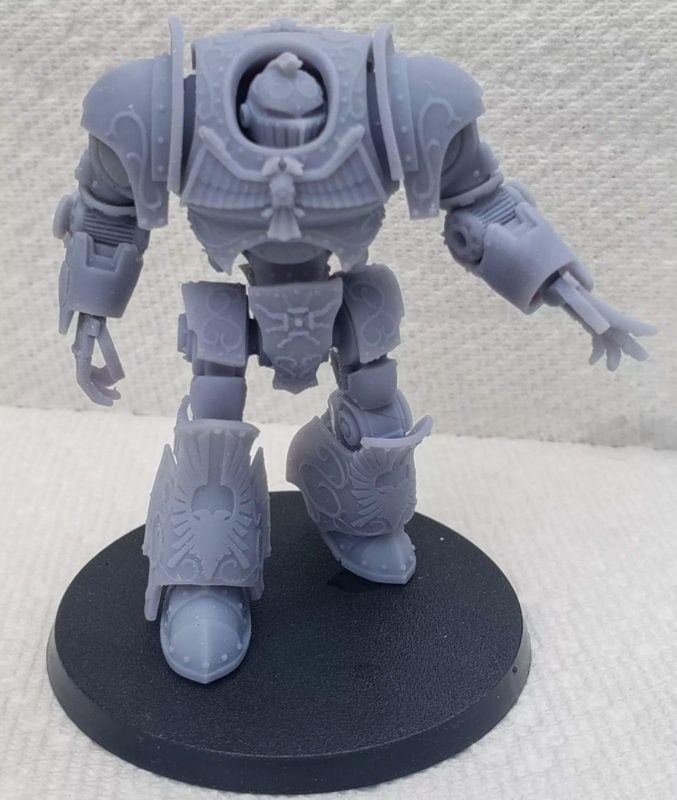
Tabletop minis are tiny (~28mm height) characters from some of the famous tabletop games such as D&D, Warhammer, and Warmachine. They are the most popular kinds of minis available and you can find a wide variety of designs to 3D print.
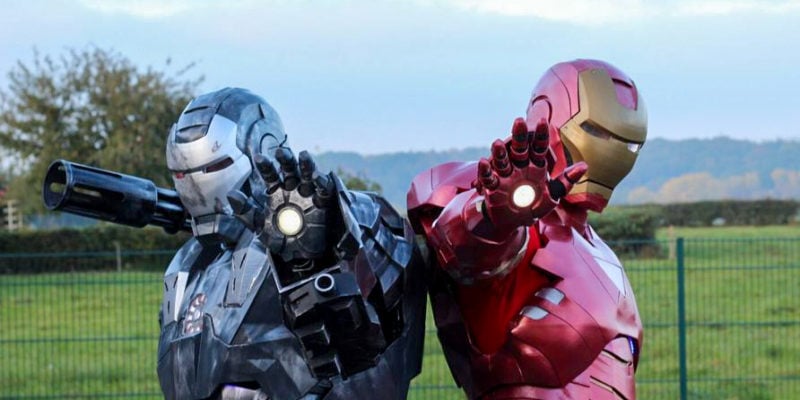
Action Figures
Action figures are articulated models which are figurines of some of the popular movies, TV shows, or comic book characters. These are typically taller than tabletop miniatures and can have complicated joints to facilitate the movement of the model.
Model Figures
Model figurines are minis of significant personalities from real-world or fictional games. You can find 3D printed scaled-down models of actual historically significant personalities of movie actors and comic book monsters.
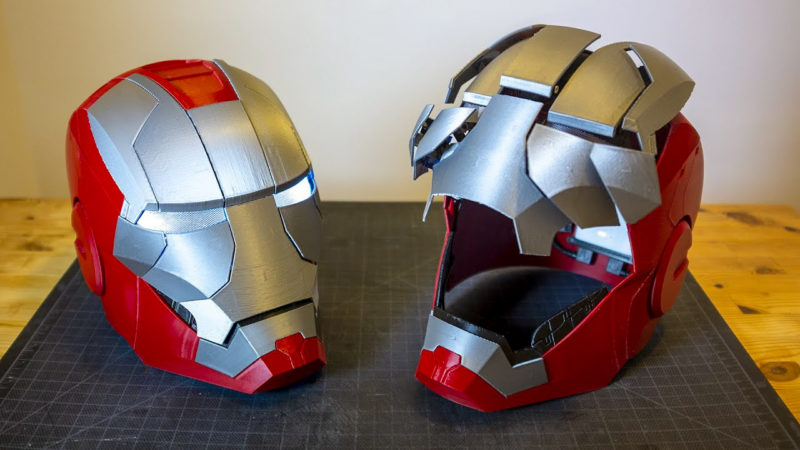
Dioramas
Dioramas are scaled replicas of a particular scene. They are a recreation of a particular scene from a movie, game, or event.
Landscape Models
Landscape models are a visual representation of actual or fictional terrains. In the tabletop miniature world, landscape models are used to portray the battlegrounds of the game.
Dollhouse Props
Dollhouse props can include customized furniture, lighting accessories, showpieces, and dolls. Depending upon the size and complexity of the models, you can use a resin or FDM printer to 3D print these props.
Educational Models
3D printed educational models are a great visual aid for learners of all categories. You can find 3D printed models in scientific, engineering, architectural, civil, safety, and other categories.
3D Printing Minis: Filament vs Resin
Out of all 3D printing methods, filament (FDM) and resin 3D printing are the most accessible and cheap options. Both methods have their own sets of benefits and drawbacks for miniature 3D printing.
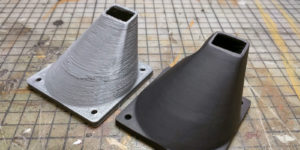
FDM 3D Printing
FDM 3D printing uses a spool of a thermoplastic filament as its raw material. This filament is heated using a 3D printer hot end and extruded via a nozzle to form an object layer by layer. Once molten and extruded, each new layer of filament cools down and fuses to the previous layer.
Because FDM 3D printed minis are printed with relatively thick layers, they tend to have visible layer lines on their surface (before any post-processing). As a result, the visual quality of these figurines is lower than their resin counterpart.
However, FDM 3D printers are easy to use and safer than resin 3D printers. Because filament is cheaper than 3D printer resin, a FDM printed miniature costs significantly less than resin mini.
You also get a bigger build volume with FDM 3D printers, which lets you print large objects in one piece. If you are looking to 3D print large miniatures, figurines, action figures, or terrains, a FDM 3D printer is a great option.
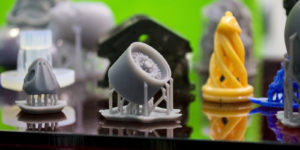
Resin 3D Printing
In resin 3D printing, a photosensitive resin is cured using a UV or laser light source. SLA 3D printers use a laser to cure the resin, whereas DLP 3D printers use an LCD screen as a light source.
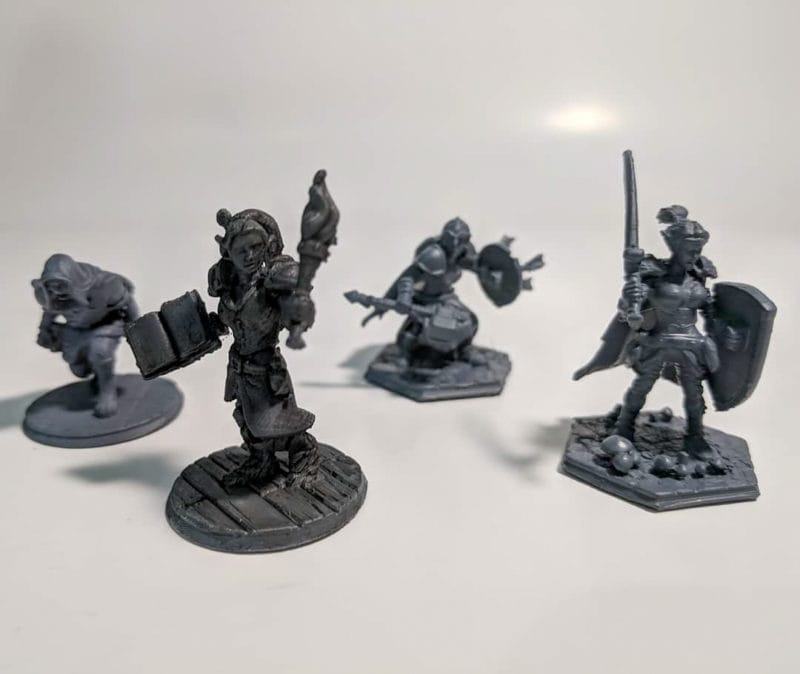
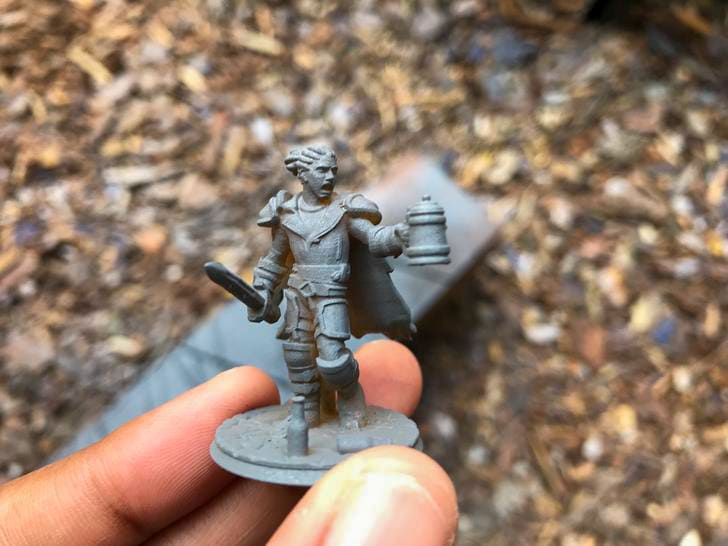
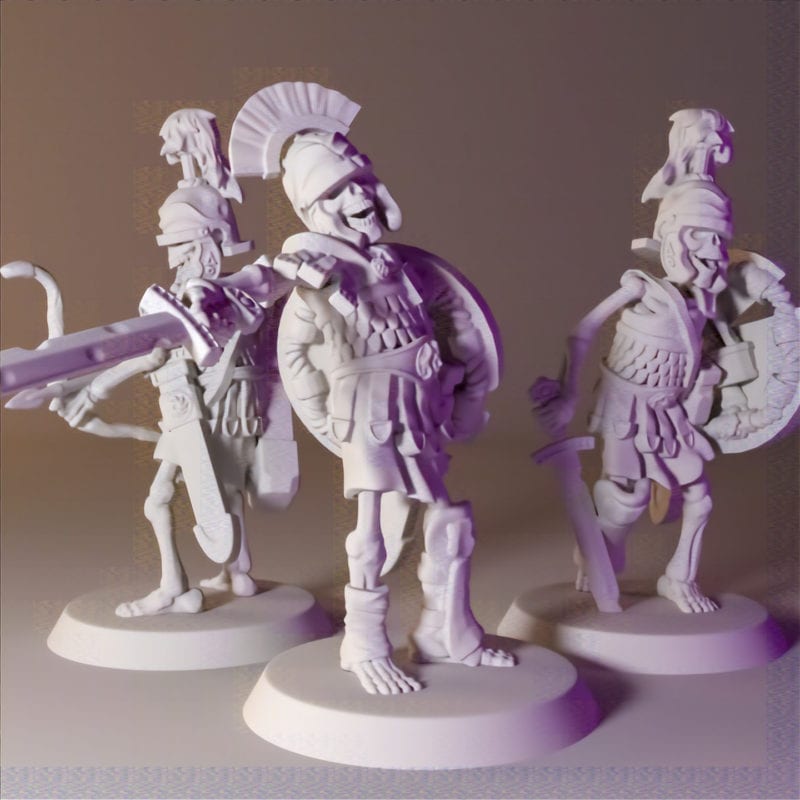
The main benefit of resin 3D printing is the exceptional part quality that you get from it. On minis, you get an excellent surface finish and the finer details of the miniature are reproduced beautifully with a resin printer.
Resin 3D printing is easy to scale too. No matter if you print a single model or ten at once, the time required is exactly the same. On a FDM printer the total print time increases with every mini you add to the build plate.
The drawbacks of using resin printing for miniatures are the material cost, build volume, and technical expertise that are required to operate resin printers. Even though the best resin 3D printers come with features that make their use more streamlined than their budget competitors.
How to 3D Print Miniatures
3D printing miniatures can be a difficult task if you’re not familiar with the various settings that you need to dial in. We’ve divided this section into two parts. One for printing minis with FDM printers, and one for resin printers.
FDM Printing Minis
Layer Height
A lower layer height means finer layers, which leads to a better surface finish. Most FDM printers have no problem printing down to 0.1 mm (100 micron) layer heights with stock settings. A layer height of 0.08-0.12 mm gives a good balance between time and quality for minis.
Nozzle Size
Nozzle size directly correlates to the layer height and the details of the models. A smaller nozzle size will be better able to reproduce the small features of the model. A 0.2 mm or smaller diameter nozzle gives great results 3D printing miniatures.
Temperature
In FDM 3D printing, the hotend temperature is a crucial element to get a good quality 3D print. Especially when working with smaller nozzles. If the temperature is too high, you can end up with filament strings. Too low, and you can suffer from under extrusion.
You need to dial in your filament’s melting temperature perfectly to get the highest quality of minis. Using a temperature tower for calibration is a great way of doing this.
Speed
You need to print minis slowly. Slow speeds let the filament cool down properly and reduces chances of knocking off things from the build plate. A print speed of 20-25 mm/s is a nice starting point.
Retraction
If you want to avoid any zits or blobs on your minis, you should take some time to finely tune your retraction settings. There are many pillar tests available that you can use to fine-tune your retraction settings. Unfortunately there is no one-size-fits-all retraction setting. Every 3D printer, filament and print settings combination has its own optimal retraction setting.
Supports
Miniatures and figurines tend to have lots of overhangs. To get a high quality 3D printed figurine, you will need to use supports. You should refrain from using slicer-generated supports for minis as they might not provide supports in the crucial areas and are often difficult to remove.
A better alternative to this is to use Meshmixer to generate support. In Meshmixer, you have more options to customize your supports and you can add manual supports to the model as well. Adding manual supports takes some effort, but the end result and time saved in post-processing are well worth the efforts.
Cooling
FDM 3D printers use a cooling fan to cool the molten filament as soon as it has come out of the nozzle. Miniatures can benefit greatly from this. The hotend radiates a lot of heat and spends most of its time around the printed model. As a result, the printed mini can start to overheat and deform.
Running the cooling fan is therefore a good idea, but keep in mind that this is dependant on the filament you use. PLA filament always benefits from cooling, whereas even the best PETG and best ABS run into issues when they are cooled too much.
Resin Printing Minis
Exposure Time
Exposure time denotes the time the resin material is exposed to UV or laser light while 3D printing. This time influences the curing of the resin and ultimately the quality of the model. If you keep the time low, the resin might not cure sufficiently to allow the subsequent layers to build on it. If you set it too high, you risk light scattering and a loss of details.
The optimal exposure time is based on the brand and the quality of the resin. Usually, the manufacturer mentions a range of exposure times for their resins. But these settings also depend on the 3D printer’s light source. You can try out an exposure time calibration test to dial down the exposure settings for your particular resin.
Lifting Speed
Lifting speed is the speed at which the build platform lifts the model away from the resin vat at the bottom. In resin 3D printing, the layer is cured near the FEP film at the bottom of the vat. Each time the build platform is raised, suction is created between the FEP film and the cured part.
If the lift speed is too high, you risk damaging the weaker sections of the print. The slower you set it, however, and the more your print times increase. So it is important to find a sweet spot for lifting speed to balance your miniatures’ print speed and quality.
Anti-Aliasing
Anti-aliasing reduces the staircase effect in your final 3D printed model. It smooths out the edges of your minis and reduces visible layer lines. The ideal final result has a smooth surface finish with no steps or layers on the model.
Depending upon the size of the model and the slicer you’re using, there are different levels of anti-aliasing settings. There is a great guide on anti-aliasing by Chitubox which you can use to fine-tune your settings.
Print Orientation
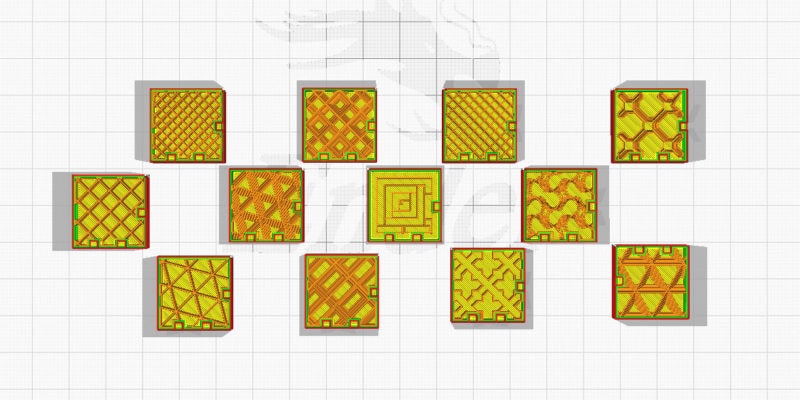
The print orientation of the model is important in resin 3D printing miniatures. A poorly oriented model can result in the use of excessive supports or an increase in print times. A general rule of thumb is to orient your minis at a 45° angle from the build plate. This gives a good balance between printing times and support structures.
It is also important to avoid printing any large flat surfaces at once. This increases the peeling force on the FEP film and can cause print failures.
Post-Processing
The final step in 3D printing minis is post-processing. This step can make the difference between a good and a great figurine. You can choose to sand your minis, paint them and make them truly unique in post-processing. FDM and resin 3D printed minis have different steps for post-processing.
FDM Post-Processing
Minis that were printed on a FDM printer don’t require much post-processing. If your printer settings are dialed in perfectly, all you need to do in this step is remove the supports. Removing supports takes patience, however, and the small size of minis can make it a challenge to clean leftover support material.
You can decide to paint your minis or leave them as they are. If you do decide to paint them, you can either paint directly onto the model or go into the extensive painting process of sanding and priming the model before the paint.
Painting directly on the miniature requires less effort, but any defects are more likely to show up in the final result.
Sanding and priming help you to cover up any defects and after painting, the part looks like a production-grade mini. Removing too much material through sanding can create a loss of detail in the final model, so be sure to pay attention to that.
Resin Post-Processing
Post-processing resin printed miniatures is a messy task and requires some extra equipment and patience. There are two steps involved in post-processing resin parts – washing and curing.
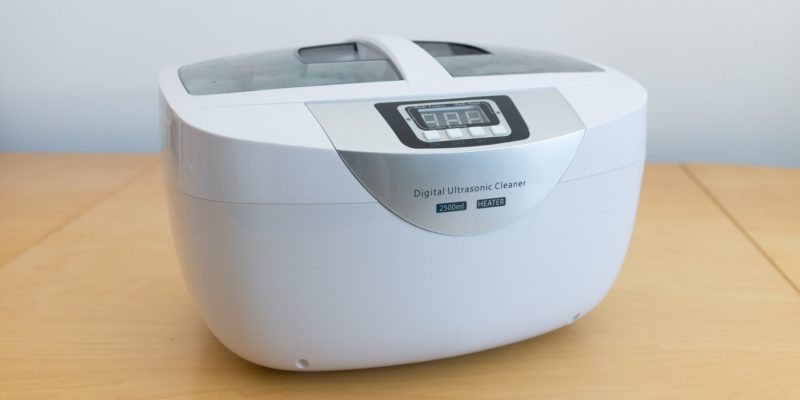
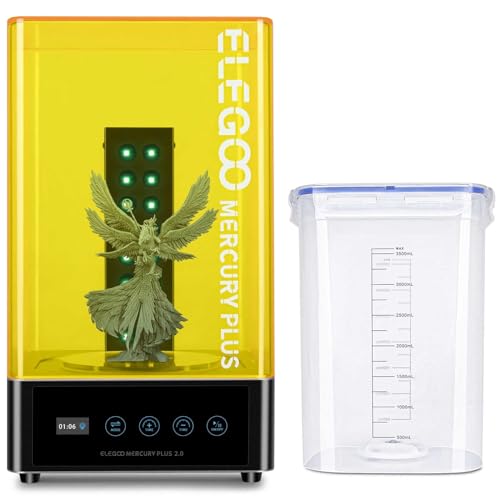
Washing
Once the printing of your mini is completed, there will still be excess resin left on the model. This resin is not cured and must be removed before you can safely handle the mini.
To wash off this excess resin, dip the entire model into a bath of water or isopropyl alcohol and leave it in the bath for some while. You can either build a washing station for this or buy it one directly from the 3D printer manufacturer. The Elegoo Mercury Plus is a popular choice, as it also has a rotary curing turntable built in.
Curing
After the excess resin is washed away, you need to cure your mini before you use it. The curing step gives it extra strength, a smooth surface finish, and stops the resin from reacting further to other things.
If the print has any support structures, you need to remove them before the curing process. After curing, supports are difficult to remove and might not separate from the model well.
To fully cure the resin model, you need to expose it to UV light. To do this, you can keep it directly under sunlight or use a UV curing station to cure it quickly and safely.
Once the washing and curing are done, your mini is ready for painting. As the surface of resin printed minis is already very smooth, there is often no need for sanding. You just need to apply a primer coat and then you can paint your 3D printed miniature to your liking.
Which 3D Printer to Use?
The choice of a 3D printer can influence your experience with 3D printed minis. A good 3D printer with a set of advanced features and reliable community support will save you from a lot of hassle. We’ve selected two of the best 3D printers, one FDM and one resin 3D printer, that are best suited for 3D printing minis.
Best Resin 3D Printer for Minis
The Elegoo Saturn combines advanced features at a budget price. It is a DLP 3D printer and is one of the large-size resin 3D printer offerings from Elegoo. It comes at a price tag of $499.99, cheap considering its wide range of features.
The Saturn features a large build volume of 192x120x200 mm with a 4K resolution monochrome LCD screen. You get a dual Z-axis linear railway, a CNC machined body, and a ball-bearing leveling system to ensure a sturdy build of the 3D printer. Saturn has great community support with lots of forums to help you out with any issues.
The large build volume lets you 3D print many models at a time or you can choose to 3D print miniatures at a large scale. The high-resolution 4K LCD monochrome screen lets you reproduce fine details of your miniature models and lets you print at faster speeds. It is compatible with the Chitubox Slicer, which is one of the best slicers for resin 3D printers.
Considering its cost and features, the Elegoo Saturn offers some of the highest value for 3D printing miniatures. You can use it to 3D print minis, action figures, models, and landscapes. It is an excellent option if you plan to print lots of miniatures for yourself or if you plan to make money with your 3d printer and selling 3D prints.

Best FDM 3D Printer for Minis
The Prusa i3 MK3S+ is the latest and the most advanced offering from Prusa 3D. It is their flagship 3D printer and is one of the best hobbyist FDM 3D printers that can currently be found on the market. The i3 MK3S+ comes with a premium build quality and a rich set of features.
It has an open frame design with a build volume of 250x210x210mm. You get a heated build platform that can go up to 100°C and an all-metal hotend that can reach a maximum temperature of 300°C. The i3 MK3S+ also features automatic bed leveling enabled by a SuperPINDA probe, power loss recovery, and a filament sensor, all of which work reliably without hassle.
The heated build plate and the all-metal hotend allow you to print with a wide variety of materials. The automatic bed leveling ensures that your first layers stick perfectly to the build plate. This comes in handy when you want to print multiple figurines at once that will fill up your entire build platform.
Miniatures produced with the i3 MK3S+ are of great quality. The extra build volume lets you print bigger figurines and terrains. You can print dice towers, swords, weapons, and various terrains on this 3D printer. The i3 MK3S+ is compatible with the Multi-Material Upgrade, which you can use to create multi-color parts and minis.
If you want to explore more options, we have an entire article that lists the best 3D printers for miniatures. It has a wider collection of 3D printers for you to choose from in case you feel the two options above don’t quite meet your needs.
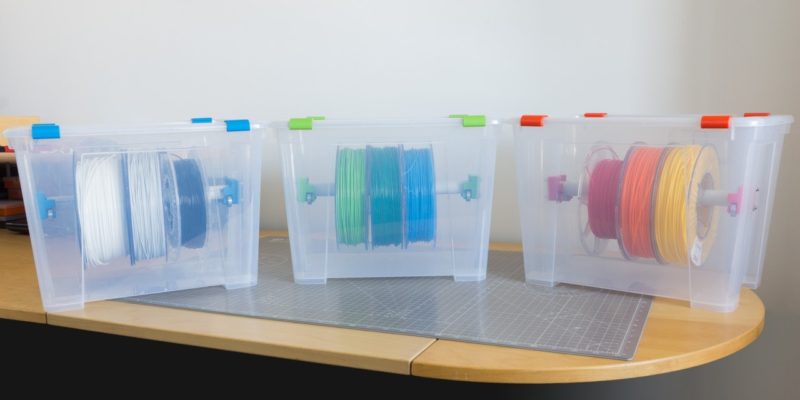
Which Filament to Use?
PLA, PLA+, ABS and PETG are the most popular material choices for FDM 3D printing nowadays. While ABS and PETG have their benefits, PLA and PLA+ are the best-suited materials for 3D printing miniatures. They are cheap, easy to print and post-process, and offer a consistent 3D printing experience.
As for the best brands, here are our recommendations:
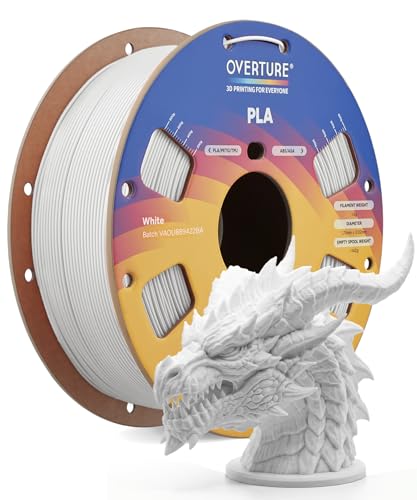
Overture Filaments
In a short span of 2 years, Overture filaments have established themselves as a leading brand in the FDM filament space. They offer a wide variety of different filaments, such as PLA, PLA Pro, PLA Silk, and Matte PLA.
You can expect a good surface finish and strength from this brand. The cost of these filaments ranges from $20- $24, which makes them accessible for many individuals and lets you bring down the 3D printing cost of your miniature models.
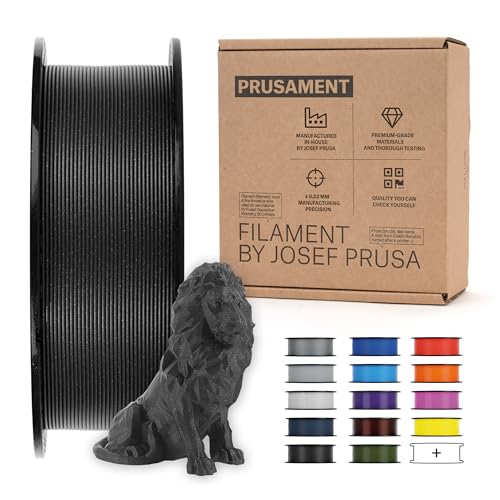
Prusaments
Prusaments are FDM filaments manufactured by Prusa 3D. They are a highly engineered range of filaments that are fine-tuned to achieve a diameter tolerance of ±0.02mm. Because of the diameter consistency of this filament, 3D-printed minis have a great surface finish.
The models produced using Prusament Galaxy filament have a glittery shine to them. It hides layer lines very well and removes some of the need for post-processing minis.
If you already have a Prusa 3D printer, you can easily load this filament’s optimal settings in PrusaSlicer to get the best print results for your figurines.
Which Resin to Use?
Just like there is a variety of filaments for you to choose from, you have plenty of choice in resins for your 3D printed miniatures as well. There are standard resins, clear resins and tough resins, all in a variety of colors. They all cure the same way, by being exposed to the UV light of the printer.
Our go-to brands for resin for minis are:
Siraya Tech Resins
The Siraya Tech resins are one of the best resins available in the budget resin segment. They are tough, have good strength, and produce very little odor compared to other cheap resins. Its prints have a nice surface finish and you can sand the models produced by this resin for painting them later.
Siraya’s Fast and Sculpt resins are best for 3D printing minis. The Fast resin cures faster than others and helps to reduce print times. The Sculpt resin is specifically designed for 3D printing tabletop minis and has a smooth surface finish with higher temperature resistance.


Elegoo Water Washable Resins
The typical post-processing steps of resin 3D printing involve rinsing the printed parts in isopropyl alcohol. This increases costs and is a health and fire hazard as well.
Elegoo water washable resins allow you to wash your 3D printed part using just water. This saves you from having to use isopropyl alcohol and is a great choice if you plan on printing in school settings, for example.
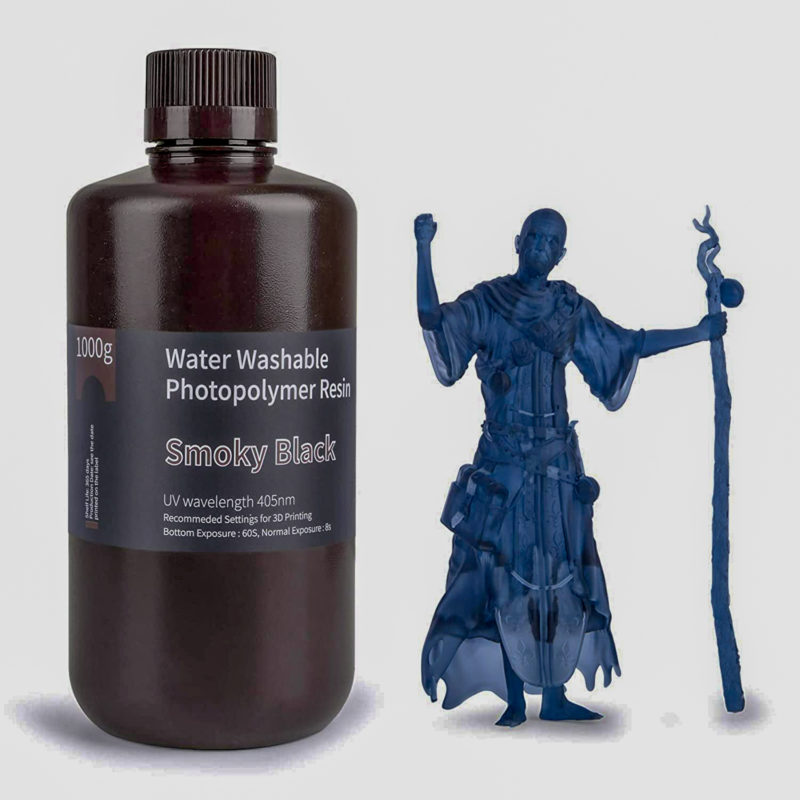
The resin itself is tough and has good fluidity with a nice surface finish. It is available in a wide range of colors and is known to have less odor than other brands.

Where to Get Miniatures for 3D Printing?
With everything else sorted, there is only one question left to answer: Where can you download the 3D printable files of miniatures?
There are plenty of sites out there that offer 3D printable STL files. Many of sites offer these files for free, whereas some also offer paid 3D models. In fact, we just published an article with the best websites for 3D printing files.
However, when it comes to downloading 3D printing files for miniatures, we have a clear top three:
MyMiniFactory
MyMiniFactory is a dedicated marketplace for the miniature community. With a database of over 60,000 designs, MyMiniFactory has plenty to offer.
You can find a lot of high-quality miniature models on the website. Some models are free, whereas others are available for purchase at a small fee. Given the high quality of the models and the ability to support the skillful creators on the site, this fee is (in our opinion) usually worth paying.
Thingiverse
Thingiverse is the biggest STL file repository with a collection of over 2 million free models. Amongst them, there are many D&D minis, terrains, dice towers, and other figurines.
Unlike some other 3D model sharing sites, Thingiverse’s models are all free to download and 3D print. The main benefit of this is that you get a wide variety of models to choose from, but the lack of premium models on the website is definitely noticeable.
Cults3D
Cults 3D is another marketplace for premium 3D printed models. It is a fully independent marketplace with over 4.1 million registered makers and 450,000 designs for you to choose from. It’s a great place to find unique miniatures of high quality.
Conclusion
3D printing minis can seem daunting at first. It slightly is, but the results are worth the effort that you put into it. With the currently available 3D printers, designs and guides like the one above, anyone can get into the hobby with good results.
We hope this article has helped you clear up some doubts regarding miniature 3D printing. If you feel like we missed out on something or if you have any questions, let us know in the comments below.