
If you are a passionate cosplayer (or just like to print props for decorations), 3D printing your own wearable helmet is a fun way to bring your costume to the next level. In this post, we’ll tell you everything you need to know about finding the right helmet STL file or OBJ file, printing it, and making your 3D printed helmet look as realistic as possible.
Whether you’re reading this post as a seasoned 3D printing enthusiast or someone completely new to the hobby (in that case, we suggest you also read our buyer’s guide to 3D printers for cosplay), we’ve included lots of helpful information and resources for your skill level.
Making Your Own 3D Printed Helmet
3D printing a helmet can be a tricky process. You have to consider things like creating or sourcing a good model, sizing the model to fit your head, and splitting the model to fit your print bed. Also important are choosing the right print settings, what type of printer to use, and how to paint and post-process the 3D printed helmet to give it its final look.
If it sounds like a lot, don’t worry. It’s not as complicated as it seems, as long as you know the basics.
Getting a 3D Model of a Helmet
The first step to 3D printing a helmet is either finding or creating a 3D model of one. Both options have benefits and drawbacks, so it really comes down to your personal preferences and your aptitude for 3D modeling.
Creating a 3D Model
When it comes to sourcing the perfect 3D model for printing a cosplay helmet, sometimes it’s hard to find exactly what you’re looking for online. Or maybe you only have an idea for an original helmet design that you want to bring to life. Either way, the easiest solution in these situations is to make the model yourself.
If you’re a total beginner to 3D modeling, this may sound like a daunting task but it is not as difficult as it seems. You can make a helmet (especially a basic one) in most 3D modeling or CAD software options, but some programs make the project easier than others.
Visual effects and animation suites such as Blender, Maya, Wings3D, and 3DS Max that use box modeling are one of the easiest choices for modeling a helmet. Since you can import a 3D model of a human head and scale it to size, you can easily and quickly build the helmet around the head, shaping and contouring it perfectly.
You can also take this approach in 3D sculpting programs like ZBrush, Mudbox, and Sculptris, but these programs are rather inefficient for creating hard surface models. If the design needs a high level of fine details, sculpting can make that process much easier when used in tandem with another modeling program.
CAD software like Fusion 360, AutoCAD, TinkerCAD, and Shap3r are other great choices for designing your helmet. Since they are programs that are highly dependant on precise measurements and proportions, they make it easy to size your model appropriately. They are best suited for straight designs that don’t contour to the shape of the face.
Regardless of what type of modeling you decide to use, there are plenty of other options for free software for 3D modeling that you can use to design your helmet.
If you aren’t sure how to get started, here are a few of our favorite video tutorials to help you out:
- How to Make a Titanfall Style Helmet in Blender (Blender)
- Star Wars Darth Vader Helmet (Blender)
- Modeling a Star Wars Stormtrooper Helmet (3Ds Max)
- Mandalorian Helmet sculpting (ZBrush)
Downloading a 3D Model
If you aren’t confident in your abilities to model your own helmet, don’t worry! There are plenty of downloadable files for helmets available online that other 3D printing enthusiasts have shared.
These files usually come in the form of an STL file or OBJ file that you can use with your favorite 3D printing slicer. The most popular sites to get them from are:
If you are unable to find what you are looking for on these sites, we recommend checking out our complete list of sites with free STL files.
You can use the search functions or categories to find an assortment of possible projects, including several different helmets and masks for cosplay. When picking out a model, be sure to read through the file details, comments, remixes, and user makes before printing.
Most of the time, the designer will leave valuable information in the model description about the best slicer settings, what printer they used to test print the helmet, and notes on updates and fixes. If there is any type of assembly or special instructions that go along with the model, this is where the designer usually puts them.
The comment section often has valuable insights about possible broken or missing files, common problems, and the settings that worked best for their 3D printer. If someone fixed or improved a part of the design, you can find that update under remixes. Looking at the makes from other users ensures that the helmet does indeed print without issues.
Top 3D Printed Helmets in 2026
To make things easier for you, we have listed some of the most popular models to make. If you are interested in 3D printing an Iron Man helmet, Boba Fett helmet, or other Star Wars helmet, we’ve got you covered.
Mandalorian Helmet – v2
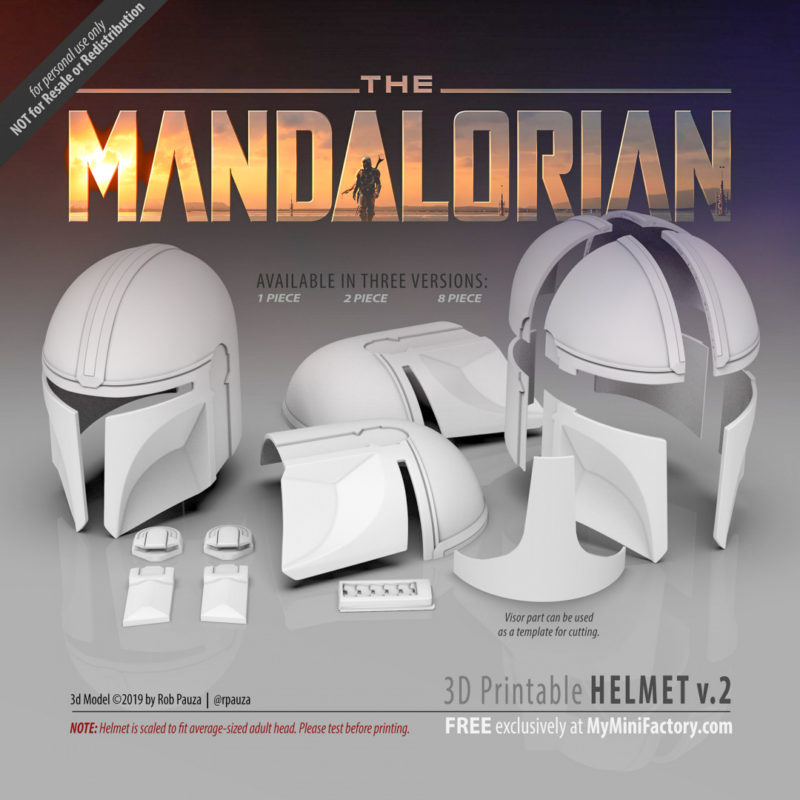
Rob Pauza’s Mandalorian helmet comes with three different versions to choose from. You can print it in one, two, or eight pieces so that you can easily print it regardless of your printer’s build volume. That makes this print file an ideal choice for users who want to leverage the high detail of the best resin 3D printers, since the pieces are small enough to work with their modest print areas.
- Found on: MyMiniFactory
- Designed by: Rob Pauza
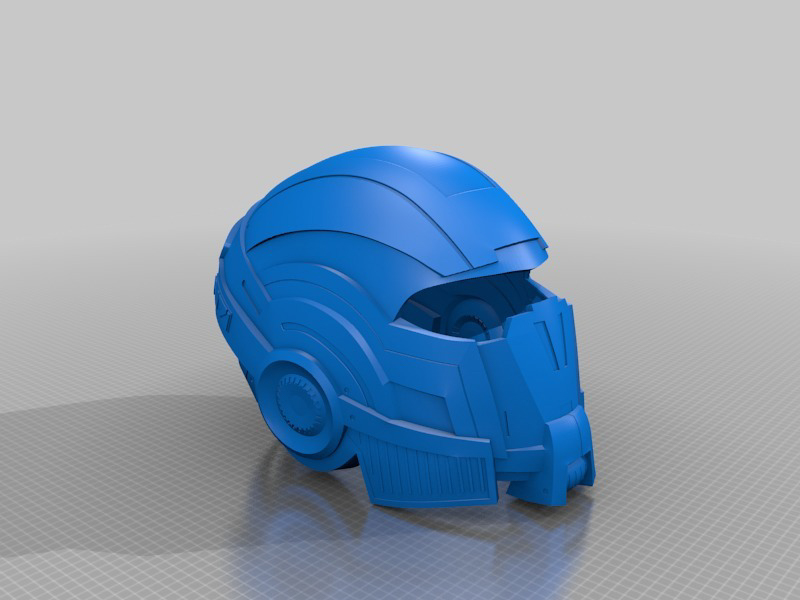
Halo 4 Helmet (Full-Size)
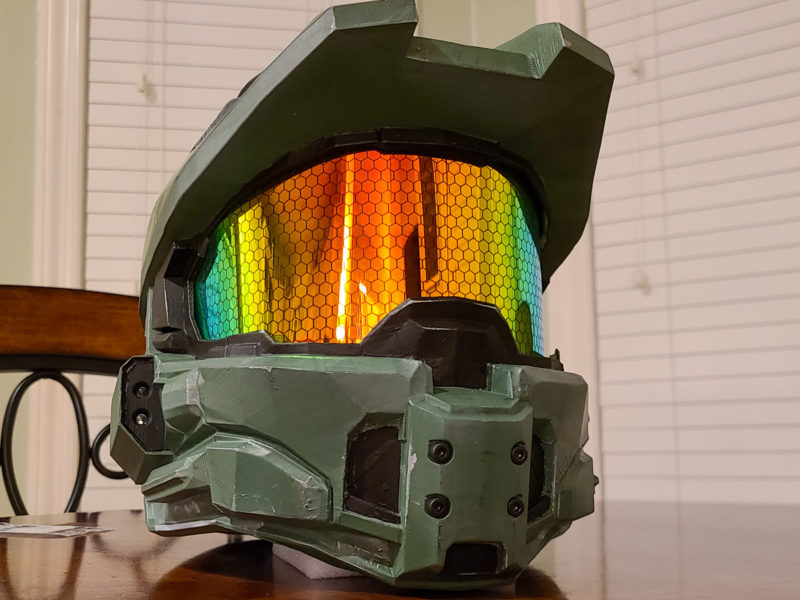
This 3D printed full-sized Halo 4 helmet brings to life the distinctive design from the games with close attention to detail. The model even has casings to add LED lights to both sides, as well as multiple inserts for the eye guard. While this is obviously an excellent choice for cosplay, the lighting and electronics make it an excellent decor piece as well.
- Found on: Thingiverse
- Designed by: big_red_frog
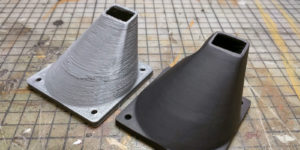
Collapsible Squid Game Soldier Mask
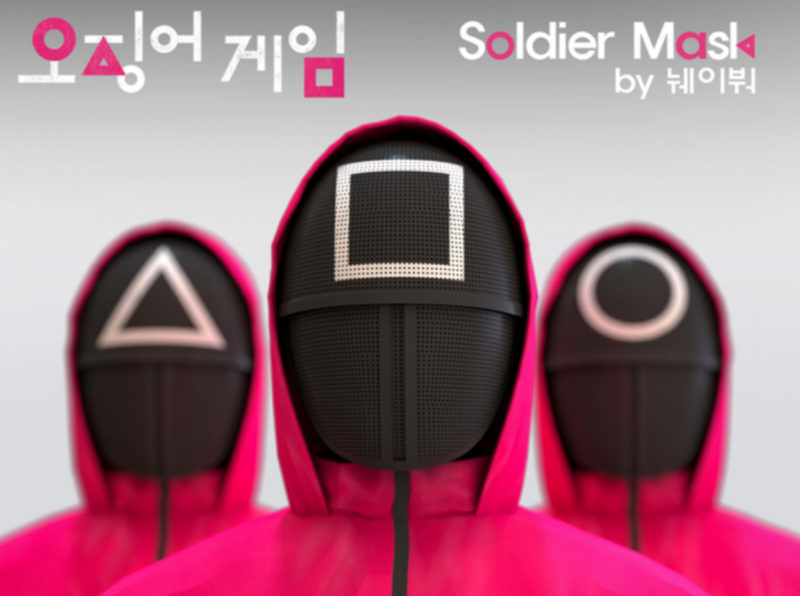
3D printed in two split pieces and designed to snap together, this soldier mask model is a fantastic nod to the Squid Game series. Once assembled, the mask slides together to save room in your bag or pocket. You can leave the mask blank or use one of the included stencil files to recreate one of the three shape designs.
- Found on: Thingiverse
- Designed by: Jh Kim (kimgooni)
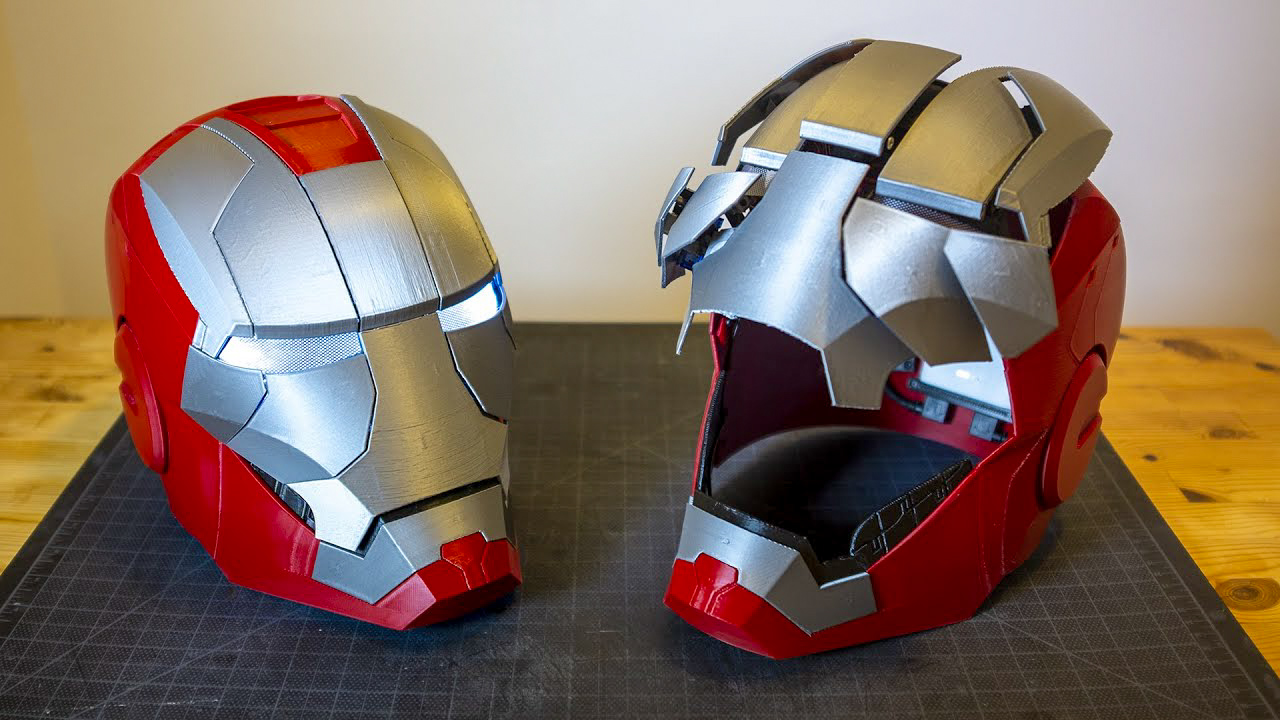
Articulated Iron Man Helmet
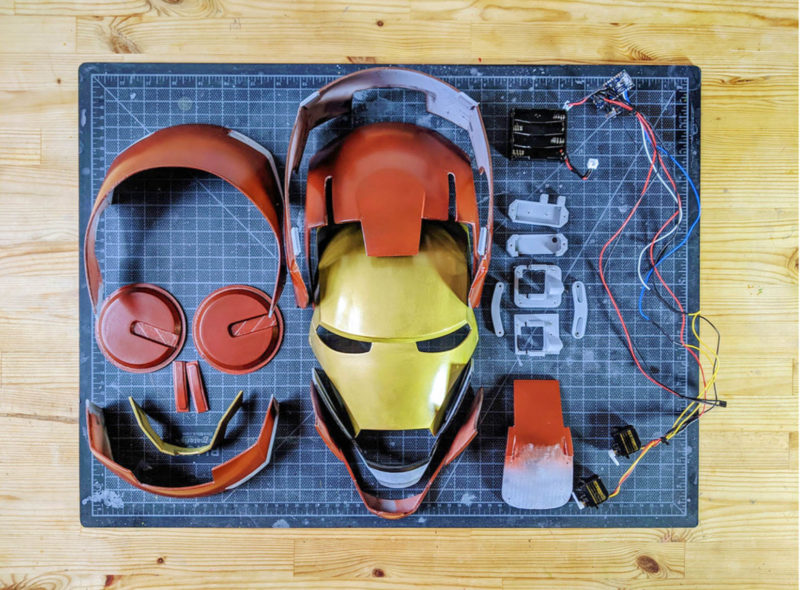
For a design that looks and functions as closely as possible to the original design, this movable, light-up helmet wins hands-down. The articulated panels on this amazing Iron Man helmet let the faceplate lift up, while the optional electronic components light up the eyeholes with LEDs.
The designer provides a wiring chart and a step-by-step video for setting up the lights. The lights for this 3D printed Iron Man helmet are an optional feature but are worth trying.
- Found on: Thingiverse
- Designed by: Boxandloop
Star Wars Clone Trooper Helmet (Phase 2)
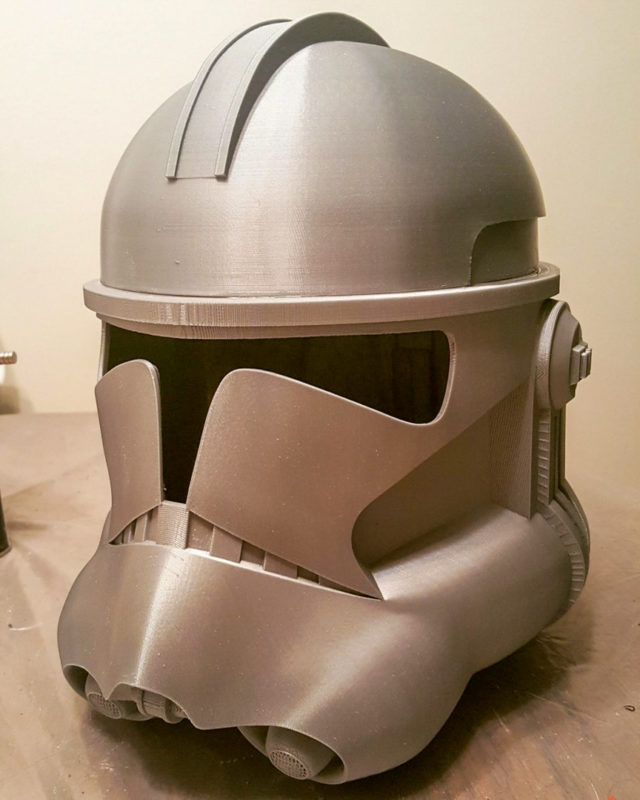
With such an abundance of options for 3D printed Star Wars and Storm/Clone Trooper helmet models available, it’s hard to pin down a single one as better or worse than the rest. This design, however, adds a considerate touch to both functionality and aesthetics. Since the bottom hole on this type of helmet is too narrow to fit over your head, two pieces at the bottom are designed to attach and detach with magnets.
- Found on: MyMiniFactory
- Designed by: Peter Snyder
Magneto Helmet
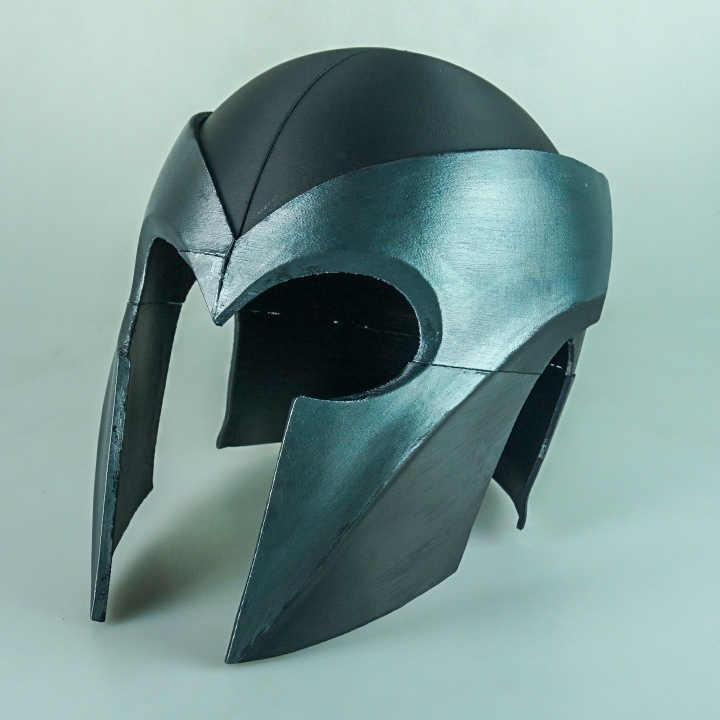
Magneto’s helmet is a classic look in the Marvel universe that any dedicated fan can usually identify immediately, and this amazing model captures the simple but eye-catching design quite nicely. The tip of the m-shaped opening in the front makes it a bit tricky to 3D print in one piece, but it can be done with the liberal use of 3D printing supports.
- Found on: MyMiniFactory
- Designed by: Fynn Große-Bley
Marvel Daredevil Helmet
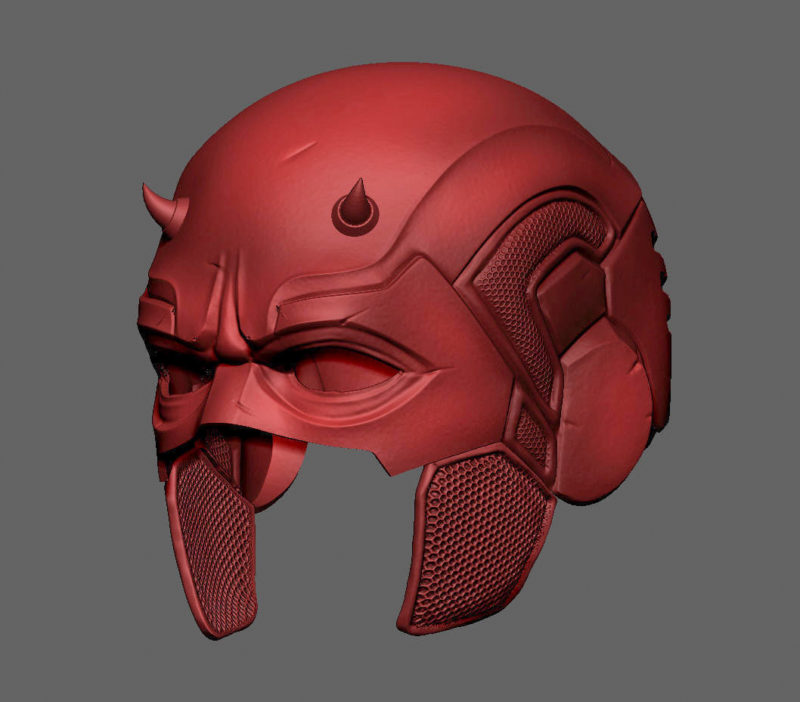
If you’re an avid Marvel fan, this Daredevil helmet is a great project to try. While the model itself is highly-detailed, you’ll get the best look from taking your time in the post-processing period.
The pieces on the side of the helmet make it awkwardly shaped. This is definitely a design that is best suited for cosplay and not as decoration, since it won’t sit straight on a flat surface.
- Found on: MyMiniFactory
- Designed by: 3DPrintModelStore
Preparing the Model for Printing
Splitting
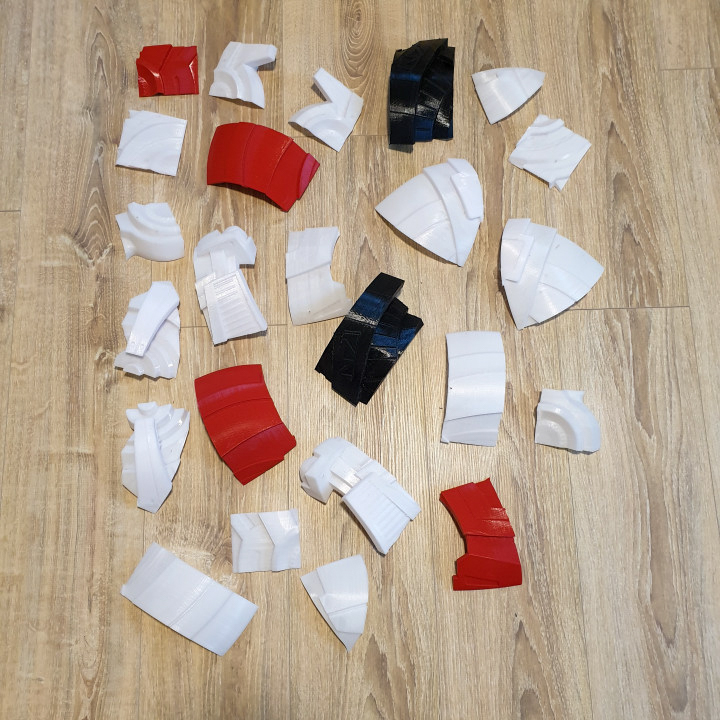
If your helmet model is too large for your printer’s build plate, you will need to split it into multiple pieces to make it fit. After 3D printing, the split helmet pieces can be glued together with superglue or another adhesive.
When 3D printing a full-size helmet, splitting the model is nearly always required unless you use a large 3D printer. These have a larger build volume and are able to 3D print a full-size helmet in one go.
There are a few different ways to split a 3D model, depending on what software options you have access to. Some free software options like Slic3r and Netfabb can separate an STL into multiple parts. Most CAD programs can also cut STL models into smaller parts using the plane cut tool.
Autodesk’s Meshmixer tool also has a function for splitting 3D models. If you already use this to check for errors and possible print issues before sending it to your slicer, you can easily add this to your workflow.
Many designers will offer a full-size helmet and a split version of their models on model sharing sites if the full-size version is larger than a typical print bed can handle. So often when you download a helmet 3D model online, there may already be a split option in the file section.
Generating GCode (Configuring Print Settings)
Once you have your helmet 3D model of choice, you can import it into your slicer to set your print settings and generate your GCode file. There are numerous settings in a typical slicing software, and which ones to use varies from printer to printer.
Likewise, different types of filament require different settings. Even filaments made from the same material can vary from brand to brand, so even if certain settings work with one brand of PLA filament, they might not with a lesser quality brand.

Some of the most important settings to consider in your slicing software for your helmet 3D model are:
- Wall (shell) thickness: As we’ll discuss later in this article, 3D prints need to undergo quite a bit of sanding to get rid of the layer lines on the outside of the model. This usually results in a loss of material from the outer shell of the model and can even lead to a hole in the model if too much material is removed. Adding extra material to the outer walls can ensure that you don’t accidentally damage your model if you get too aggressive with your post-processing work.
- Infill: Since you are most likely going to wear the helmet after printing, try to use as little infill as possible to keep the model from getting too heavy. Most helmets don’t need much infill to stay structurally sound since they don’t have to bear weight or otherwise undergo much stress. You also don’t need to worry about using the strongest infill pattern.
- Retraction: If your nozzle has to travel over gaps while printing, make sure retraction is turned on to avoid stringing and messy edges.

- Layer height: Your layer height is a valuable setting to tweak if you want print speed over aesthetics. Increasing layer height allows the printer to finish your print in fewer layers, which can significantly speed up the overall print time. This also results in a less detailed print and requires more sanding or filling to get rid of the layer lines during post-processing.
- Supports: You will most likely need to use supports when printing your helmet. Since the model curves at the top to accommodate the shape of the head, the printer often needs extra help to make sure the layers don’t droop while it is printing the overhangs. Support structures like rafts and skirts that go on the print bed are also useful for helping with adhesion in the first few layers.
3D Printing the Helmet
Once you have your GCode generated, you can send it to your printer!
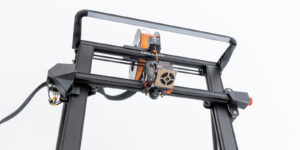
While you can make almost any printer make helmets with enough model splitting and dedication, we recommend the Prusa i3 MK3S+ as the go-to 3D printer for making cosplay items and props.
It has a large build plate, so you won’t need to do much splitting and gluing for most projects. On top of that, it is extremely easy to level with its mesh auto-leveling system. To prevent failure on large prints, it has filament detection and print resume after power loss, which are incredibly useful features when printing large objects like helmets and other props.
If you want to learn more about the Prusa MK3S+ or to read up on our other recommendations, check out our article with the best 3D printers for cosplay.

Finishing Your 3D Printed Helmet
Once the helmet is printed, that’s when the real hard work begins. If you want to make your finished helmet look realistic, you’ll need to do some post-processing.
Removing Supports
If you had to use any supports while printing your helmet, you’ll need to remove them before doing anything else. The easiest way to deal with supports, rafts, and skirts is to use needle- or flat-nosed pliers to pry them off the model. Just remember to be gentle so you don’t accidentally damage your helmet in the process.
Some dual extruder 3D printers can print PVA water-soluble supports from one nozzle and normal filament from the other. This makes it much easier to remove supports since they dissolve when you put the model in water. If you have a dual-extruder 3D printer, it is worth exploring if it can use PVA.
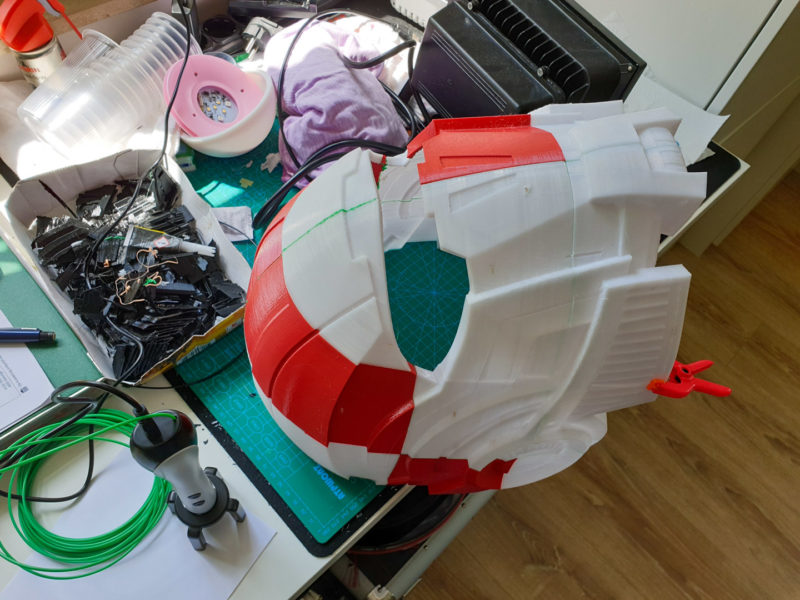
Assembling the Printed Parts
Glue together any 3D printed parts that needed to be split to fit on your print bed. You can use two-part epoxy glues, superglue, or any other adhesive that is safe for plastic and creates a strong bond. Make sure to tailor the adhesive to the type of filament that you use. The best glue for PLA is not necessarily the best for ABS.
Be careful to line the pieces up as closely as possible, since major misalignments here will result in a seam too large to cover up.
Once the glue is dry, use a piece of rough-grit sandpaper on all the seams to remove any excess glue and to help the crack blend in. Don’t worry if the area looks rough. You will be doing a lot more sanding and filling in the next steps.
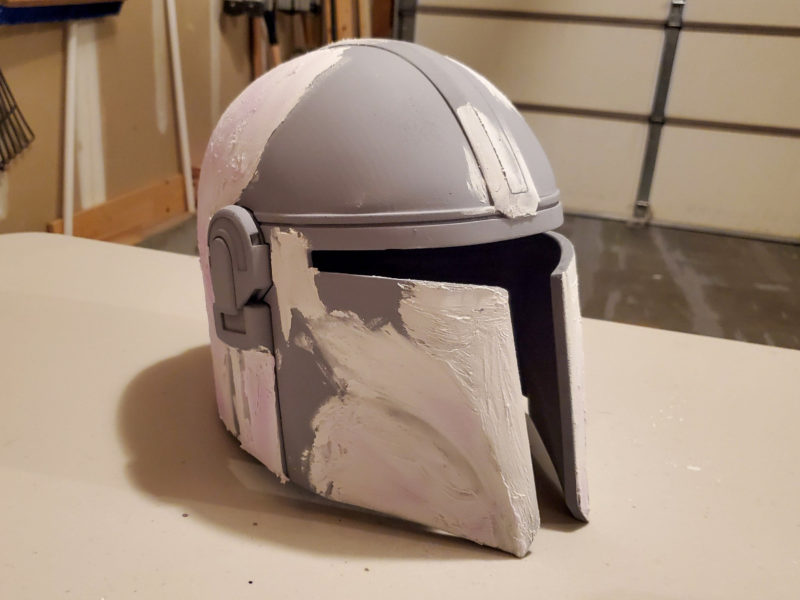
Sanding
At this point, your 3D printed helmet will have unsightly spots and visible lines from the printing process. If you just want to use your helmet as a decoration and don’t mind the “3D printed” look, you can leave the model as-is.
However, if you want to use the helmet as part of a cosplay costume (for example, with 3D printed armor) or to look like a professional prop, you will need to smooth out the surface imperfections.
Start with a piece of rough-grit sandpaper and sand the entire helmet. Repeat this step multiple times, each time using a sandpaper grit that is one step up from the previous grit.
Continue this process until the helmet is smooth. This typically happens when you reach a fine-grit paper around 2000 grit.
Remember that as your grit increases, your sandpaper will remove less and less material, so make sure you’ve removed all the layer lines before moving on from the first few sandpaper grades.
You can also use a filler product like Bondo, wood putty, and even epoxy filler to fill in the layer lines. Just cover the helmet with the product before sanding and let it dry. Filler primer works well too.
Then you can sand the filler until smooth, instead of the actual print. This takes significantly less effort than sanding the layer lines down.
If you are using a filler spray, applying masking tape beforehand will prevent it from entering unwanted areas.
Priming
While you can technically skip this step, it is a good idea to put a coat or two of primer on your 3D printed helmet before you start painting it. The primer gives the paint a surface to adhere to, and you’ll need fewer coats of paint to cover the helmet.
Some paints (especially spray paints) have the primer included as a 2-in-1 formula, so you can paint and prime at the same time.
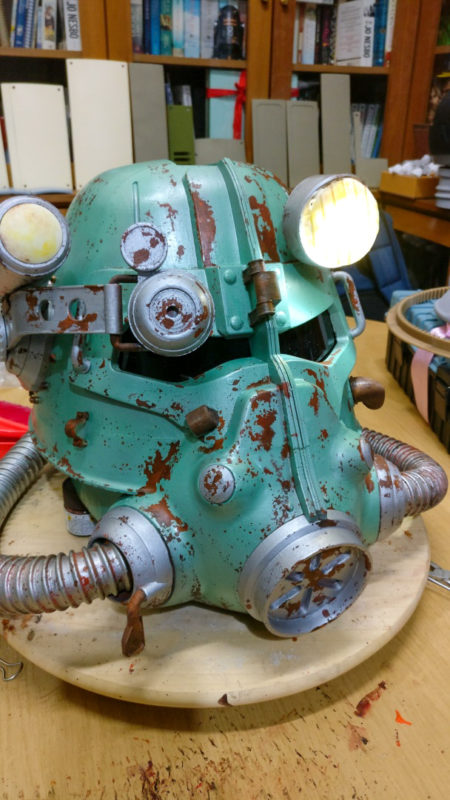
Painting
Painting your 3D printed helmet is the last step of post-processing. How long this part takes depends on how much detail you want to put into it.
Spray paints are a good way to quickly put a base color on the whole model, while hand-painting can add in the finer details after. You can get as creative with the detailing as you’d like. Painting on scuffs and other types of damage can really make your helmet look amazing.
Always make sure that you paint in a well-ventilated area.
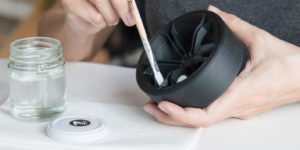
Adding Padding (Optional)
Finally, you can glue foam strips or other types of padding to the inside of your painted helmet for added comfort. This is completely optional, but it may be worth the extra time and materials if you plan to wear the helmet for extended lengths of time.
How Long Does It Take to 3D Print a Helmet?
The 3D printing duration depends on the size and complexity of the helmet, whether you print the whole thing in a single piece or in multiple pieces, and what slicer settings you use. Most helmets will take 4 hours at the very least, with 6-10 hours being more likely.
Using a high print speed, high flow, and large layer height in your print settings will speed up the printing process quite a bit, but you will lose a lot of detail. You are also more likely to get defects and messy areas during printing, which will just make the filling and smooth sanding of your 3D printed helmet take longer.
You can use a CoreXY 3D printer to partly remedy this problem. CoreXY printers have less moving mass and are able to achieve higher print speeds without decreasing the quality of your 3D prints.
How Much Does It Cost to 3D Print a Helmet?
Again, it really depends. The final 3D printing cost of your finished helmet depends on what type of filament it is printed from, how much infill is used, and what materials you used in the post-processing phase.
What Size Printer Do I Need to Make Helmets?
You can 3D print a helmet on almost any build plate with enough determination, but it’s much easier to use a printer with a decent-sized print volume. A larger print volume allows you to create 3D printed helmets in a single piece.
Printing a full-size helmet at once saves a lot of time and effort. You won’t have to split the model, assemble the plastic parts and fill and smooth seams afterward.
You should look for a build plate of at least 200 x 200 x 200 mm (8” x 8” x 8”) if you plan to print helmets and other cosplay items, though 300 x 300 x 300 mm (12” x 12” x 12”) is ideal.
Conclusion
There you have it! That’s everything you need to know to get started 3D printing your own helmet. Have you created any 3D printed helmets, armor, or other cosplay props? What was the most challenging part for you? Let us know in the comments below!