
IKEA ALEX drawer units are a great way to organize all kinds of stuff. The stacks of deep drawers offer a lot of space for storing a variety of things. Both in my home office and workshop area I use a lot of ALEX units to store tools, parts and other items I would otherwise have just lying around somewhere.
Unfortunately, once you have multiple ALEX units it can start to become difficult to keep track of what you keep in which drawer. The drawers do not have a built-in labeling solution. Additionally I did not want to label the drawers with stickers, because I felt it would ruin the clean aesthetic of the cabinets.
To solve this, I set out to design and 3D print a label system for the drawers. I started designing with the following goals in mind:
- The labels should be easily readable.
- I want to be able to swap out the labels when I change the content of a drawer.
- No permanent modifications to the front of the drawers, so that if I ever want to remove the labeling system everything looks like it was before.
- Because my workspace gets dusty, I ideally also wanted to cover the hole in the front of the drawers and keep dust out of the drawers themselves.
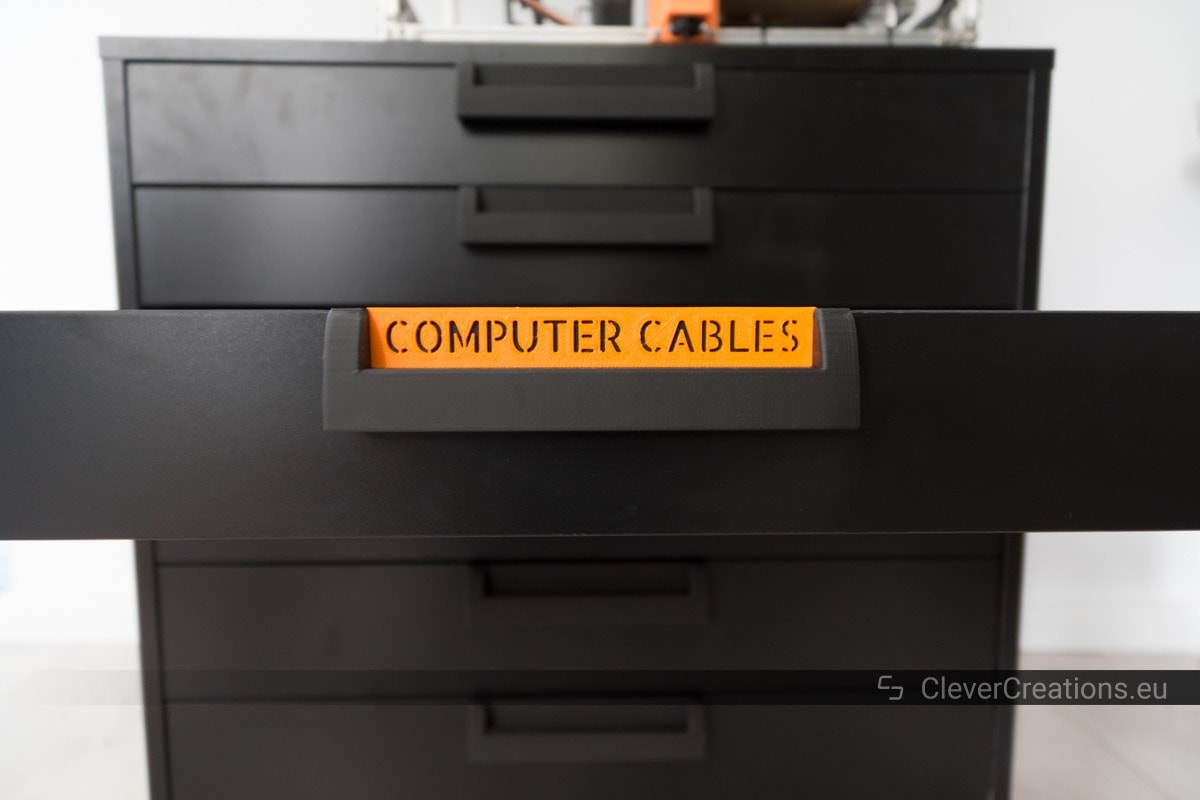
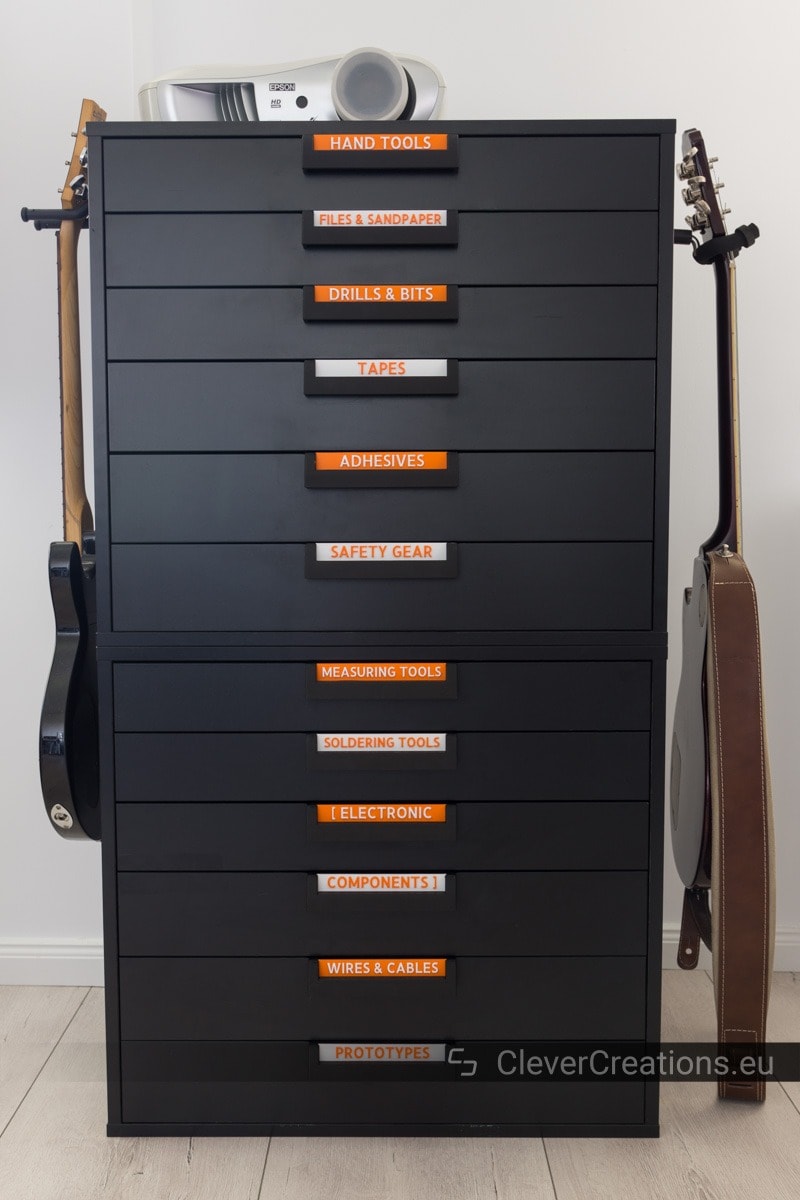
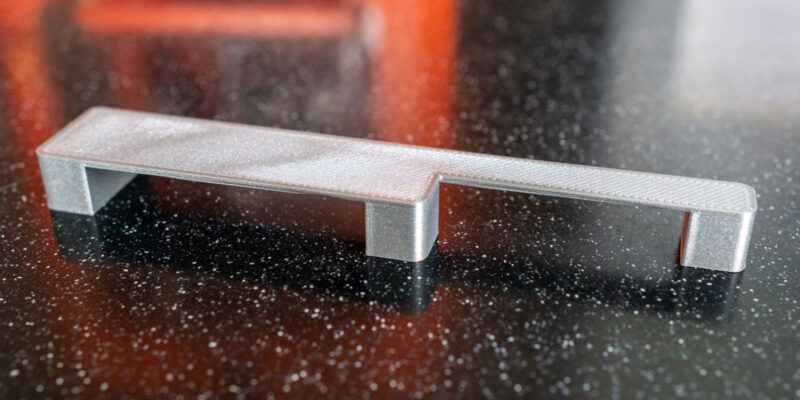
What I came up with is this:

In this article I will show you how to 3D print and install these handles and labels for your own IKEA ALEX drawer units.
How Does the Labeling System Work?
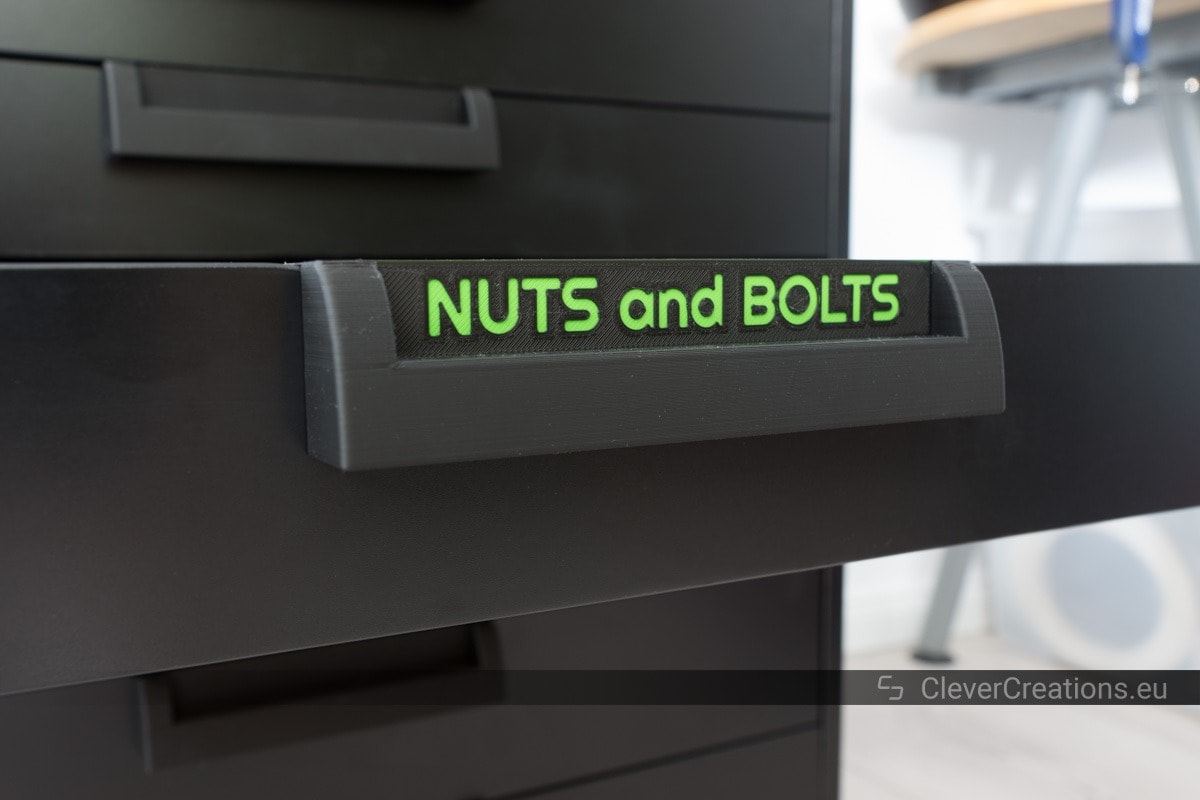
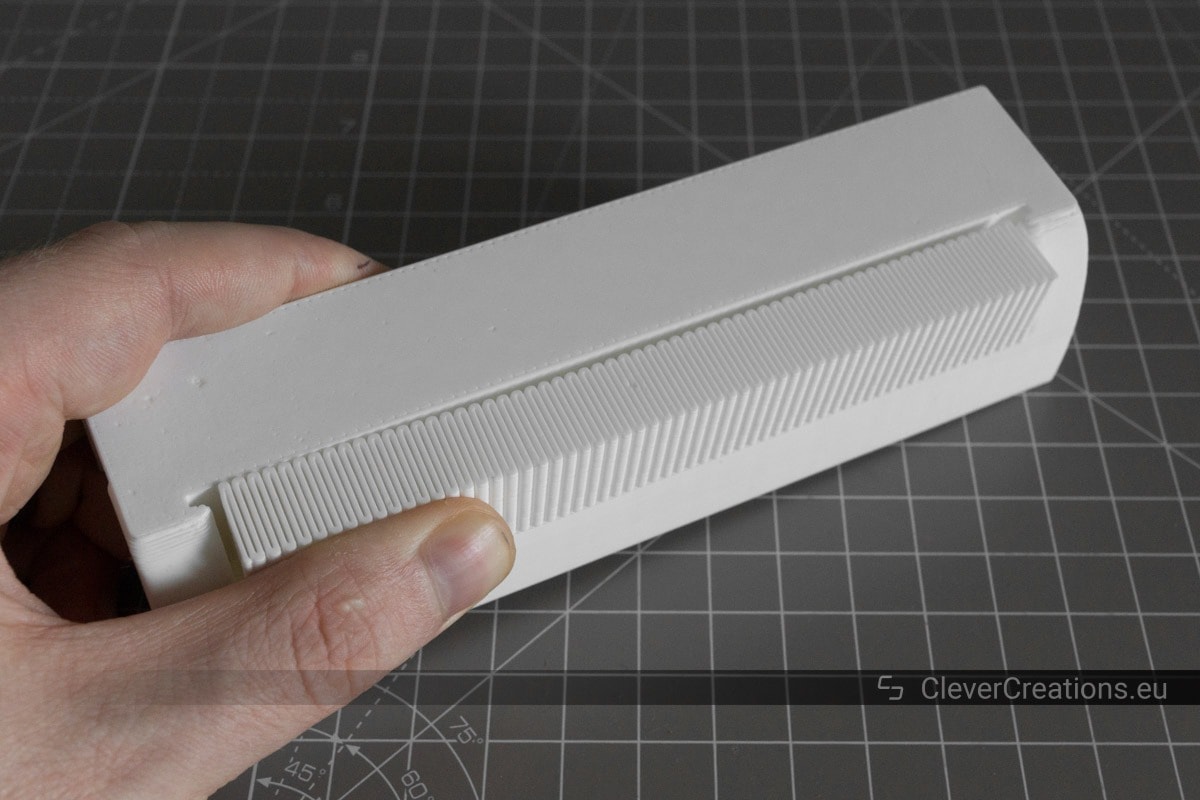
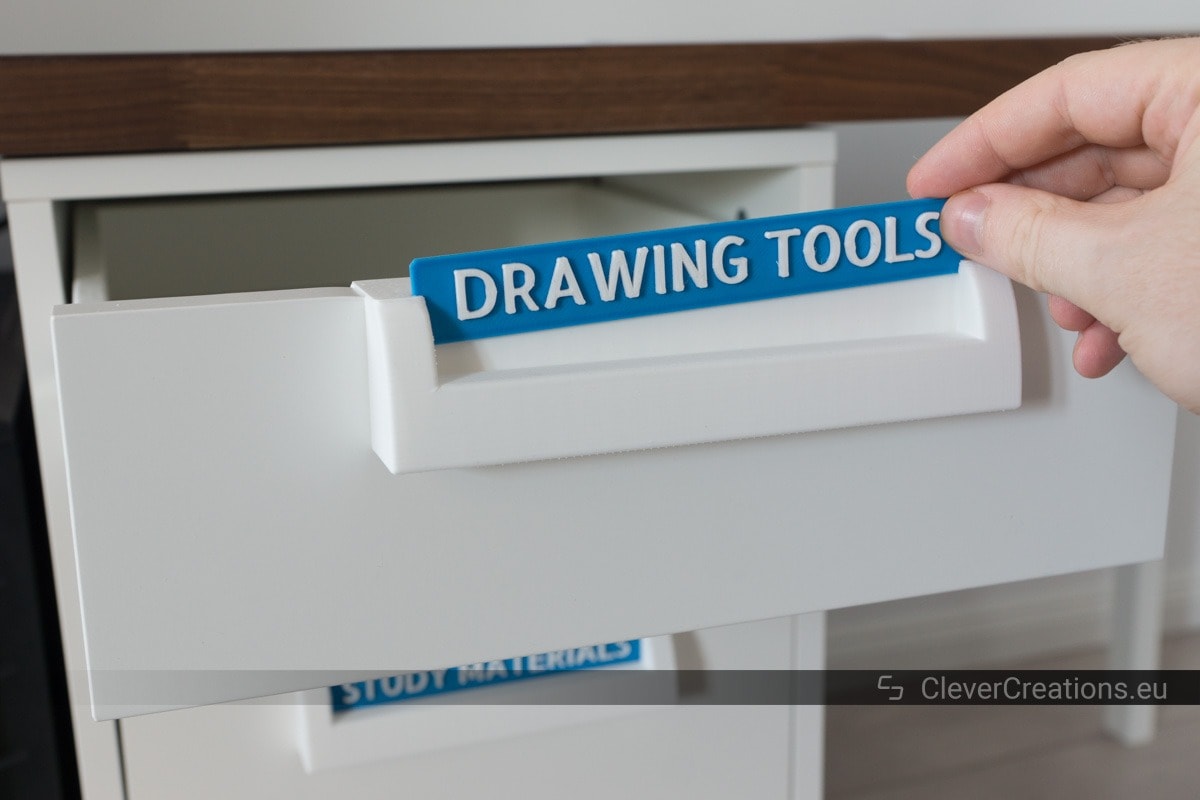
The labeling system consists of two parts, a 3D printed handle and a 3D printed label. The handle gets placed into the original handle gap of the drawer, and the label gets placed into a slot in the handle.
Aside from providing a space for the label to sit in, the handle also covers the hole in the drawer, so it keeps out dust.
Does It Require Permanent Modifications to the Drawers?
The handle drops in place into the drawer and can be easily taken out, so no permanent modifications to the drawers are necessary. The installation is completely reversible and there is no risk of ruining the front of the ALEX units.
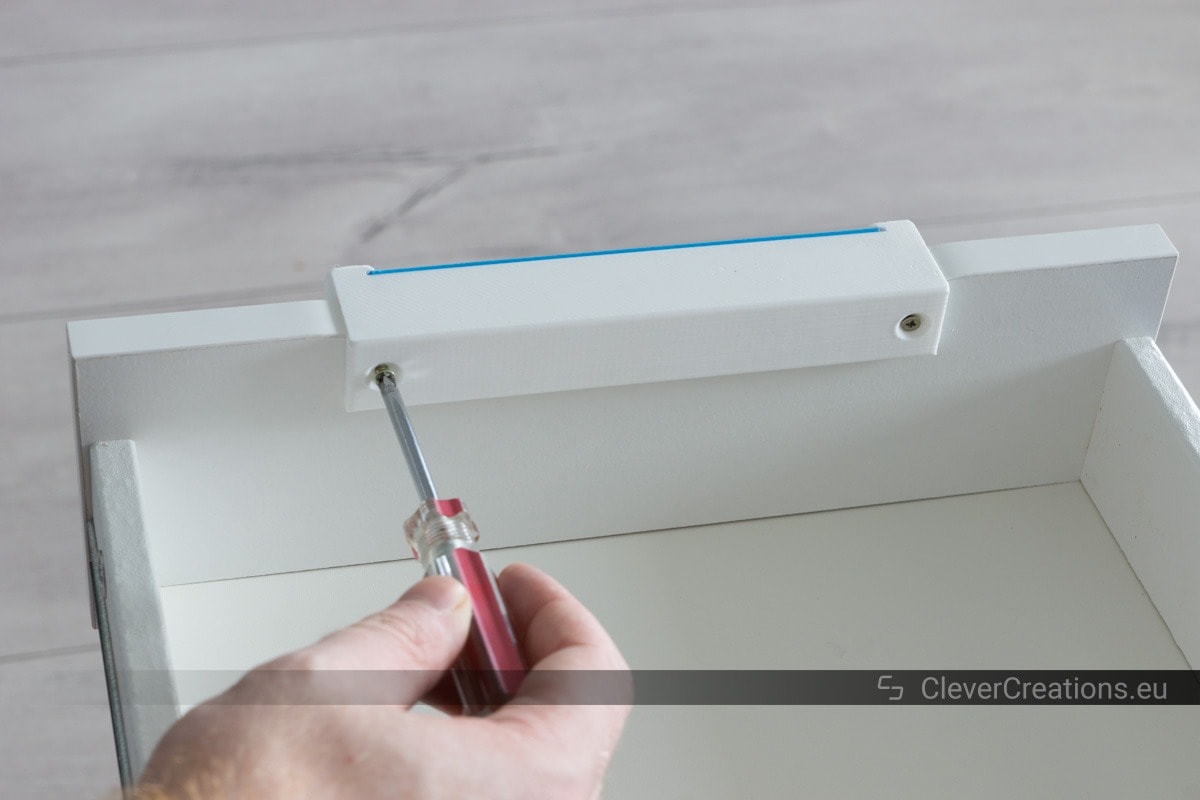
Optionally, the handles can be secured in place with two small screws at the back of the handle. This creates two small holes on the inside of the drawer, but these are not visible from the outside if you ever decide to remove the handles.
That said, the screws are in my experience not strictly necessary. They prevent a minimal amount of side to side movement of the handle, but that’s about it.
Do the Handles and Labels Work With Any IKEA ALEX Unit?
As far as I can tell, the system is compatible with any of the IKEA ALEX drawer units. This is because the front of the drawers all have the same thickness and have the same size gap in it, and thus the handle will fit.
If you encounter an ALEX unit with a different size hole in the front, just drop me message below and I will try to design a resized version for it.
Is It Possible to Make Your Own Custom Labels?
Yes! For anyone who wants to create their own custom labels I wrote an easy to use OpenSCAD script that does just that. You can find it further down the page, and you can use it either in the Thingiverse Customizer, or in OpenSCAD itself.
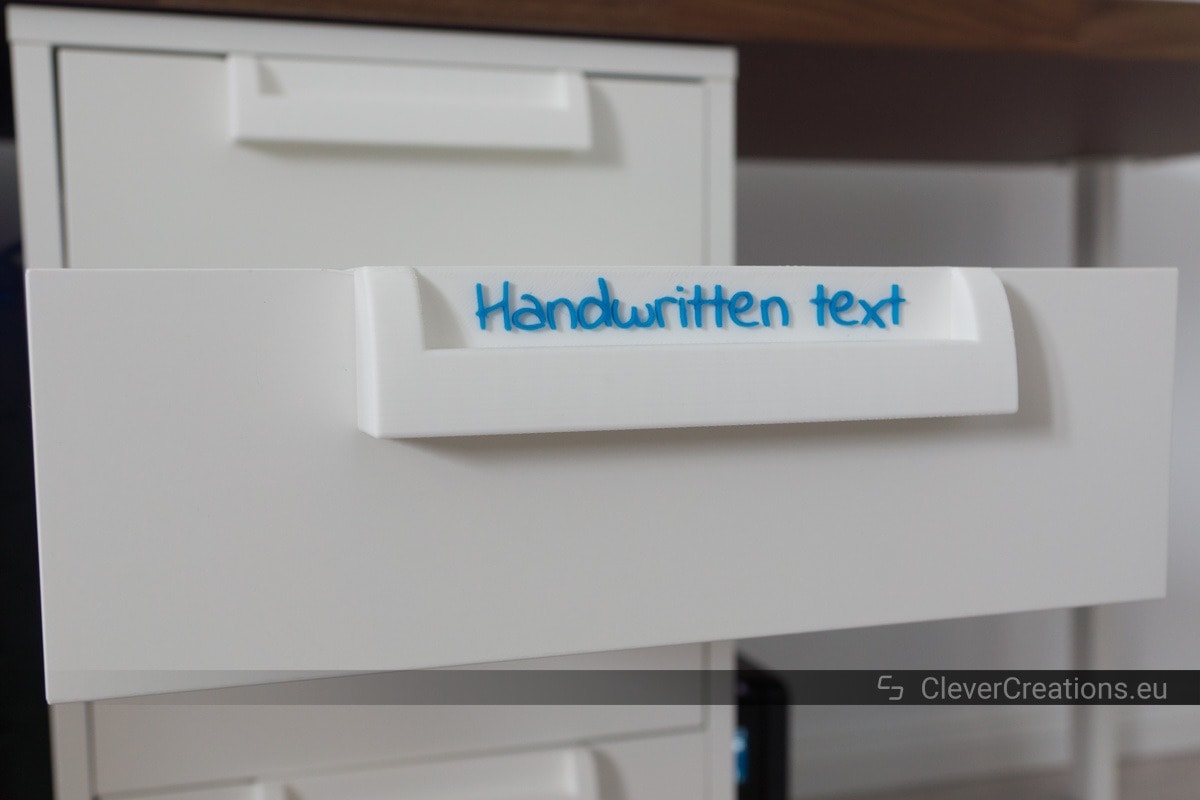
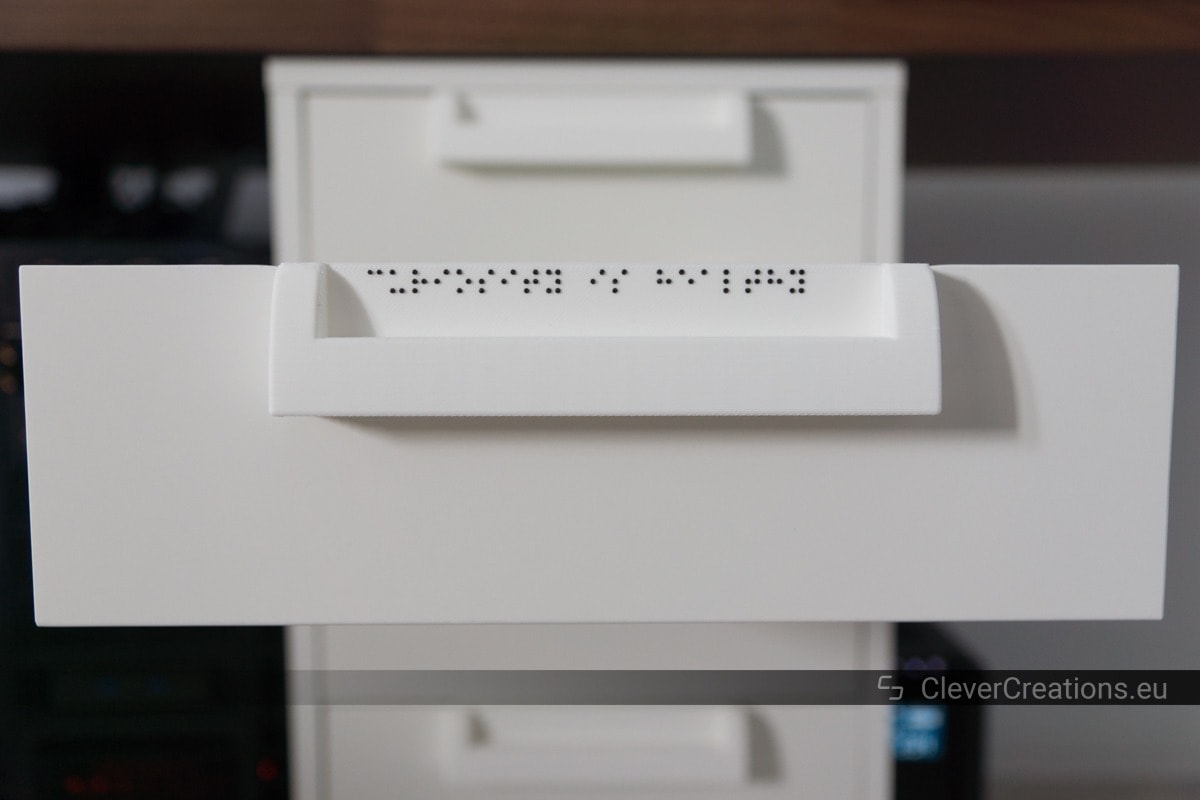
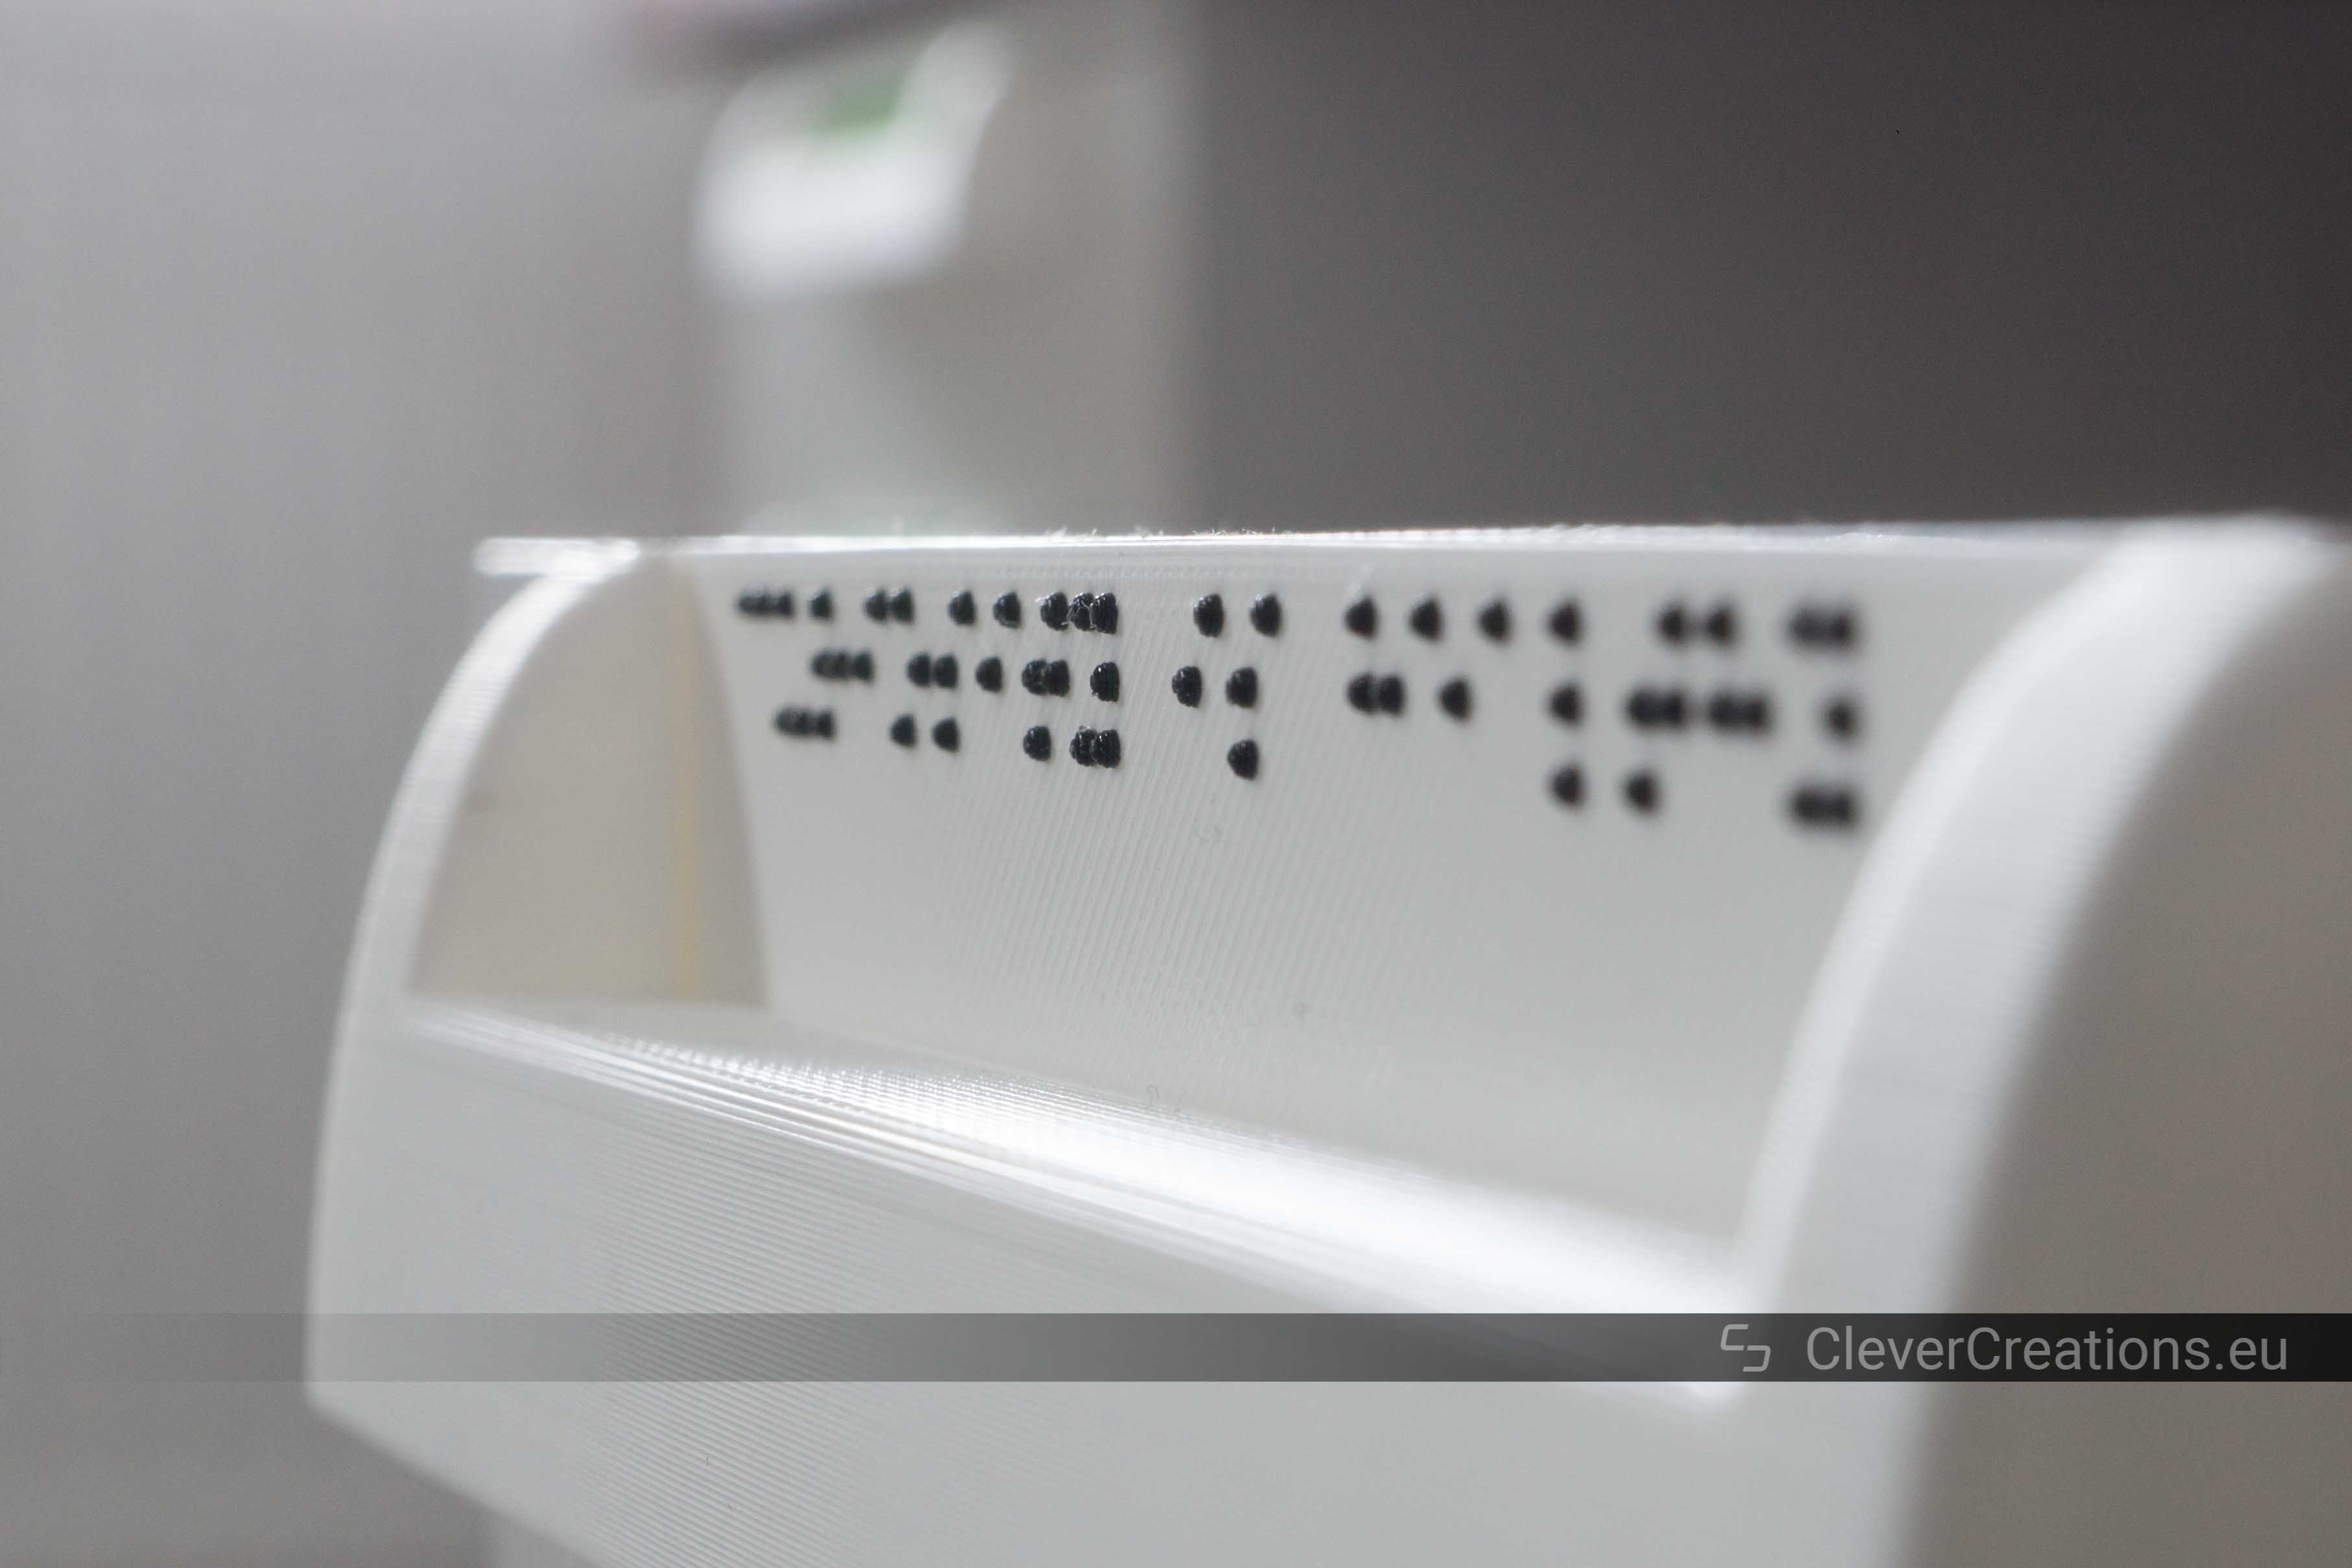
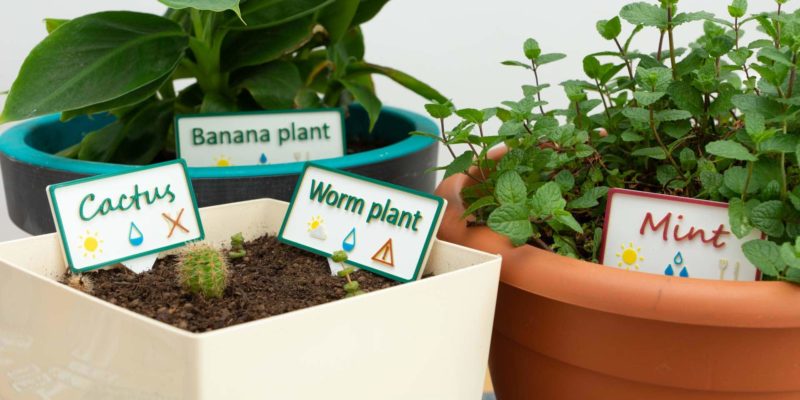
The script has the option to generate labels with any text, with a wide range of fonts, font sizes and text extrusion/inset settings. It even has an option to create labels with braille text for people with visual impairments.

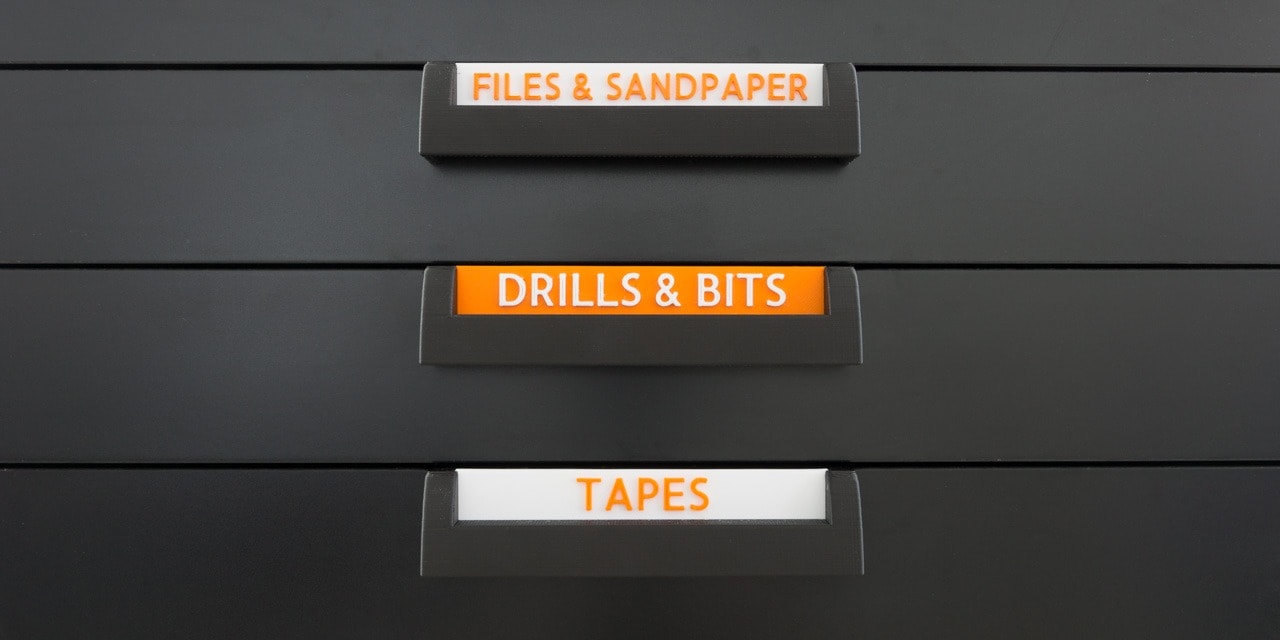
What Kind of Labels Can You Generate With the OpenSCAD Script?
Many kinds! As mentioned above, the script generates labels with a wide range of fonts, font sizes, and other settings. Together with multi-color printing, this gives an endless amount of label appearances.
Examples
These are just some of the possible combinations, but hopefully enough to give an idea of what is possible.
How to Install the Labels and Handles on IKEA ALEX Drawers
The easiest way to create your own custom labels is to use the Thingiverse Customizer to change the script parameters.
What You’ll Need
|
|
Parts (per drawer) | ||
|---|---|---|---|

|
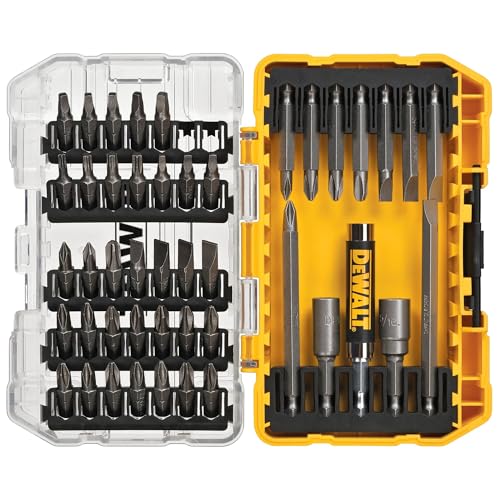
Max. 14mm / 1/2 inch in length
|
Check Price | |
Print Settings
I printed my handles with a 0.6 mm nozzle, 0.72 mm extrusion width and 0.3 mm layer height. I set the infill to 20% and outer shells to 1.
It is important to use support material for the handles. In order to remove the support material with ease I recommend a 2 mm horizontal separation setting and one upper separation layer.
The labels were printed with a 0.4 mm nozzle so that the text has finer detail.
For instructions on how to print in multiple colors, please see the article on how to multicolor 3D print with a single extruder.
Installation


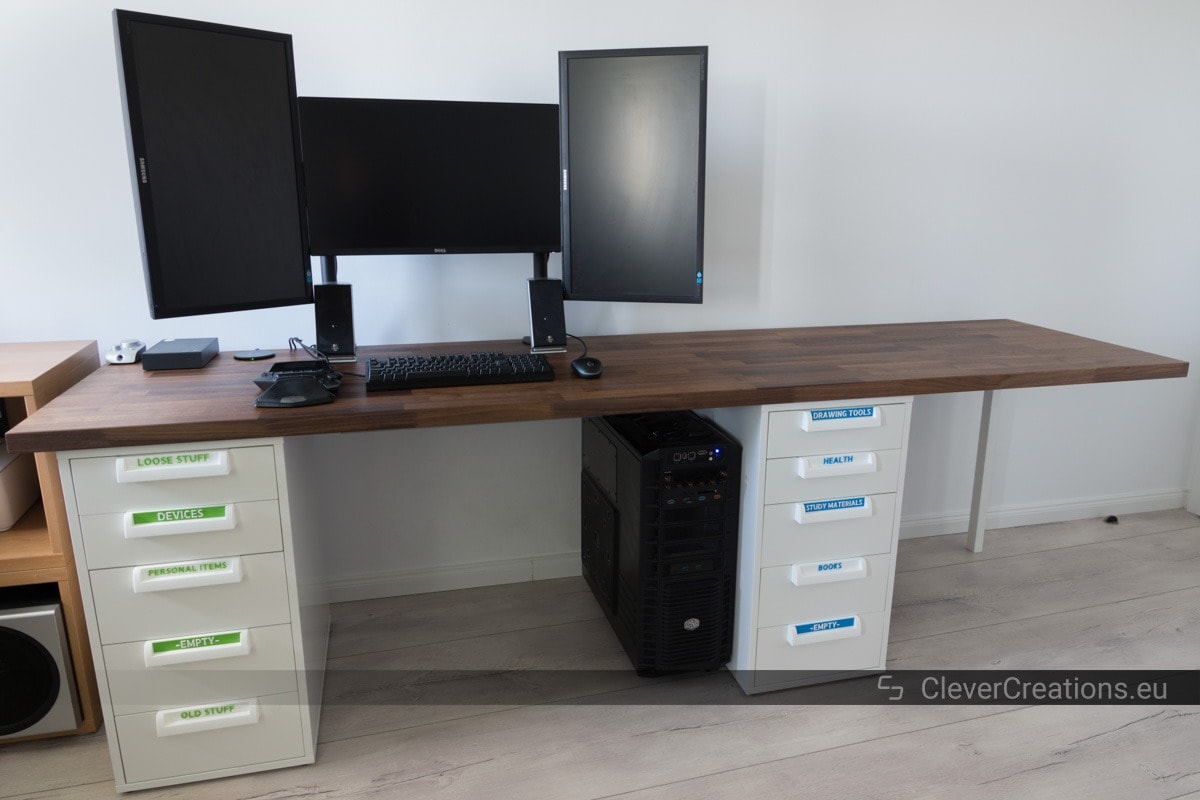
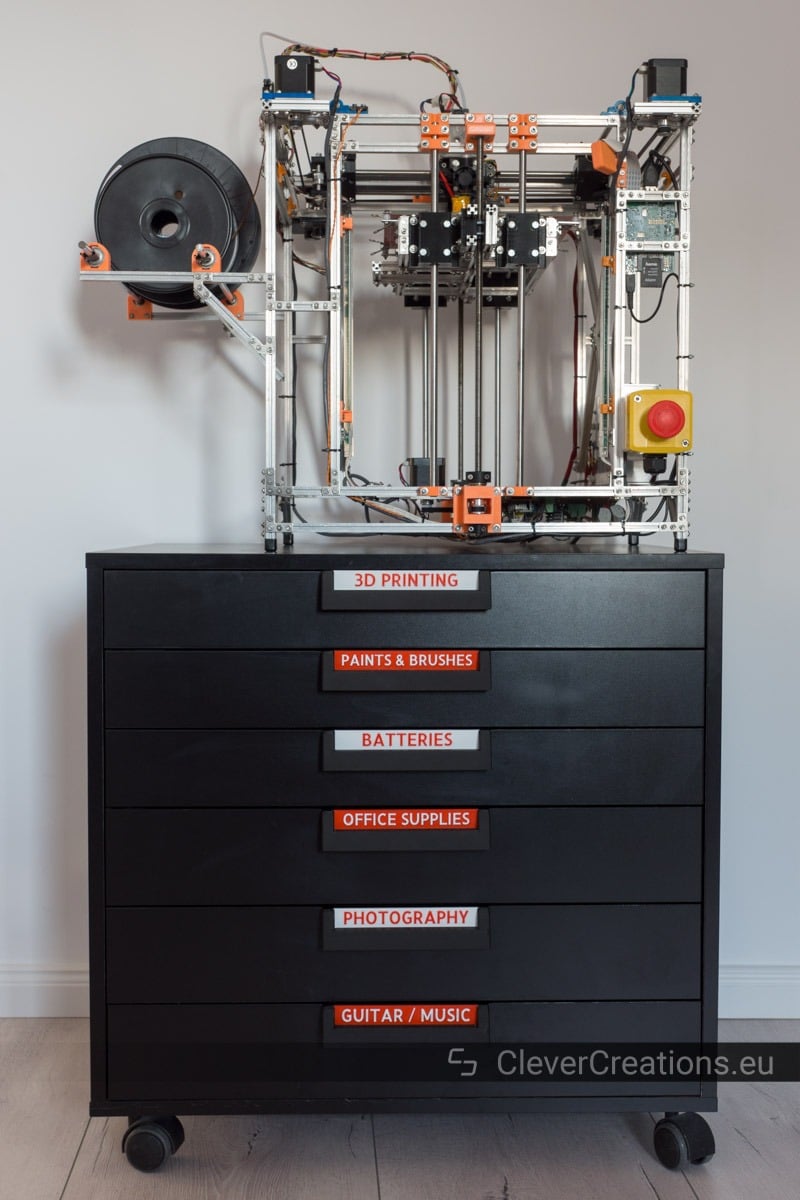
Final Results
Conclusion
I absolutely love how the labels and handles came out. The different color schemes per cabinet work very well. I also like how the handles blend in with the drawers when they are 3D printed in the same color.
Aside from the aesthetics, it is also a lot easier to find what I am looking for now.
It was the first time I used OpenSCAD for something. I had to get used to the script-based modelling, but once I got a handle on it (pun intended) it went smoothly. You can expect to see more projects that use OpenSCAD here in the future.


Please can you tell me the dimensions of the labels you made? Thank you.
If I’m not mistaken, the dimensions I used are the default ones in the OpenSCAD script. Except for the width of the labels, which I increased/decreased depending on the length of the text.
Thanks for your reply Tim!
Hey, I really like the look of those handles, but they do not seem to be available anymore on Thingiverse? Is this still available anywhere?
Thanks.
Really nice labels Tim, I printed on half of my drawers and was about to finish it off when noticing the files are not anymore on thingiverse, any chance to find the files anywhere ?