
Plant labels (also known as plant markers, garden markers or plant name tags) are useful accessoires for any gardener. They let you identify your plants and make it easier to keep track of and organize your garden.
As someone who does some occasional gardening, I too found myself looking for plant labels. I couldn’t find anything I liked however.
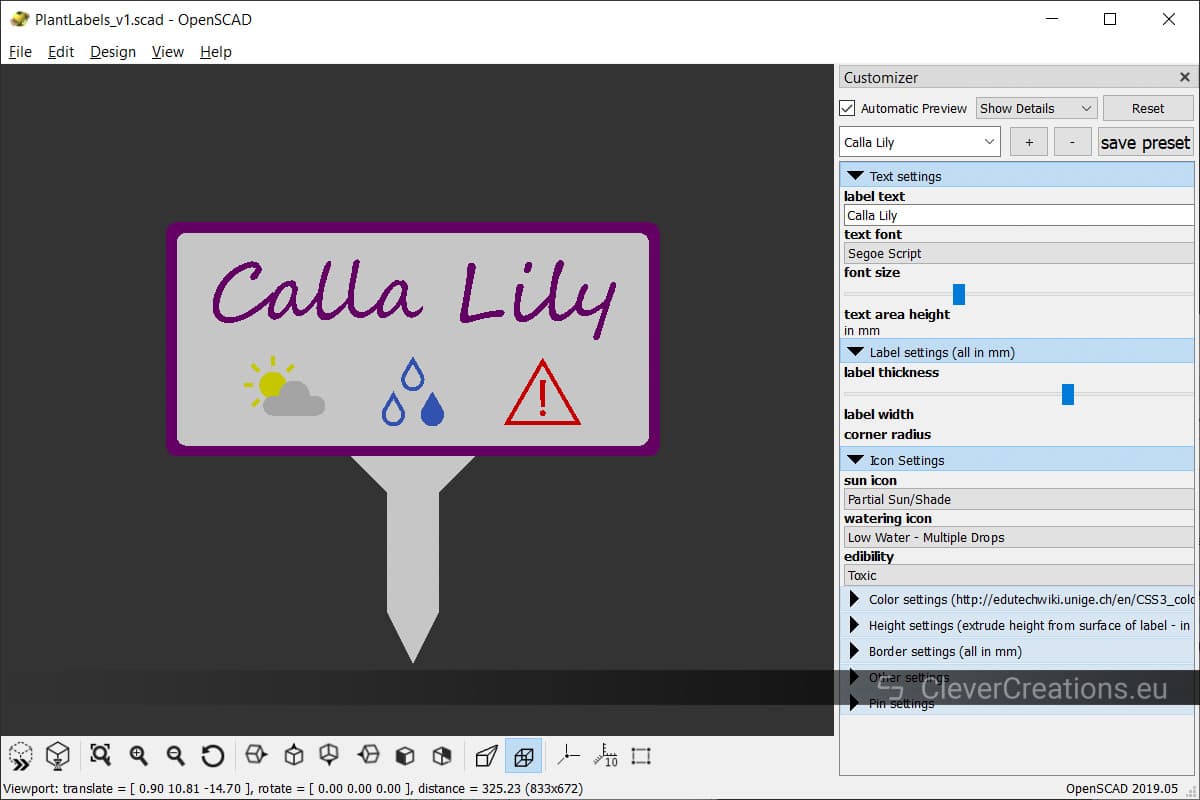
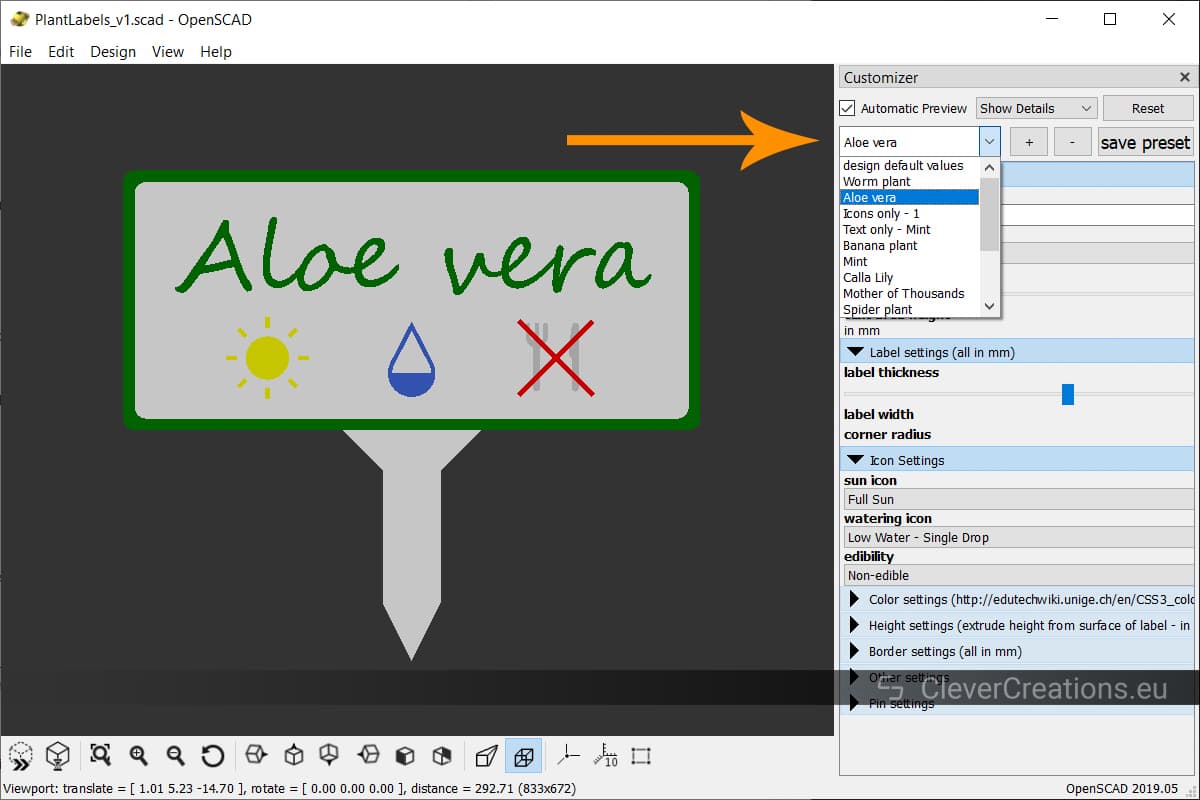
This is why I decided to design and 3D print plant labels myself. What I ended up with was a set of unique multicolor 3D printed garden markers. I wrote the script to generate the labels in OpenSCAD, so that anyone can create custom labels for their own plants.
In this article I will show you exactly how to make the DIY plant tags yourself at home.
Let’s get started!
Design Goals
When I set out to design the labels, I had the following goals in mind:
- Colorful and unique plant labels. I wanted to make something that really stands out from the generic plant tags that you can find elsewhere.
- Durable and weather-resistant. Ideally the labels would be durable, weatherproof and not lose their information over time.
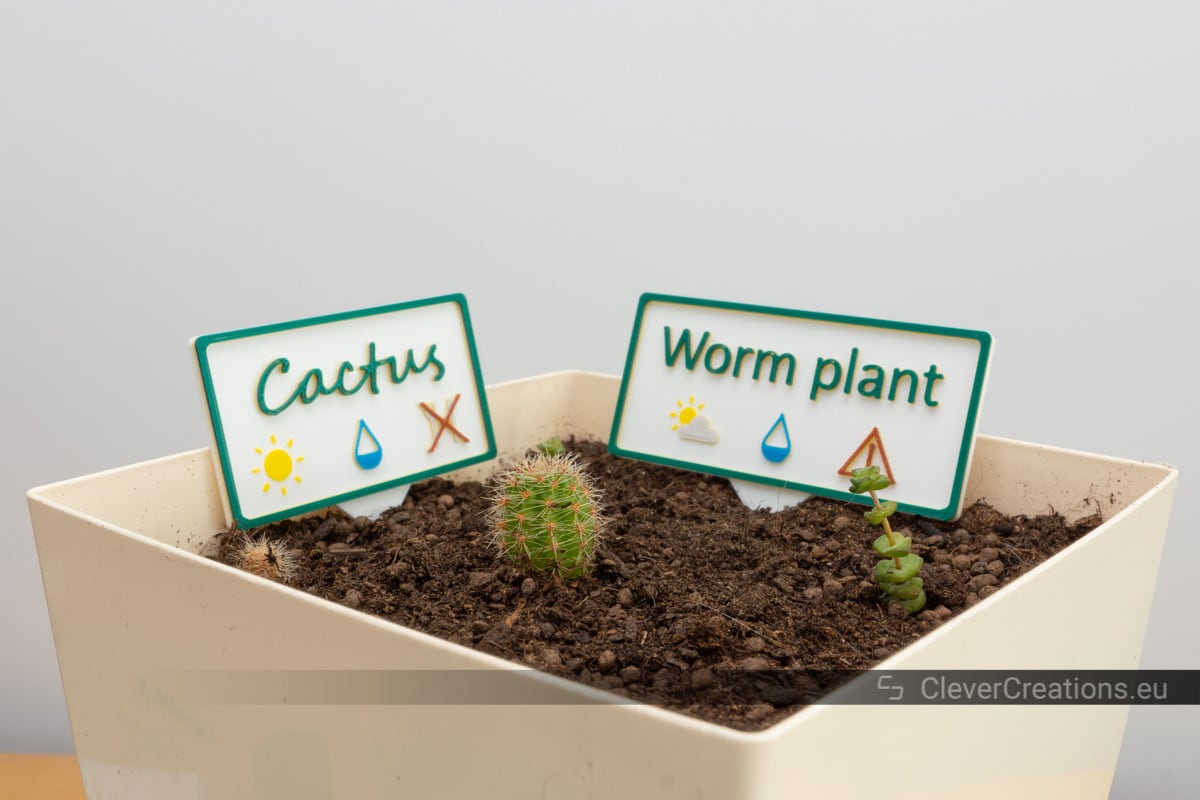
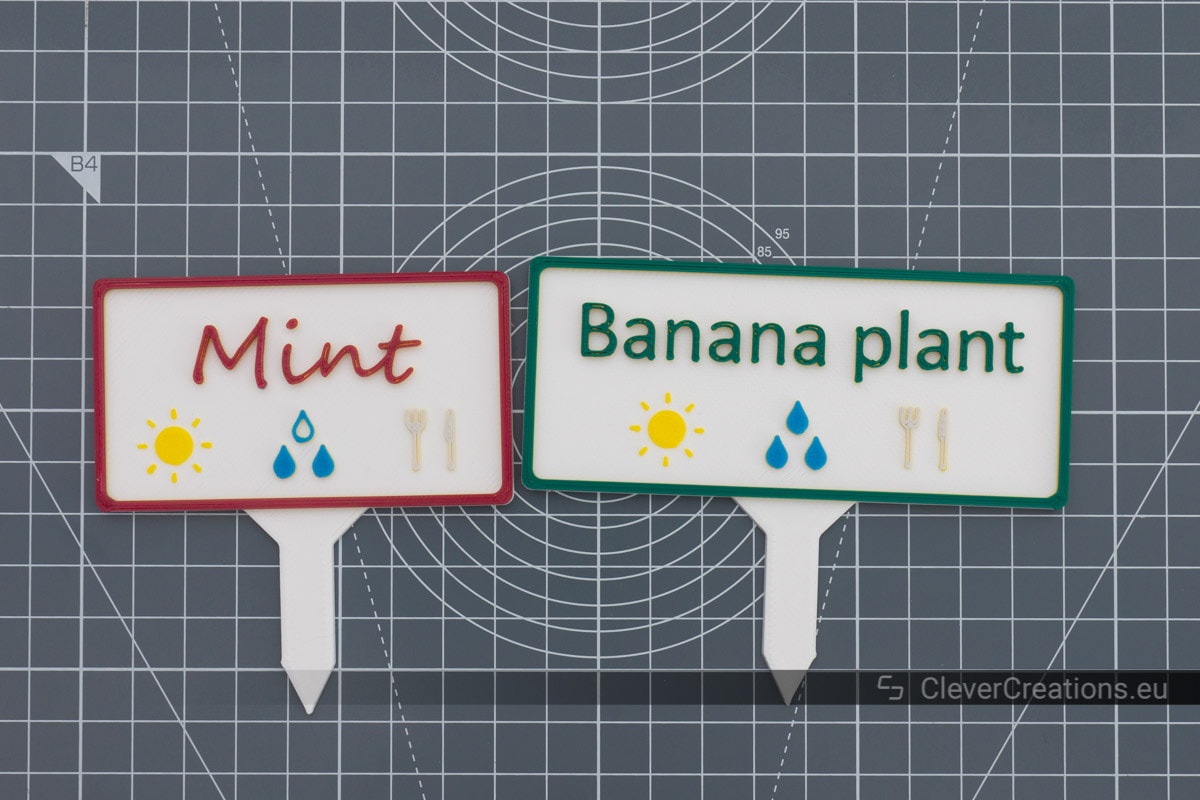
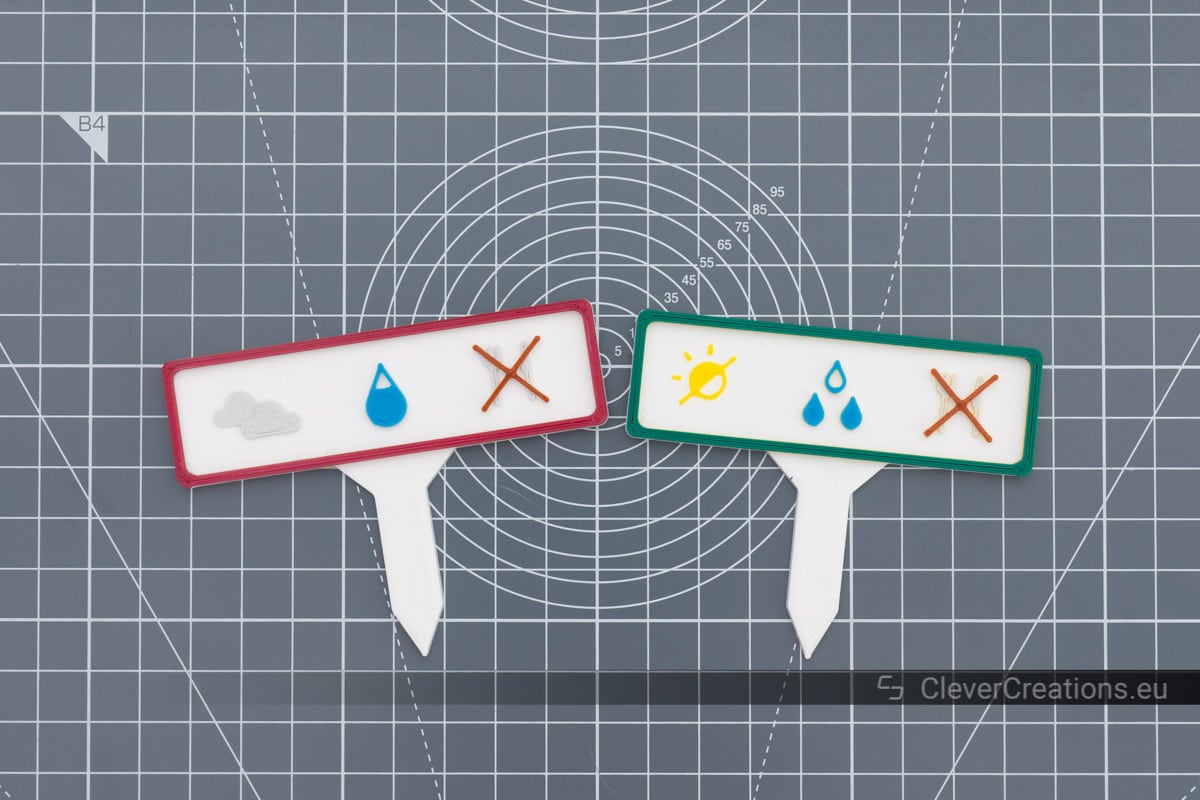
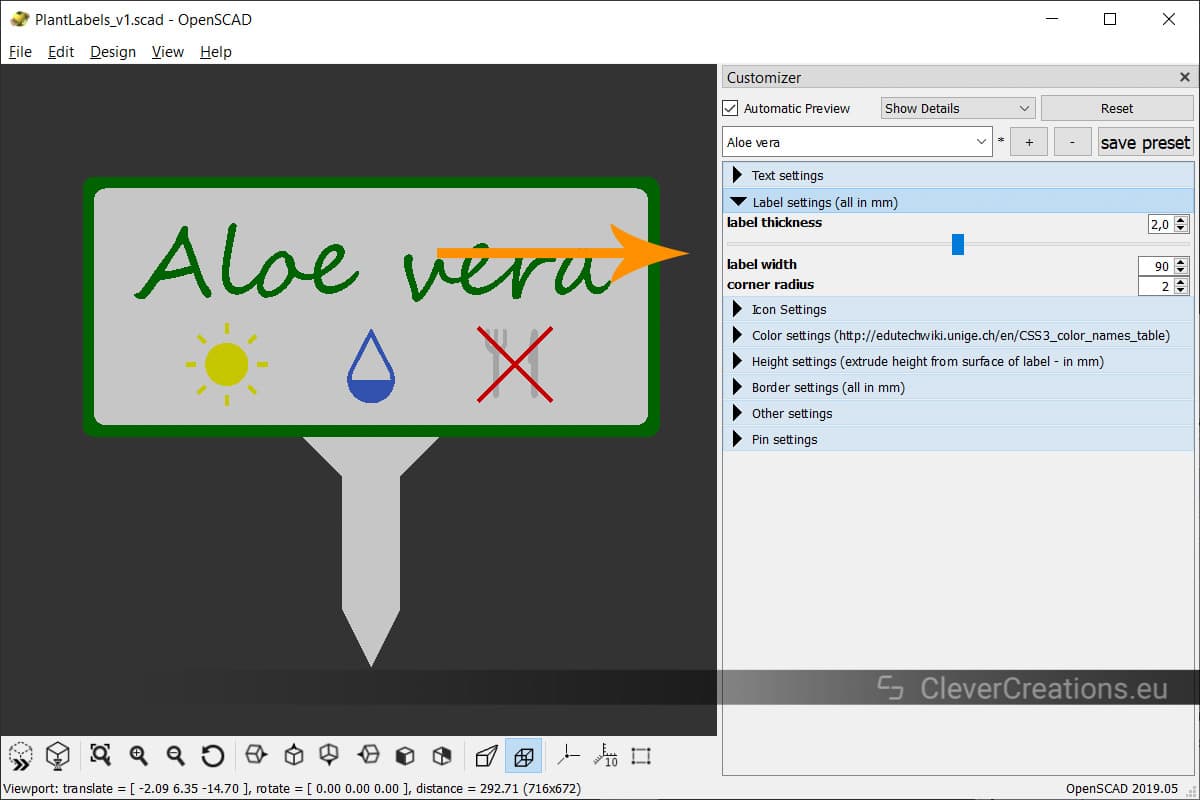
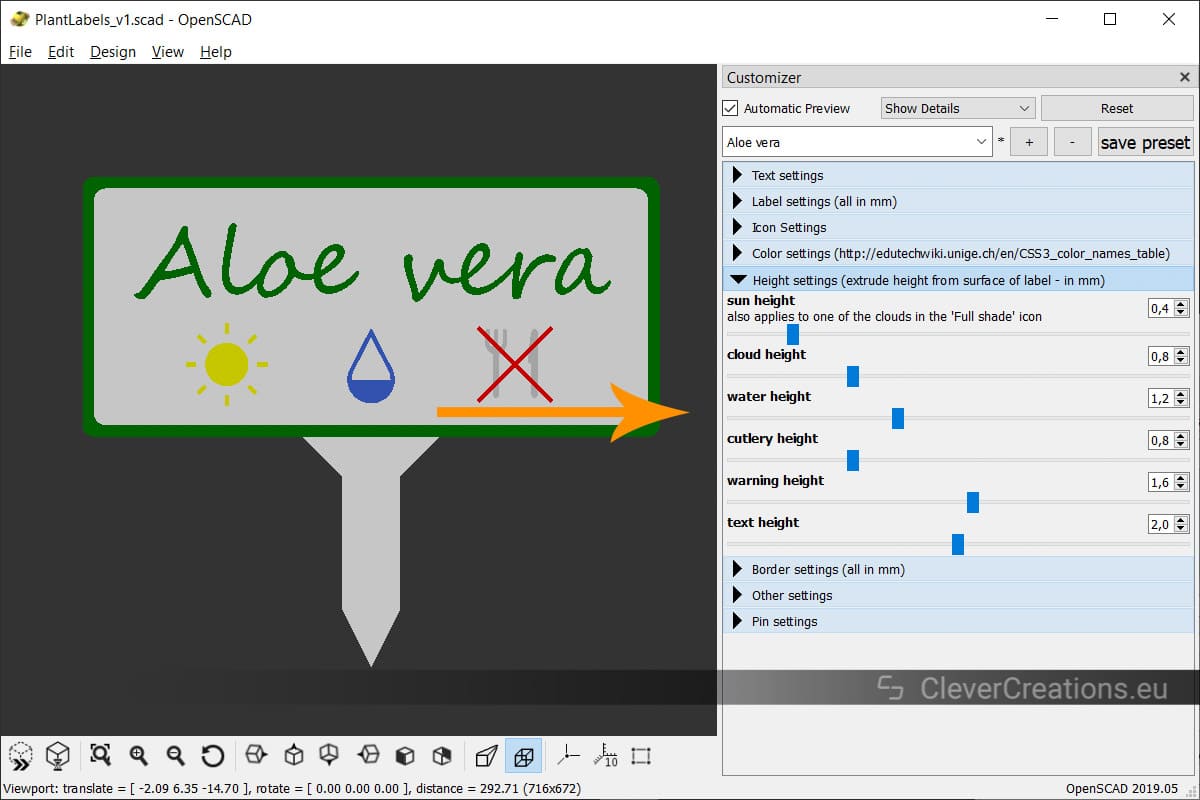
- Plant care instructions. Because I don’t have the greenest thumbs, I thought it would be useful to also have the care instructions for the plants on the markers. I wanted them to be easy to read and not take up too much space, so I settled on icons for this.
- Easy to build for others. I wanted you to be able to easily design and 3D print your own labels too, which is why I settled on using OpenSCAD (a free and open source modelling tool) for the project.
The End Result
In the end that is exactly what I ended up with. Plant labels designed for multicolor 3D printing with a single extruder, that can be fully and easily customized.
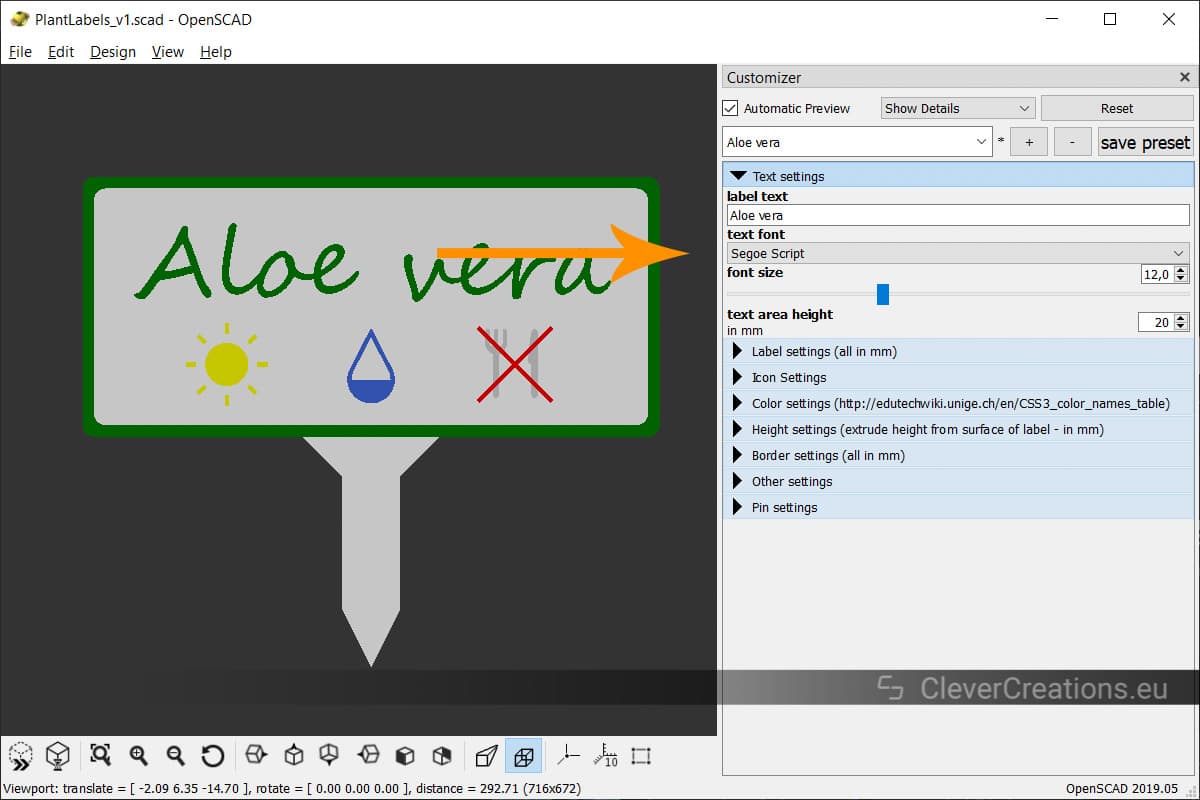
The OpenSCAD script lets you choose fonts, icons, adjust the label dimensions, add/remove the border on the label, and even set preview colors for multicolor printing, so that you know what the end result will look like.
Further down the page I have included a link to the script and full step-by-step instructions on how to use it.
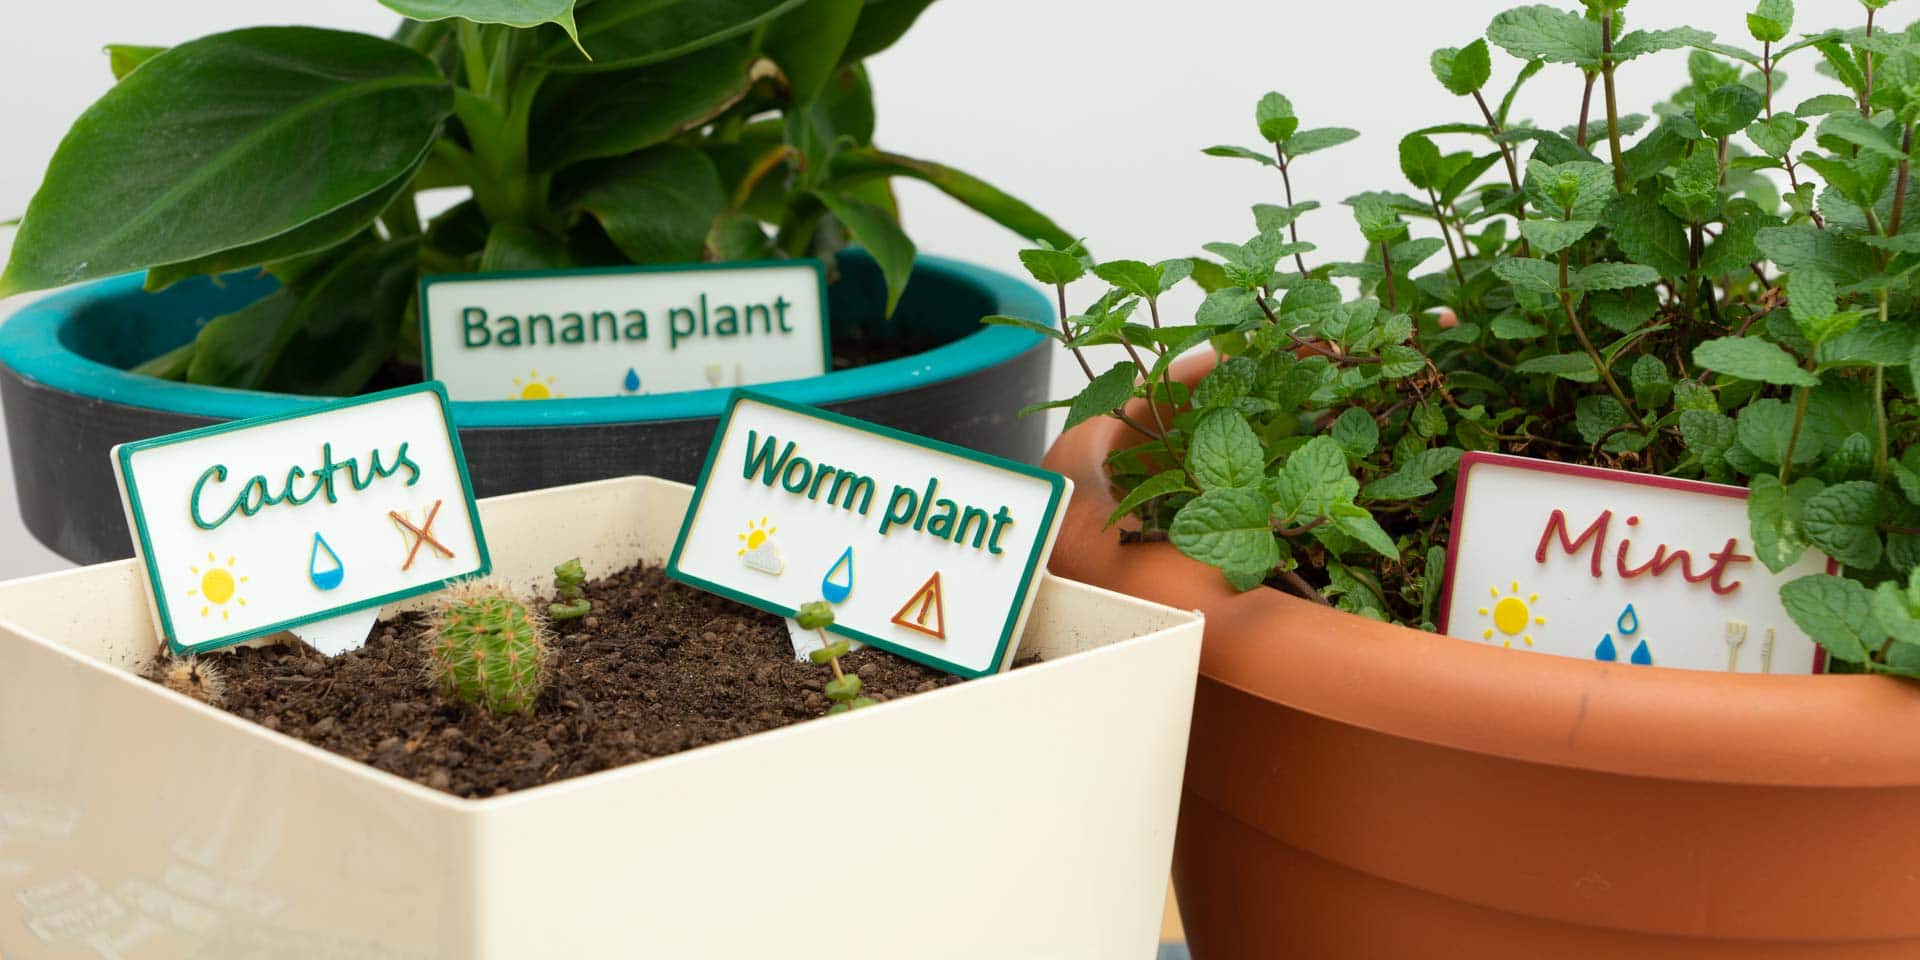
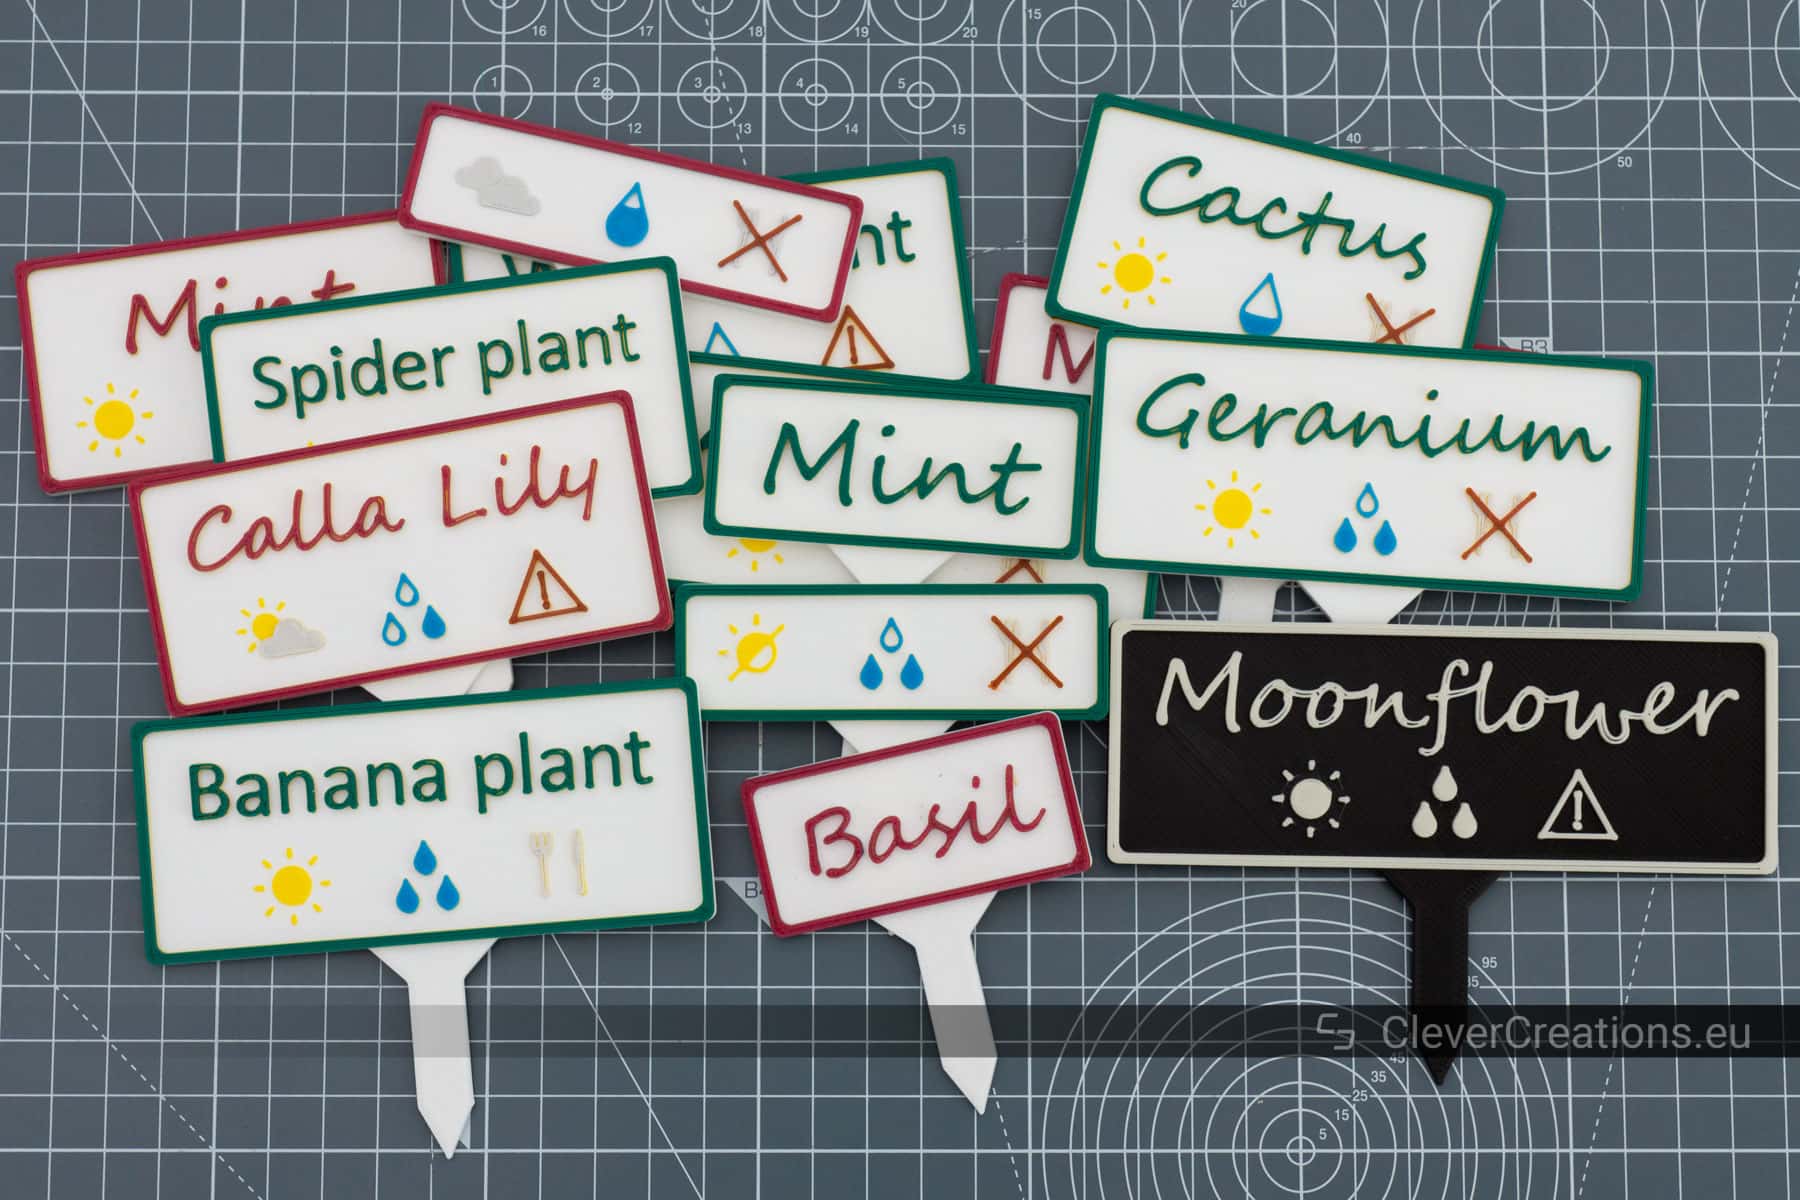
Plant Label Examples
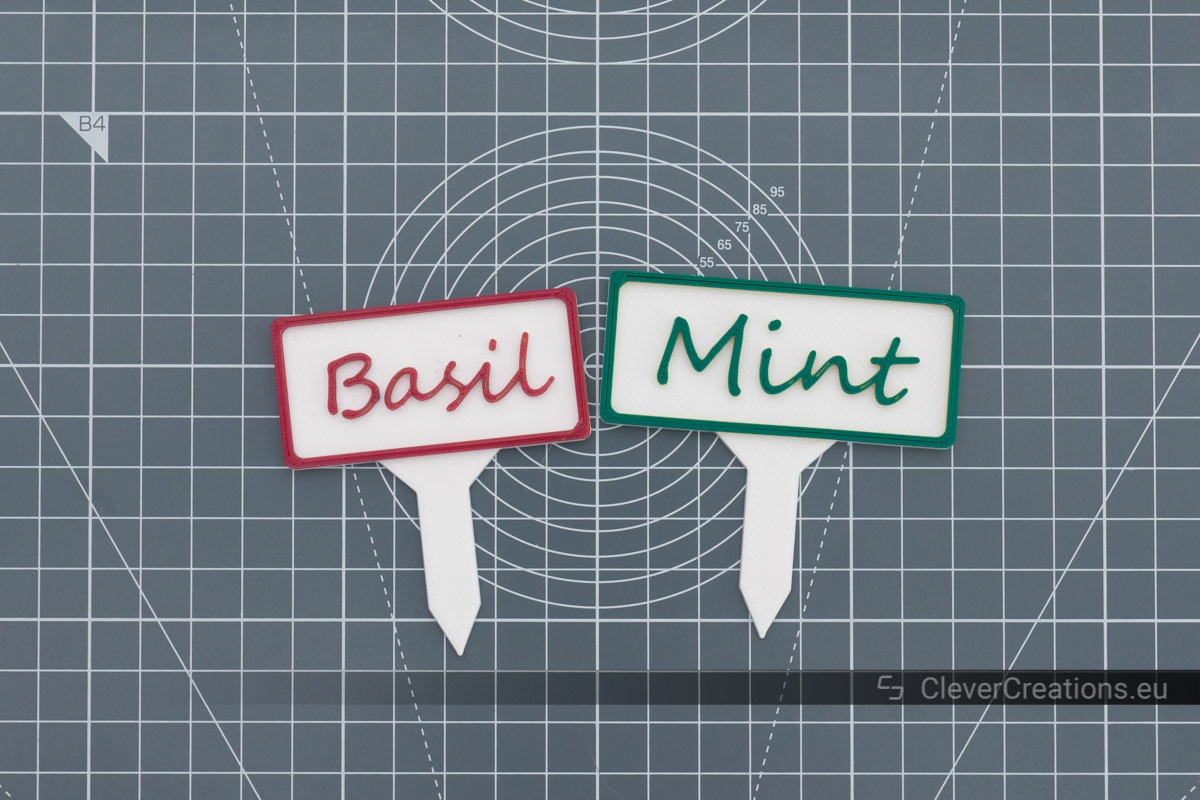
Here are a couple of examples of labels that can be generated with the script.
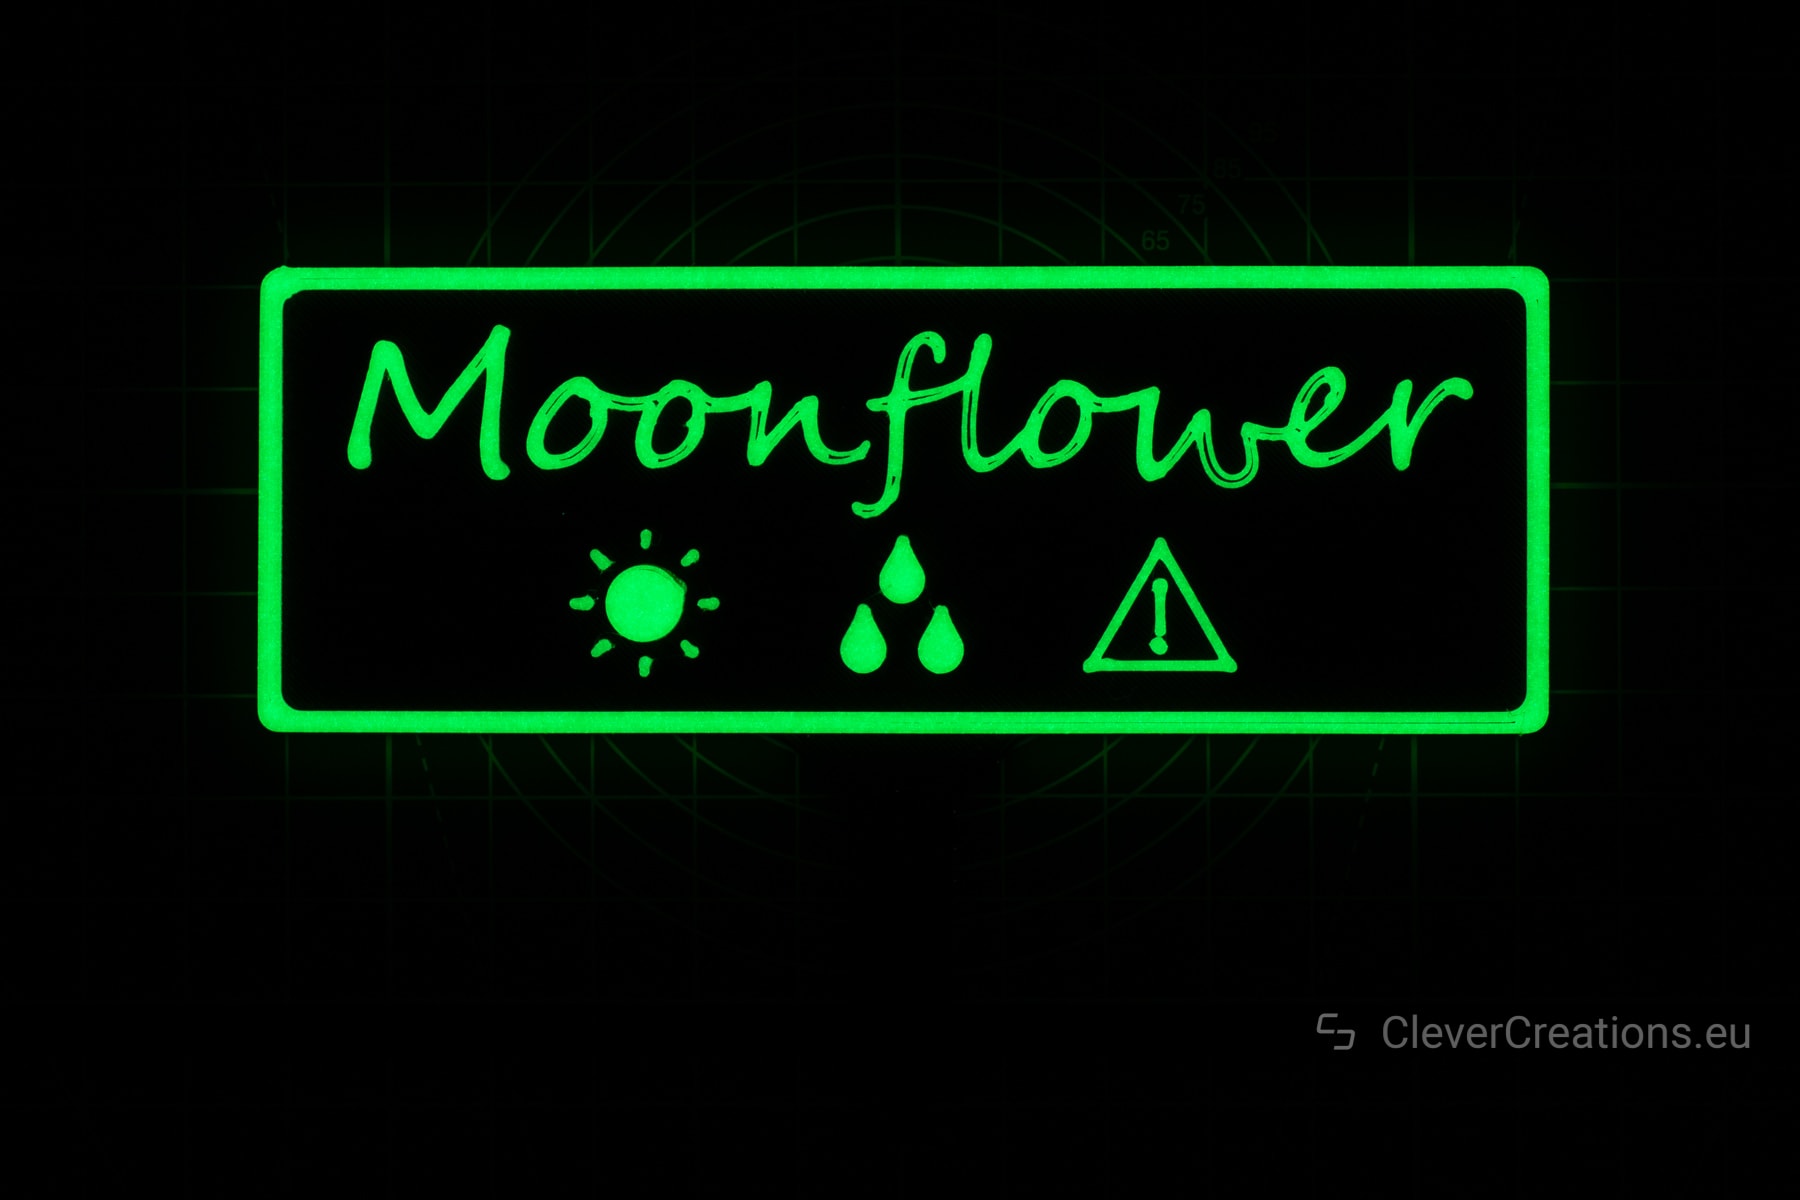
A two-color label with glow-in-the-dark filament.

How Does the Multicolor Aspect Work?
Labels are printed with various colors of filament, each up to specific heights. If the surface of an element (e.g. the sun icon) needs to be printed with a specific color (yellow), then it is only printed up to the layer with that color filament.
In practice this means that during printing you need to swap out filament every couple of layers. In the end you end up with bunch of different elements on the labels, all with different heights and corresponding colors.

Making the Plant Labels Without Multicolor Printing
Another way to create multicolor labels is to print the labels in white, at home or through a print service, and use quality acrylic paints to paint them by hand.
How to Design and 3D Print Your Own DIY Plant Labels
|
|
Tools | ||
|---|---|---|---|
|
No products found. |
Check Price | ||


Unfortunately I couldn’t integrate the OpenSCAD script with the Thingiverse Customizer (which has a nice web interface for customizing settings) because Thingiverse doesn’t allow for the import of the icon files. The next best way to use the script is in OpenSCAD itself, but we need to install and set it up first.
Setting Up OpenSCAD
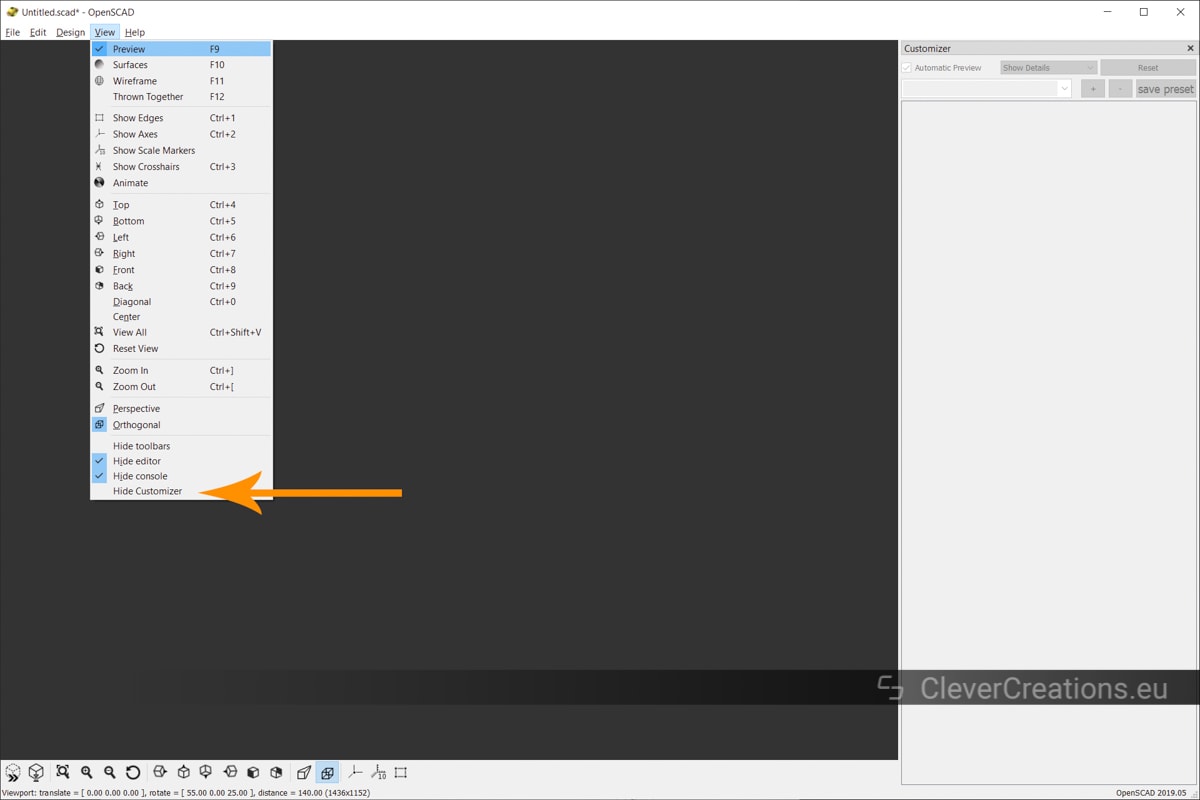
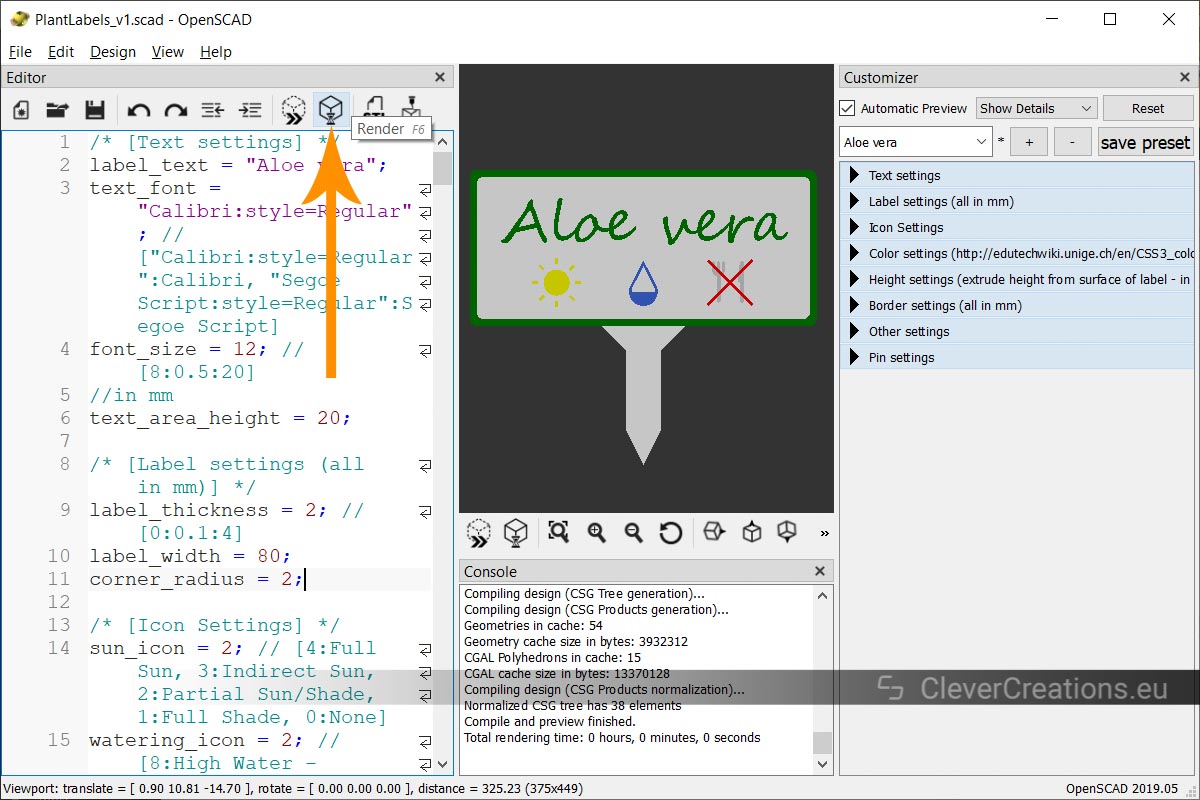
Download and install OpenSCAD. Make sure to use version 2019.05 or later, because it comes with a built-in customizer to edit the label settings. That way you don’t need to fiddle with the code itself.
Generating the Labels
Make sure that the .scad file, .dxf icons and the .json presets file are all in the same folder, and then open the .scad file with OpenSCAD.

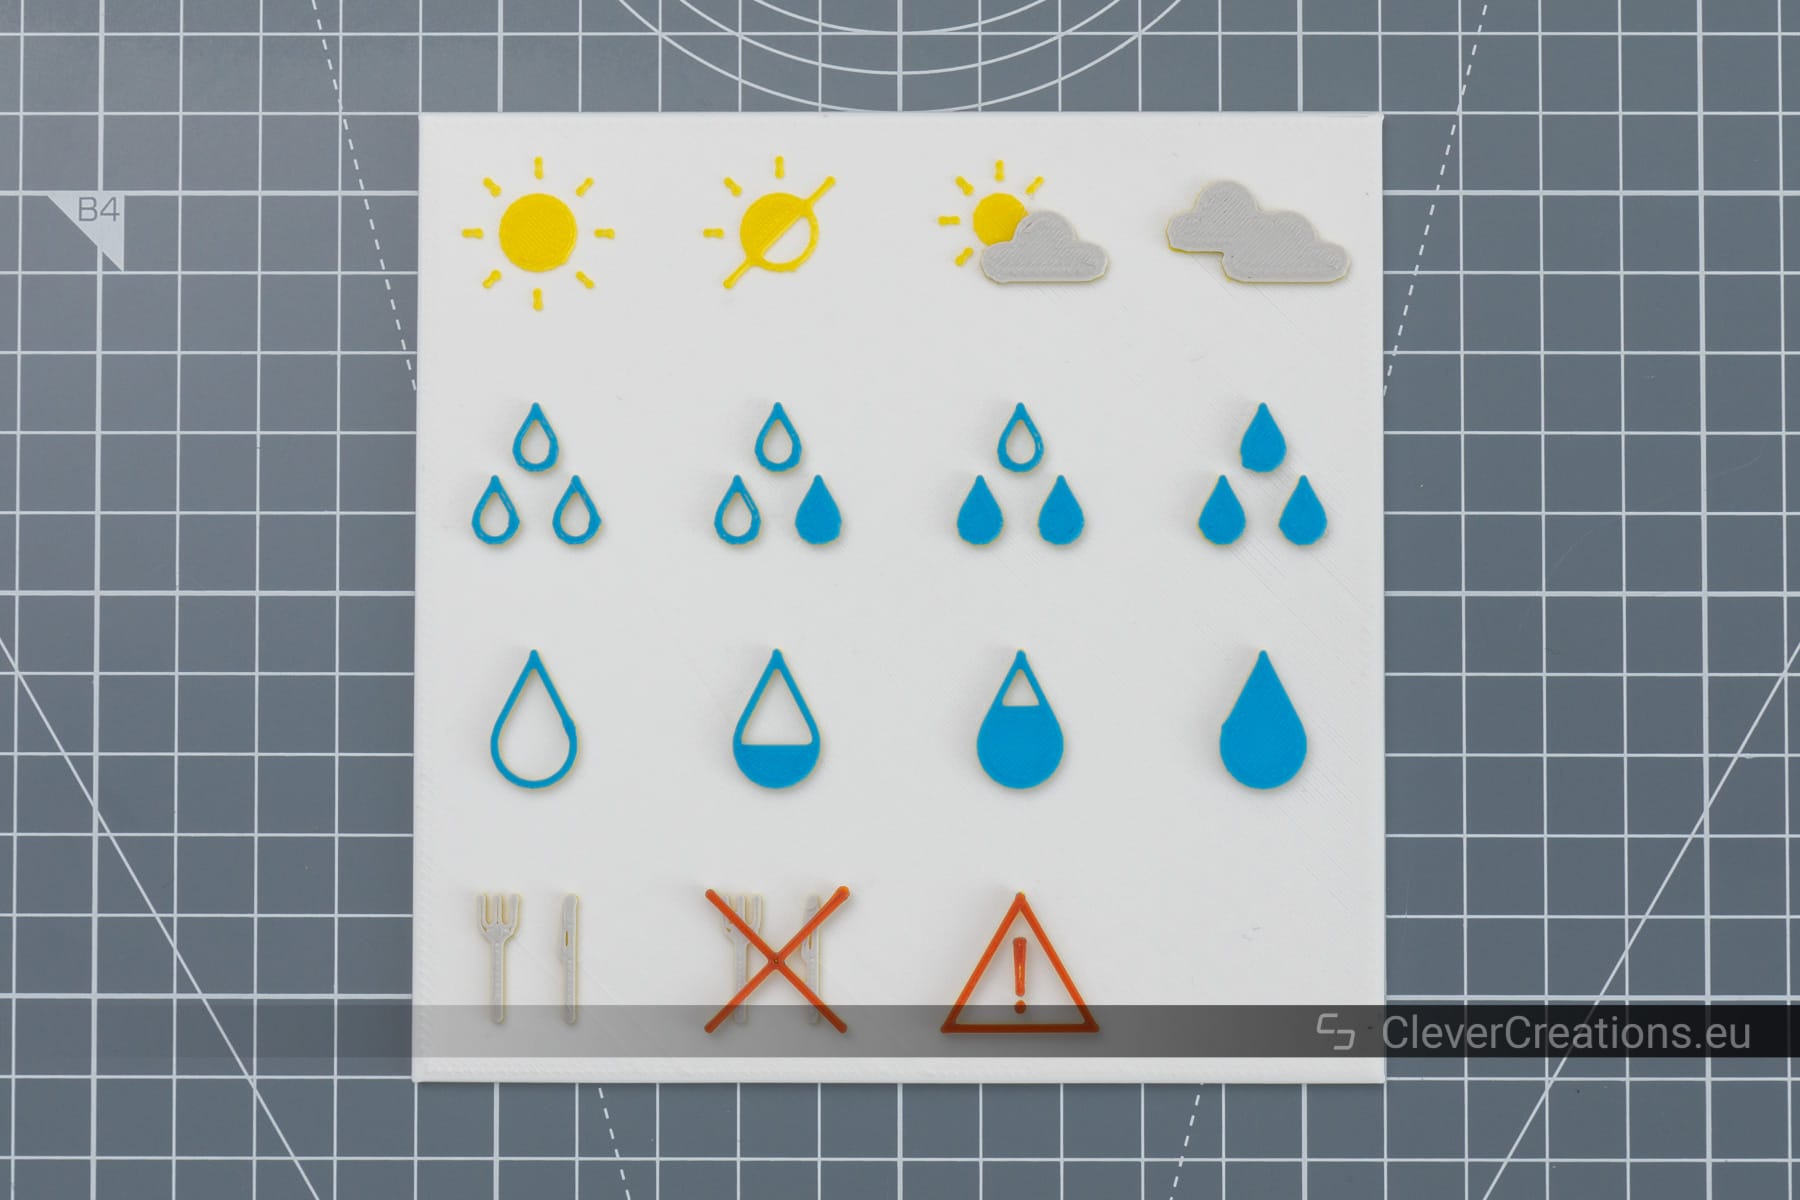
| Sun icons | Full sun | Indirect Sun | Partial Shade | Full Shade |
|---|---|---|---|---|
| Water icons – Triple drops: | No water | Low | Medium | High |
| Water icons – Single drop: | No water | Low | Medium | High |
| Edibility icons | Edible | Non-edible | Toxic |


After you have saved the STL file, you can print it with your 3D printer or through a print service.
Printing the Labels
To print the labels in multiple colors, you will need to swap filaments at the right layers. For more information on this process you can check out this article on multicolor 3D printing.
I printed the labels with a 0.4mm nozzle and 0.2mm layer height. This worked well with the default settings in the script (font size 11, icons scaled to 0.75).
If you want to print smaller labels/text/icons it is best to go with a smaller nozzle, that way the smaller details can still be printed.
Conclusion
I am very happy with how the labels came out. I am thinking about maybe adding several more icons, for example an icon indicating that only the fruit of a plant is edible. If you have any more ideas or suggestions please let me know in the comments!