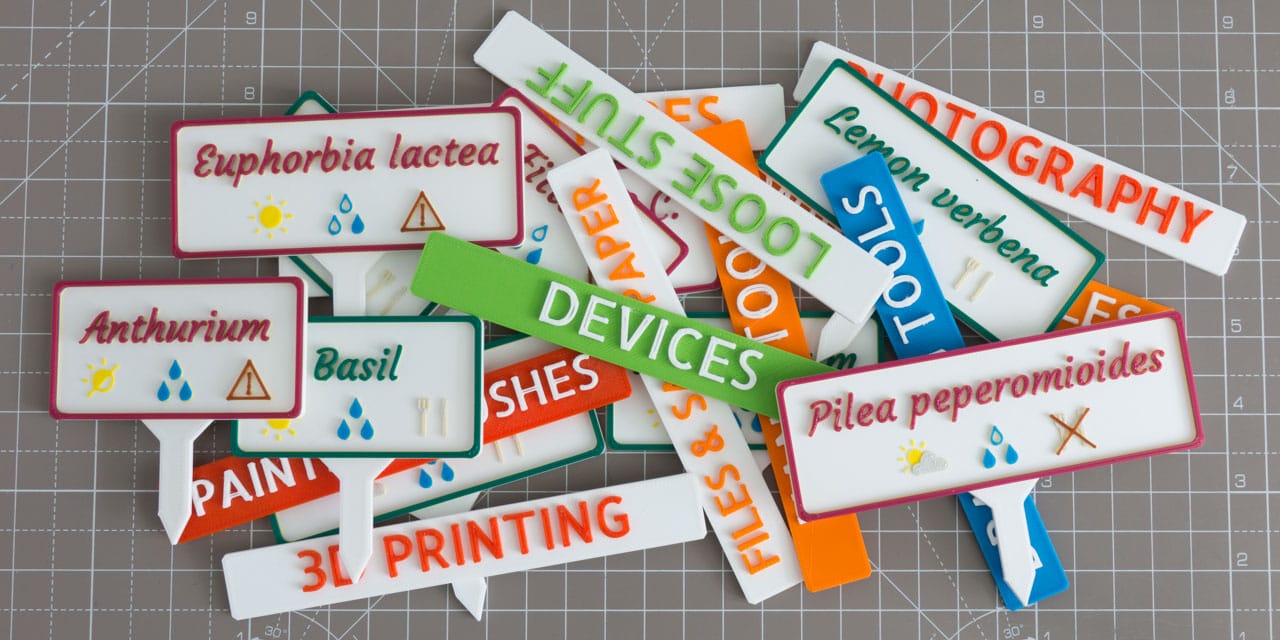

One of the best ways to create eye-catching 3D prints is to print them in multiple colors. This is often referred to as multicolor printing. It is a great way to add extra color to your prints without having to resort to post-processing techniques like painting.
Dual extruder 3D printers that allow for printing in multiple colors at the same time have been around for a while. Most of our hobbyist printers only come with a single extruder however. Luckily, there are also methods to multicolor print with only one extruder.
In this article I will show you the most common methods for multicolor printing with a single extruder, along with their advantages and disadvantages.
Let’s take a closer look.
Pause at Height and Swap Filament
One of the most common ways to 3D print with multiple colors is to pause the print and to manually swap out the filament with filament of a different color. Often this is done when the printer increases its Z position to move to a new layer. It is often referred to as the pause at height or pause at layer method.
You are not limited to swapping filament colors only once, it is possible to swap filaments many times during a single print to create cool visuals.
You can either pause the 3D printer by hand, or edit the G-code so that the 3D printer pauses automatically at specific points during the print.
Manually Pausing the Print
If the exact point you want to swap out the filament is not very important, you can simply manually pause the print using the printer’s host software, or by using the printer’s control panel. You will need to keep an eye on your printer to identify the approximate moment you want to swap out the filament.
Edit G-code to Pause the Print
If you need more precise control, for example, if you want to swap filament on a layer change, it is best to edit the G-code of the print. This causes the printer to automatically interrupt the print and enter a pause state.
One advantage of this method is that there is no need to monitor the 3D printer. Once the printer reaches a specific layer that you want to swap the filament at, it does the pausing without any human input.
Editing the G-code involves inserting pause commands. You can do this by hand, or you can have the slicer software do it for you.
How to Manually Edit G-code to Pause a Print
To manually edit G-code to set up a 3D print for automatic pausing, you can do the following:
1. First, find in your slicing software the exact layer(s) you want to swap colors at.
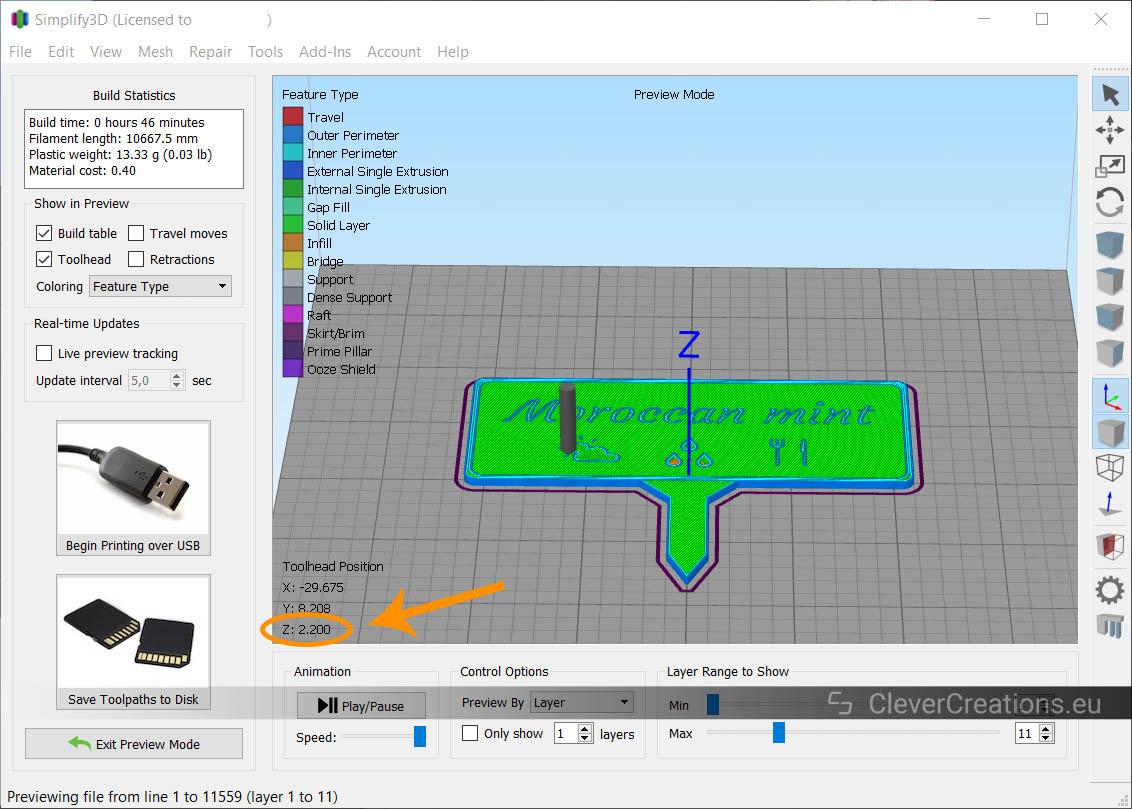
This means that if I want to print with a different color starting with that layer, I need to pause and swap out the filament at the beginning of that layer.
2. Generate the regular G-code for the print and open it in a text editor like Notepad.
3. Edit the G-code by adding pause commands. For example, the G-code I add to pause the print is as follows:
G91		; set relative positioning
G1 Z10 F4000	; move Z up 10mm
G90		; set absolute positioning
M600		; suspend/pause
This moves the nozzle up 10mm, and then pauses the print. I let the hotend move upwards first so that any filament that oozes out of the nozzle will be in mid-air instead of oozing on the print.
In the example from before, where I want to pause the print at Z2.20, the resulting section of G-code would look something like this:
G92 E0.0000
G1 E-1.7000 F3000
; layer 11, Z = 2.200
G91		; set relative positioning
G1 Z10 F4000	; move Z up 10mm
G90		; set absolute positioning
M600		; suspend/pause
; feature outer perimeter
G1 Z2.200 F300
G1 X-2.589 Y3.860 F12000
So what I did there was insert the pause G-code right before the command that moves the 3D printer to Z2.20 (G1 Z2.200 F300).
How to Automatically Insert Pause Commands in G-Code
Aside from manually editing G-code, it is also possible to have the slicer software automatically insert pause commands when the G-code for the print is generated. This saves quite a bit of time and effort when you want to pause a print several times.
Slicers usually do this by running a post-processing script after generating the G-code. This script inserts the pause commands at the relevant locations.
Inserting Pause Commands With Post-Processing in Simplify3D
In Simplify3D it is possible to automatically insert the pause commands when the G-code is generated. You can do this by going to Edit Process Settings -> Scripts and then finding the “Additional terminal commands for post-processing” section at the bottom.
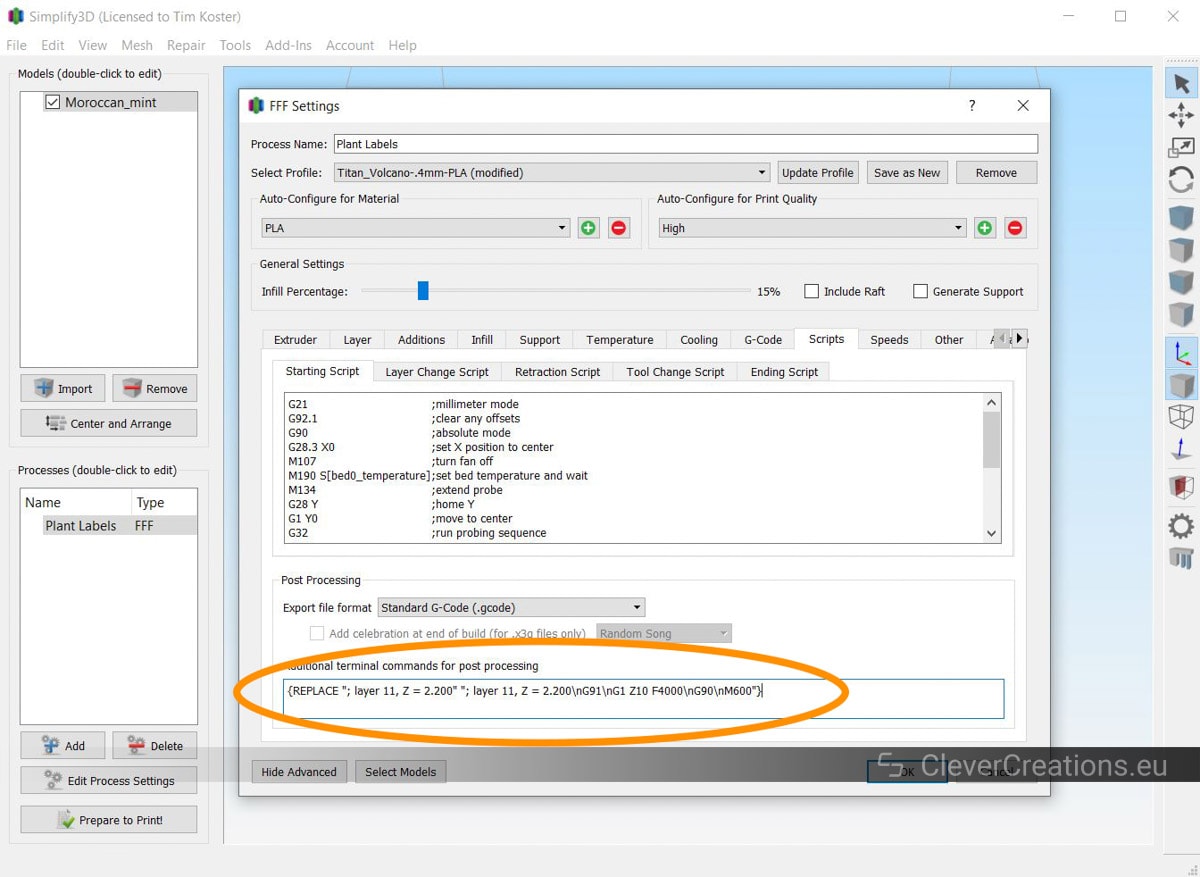
In the corresponding text box you can enter a script that inserts the pause G-code. For the example where I want to automatically pause at layer 11 @ Z2.20, I would add the following:
{REPLACE "; layer 11, Z = 2.200" "; layer 11, Z = 2.200\nG91\nG1 Z10 F4000\nG90\nM600"}
What this does is that it finds the G-code comment that announces the new layer ( ; layer 11, Z = 2.200 ) and replaces that line with itself + the additional pause G-code on the next lines. The \n in the script signals the start of a new line. You can compare it with pressing Enter on your keyboard.
It is also possible to use multiple replace commands at once, for example when you want to pause the print multiple times to swap filament. That would look something like this:
{REPLACE "; layer 11, Z = 2.200" "; layer 11, Z = 2.200\nG91\nG1 Z10 F4000\nG90\nM600"}
{REPLACE "; layer 13, Z = 2.600" "; layer 11, Z = 2.200\nG91\nG1 Z10 F4000\nG90\nM600"}
{REPLACE "; layer 15, Z = 3.000" "; layer 11, Z = 2.200\nG91\nG1 Z10 F4000\nG90\nM600"}
You can find more information on the post-processing feature in Simplify3D on this page.
Post-Processing in Other Slicers
Other slicers have their own implementation of post-processing scripts. For example, Cura has a built-in post-processing script for pausing at specific heights, whereas Slic3r supports external post-processing scripts in a variety of languages such as Perl, Python, Ruby and Bash.
In short, you need to insert the right post-processing script in your slicer, and make sure that the G-code in the script is correct for your specific 3D printer. In many cases you will be able to find an example pause at layer height script online for your 3D printer that you can use. After setting the right layer heights in the script, you will be able to pause 3D prints at the exact height you want.
How to Change Filament Colors After Pausing the Print
After pausing the print, whichever method you used, the next step is to change to a different filament color. Let’s see how to do that.

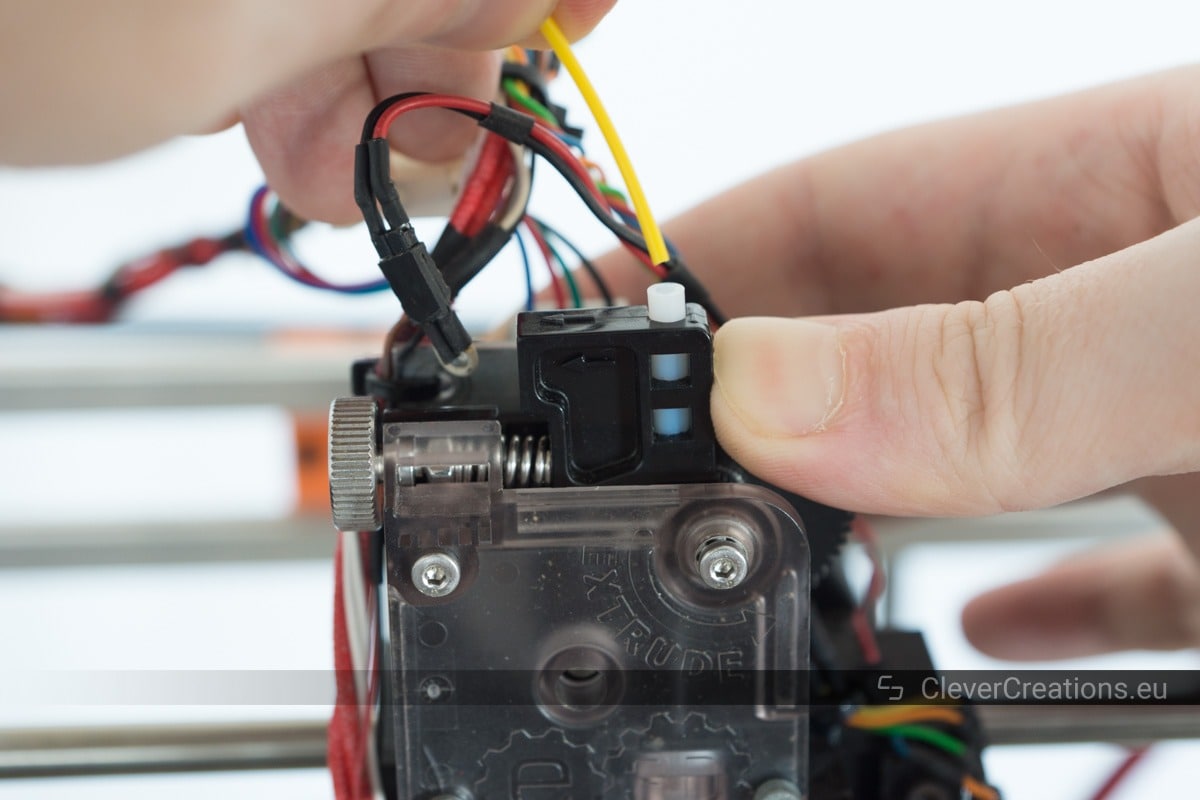
Once the color of the extruded filament is the same as the filament going into the hotend, you can resume the print. Make sure to remove any strings of extruded filament from the nozzle with a pair of tweezers first.
To resume the print, once again use the printer’s control panel or the host software. For my printer’s Smoothieboard electronics I need to send the M601 command to resume the print, but for other 3D printer electronics this can be a different command. Make sure to check!
Additional Considerations
- Make sure to keep the hotend hot during pausing. This allows you to pull all of the old filament out.
- The same goes for the heated bed. If you are using one, make sure that it does not cool down while the printer is paused. This can cause the part(s) to release, ruining your print.
- It is also important to keep the stepper motors of your 3D printer on/engaged while the print is paused, so that the hotend can resume printing from the exact X/Y coordinates it paused at. Turning the stepper motors off makes it possible for the extruder carriage to move. If it moves, the print will shift on the next layer after resuming.
- You can often set the pause behavior for the three above items in the printer’s firmware. That way you don’t need to set them manually every time you pause a print.
Pros
- Works with every printer.
- Easy to set up.
Cons
- Only lets you print one color per layer.
- Labour intensive if filament has to be swapped many times.
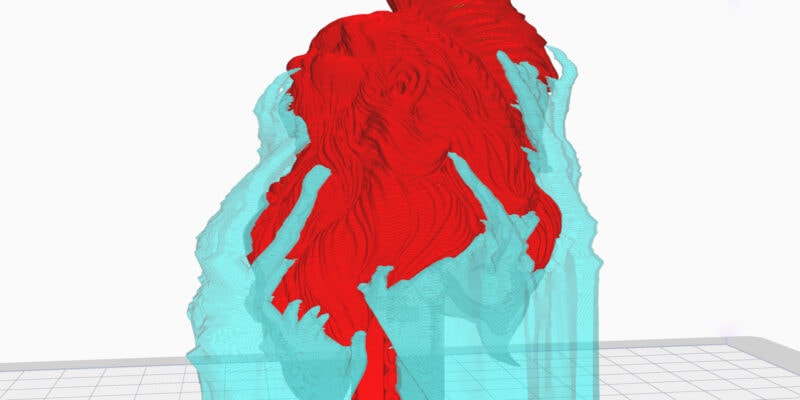
Virtual Extruders
Another method to multicolor print with a single 3D printer extruder is to create virtual extruders in your slicer. This essentially means telling your slicer that your 3D printer has multiple extruders with different color filaments. In reality, you will be swapping out filament in your only extruder each time the printer is supposed to change extruders.
The big advantage of this is that it gives you the opportunity to print with multiple colors on a single layer, just as you could do with multiple real extruders. This is something that isn’t possible when you swap filament on a layer change.
Virtual extruders come in handy when you have a model that you want to print in multiple colors, but that needs to be perfectly flat without additional colors that stick out (say for something like a coaster).
A downside of this method is that you need a multibody 3D model to print, as each virtual extruder prints one body in a specific color.
Multibody 3D models can take more time to design, and there are less available to download on sites like Thingiverse, compared to singlebody 3D models.
Here you can find a tutorial on setting up virtual extruders in Simplify3D.
Pros
- Allows for 3D printing with multiple colors on one layer.
Cons
- Needs multibody 3D models.
- Can be time-consuming to set up in slicer.
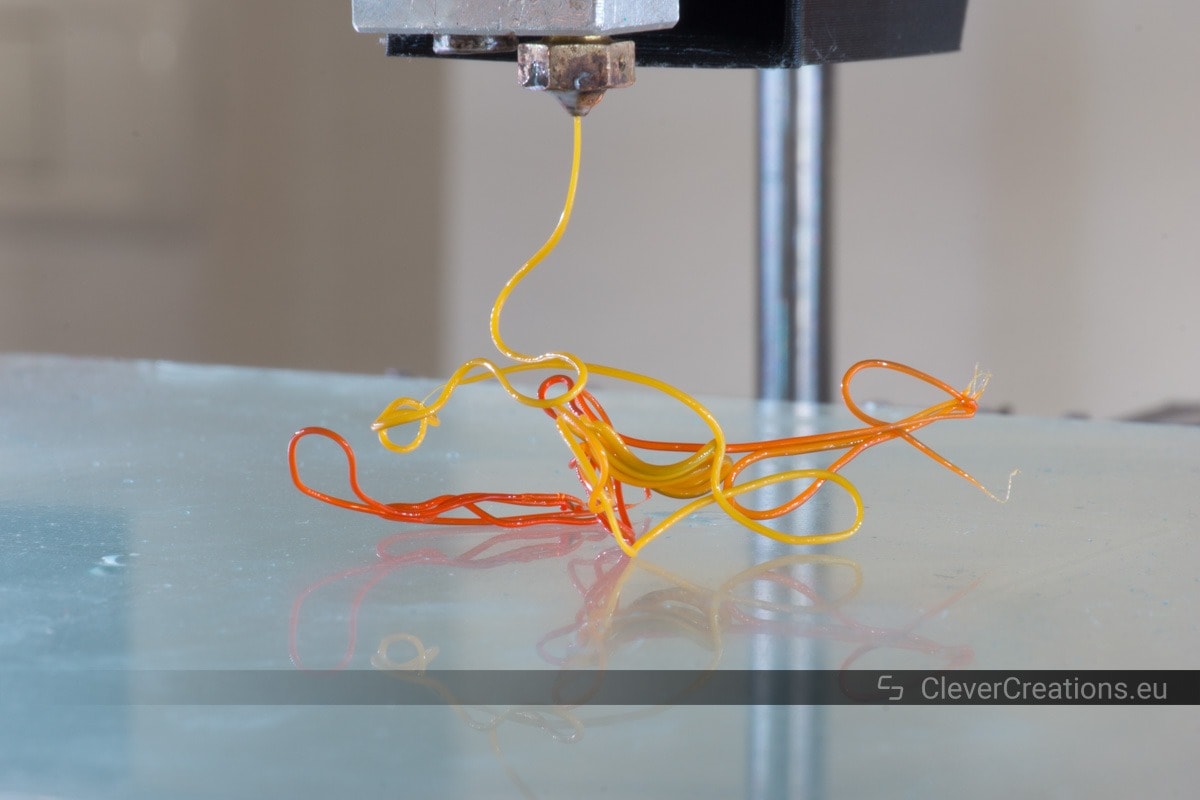
Multicolor Filament
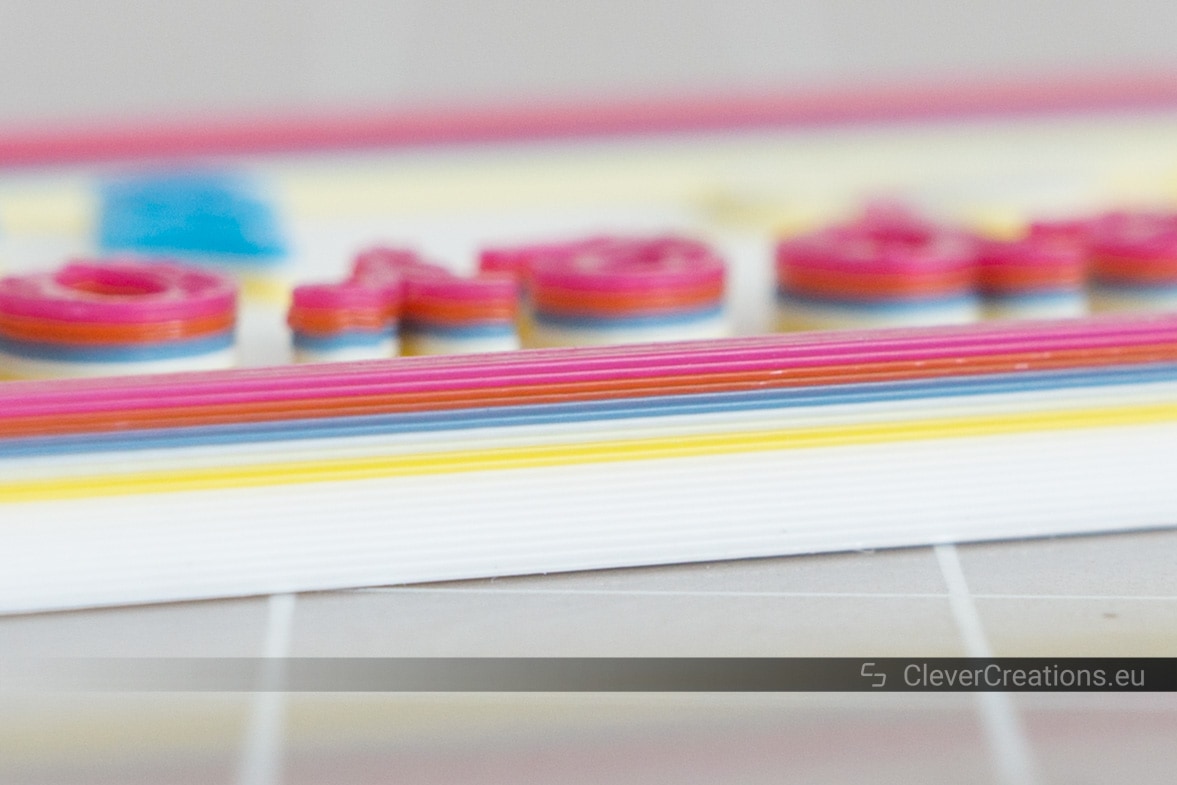
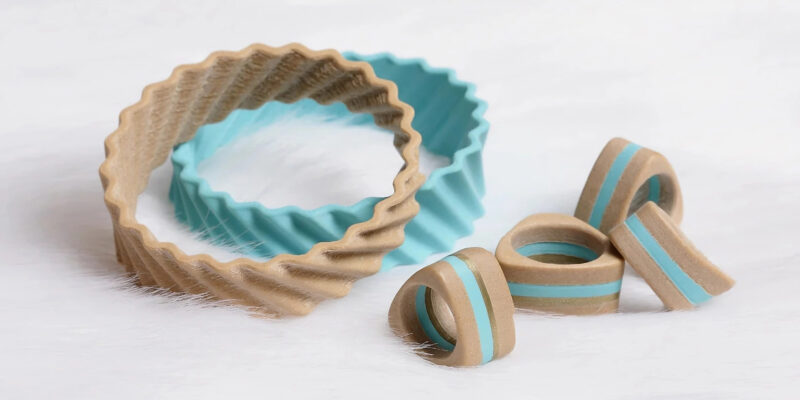
Aside from swapping out filament to add additional color to your 3D prints, it is also possible to print with multicolor filament. Multicolor filament is filament that has multiple colors on one spool. It usually gradually transitions from one color into another. Some spools have two or three colors, whereas others cover the entire rainbow.
Multicolor filament is especially useful for large, aesthetically pleasing prints like vases. The gradual color changes really make these sorts of prints stand out.
Not all of these spools work well for smaller prints, because prints can be too small to have the color transitions show up. So if you want to make the best of a spool of multicolor filament, pay attention to this.
Making Your Own Multicolor Filament
Besides buying multicolor filament, it is also possible to create your own. This is done by splicing multiple colors of filament and joining them together. You won’t have any gradients, but you will be able to control the exact colors and number of color changes.
Here you can find a tutorial on fusing filament together yourself.
Pros
- No need to swap filaments.
- No need to modify G-code.
Cons
- Impossible to control placement of colors.
- Significant color transitions are often only visible in large prints.

Conclusion
You have learned:
- How to use the pause at height method to switch filaments on Z change.
- How to manually insert pause commands in G-code.
- How to use Simplify3D’s post-processing function to automatically insert pause commands in your G-code.
- What a virtual extruder is, and its advantages and disadvantages.
- What multicolor filament is, and its benefits and drawbacks.


Tim,
Great stuff!
I do help kids with problems and somebody gave me a 3D printer.
Please do help me how to get this multi colour installed.
Errie
Hi Errie,
please contact me by email so that I can help you out further.
Tim