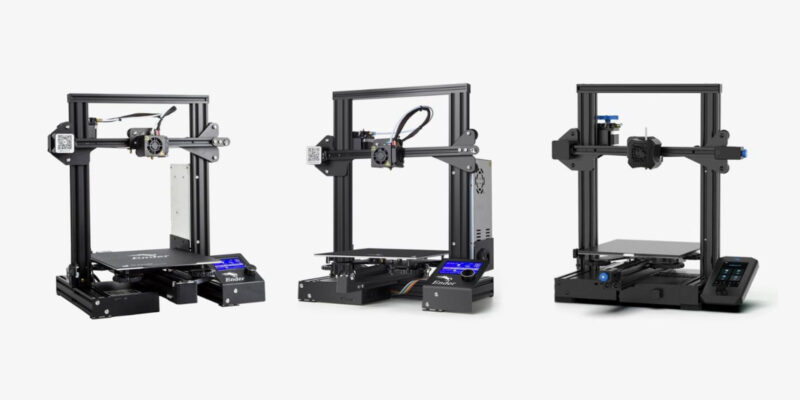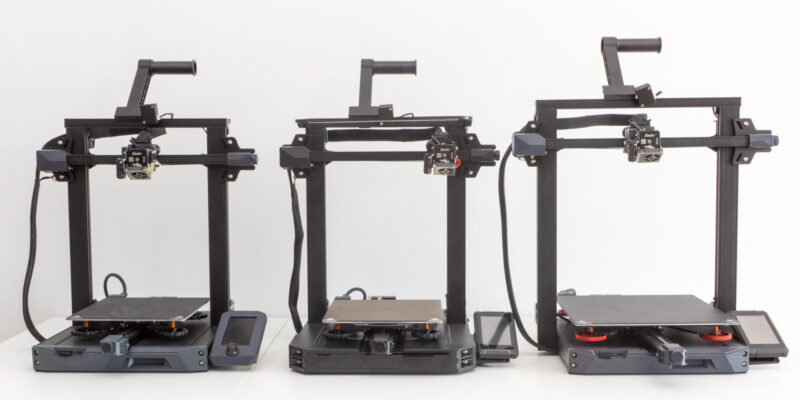

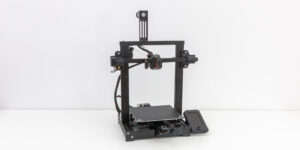
Creality’s Ender 3 3D printers are well-known for providing excellent value for money in the budget 3D printer segment. They offer a sturdy metal frame and a decent feature set that delivers excellent print quality. Their print volume also rivals that of more expensive 3D printers in the market.
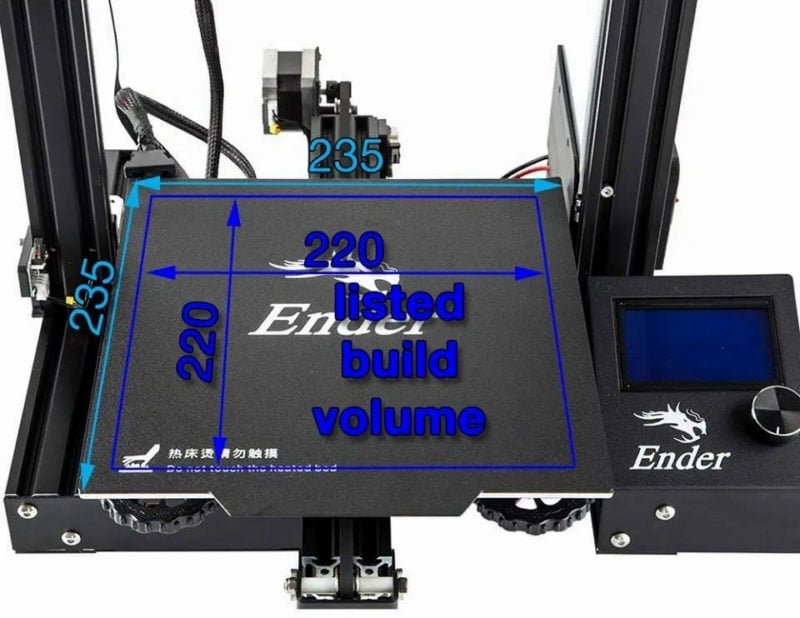
And it is this build volume that causes confusion for new 3D printer buyers and beginners in the field. Creality lists the Ender 3 bed size as 235 x 235 mm, yet the actual printing area is just 220 x 220 mm.
Why is there a difference between the two values? In this article, we’ll explore the Ender 3’s build volume and bed size in detail, and look at why Creality chose to reduce the usable build area.
Ender 3 Dimensions
The dimensions of a 3D printer are one of the essential things that you need to look out for. With Creality Ender 3, there are three main dimensions that we need to look at. These are the total size of the 3D printer, its bed size, and the print volume.
The Creality Ender 3 is a relatively compact 3D printer due to its open-frame design. The overall footprint of the 3D printer is 440 x 410 mm, which makes it small enough to fit on most desks while still leaving a good amount of space around it. Almost half of it is taken up by the external components and the structure, and the other half is used for the print volume.
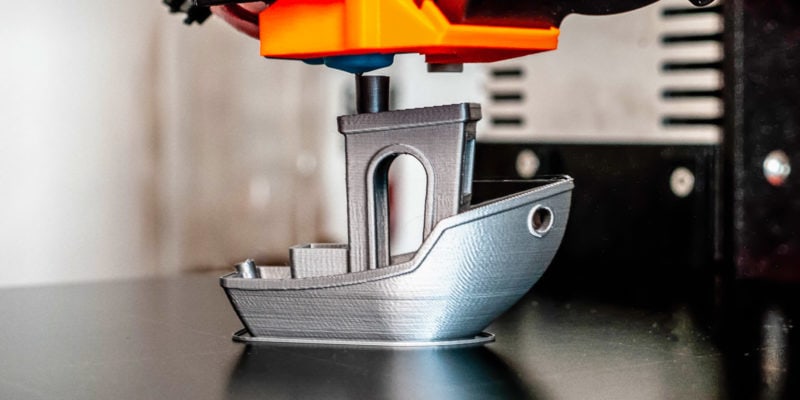
In contrast, the print volume is the actual usable space you get for 3D printing. The Ender 3 has a print volume of 220 x 220 x 250 mm, and it means that the Ender 3 can print any object with a length, width, and height equal to or less than those dimensions.
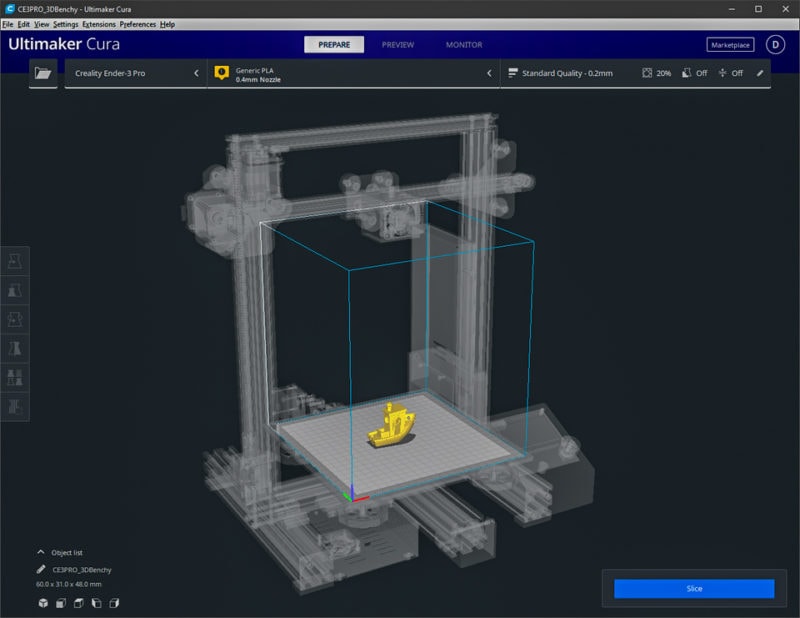
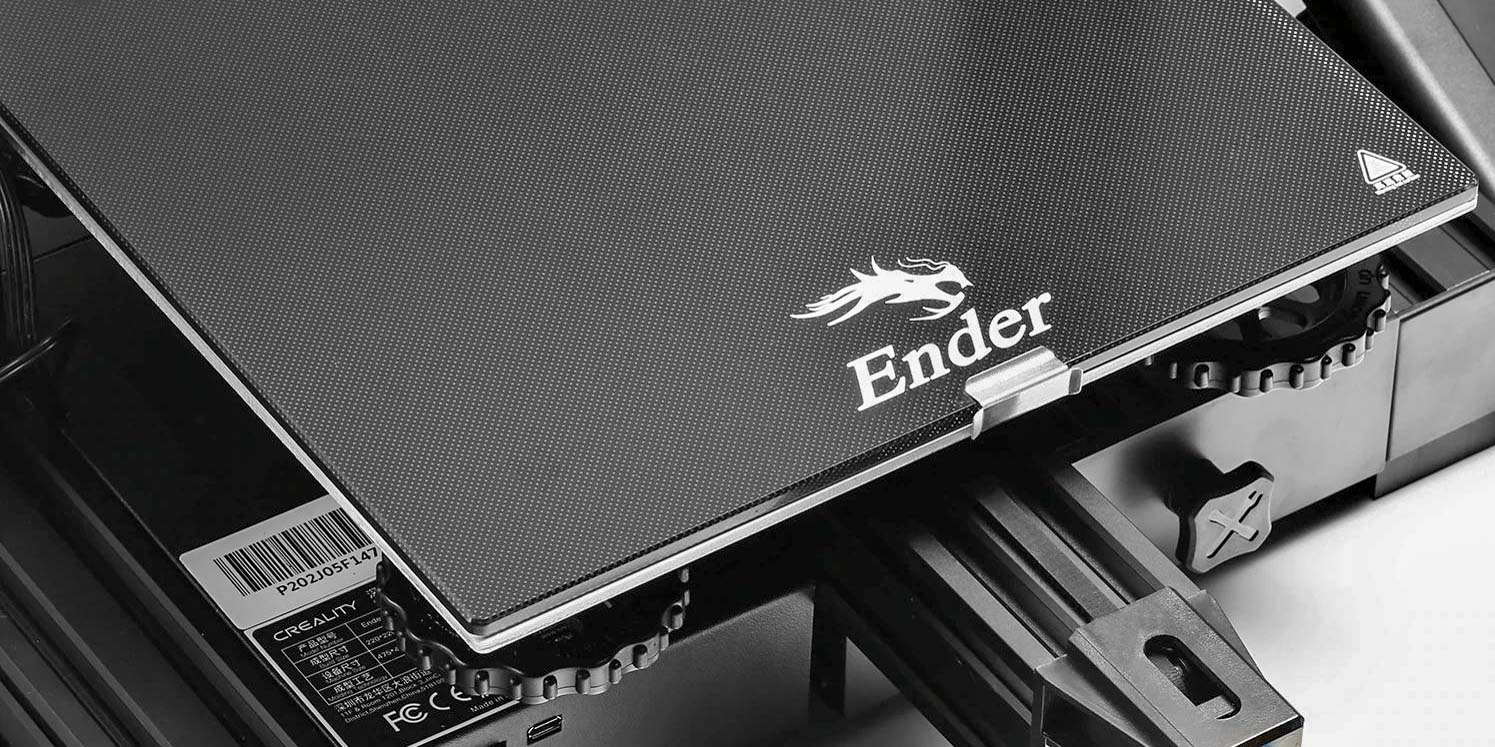
When it comes to the Ender 3 bed size, Creality has it listed as a rectangular bed with a size of 235 x 235 mm. This indicates that the actual bed size of the Ender 3 is actually 15 mm greater than its print area on both the X-axis and Y-axis. And this is where the confusion occurs. Why would Creality reduce the print area on this 3D printer when there is still enough space left on the printing bed?
Difference Between Ender 3 Bed Size and Print Area
Now that we’ve looked at the difference between the print bed size and the print area, let’s understand why you get a smaller printing area.
If you do the math, you will notice that the 220 x 220 mm build area is 12% smaller than what you would get if you would utilize the entire 235 x 235 mm print bed. This reduction in the build area is made to accommodate for two things – the binder clips and the Ender 3’s mechanical tolerances.
Aside from the Ender 3 Pro, both the original Ender 3 and the V2 use a non-magnetic print bed. To keep the bed in its place, Creality uses a set of binder clips on the edges of the print bed. These clips take up some of the usable print area of the bed, and hence you can see a decrease of 7.5 mm on each edge of the printing bed.
Another reason for reducing the print area is to account for the tolerances of the Ender 3’s mechanical components. It consists of many parts. Some of these are stationary, like the aluminum extrusion, and some move around, like its extruder and mechanical joints. Each piece has its tolerance limits, which the manufacturer sets.
For example, there might be some error during the manufacturing of the V-slot extrusions, belts, or switches. The spring tension of the end switches on the X and Y axes might get loose after a while. The same goes for the loosening of bolts and joints in the printer’s frame over time.
When you add all of these values, you get a ‘stack up tolerance’ that accounts for all the tolerances in the assembly. In the case of the Ender 3, Creality decided that a value of 15 mm on each axis will be enough to account for these and ensure that you can easily 3D print without running into any problems.
How to Increase the Print Area of the Ender 3
We’ve now understood the underlying reason behind the bed size and the print area difference. While the reduced print area might not be a big deal, what if you want to print 3D models that fit the entire printing bed?
As mentioned earlier, one reason for a smaller print area is the binder clips typically used for printing beds. The easiest solution is to replace the big-sized binder clips with smaller ones, and it’ll help you free up some space on the edges, thus increasing the effective printing volume.
An even better way to increase the print area is to skip the binder clips entirely and instead use a magnetic bed. With a magnetic print surface, you get to use the entire bed for 3D printing and have the added benefit of easy print removal associated with magnetic print beds.
No products found.

Aside from upgrading the heated bed, there are many other ways in which you can upgrade your Ender 3. Be sure to check out our article with the best options.
If you prefer to increase the entire printing volume of the Ender 3, you can modify your printer setup using an Ender Extender kit. These are specifically designed for the Ender 3 and allow you to increase the overall printing volume by extending the print bed and the printer size of the 3D printer.
Once you’ve chosen your preferred method for extending the Ender 3 bed size, all that’s left is to tweak the settings in the firmware. You’ll have to modify the Ender 3’s new printing volume in the firmware and upload it to the 3D printer. To be on the safe side, instead of inputting the edge-to-edge value of the printing bed, it is wide to leave at least a 5 mm tolerance on each axis.
Other Useful Ender 3 Upgrades
While the above solutions will directly affect your printing bed size, there are other valuable upgrades that you can install to enhance your 3D printing experience with the Creality Ender 3. Here are some of our top picks.
Ender 3 Enclosure
The Ender 3 is an open-frame design and does not have a built-in enclosure. Understandable, given its low price-point. However, having an enclosed 3D printer can be useful for various reasons.
For example, not having an enclosure limits you from 3D printing ABS and PETG due to its warping nature. Additionally, you will run into 3D printer fumes that are released during the filament extrusion process. These can be toxic and not friendly to use in a home environment.
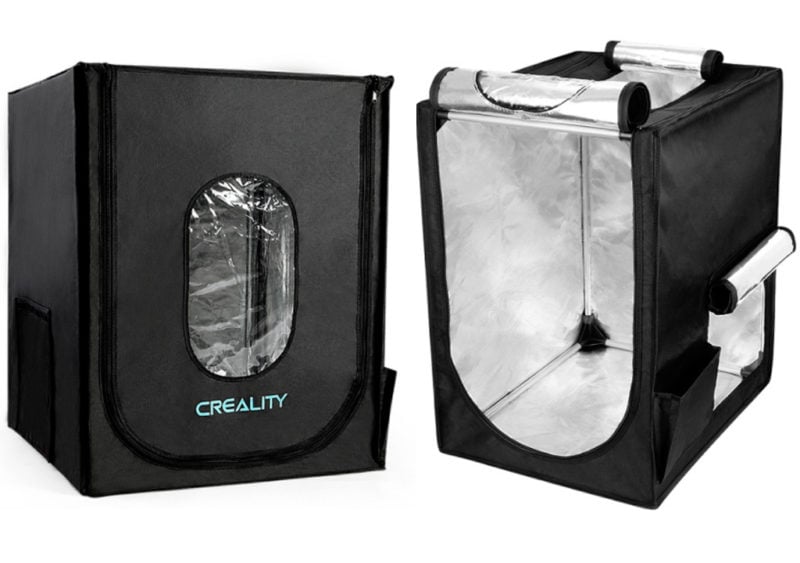
Creality’s official Ender 3 enclosure is designed to cover your 3D printer from all sides and isolate it from the external environment. It thus protects the Ender 3 from any dirt, dust, keeps any fumes inside, and provides a printing space with a stable temperature. The enclosure has a clear window on the front for monitoring prints, and the enclosure material is flame retardant to keep you safe in case of a problem with your printer.

Another option is to build a DIY 3D printer enclosure. While these take more time and effort to create, they are fully customizable to your needs.
BLTouch Auto-leveling Sensor
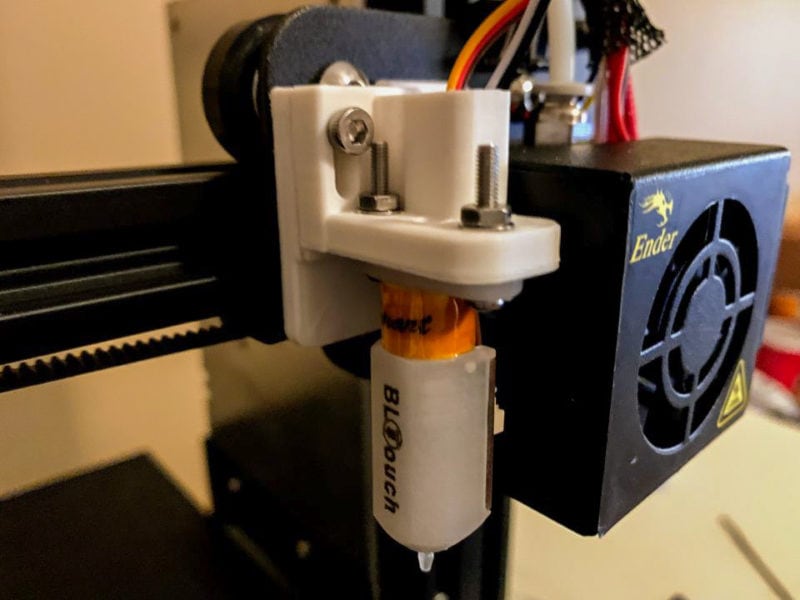
The Creality Ender 3 does not come with an automatic bed leveling setup, and it can get tiresome to level the printing bed manually. To resolve it, you can install a BLtouch auto-leveling sensor. It probes the bed before printing and lets your 3D printer make micro-adjustments to adjust for misalignments in the printing bed. Perfect first layers every time!

No products found.
Silent Motherboard
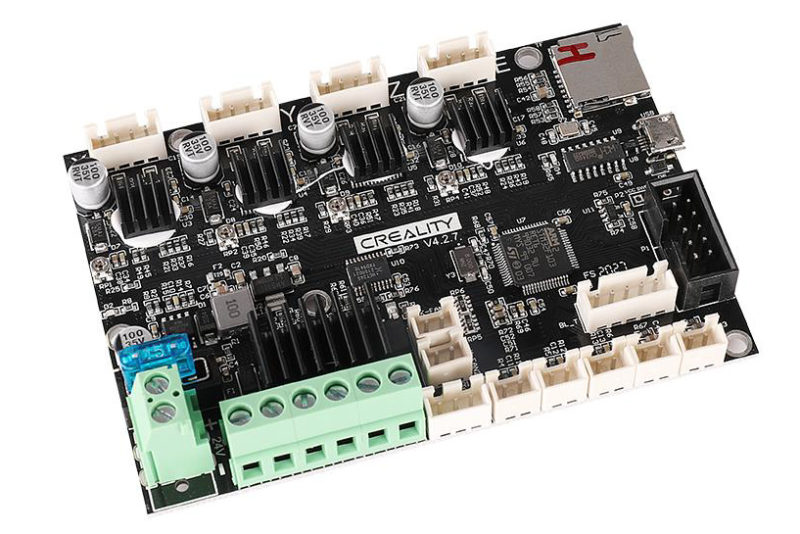
Older Ender 3 3D printers come with V4.2.2 3D printer controller boards, which either have TMC 2208 or HR4988 stepper motor drivers. These drivers are fairly outdated and more importantly, cause your stepper motors to be very noisy.
To dial down the stepper motor noise and improve the performance of the 3D printer, you can upgrade your Ender 3 with a V4.2.7 motherboard.
It is a 32- bit silent motherboard with the TMC2225 stepper drivers. It lets you print entirely in silence and gives you the option to upgrade to Marlin 2.0 if you want to.
No products found.
Alternative 3D Printers to the Ender 3 With a Larger Print Bed
Ender 5 Plus
The Ender 5 Plus 3D printer is a bigger version of the original Ender 5, and it comes in a cube-shaped design with a printing bed that moves vertically on the Z-axis. The highlighting factor of the Ender 5 Plus is its giant build volume. It has a total printing volume of 350 x 350 x 400 mm, giving you enough space to 3D print a full-sized helmet.
It comes with a pre-installed BLTouch leveling sensor that helps you to get an excellent first layer on its massive printing bed. Creality has installed a dual-z-axis setup with two leadscrews and four linear rods in the printer frame to support its vast print bed size.
If you want to get a larger Creality 3D printer to 3D print truly big objects, the Ender 5 Plus is a great upgrade from the Ender 3. Given its low price, it is not perfect, but there are plenty of Ender 5 upgrades you can install to remove its shortcomings.
No products found.
Creality CR-10S
The Creality CR-10 series of 3D printers is designed to target users who need a large 3D printer with a small footprint. In many ways, the design of the CR-10S is similar to the Ender 3, except for its massive printing volume of 300 x 300 x 400 mm and a separate power supply and control unit.
Other than that, the CR-10S comes with dual z-axis set up to support the large X-axis beam and a glass print bed for glossy first layers of your 3D prints. Compared to the Ender 3, the CR-10 S does take up quite a bit of extra space on your desktop, measuring 640 x 530 mm.
No products found.
How Big is the Ender 3 Print Area?
The X-axis and Y-axis on the Ender 3 both measure 220 mm. Its total stock print area is 220 x 220 mm.
What Kind of Filament Does the Ender 3 Use?
In its stock configuration, Ender 3 can use PLA, ABS, and PETG. For TPU you will need to make some modifications to the 3D printer. For more information, you can check out our recommendation for the best Ender 3 filaments.

How Much Does the Ender 3 Weigh?
The Ender 3 weighs 7.72 kg, which is about 17 lbs. It’s a relatively lightweight 3D printer that’s easy to move around, making it perfect for small spaces.
What is the Warranty on the Ender 3?
Creality offers a one-year warranty on their Ender 3 model. This means that if any parts of your printer break or stop working properly within the first year, you can contact Creality and they will send you replacement parts for free. However, this does not include damage caused by user error. So be sure to read the manual carefully and follow all safety instructions to avoid voiding your warranty.
What is the Print Volume of Ender 3 Pro?
The print volume of the Ender 3 Pro is 220 x 220 x 235 mm. This printer offers a good printing size for many different projects. It has a high printing quality, and it is perfect for people who are looking for an affordable 3D printer.
How Big is the Build Plate of the Ender 3 V2?
The Ender 3 V2 has a glass build plate with a print bed size of 235 x 235 mm. This is the same size as the Ender 3’s build plate, so you can use the same models and templates for printing. The printer also has a vertical resolution of 100 microns, so you can create detailed prints with ease.
What Size Table Do I Need for the Ender 3?
The Ender 3 has a footprint of 440 x 410 mm, so you will need a 3D printer table that is at least this size. If you want to be able to move the 3D printer around on the table, you may want to consider a table that is larger.

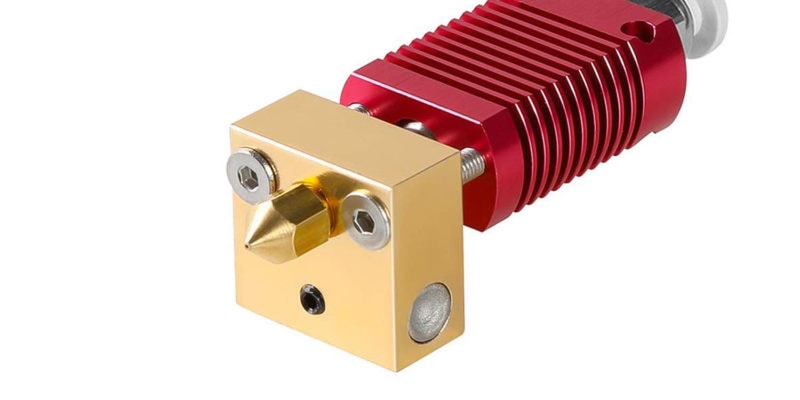
What is the Size of the Ender 3 Nozzle?
The stock Ender 3 nozzle size is 0.4mm. This is a standard size for 3D printers and is suitable for most printing applications. If you need to print with finer detail, you can purchase a smaller nozzle size (such as 0.2mm) and install it on the printer.
Conclusion
Creality’s Ender 3 series remains one of the top budget 3D printers and provides excellent value for money for users of all categories. While it comes with a print bed with a size of 235 x 235 mm, the actual printing area of the bed is just 220 x 220 mm.
This marginal reduction in the print size is made to account for the stack-up tolerances of the Ender 3 assembly. You can choose to increase the default printing area by installing smaller binder clips or a magnetic build surface; however, this marginal increase in the printing volume might not make much of a difference in your actual 3D printing experience.
Let us know your thoughts on the Ender 3 bed size, does a difference of 15 mm on both sides of the print area matter much to you? Leave a comment below.