
The v2.6 release of PrusaSlicer introduced several new features, including the Organic Supports feature. These supports took the overhang game to the next level and added more utility to the slicer.
Compared to regular supports, organic supports provide better stability and easier removal of support structures, resulting in a smoother surface finish on the 3D-printed object. These grow around the model and do not touch the print’s surface to further reduce surface artifacts on your 3D prints.
Moreover, they’re more efficient and require less material, so you’ll find them much more cost-effective. In this article, we will teach you how to use Organic Supports in PrusaSlicer, as well as explain the benefits, drawbacks, and specific slicer settings to use.
Let’s branch out!
What are Organic Supports in PrusaSlicer?

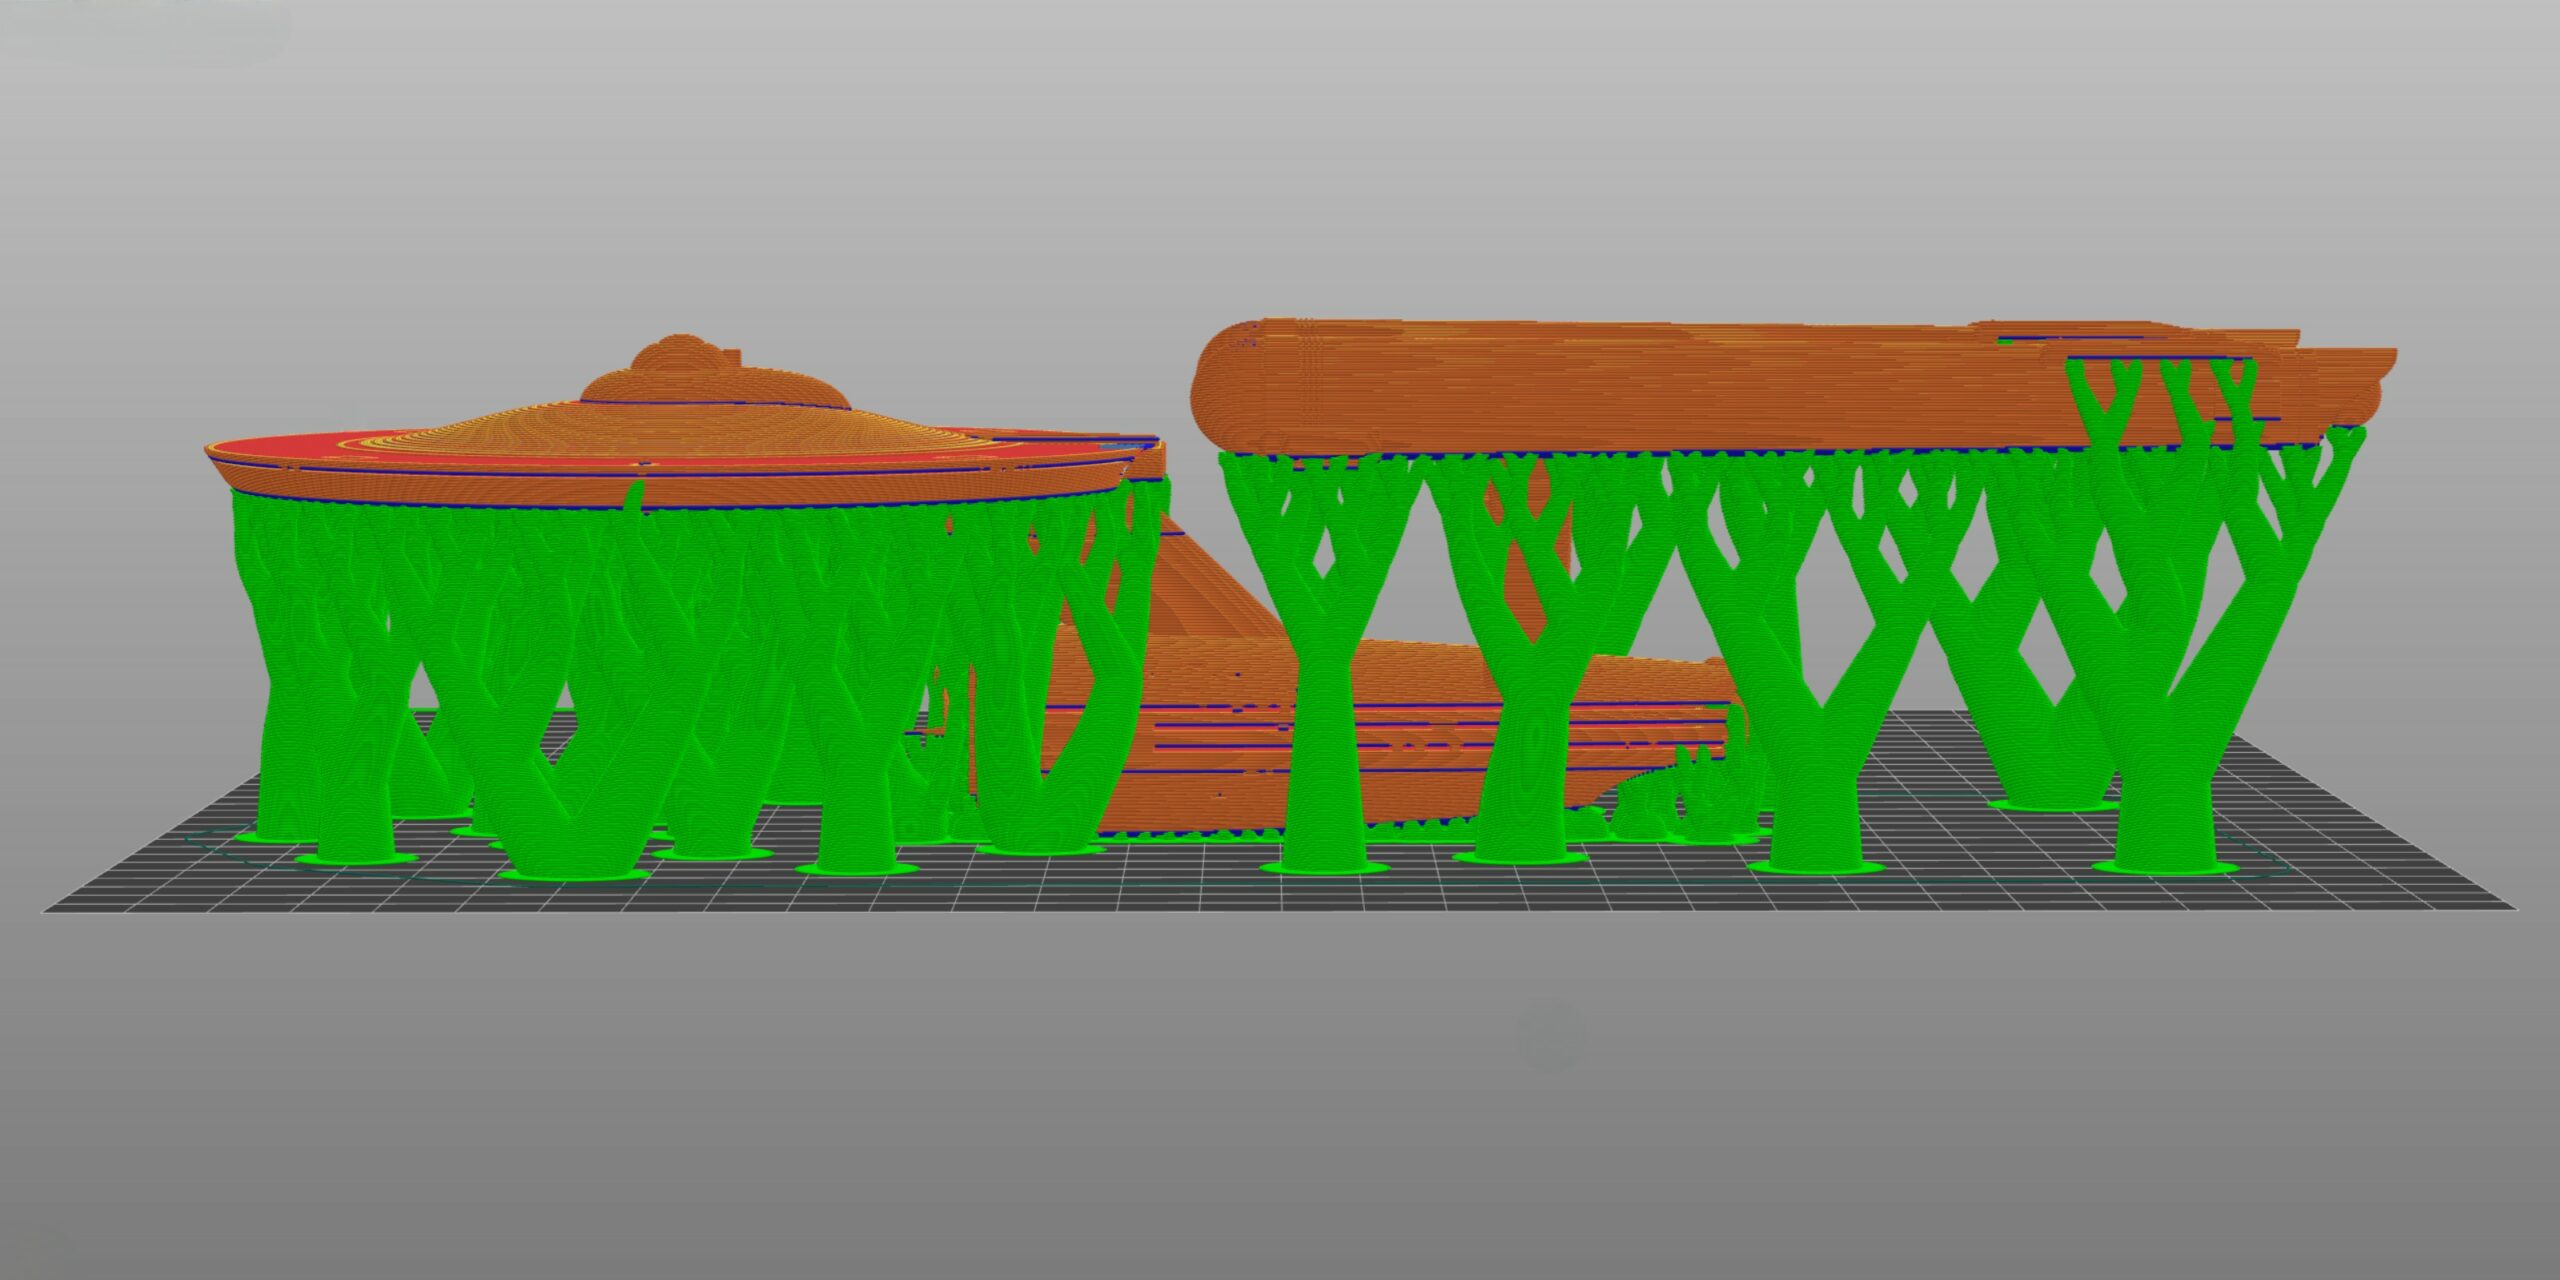
Organic supports are a new type of support structure introduced in PrusaSlicer 2.6. These supports mimic natural growth patterns with smooth, branching tree-like shapes. Unlike traditional supports made of 2D grids, the generated supports are smooth, with curved branches to support the overhangs extending only where needed.
These supports are based on an improved implementation of Cura tree supports, created by @ThomasRahm. By using Thomas’ algorithm, PrusaSlicer allows you to take advantage of Tree supports natively without the need for additional plugins or scripts.
As mentioned above, Organic supports reduce the 3D printing materials, cut down the print time, and minimize the contact areas with the model. The result of all these benefits is easier support removal and less scarring on the surface of the finished model.
Like other supports, you can customize the Organic support settings and their placement in PrusaSlicer. They work well with the Paint-on Support feature, and you can even use them with Support Enforcers and Blockers.
However, it’s important to note that organic supports use more computing resources than the Grid and Snug support styles. It’s recommended to have a minimum of 16 GB RAM if you plan on slicing large and support-heavy models.
Additionally, these supports don’t yet work well with the variable layer height feature in Prusaslicer.
Lastly, as Organic supports are still relatively new, there might be occasional bugs. We’ve found that in most cases, however, they work flawlessly and improve your printing experience by miles.
Prusa’s Organic Supports vs Cura Tree Supports

Cura tree supports and Prusa’s Organic Supports both aim to provide efficient and easy-to-remove support structures. However, their approaches differ when it comes to generating the support structures.
Prusa’s Organic Supports adapt more organically to the model’s shape. They minimize the amount of support material, reducing 3D printing time and filament.
On the other hand, Cura’s Tree Supports utilizes a wide branching structure, which provides more stability but also uses more material. The result is higher material usage and longer 3D print times.
In the image above, you’ll notice that Cura’s Tree supports have a solid trunk from which the branches are emerging towards the overhang. In contrast, PrusaSlicer’s supports grow organically without any trunk structure to support the overhangs.
In terms of support settings, both styles offer plenty of control in their respective slicers. Cura’s tree supports have been updated to use a similar slicing algorithm as PrusaSlicer’s organic supports. As a result, both types of support are now almost at par. In practice, you can’t go wrong with either.
Are Organic & Tree Supports Better Than Normal Support Material?
.")
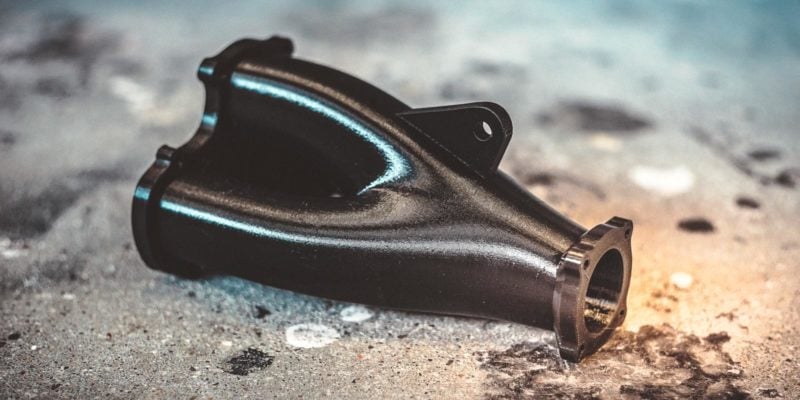
Both PrusaSlicer’s Organic and Cura’s Tree supports perform significantly better than normal support structures. We judge them based on three parameters: 3D print time, material usage, and surface quality.
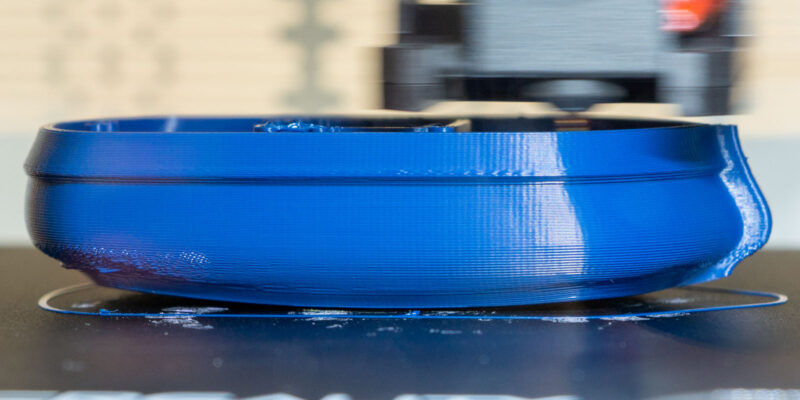
Prusa’s Organic supports, for example, use 75-80% less material than Grid Supports. When you compare them with Snug supports, they have about 70% less material usage.
As for the print time, the above print with Organic Supports takes 370 minutes to print. However, the same print requires 480 minutes with Grid Supports and 450 minutes with Snug supports. These numbers translate to 15-25% of time savings with the Organic supports.
Additionally, the Organic supports reduce surface contact with the model as compared to Grid and Snug styles. It reduces the chances of leaving behind marks on the surface and avoids potential damage to the 3D print. Plus, they’re much easier to remove than the traditional supports.
How to Use Prusa’s Organic Supports
Using Prusa’s Organic supports is a simple process. Here’s a step-by-step guide and some tips to help you get the most out of them:
Enable Organic Supports

Go to the “Print Settings” tab in PrusaSlicer and locate the “Support material” section. Select “Generate support material” and choose “Organic” from the Support Style dropdown menu.
Adjust Support Parameters

PrusaSlicer provides several settings for organic supports that you can customize to your liking. Here are some important parameters to consider:
- Maximum Branch Angle: This is the maximum angle of branches when avoiding the model. A lower value makes the supports more vertical and stable, while a higher number gives you more spread-out branches.
- Preferred Branch Angle: This value determines the preferred angle of branches when not avoiding the model. A lower angle creates more vertical and sturdy supports. It’s best to keep this value between 25-30° for high-quality supports.
- Branch Diameter: It adjusts the diameter of the thinnest branches. Thicker branches stabilize the supports and make them easier to remove.
- Tip Diameter: Sets the diameter of branch tips. The default value works great. However, you can increase them for better-quality overhangs.
- Branch Distance: Controls the distance between the branches touching the overhang. A smaller branch distance results in good-quality overhangs but can make removing the supports difficult. In contrast, a higher branch distance value places the supports too far, resulting in the sagging of overhangs.
- Branch Density: This value sets the density of the support structure at branch tips. A higher branch density provides a solid base for the overhangs but increases difficulty while removing supports. Keep this value as default for the first print.
Quick Tips
Enable Support Interface

The support interface is a thin layer between the overhang and the support structure. It gives a denser base for the overhangs and improves their printability. Moreover, support interfaces ensure a clear distinction between the support and model, which makes it easy to separate the supports.
Enable this option in the regular support settings and use at least 2-3 interface layers for better overhangs.
Use a Raft or Brim

Consider using a raft or brim to improve the adhesion of the organic supports to the build plate. A raft will give a solid base to the supports, increasing their stability. However, it will increase the printing time and material usage.
Experiment With Different Settings

For the best results, it’s a good idea to experiment with Organic supports. Try different combinations of settings and observe their impact on the 3D print quality and support removal process.
Conclusion
Organic Supports are one of the best features of PrusaSlicer. They were inspired by Cura’s tree supports, but PrusaSlicer’s implementation adds welcome improvements. It uses relatively less filament, supports overhangs better, and can handle larger branch angles.
Using Organic Supports in your prints will help you save 3D printing time and material usage. Moreover, since these structures do not touch the surface of your model, there’s no need to worry about any marks or imperfections on the final 3D print.
It will take some time to figure out the Organic Support settings that work best for you. However, the effort is worth it, as these supports can significantly improve the quality of your prints and your support experience.
Share with us your experiences related to Organic supports in PrusaSlicer. If you have any lingering questions or need any assistance with them, feel free to ask in the comments below!