The easiest way to fix Z-banding is to replace your lead screw(s) and correctly align the Z-axis with your 3D printer’s frame. PID tuning your heat bed and cleaning out your nozzle are secondary solutions that can help resolve your Z-banding lines on your 3D prints.
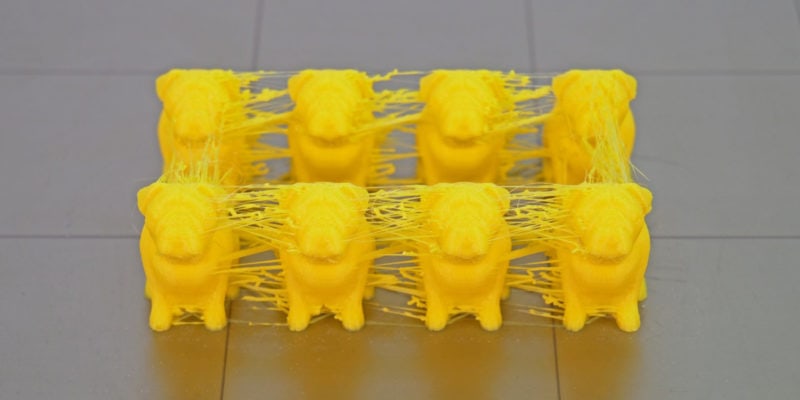
Z-Banding is a common issue that’s prevalent in budget 3D printers. The ribbed patterns on your 3D printed parts can ruin their appearance, leading to poor-quality and unappealing results. It can also cause issues with mating parts and ruin your 3D printing experience.
In this article, we’ll go over the Z-banding and Z-wobble in detail. We’ll show you its causes and look at some easy solutions you can use to fix Z-banding lines and Z-wobble.
Read on to find out how you can get rid of this issue and get stunning and smooth 3D prints.
What is Z-Banding?
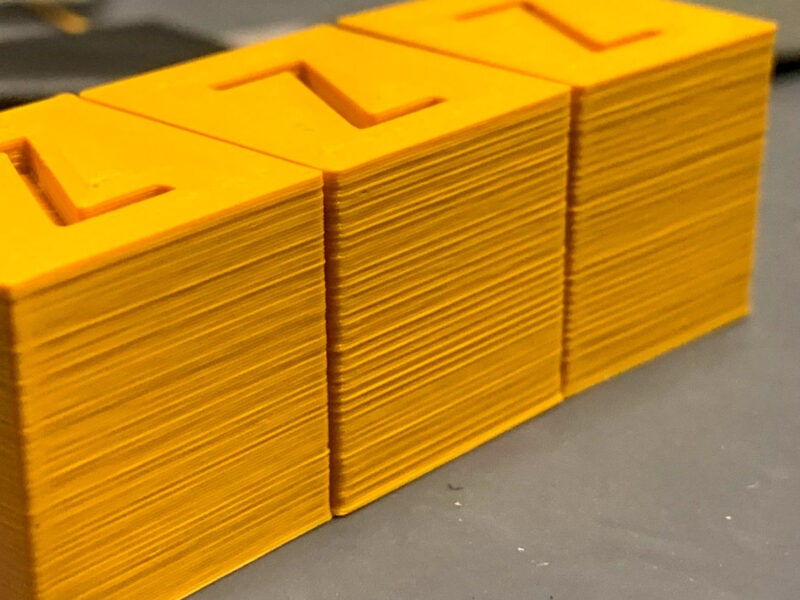
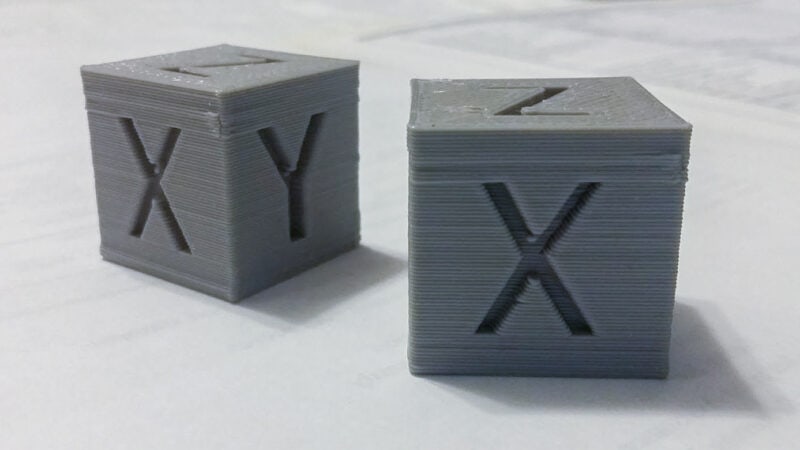
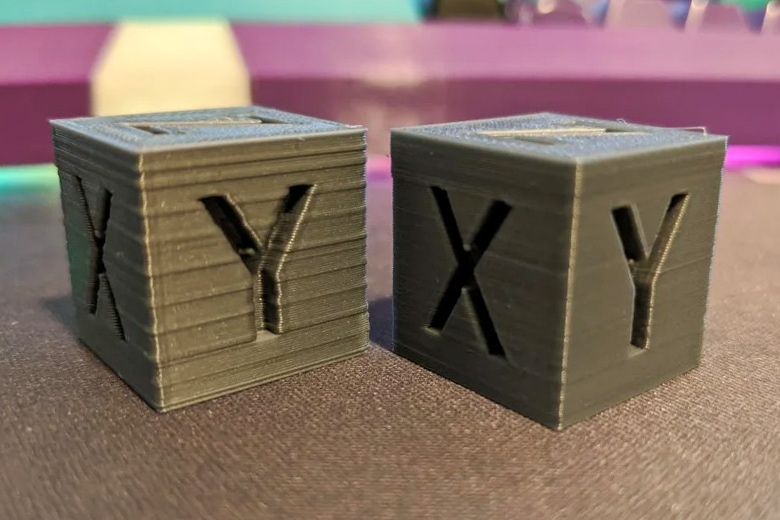
Z-banding is the term used for ribbed patterns that appear on your print’s surface. The pattern leads to bulges and horizontal lines visible on the side of your 3D prints. This results in dimensionally inaccurate and unappealing parts. You’ll commonly find this in budget 3D printers with a single lead screw, like the Ender 3 and Longer LK5 Pro.
Z-banding can resemble a staircase or a leadscrew-like pattern depending on the underlying issue. It is difficult to rectify the Z-banding issue in your parts’ post-processing. So it is important to understand the causes behind this issue and correct them in the 3D printer itself.
What Are the Causes of Z-Banding?
Z-Wobble
Z-wobble is used to denote the wobbling of your Z-axis lead screw. It is often the primary cause of the Z-banding lines on your parts’ side surfaces.
Let’s look at the fundamental issues that can lead to Z-wobble in your 3D printers.
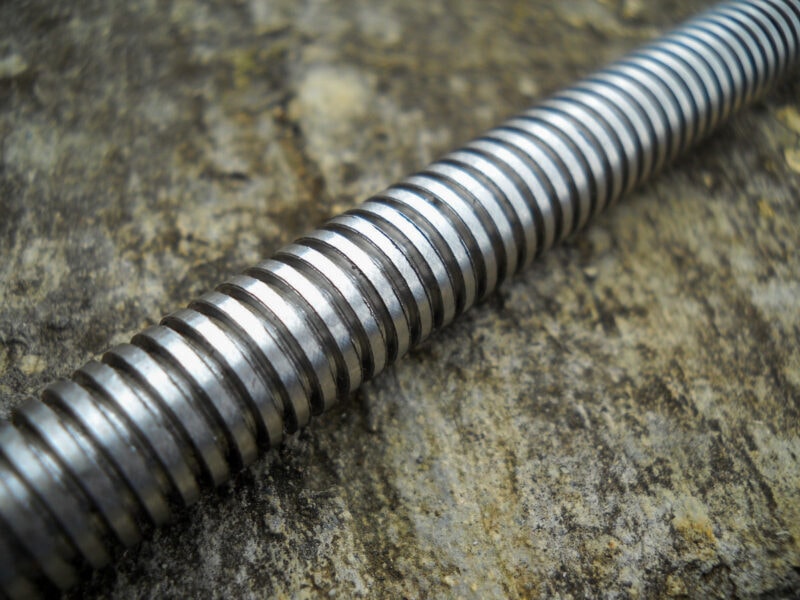
Bent Lead Screw
Lead screws are stiff components, and they do not bend easily. But, it is possible that you received a faulty, bent Z-axis rod from the factory itself. Poor quality control or incorrect shipping packaging are some causes of lead screws bending.
Another factor that can bend your lead screw is overloading it. The lead screw typically supports the X-axis along with the extruder and print head arrangements. If too much force is applied to the lead screw, for example, through user error, the lead screw can bend, causing Z-banding issues in your prints.
This is mostly an issue on 3D printers with a single Z-axis stepper motor and lead screw. With a dual Z-axis setup, things are more stable with less risk of a crooked lead screw over time.
A quick way to test whether a lead screw is bent is to lay it on a flat surface and check whether it can roll smoothly.
Misaligned Z-Axis Components
On many budget 3D printers, you’ll need to assemble the 3D printer from scratch. During the assembly, it is crucial to put together all the parts of the 3D printer correctly. For example, the Z-axis threaded rod needs to be perfectly parallel to the vertical extrusion frame elements.
It is possible to misalign the Z-axis coupling or threaded rod bracket on the 3D printer’s frame during assembly. This can disturb the vertical movement of the print head. You can see the direct effect of a misaligned Z-axis on your prints in the form of ridges and bulges.
Loose Components
The Z-axis lead screw is fixed to the stepper motor with the help of a flexible coupling. You must tighten the lead screw to it correctly during the assembly process. A loose lead screw will not rotate as desired and can also produce Z-wobble.
A loose lead screw might even move along with the X-axis arm during the vertical movement. This will lead to imperfect print heights, causing ridges in your prints. The result will be a failed print that is ruined due to a loose Z-axis threaded rod.
Extrusion Inconsistencies
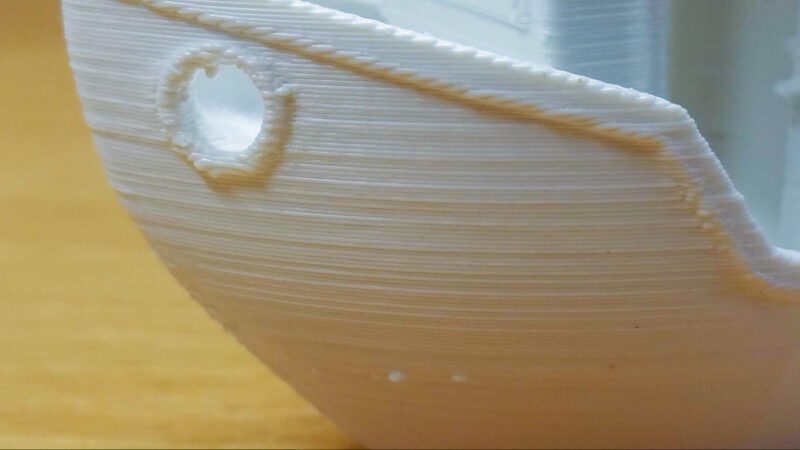
Z-banding patterns can also be caused due to inconsistent extrusion of your 3D printing filament. A partially clogged nozzle will disturb the filament flow and lead to an uneven flow of molten material from your hot end. The 3D printer will print some layers perfectly, while others might suffer under extrusion.
The mismatch of these two layers in your parts will lead to a ribbed surface. The resemblance of the issue due to the inconsistent extrusion would be like that of the Z-banding effect.
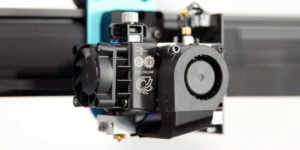
Another cause of Z-banding could be the 3D printer extruder. If the extruder is of poor quality, it will not be able to grip the filament properly. This can cause under extrusion or inconsistent filament flow, both of which are causes of Z-banding.
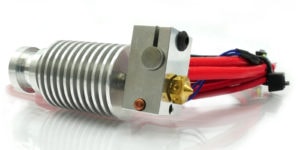
While you don’t need to have the best 3D printer extruder to prevent this, it helps to have a quality extruder that can push filament consistently. A good quality all-metal hot end can also reduce the risk of clogging and improve overall results.
Firmware/Slicer Issues
Aside from Z-banding caused by hardware issues, there are also some slicer and firmware-level settings that can lead to the banding effect. As you can see, many factors can cause Z-wobble and banding. The good news is that there are even more ways to fix it.
Inconsistent Bed Temperature
PID-controlled heating and bang-bang heating are two control methods to heat your print bed. In PID bed heating, the heater gradually heats the print bed and maintains a consistent temperature. It reduces the fluctuations of bed temperatures and keeps them within a narrow range.
Bang-bang bed heating will take your 3D printer bed to the set temperature and switch off the heater. The heater will turn on again and reheat your bed as soon as the temperature falls below a specific limit. This video from Stephan from CNC kitchen sheds more light on this problem.
In short, during bang-bang heating, the temperature fluctuations are large enough to cause your printer’s bed to deflect. The thermal expansion and contraction of your heated bed result in varying distances between the print head and the bed surface. The result is inconsistent layers in patterns that resemble Z-banding effects.
Incorrect Layer Heights
The Z-axis threaded rod and the stepper motor work together to achieve the vertical movement of your X-axis carriage. The motion of your stepper motor corresponds to the pitch of the lead screw. If you want to have even layers, the steps of your stepper motors should be an integer multiple of the lead screw pitch.
Setting this incorrectly can ruin this arrangement, causing inconsistent layers in your 3D prints. The correct layer heights are different for each 3D printer and are known as the Magic number in 3D printing terminology. We will learn more about these further below. Basically, if your layer height does not match this magic number, you can face Z-banding in your prints.
That is some debate on whether this is actually a cause of Z-banding. Some people argue that this is a myth and that incorrect layer heights do not cause any noticeable effects on print quality. Given that Z-banding is difficult to fix, we think it is always good to exclude it as a potential cause.
How to Fix Z Banding
Fixing Z Wobble
As Z wobble is the primary cause of Z-banding, the first step is to correct this issue. As mentioned above, the Z-wobble is caused due to three primary factors. We’ll look at how you can resolve each one of them in detail.
Replace Z-axis Threaded Rods / Lead Screws
The best solution for Z-wobble caused by a bent lead screw is to replace it. You can try to straighten it, but it won’t be perfect and can induce more issues.
Lead screws are relatively affordable, and you would get better results with a new Z-axis rod altogether. It is key to get a lead screw with an identical pitch to the original one that came with the 3D printer, otherwise, it won’t be compatible with the installed brass nut.
Align Z-axis Correctly
You need to check your Z-axis alignment by manually moving your X-axis carriage up and down. Alternatively, you can use a square to verify whether the lead screw is perfectly straight with the printer’s frame.
The use of a flexible coupler on the stepper motor can aid in maintaining the alignment of your Z-axis. It will ensure that the lead screw maintains a straight vertical alignment. This video by Ronald Walters demonstrates how to align your Z-axis with ease.
Tighten Mounting Hardware
It is important to check for loose screws on your stepper motor or its coupling. If any mounting hardware is loose, tighten it to make sure that there is no play in the system. Also, check that your Z-axis stepper motor is not mounted on an uneven surface as this can also create alignment issues.
Lead Screw Stabilizer
A lead screw stabilizer helps constrict the Z-axis rod’s free end. It will help prevent any unnecessary movement of the lead screw that might lead to banding issues. It acts as a support bearing for your lead screw and restricts wobbling effects.
However, if you use this with a bent lead screw, it can amplify the wobbling and lead to additional issues. So it is not recommended to use this Z-banding fix with budget 3D printers that have a bent threaded rod or poor quality control in general.
Fixing Inconsistent Extrusion
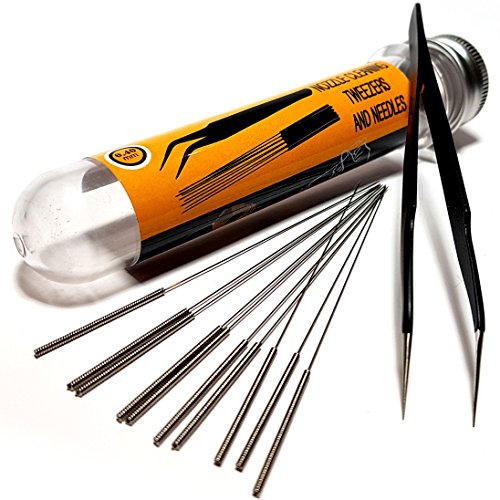
Cleaning nozzle clogs is the go-to fix if you experience Z-banding due to inconsistent extrusion. A quick fix is to use a nozzle cleaning kit to remove any stuck debris in the nozzle.
To clean it thoroughly, you can try to unscrew the nozzle and wash it in acetone solution. If you are using a Bowden extruder, It would be helpful to check and ensure that the Bowden tube is sitting flush on the nozzle’s top.
If the Z-banding persists, replace the nozzle entirely with a new nozzle. Changing your nozzle and nozzle material would also be beneficial if you constantly print with abrasive filaments. Stainless steel nozzles are durable and will last longer if you’re 3D printing with abrasives.
Ensuring that you use a high-quality extruder and hot end goes a long way in dealing with extrusion inconsistencies as well. You can only do so much if the hardware you are using is subpar.
Other Solutions for Z-Banding and Z-Wobble
Consistent Bed Temperature
Ensure that your 3D printer maintains a constant bed temperature. PID tuning your bed’s heater will aid you in achieving a stable temperature range. Check that your 3D printer supports PID tuning for bed heaters. An enclosure will help maintain a stable printing temperature and limit the times your bed’s heater needs to turn on.
Set Correct Layer Heights
The correct layer heights are determined using the pitch of the lead screw and the stepper motor specifications. These layer height values are calculated to ensure that the stepper motor rotation matches the lead screw.
If you know your 3D printer’s specifications, you can use the Prusa Calculator to learn the correct layer heights for your printer. You can also watch this video by CHEP that demonstrates setting the magic numbers for Ender 3 and CR-10 3D printers.
Lubricate Z-axis
The Z-axis lead screws are a moving component in your 3D printer. If there’s insufficient lubrication, they will create unnecessary friction with the brass lead screw nuts. For this reason, it is important to add sufficient lubrication to the lead screws to ensure that they are constantly lubricated. A light application of white lithium grease once in a while is enough.
Try a Different Filament
If you have no mechanical, slicer, or firmware issues and are still experiencing Z-banding, there is a possibility that you are 3D printing with poor-quality filament.
It is a rare issue, but both inconsistent filament diameters and filament that contains impurities can affect your 3D prints. The simplest way to test this is by switching out your filament for a different brand or material and observing the results.
When in doubt, you can check our recommendations for the best PLA, best ABS, and best PETG filament. These filaments are all from reputable brands and are more likely to produce high-quality 3D prints.
PID Tune Hot End
Like your 3D printer’s bed, the nozzle also needs to maintain a stable 3D printing temperature. Temperature fluctuations in the nozzle can lead to an uneven flow of filament, ultimately resulting in inconsistent extrusion and patterns on your 3D prints.
Usually, by default, 3D printers with Marlin firmware have PID tuning for the hot end. However, it wouldn’t hurt to calibrate it if you face Z-banding issues.
How to Test for Z Banding
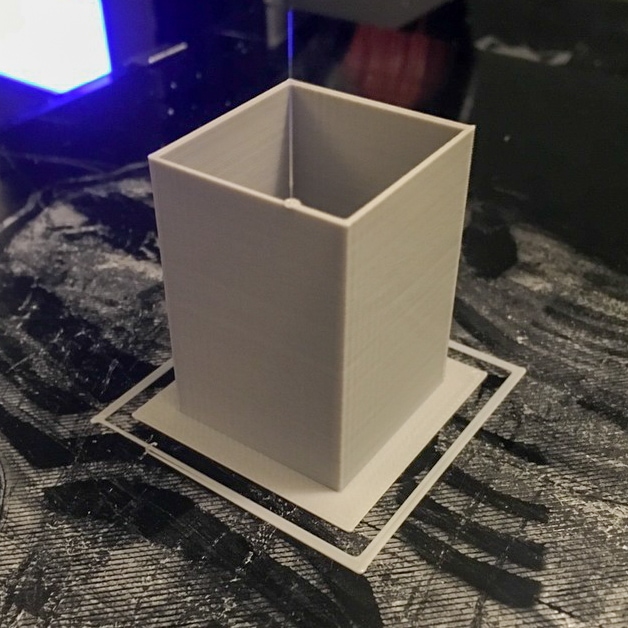
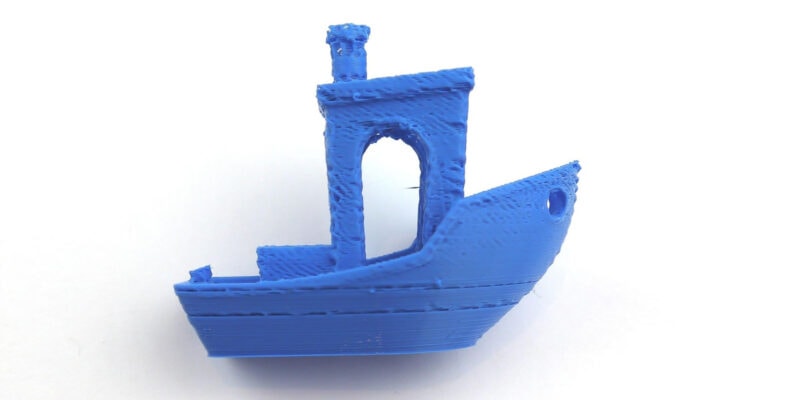
If you want to test for Z-banding, you can use these easy-to-print models from Thingiverse. The models are hollow cylinders with circular and rectangular cross-sections. They 3D print quickly and do not need any support.
The outer surface of the model can quickly let you know if you still have any Z-banding issues. To check for banding, Z-wobble, or inconsistent extrusion at higher heights, you can simply scale the model vertically in your slicer.
It is most helpful to 3D print these models after each solution. This way, you can compare fixes, figure out the root cause of your Z-banding issue, and ultimately solve it.
Conclusion
Z-banding and Z-wobble can ruin the aesthetic of your 3D prints and create a poor-quality 3D printed part. Faulty threaded rods and incorrect assembly of your 3D printer are the primary causes of Z-banding on your parts. Additionally, a clogged nozzle or inconsistent bed and hot end temperatures can also result in the ribbed patterns on your 3D prints.
While Z-banding and Z-wobble are often easy to identify, finding the underlying cause can be tricky. Once you have identified the cause, however, it is relatively easy to fix the issues and start producing smooth, high-quality 3D prints.
We recommend going through this list of Z-banding fixes one by one until you find the solution that works best for your 3D printer. Replace bent lead screws and check for alignment of your Z-axis.
If you are dealing with a clogged nozzle, using a nozzle cleaning kit can fix its inconsistent extrusion. With the help of PID tuning, you can ensure stable hot end and bed temperatures.
Let us know how you fixed your Z-banding issues. If you’d like any other articles for any common 3D printing problems, feel free to comment below.