
The xTool S1’s pin-point positioning system is one of the most innovative features we’ve encountered on a laser machine recently. It’s an innovative way to align your engravings (or cuts) with your workpiece, without the drawbacks that come with more traditional methods.
Simply put, on the S1, you position the laser head above your material, mark several points, and the coordinates are automatically recorded and used to align your design with utmost precision.
The feature is so intuitive and obvious that it begs the question, why didn’t anyone think of it before?
We’ve tested it in-house under various conditions, and we’ve been thrilled by the versatility of this feature. You can even use it for batch laser cuts, curved surfaces, and small objects where other alignment methods simply don’t cut it.
Through this piece, we want you to discover the benefits of the pin-point system in your laser cutting workflow. We’ll go over how it works, the applications it caters to, and how it compares to the conventional positioning systems currently in use.
Let’s dive in and hit the bullseye with xTool S1’s pin-point technology!
What is xTool’s Pin-Point Positioning?

xTool’s pin-point positioning technology is a new way of positioning in laser machines. It uses a combination of new chipsets and algorithms to know the laser head’s position in real-time as it moves over the working area.
After homing, you can manually position the laser head on your work area, using the crosshair to mark a specific point. Then, you can capture this point’s coordinates by pressing the button on the front of the machine.
Doing this for multiple points on your workpiece allows the software to create a digital representation of your work area, precisely outlining the area you just marked.
The only thing left is to place and align your designs relative to this working area in the software, and they are guaranteed to be perfectly aligned with the physical workpiece itself.
This system eliminates common problems with conventional positioning systems, which we’ll get into shortly. For example, the need for manually locating coordinates, adjusting the position of the material, and accounting for distorted images.
Exploring Different Positioning Systems for Laser Machines
xTool’s pin-point positioning system isn’t the only solution available. There are various ways you can align designs on your laser machine. Each has unique features and capabilities, but also disadvantages. Let’s explore the different positioning systems frequently used in laser machines in this section.
Absolute Coordinate Method

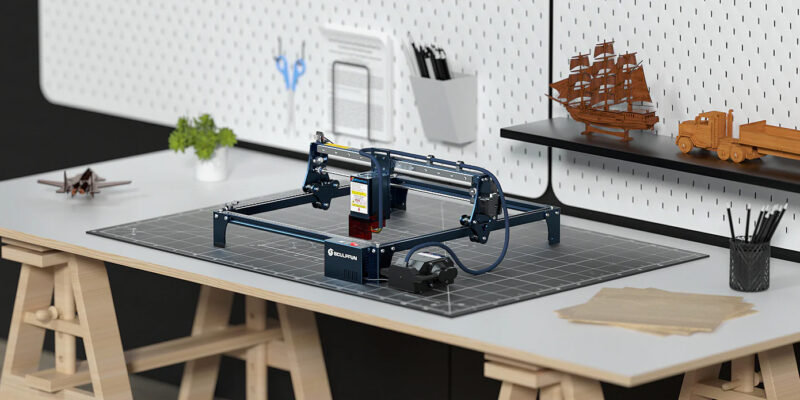
The absolute coordinate method is the most basic and fundamental positioning style used with CNC and laser machines. You’ll typically find these in K40 laser cutters, which typically come without any camera or advanced motion systems.
This method relies on the manual input of coordinates using the machine’s control panel or software interface. The software divides the workspace into a grid and anything you machine within this area corresponds to the actual location in the machine. For example, if you place a design in the center of the grid, it will be engraved or cut in the center of the machine’s work area.
It’s relatively simple in concept and straightforward to implement in machines. However, this method has a high chance of errors. For example, if your workpiece is not perfectly aligned with the machine’s grid, your design is engraved or cut in the wrong place.
Relative Coordinate Method

The relative coordinate method is an extension of the absolute coordinate method and is widely used in open laser machines designed for budget users.
In this system, the workpiece is cut relative to the position of the laser head. You can toggle between using the relative machine origin or the (absolute) machine origin in your laser cutter’s software.
This is a more practical alignment method for many applications. For example, consider engraving a logo on a phone case. You can position the laser head directly over the center of the case and set the job origin to the center of your design as well. The logo will then be engraved perfectly in the center of the case, regardless of where the case is located within the machine’s work area.
As a result, you can use the relative coordinate method to quickly align engravings and on specific areas of a workpiece, without having to manually adjust the material itself within the machine’s work area.
That said, the relative method still requires manual positioning and doesn’t entirely eliminate the risk of misalignment or errors, particularly on irregularly shaped or sized materials.
Single Wide-Angle Camera

This method offers a more intuitive “what you see is what you get” approach and is suitable for engraving on complex shapes and irregular surfaces. It’s more intuitive for beginners and allows you to quickly adjust the engraving positions.
However, the precision of the positioning depends on the quality of the camera and image processing algorithms.
Even with a quality camera, poor lighting conditions and dark workpieces also negatively affect the positioning accuracy. We’ve also found that these types of cameras often have a distorted image at the edges of the work area.
Dual Camera

Dual camera systems, like the one found on the xTool P2, incorporate two cameras for visual positioning. A wide-angle camera, located at the rear of the machine, captures a panoramic view of the entire working area. This is used to provide a general overview of the workpiece.
You can find a second, high-resolution camera placed on the laser head. This camera is used for capturing more detailed images of a smaller area, but with less distortion than the wide-angle camera gives.
The dual-camera approach improves the positioning accuracy of the laser head when compared to the single cameras. We’ve also found that close-up cameras typically provide a clearer view of the material in less-than-ideal lighting conditions.
The major drawback, however, is that these laser machines are expensive compared to their counterparts. They need extra hardware and require sophisticated image processing algorithms to give you accurate results. Needless to say, these increase the final cost of the laser cutter.
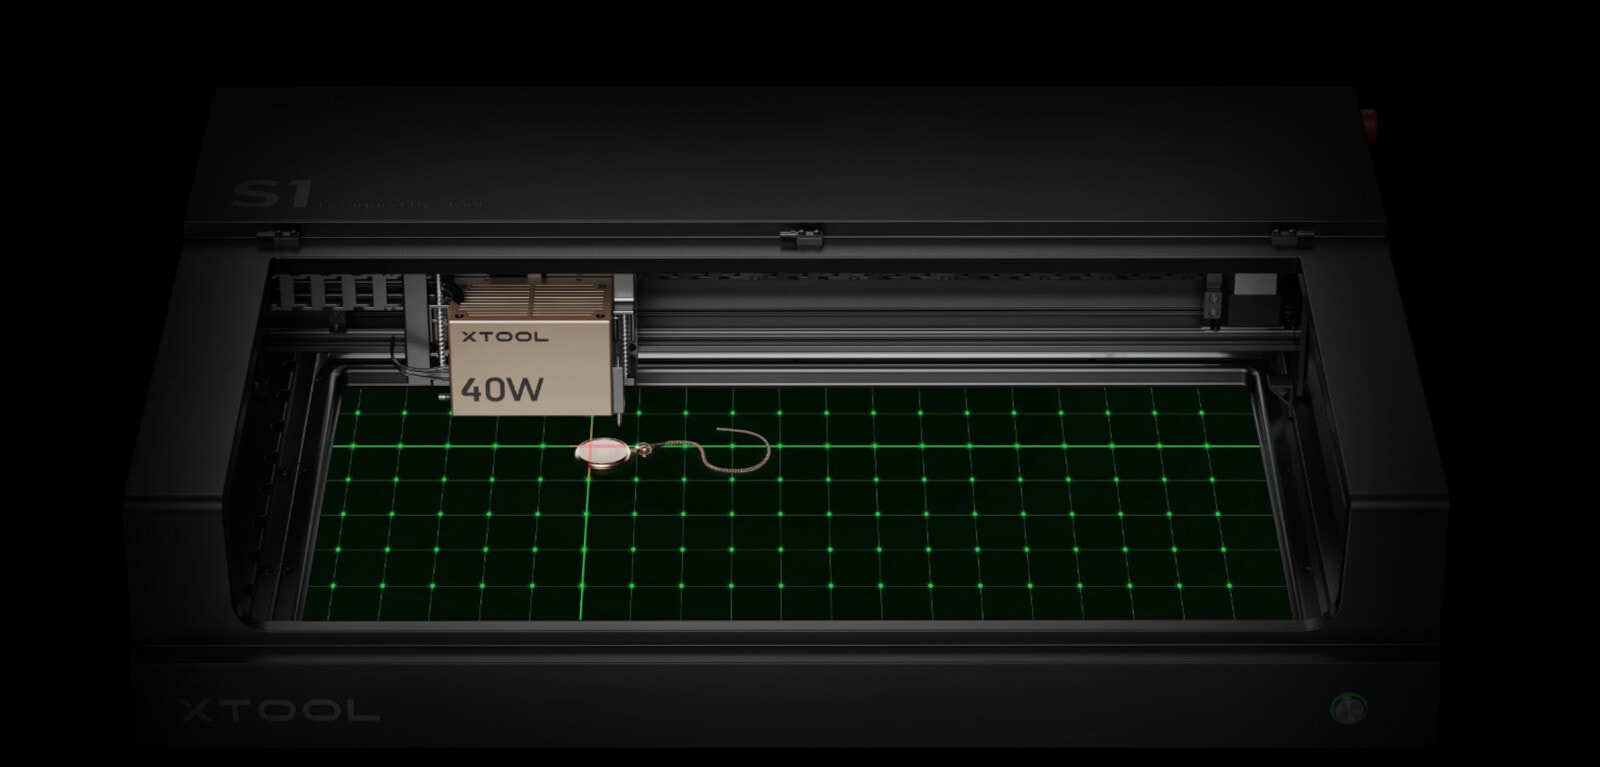
Pin-Point Positioning (xTool S1)

As discussed above, xTool’s pin-point positioning system combines the physical alignment of the laser head in combination with an advanced motion system to send your workpiece’s physical coordinates back to the software.
The positioning process is simple: First home the laser cutter, and then move the laser head to specific points that outline your desired work area. For each point, you can press the button on the machine itself to capture its coordinates. After capturing all points, the software then creates a virtual outline of the work area on its digital canvas.
With this information, you can effortlessly position your design relative to the workpiece outline in the software. In our experience, this system is much more suitable for beginners due to its intuitive and easy-to-use nature. It’s equally practical for professionals, however, as it is both accurate and quick to use.
There are downsides to keep in mind with this system as well. Most notably, it is time-consuming to manually capture a large number of points. We’ve found that when working with particularly complex shapes and batch jobs, the repetitive data capturing can get tiresome.
How Pin-Point Positioning Stands Out
Now that we’ve brushed up on the basics of the various positioning systems, let’s look at how xTool’s pin-point positioning system improves on the methods that preceded it.
Minimal Error, High Accuracy

Unlike the visual mapping methods or the absolute and relative positioning systems, the pin-point method sets the coordinates directly based on your workpiece’s location.
The new positioning system reports position data back to the controller with high precision. When manually moving the laser head crosshair on the material, you can be confident that the coordinates captured reflect the exact position of the laser head.
xTool’s data suggests that camera methods typically have a positioning accuracy of ±0.3 mm. In comparison, the pin-point system is reported to give an accuracy of ±0.2 mm.
We haven’t independently verified the accuracy of this data, but subjectively, our in-house tests have consistently shown a noticeable improvement in accuracy with the pin-point system compared to traditional methods.
Easy Measurements

When using the pin-point positioning method, positioning the laser head and capturing coordinates is intuitive and requires little effort. The crosshair light helps you accurately align the laser head with the spot you want, while the machine sends back the position data to the software at the press of a button.
In practice, we’ve found this combination of manual-automatic positioning systems to reduce the chances of errors and give a feeling of more control over the process. There’s no need to manually input coordinates, adjust your workpiece, or worry about camera distortion and lighting conditions.
Wider Applications
Laser machines that use pin-point positioning have a wider range of applications by addressing the limitations of the relative positioning system.
Not to mention, it also minimizes issues with measuring points on workpieces with significant height differences. This is challenging for visual mapping methods, as we’ve experienced with the curved engraving ability on the xTool P2.
In contrast, the S1 has the same curved surface engraving ability but is much easier to align designs on thanks to the pin-point positioning system.
Practical Uses in Everyday Scenarios
xTool’s positioning system excels in various scenarios. Its user-friendly design means you don’t have to be a professional to use it, even though it offers a level of precision that professionals will appreciate.
Below are a few examples of how you can use pin-point positioning for different applications:
Alignment on Irregular Shapes

When you’re working with irregular shapes or objects, traditional positioning methods can often fall short. Whether it’s a piece of driftwood, a stone, or a uniquely shaped piece of leather, getting your design to align correctly can be a real headache.
That’s where the pin-point positioning system shines. You can easily move the laser head to different points on the object, capture the coordinates, and the software will accurately map out the working area.
This method allows you to accurately align your design with the unique contours of your workpiece. No matter if you want to engrave on a square, circle, or polygon, the system lets you do so with the same precision.
Small Objects

It’s notoriously tricky to engrave on thin profile items like pencils, pens, or thin strips. Cameras struggle to accurately detect the edges, whereas the absolute and relative coordinate methods can easily lead to misalignment due to the small size of the workpiece.
With the pin-point positioning system, however, you can easily mark the edge points on these small items. The system then accurately maps out the work area and lets you place your design exactly where it should go on the workpiece.
Batch Engraving

One of the most impressive applications of the xTool S1’s pin-point positioning system is in batch engraving. If you’ve ever had to engrave multiple objects at once, you know that positioning each piece accurately is a frustrating task.
This is especially the case when you have several objects with different shapes or sizes (i.e. for which you can’t use an alignment jig). The pin-point positioning system simplifies this process enormously.
The system supports positioning multiple objects of different shapes in batches. This means you can place several objects of varying shapes and sizes within the work area, capture the coordinates of each object, and let the software accurately map out the individual work areas.
You can then place your design on each mapped area, ensuring that each object is engraved in the correct position. This significantly reduces the time and effort required for batch engraving, making the process more efficient and less stressful.
We have to point out here that there is still a good bit of time involved in capturing the coordinates for each object. However, the precision and accuracy gained more than make up for it.
Conclusion
xTool’s pin-point positioning system is straightforward yet a highly effective solution for accurate and precise alignment in laser cutting and engraving. It combines the benefits of manual and automatic positioning systems, providing a solution that is both intuitive and reliable.
No longer do you need to worry about setting the origin, calculating distances, or accounting for image distortions. It’s almost a set-and-forget system, which gives you plenty of flexibility and versatility in your applications.
Whether you’re a beginner or a seasoned professional, the pin-point positioning system provides a versatile solution for all kinds of projects. With its potential to minimize errors and enhance accuracy, the xTool S1’s pin-point positioning system is truly a step forward.
We won’t be surprised if this system finds its way to more laser machines. For now, however, the xTool S1 stands alone in offering this user-friendly solution.
What are your thoughts on xTool’s system? Do you think it would help in your workflow? Please share your opinions in the comments below!