

Adding a Tremol-No system to your guitar is a great way to remove most inconveniences that come with using a tremolo bridge. Simplifying guitar setup, improving sustain and blocking the tremolo when you do not need it are some of its most notable benefits.
In order to get these advantages, however, it is essential that the device is set up correctly. As mentioned in my Tremol-No review, the official installation instructions leave a lot to be desired. It is understandable that many people never manage to get the Tremol-No properly working when trying to install it themselves.
To save you the frustration that can come with installing the Tremol-No system, I have placed a set of improved instructions on this page. On top of that, I added several extra tips you can use to get the best experience out of the device. Don’t worry about messing anything up, it is not too complicated and you can complete the entire process without making any permanent modifications to your guitar.
Which Tremol-No System Do You Need?
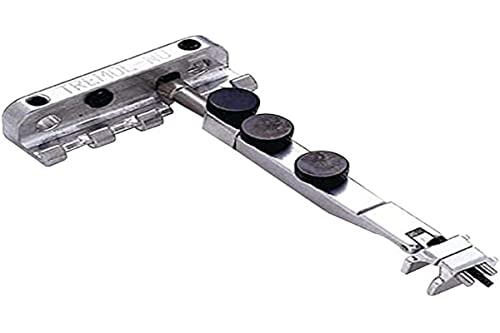
There are currently three different types of Tremol-No system on the market. They all function in the same way, but they have different ways of attaching to the guitar’s tremolo block. This is to accommodate for the different shapes and sizes of tremolo blocks out there.
With rectangular tremolo blocks up to 9mm thickness you need to use the small clamp model, larger square blocks (up to 13mm thick) require the large clamp model, and for trem blocks with rounded surfaces there is the pin type.
You can find a detailed list of tremolo manufacturers and matching Tremol-No models on this page and this page.
Keep in mind that if you modded your guitar’s tremolo with a thick brass sustain block, you will need to use the large clamp model. Measuring the thickness of the block lets you know for sure.
How to Install a Tremol-No System in Your Guitar
What You’ll Need

|
|
Parts | ||
|---|---|---|---|
|
Check Price | ||
Step by Step
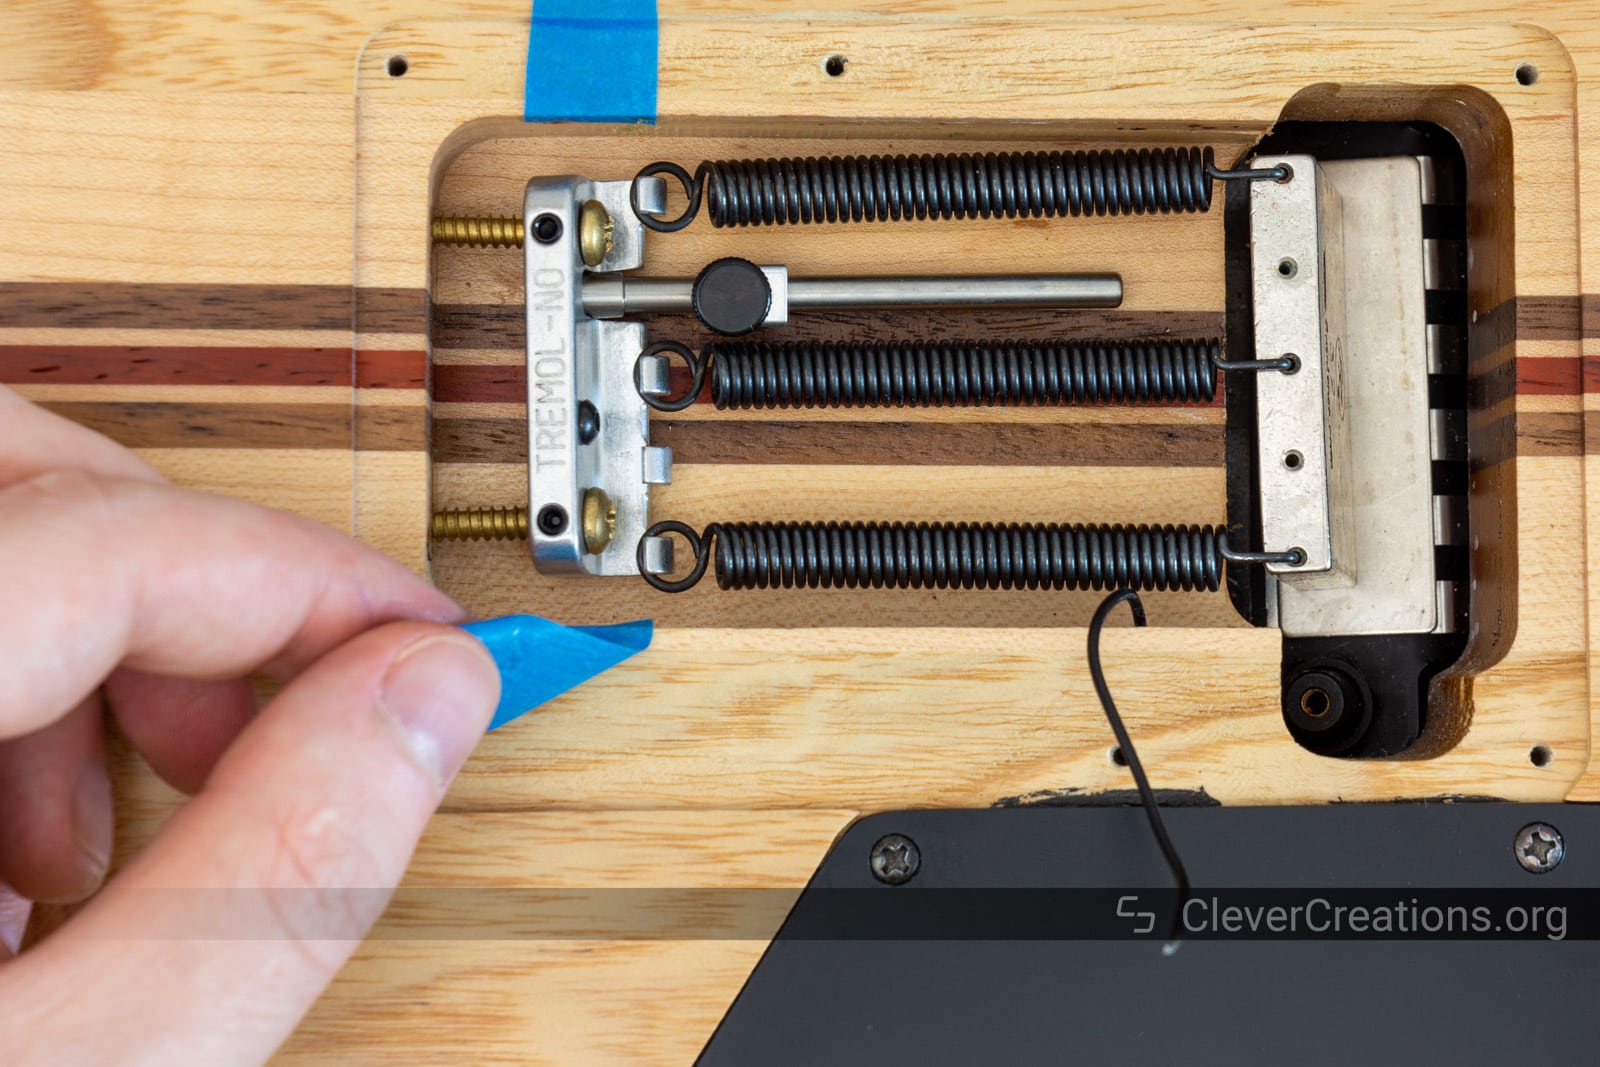
Preparation

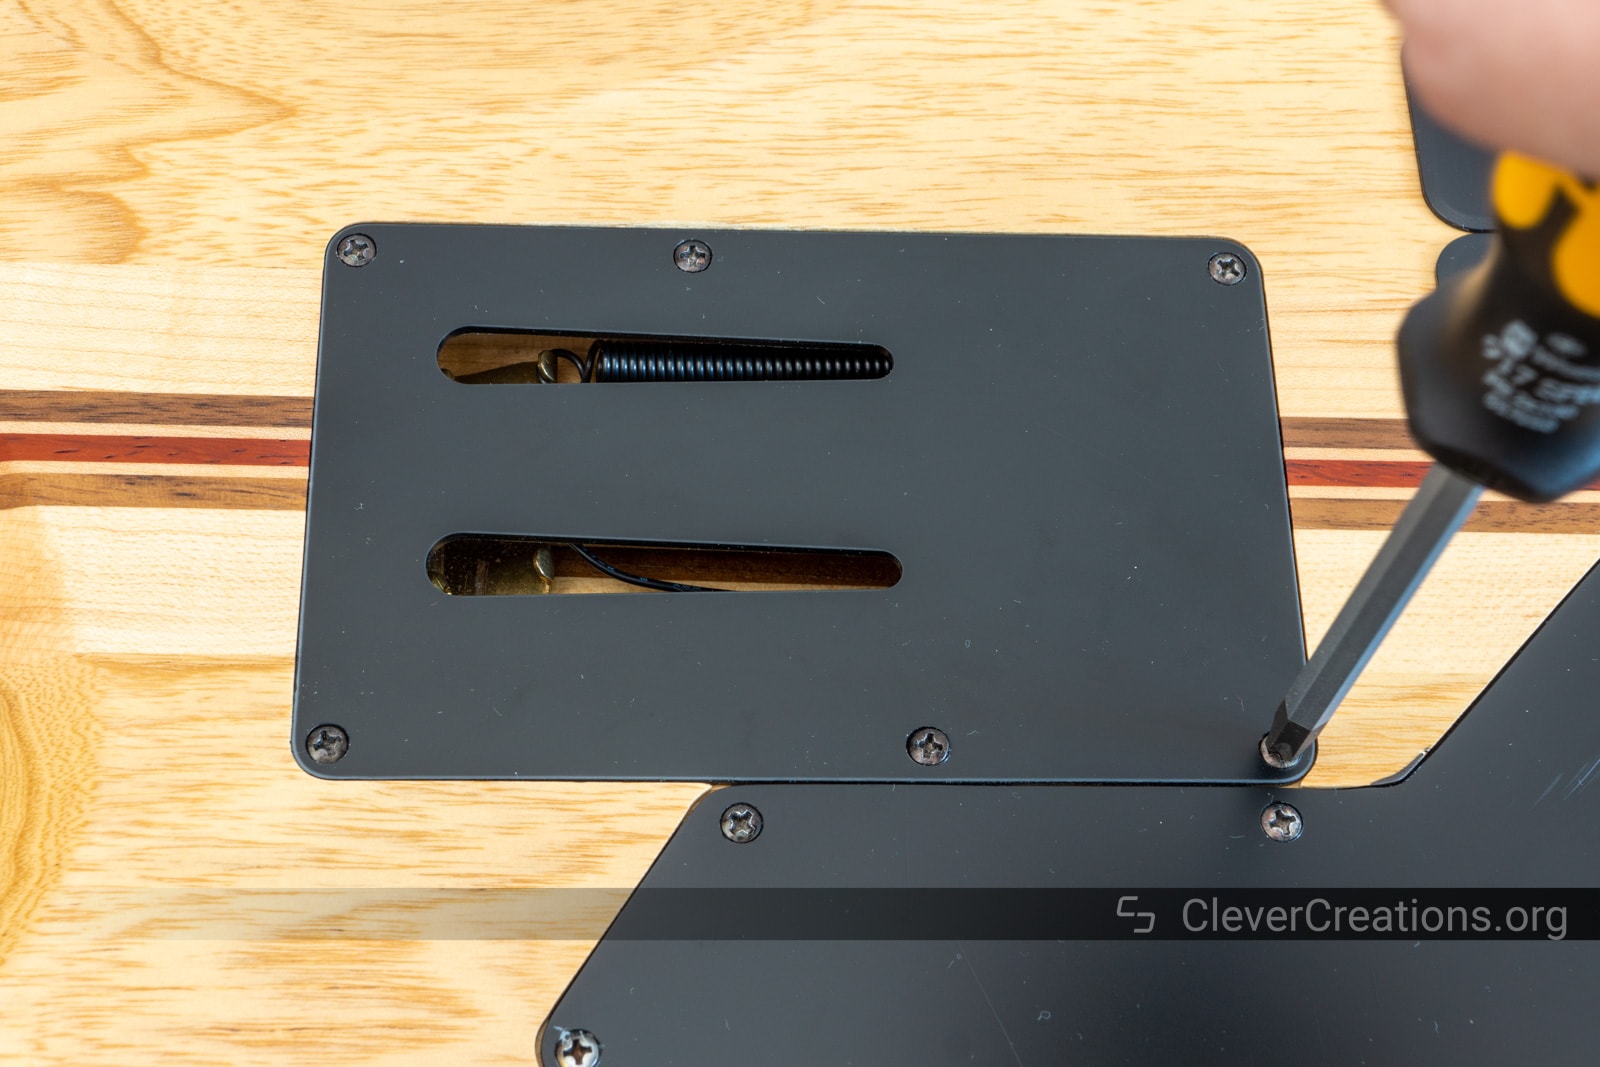
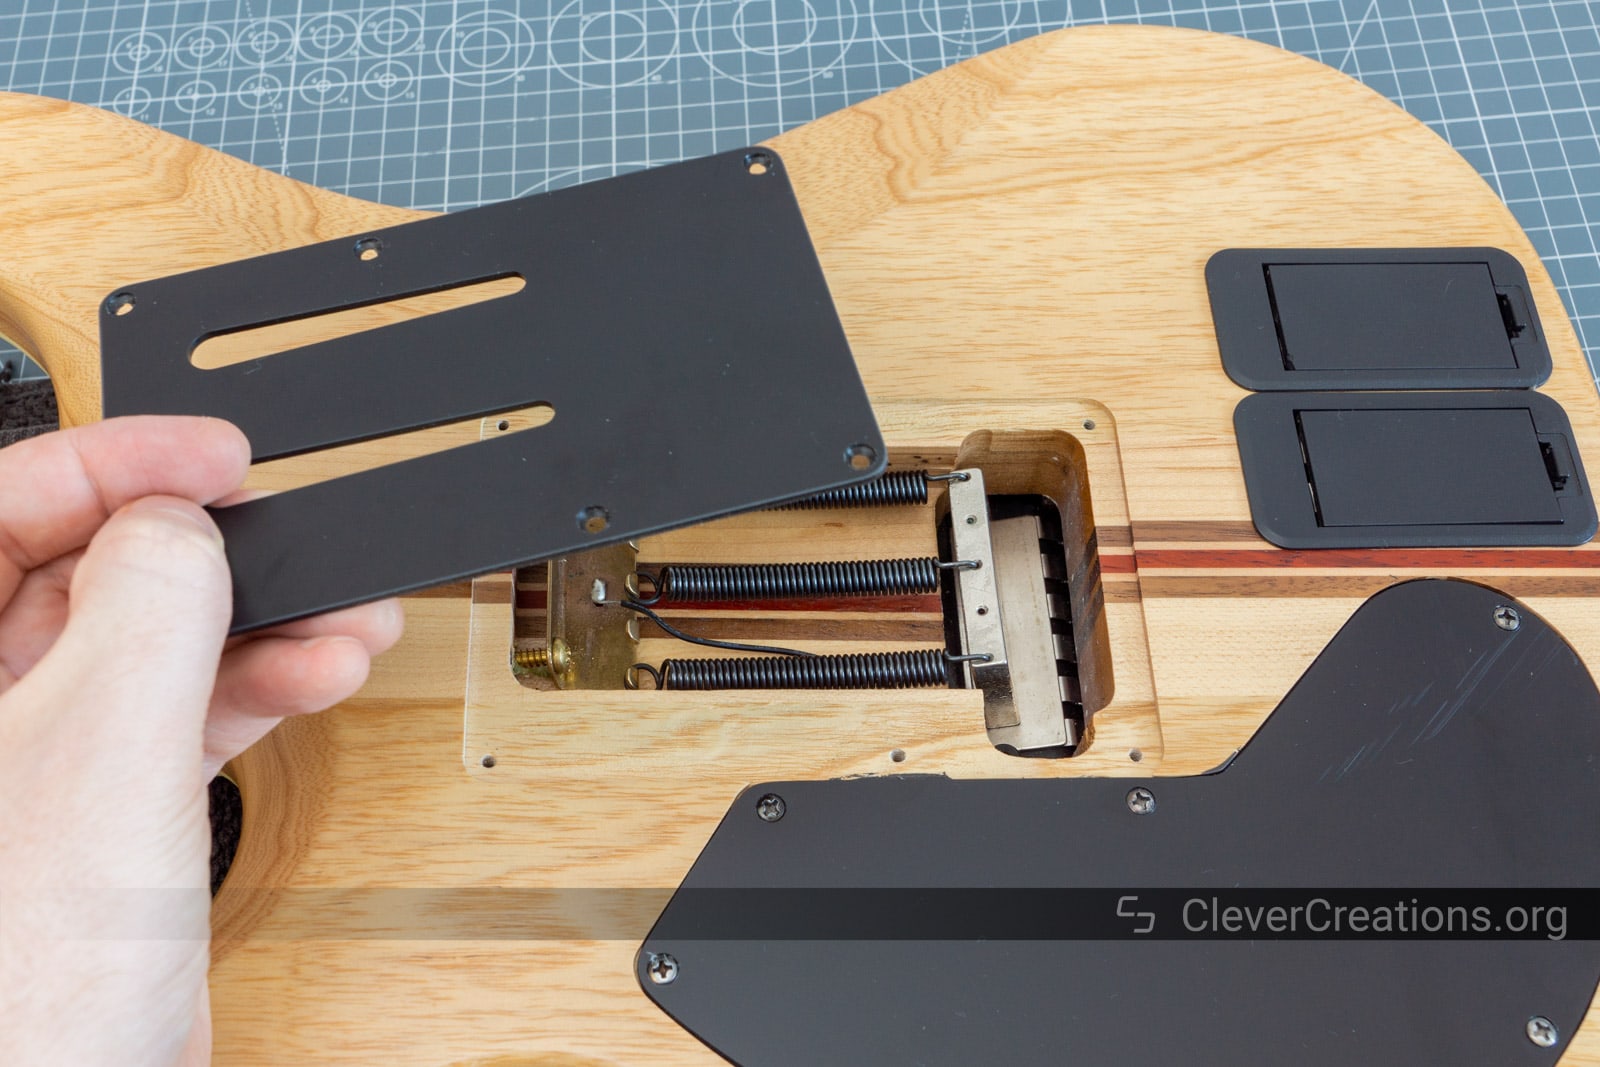
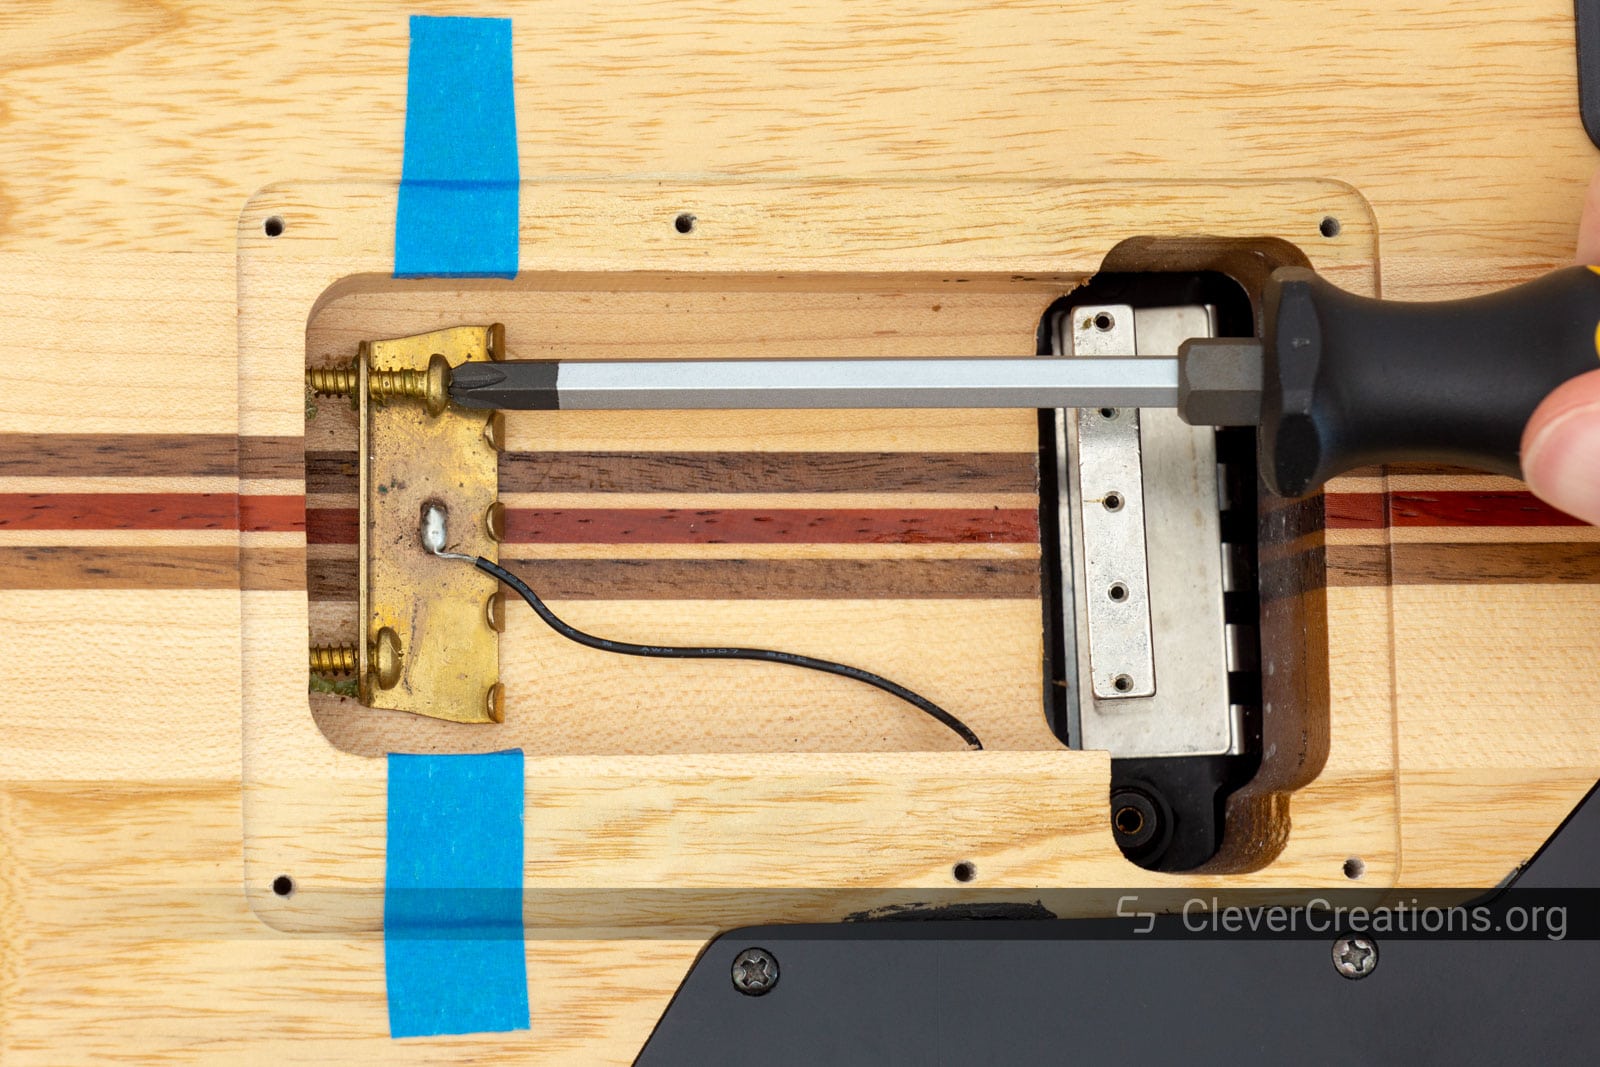
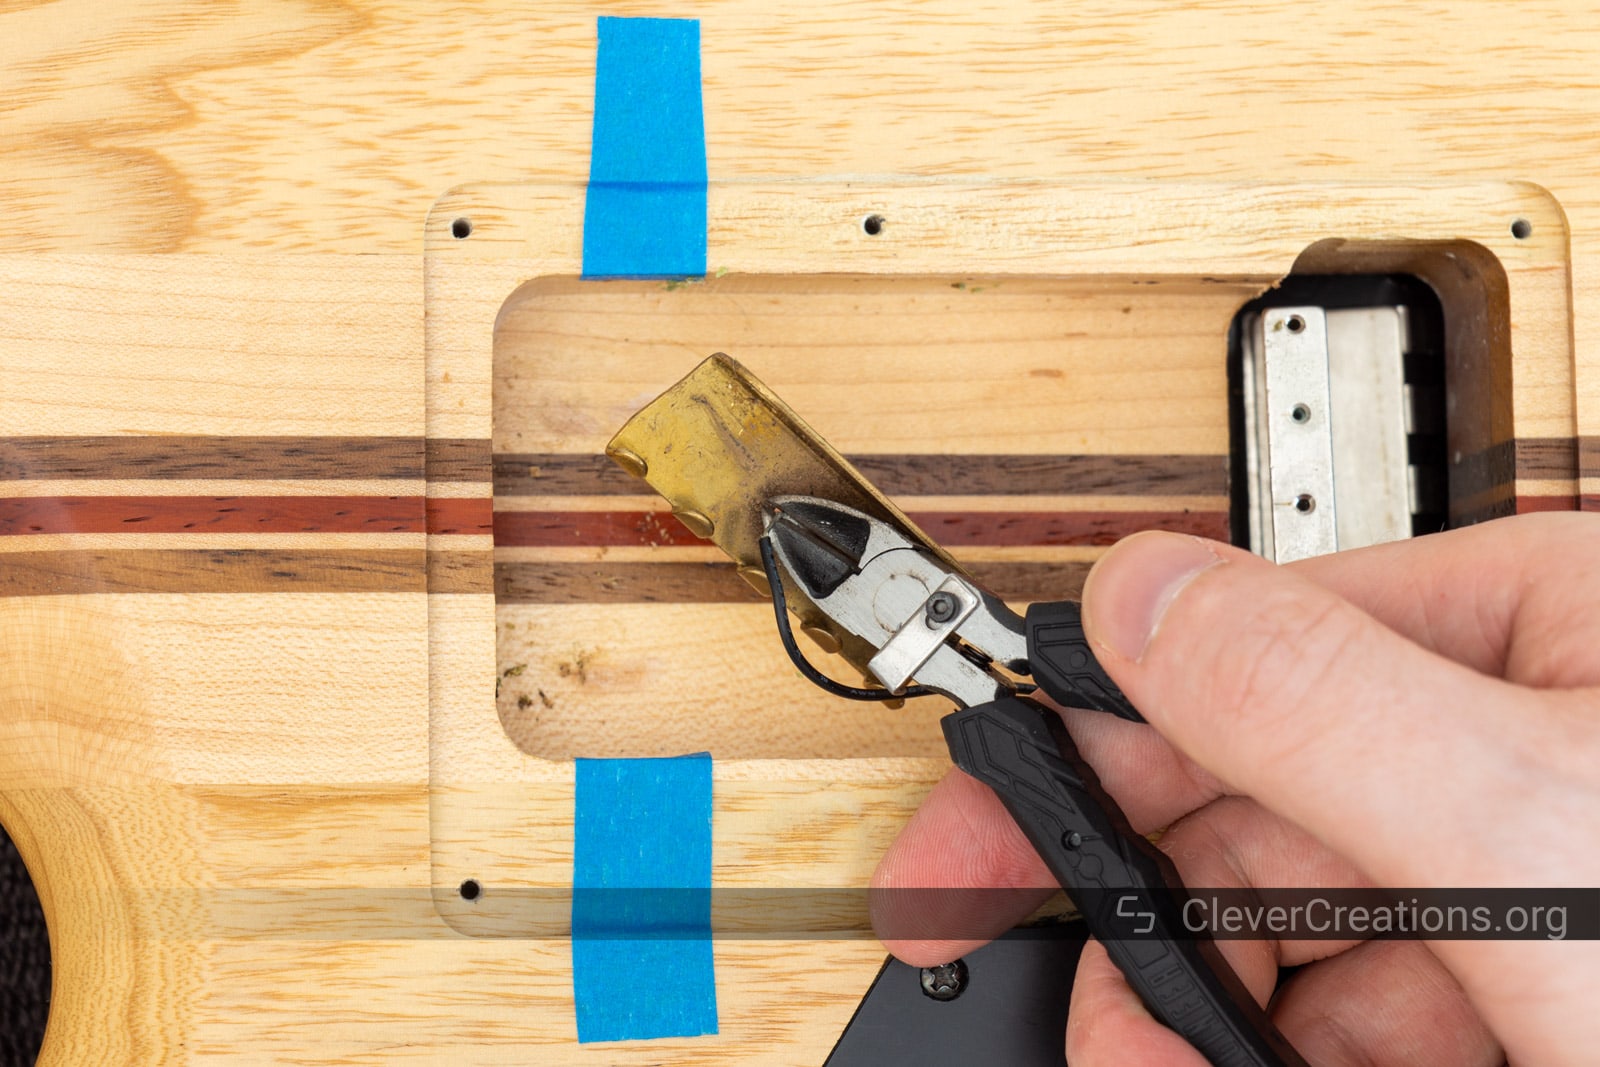
Removing the Old Tremolo Claw

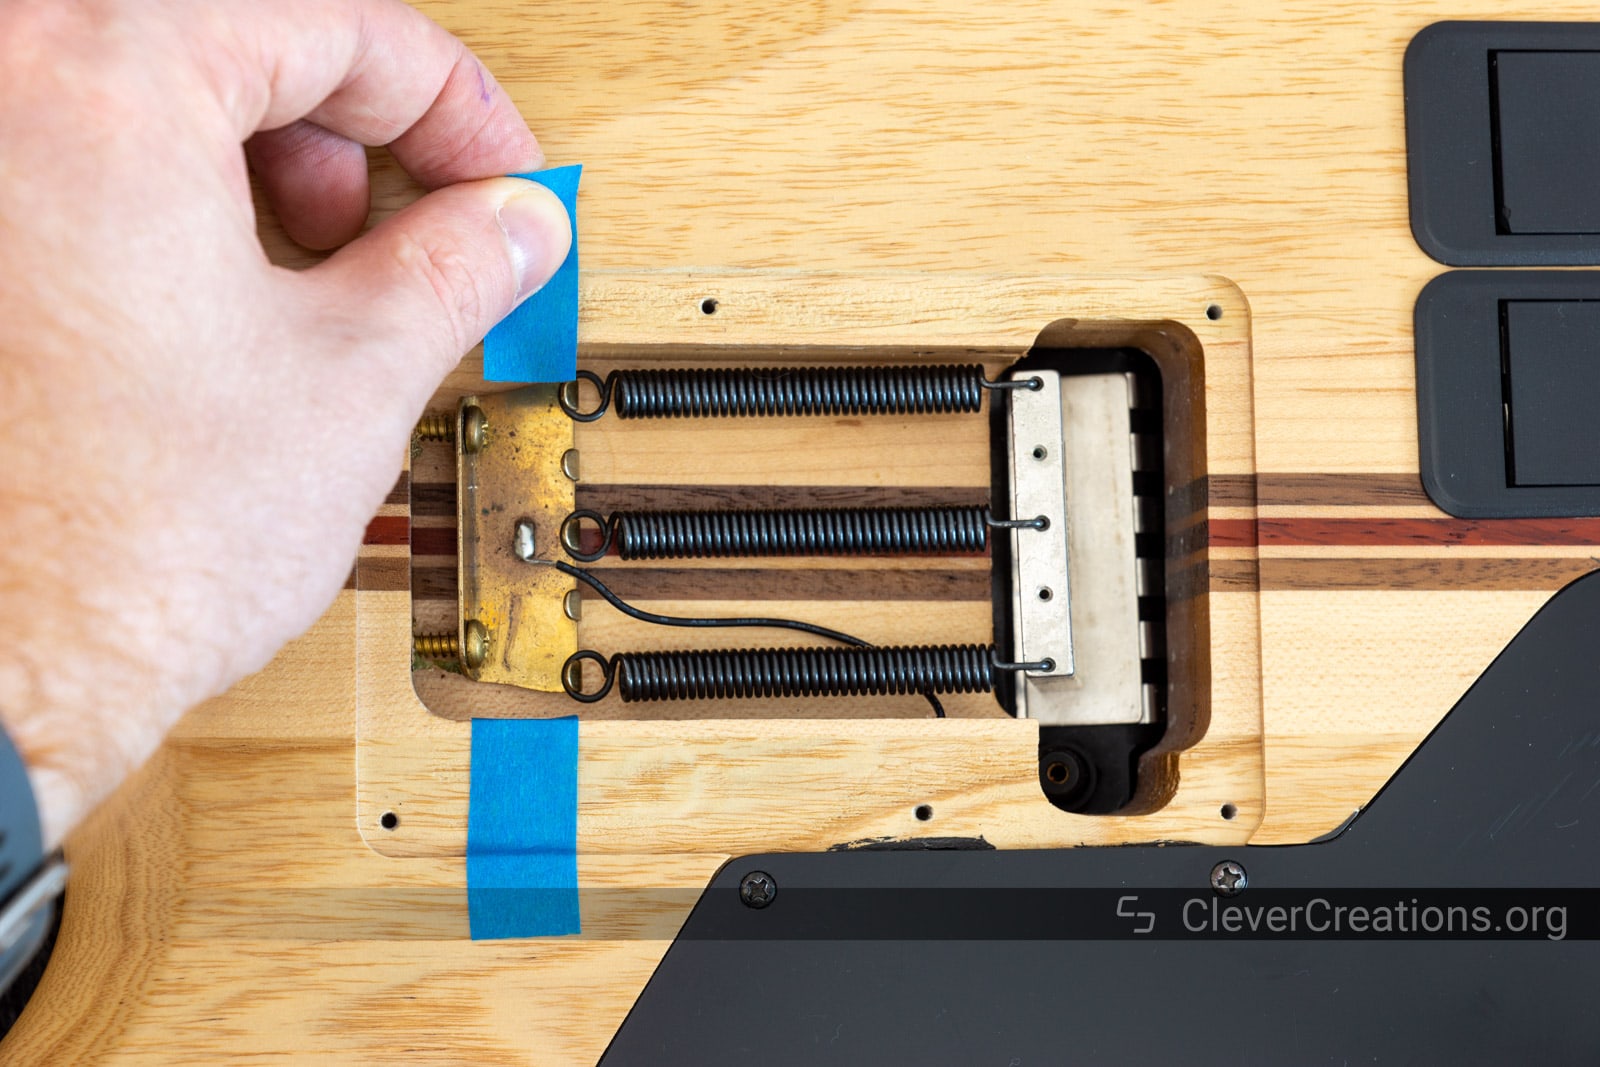

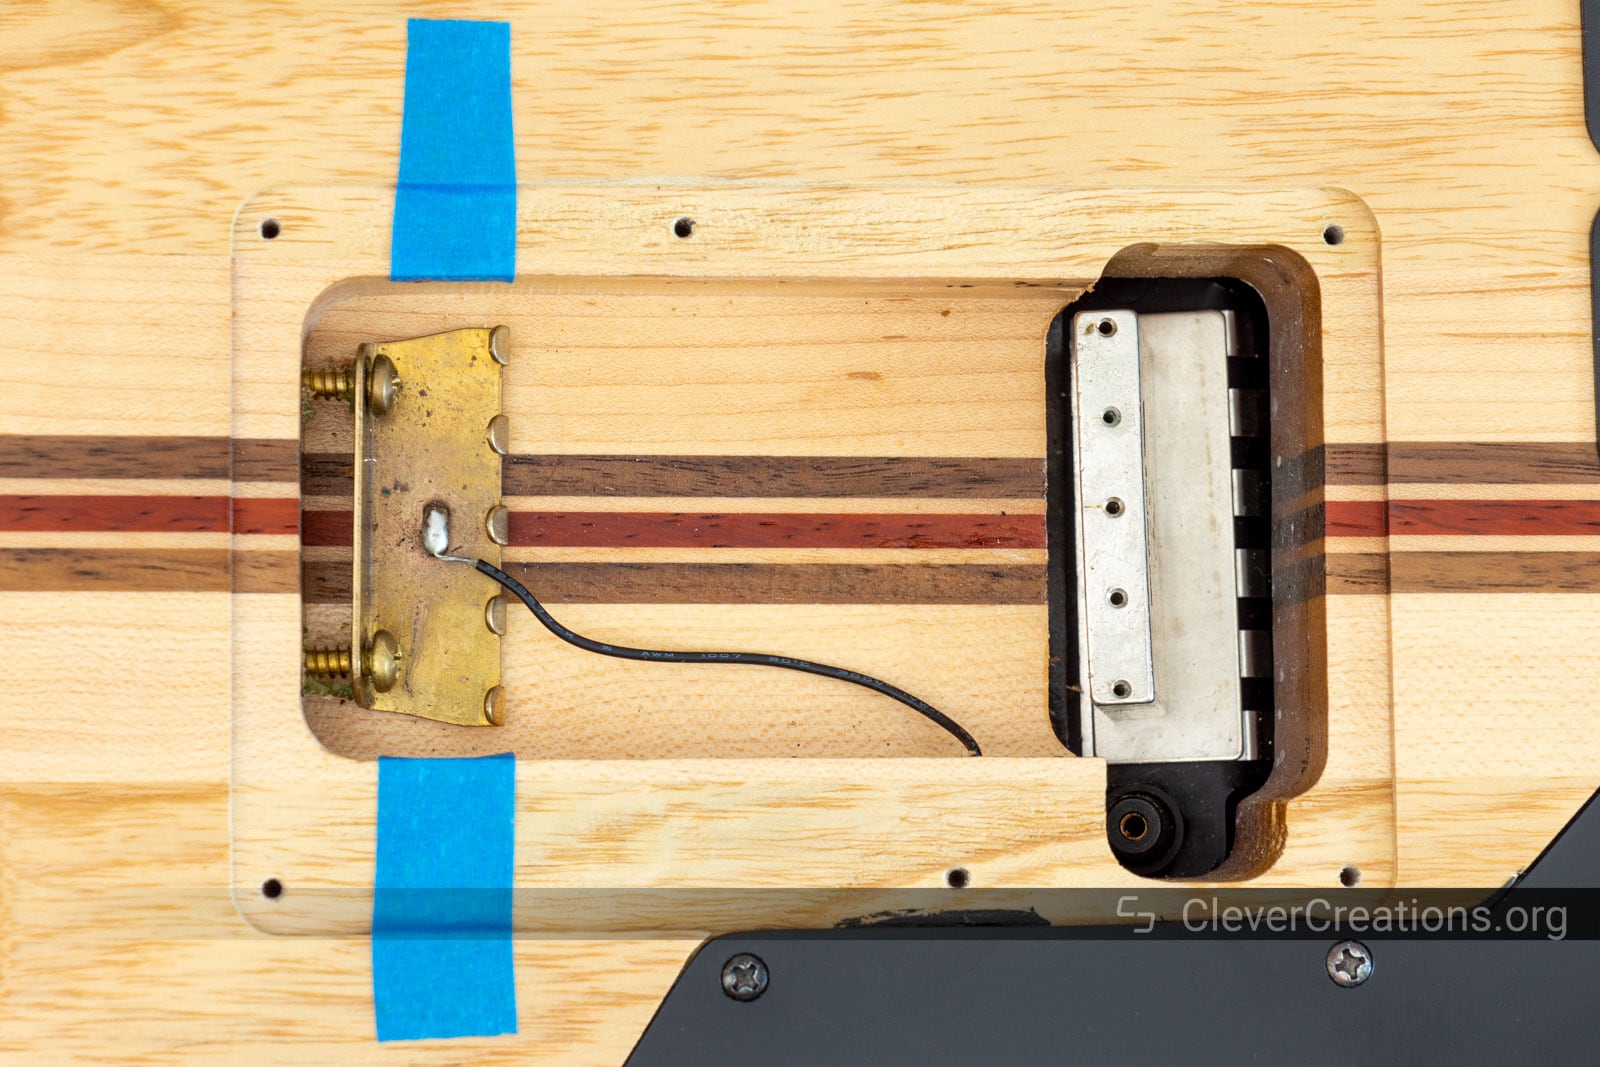
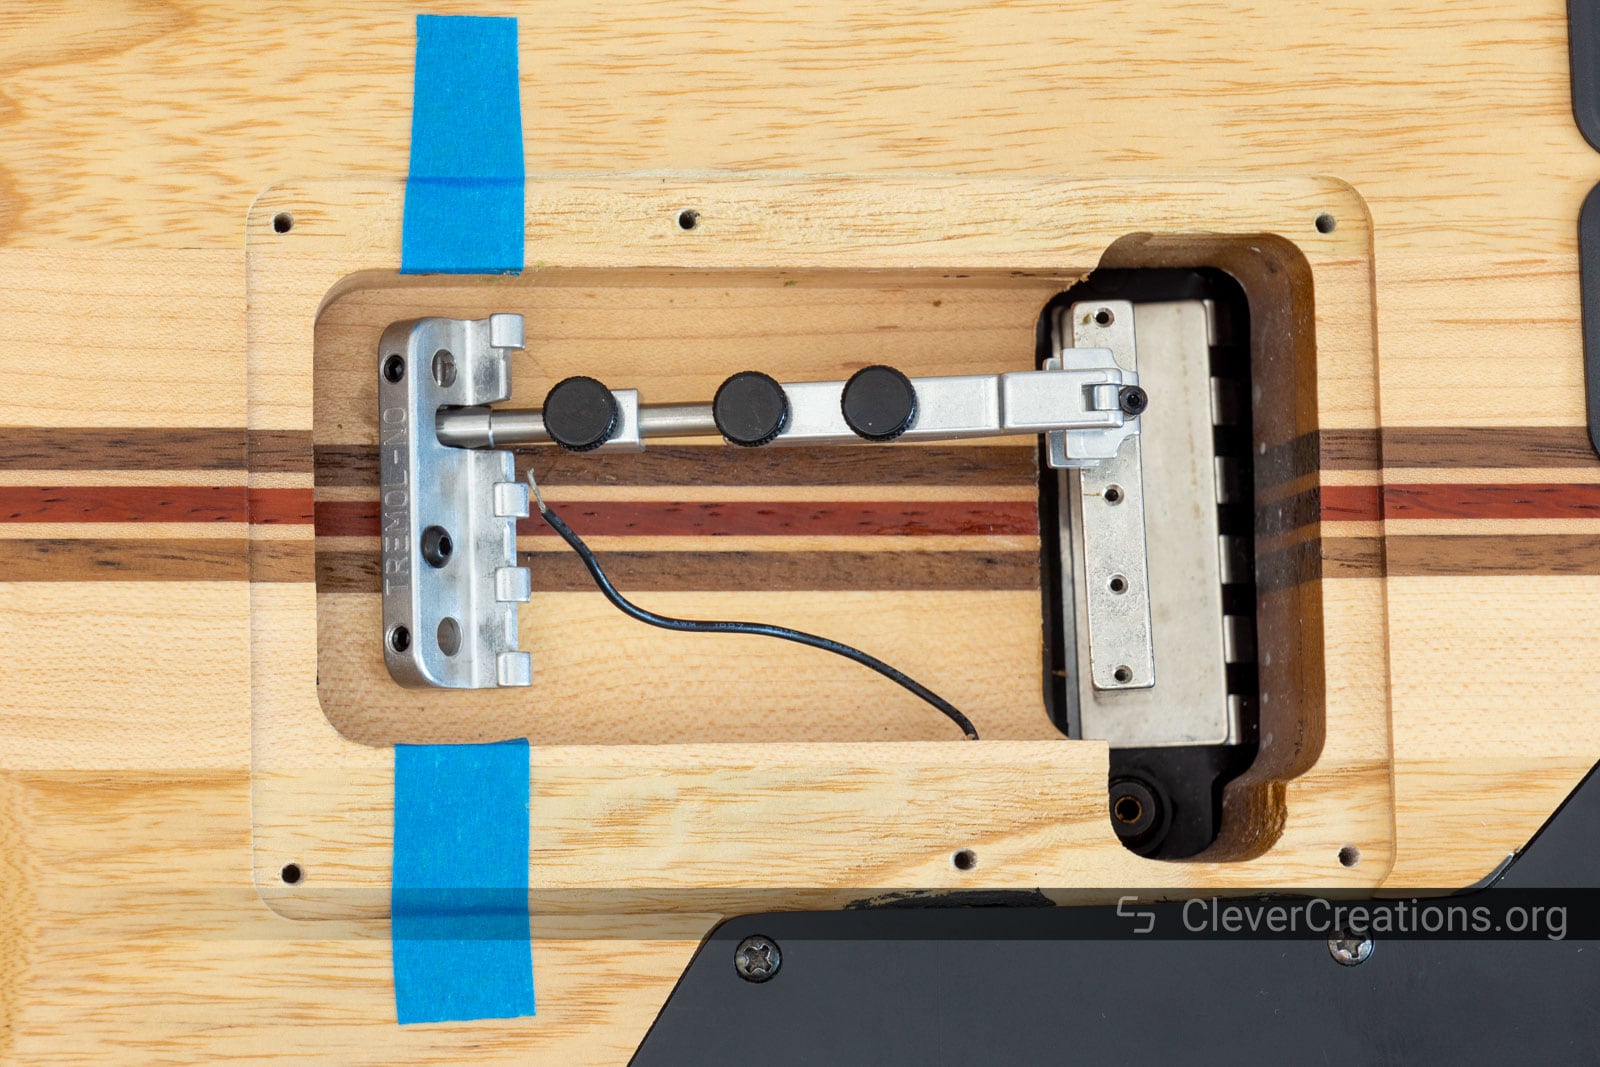
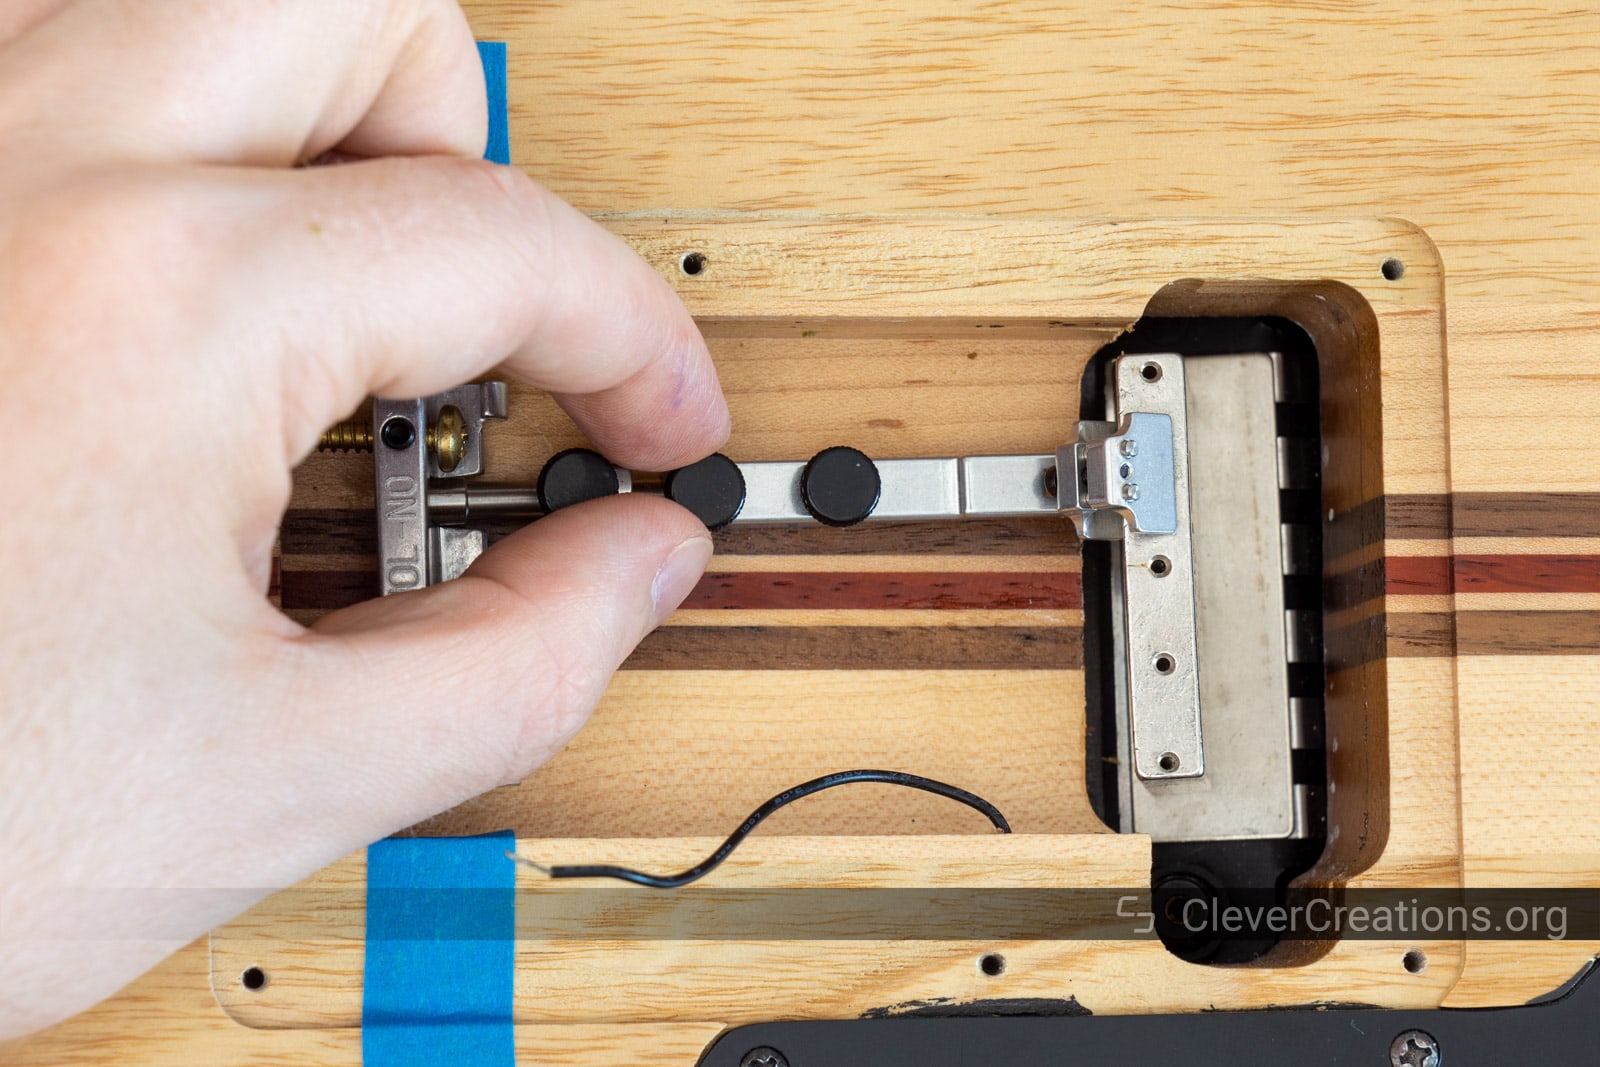
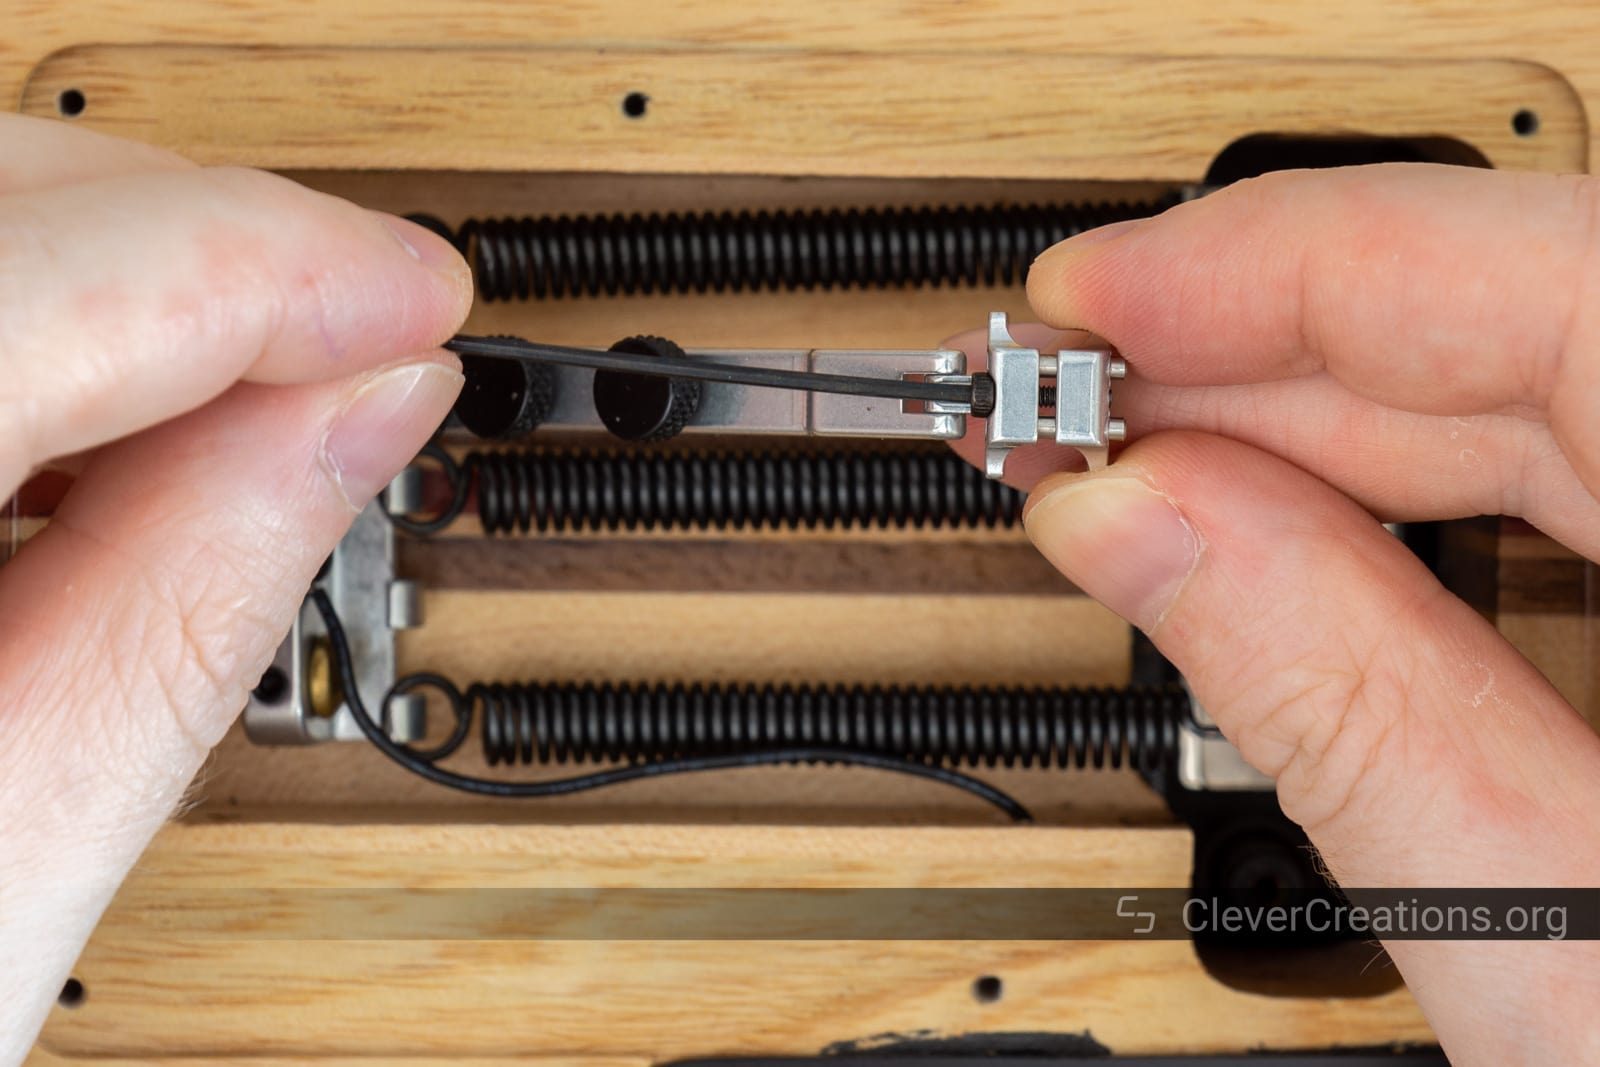
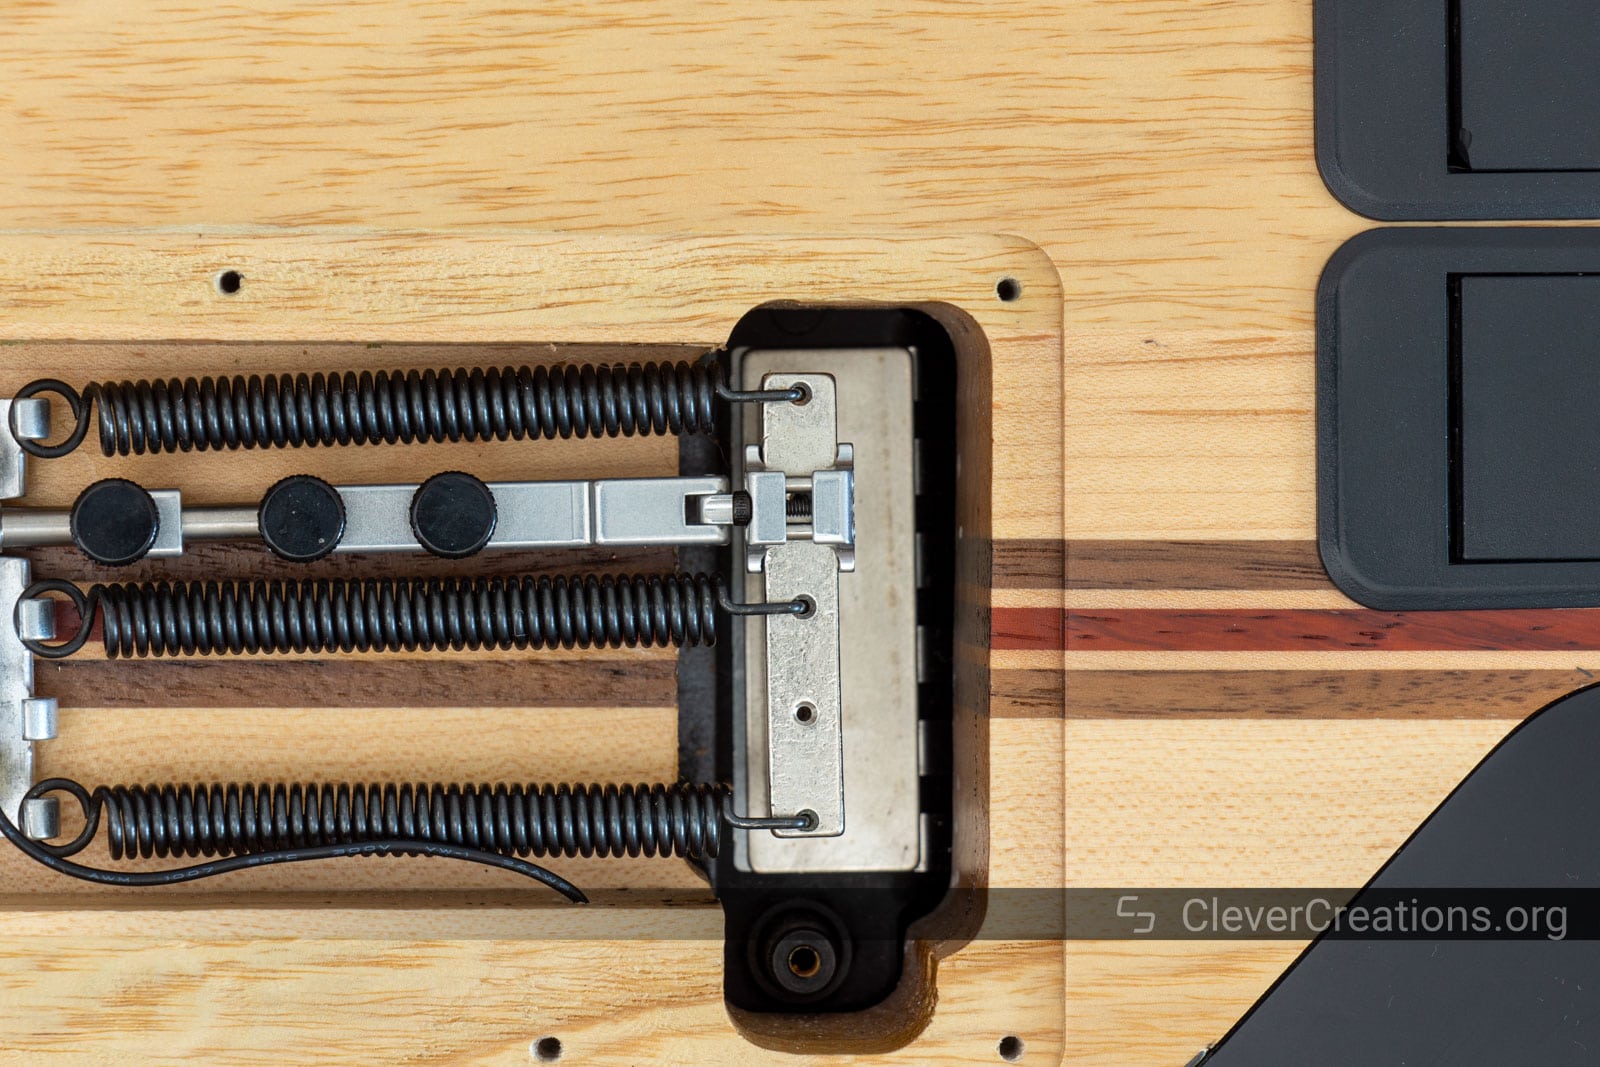
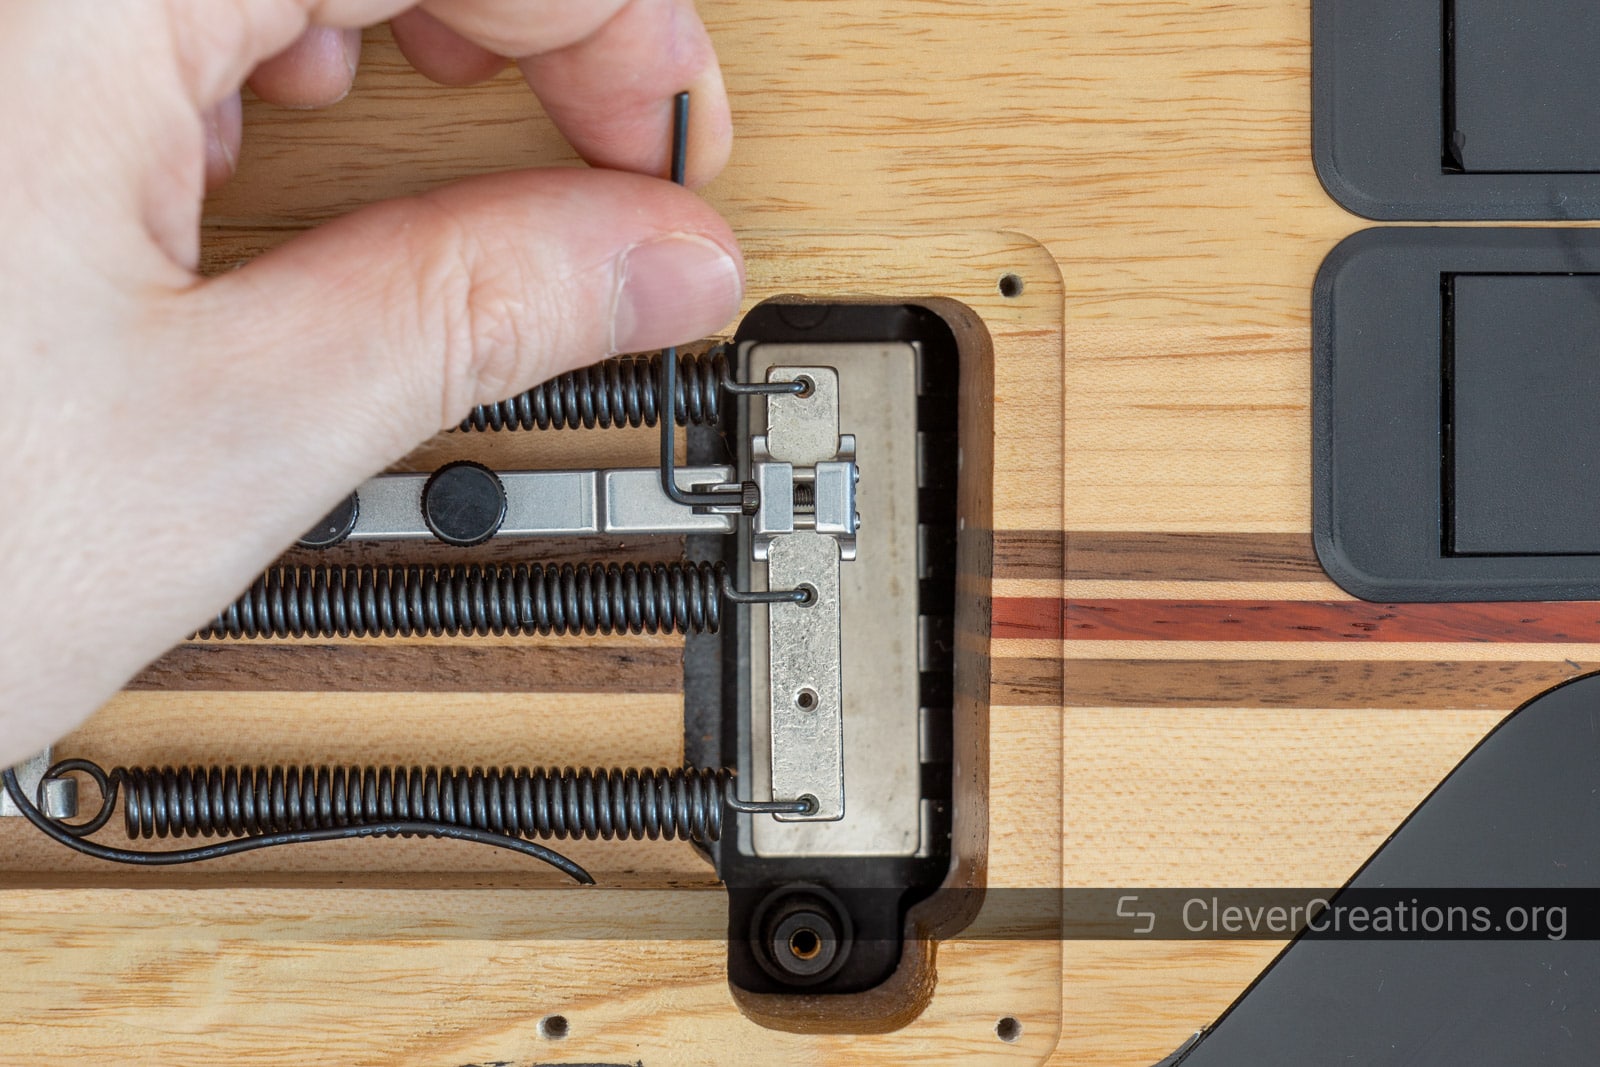
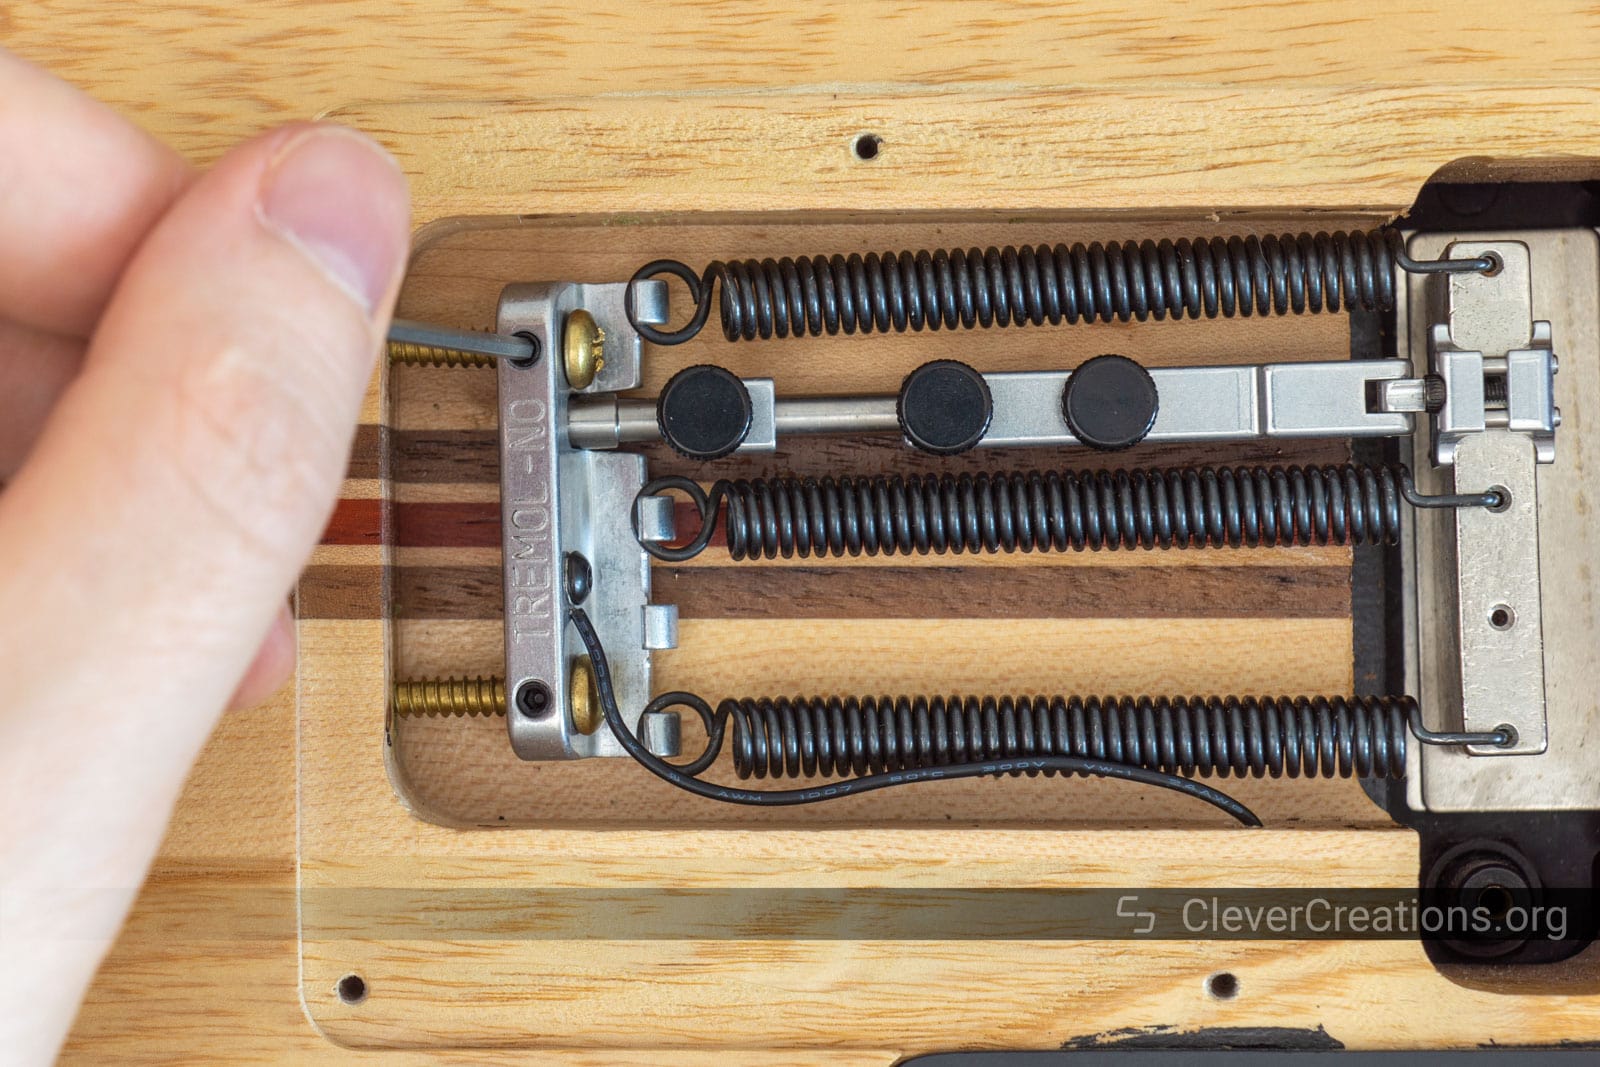
Installing the Tremol-No
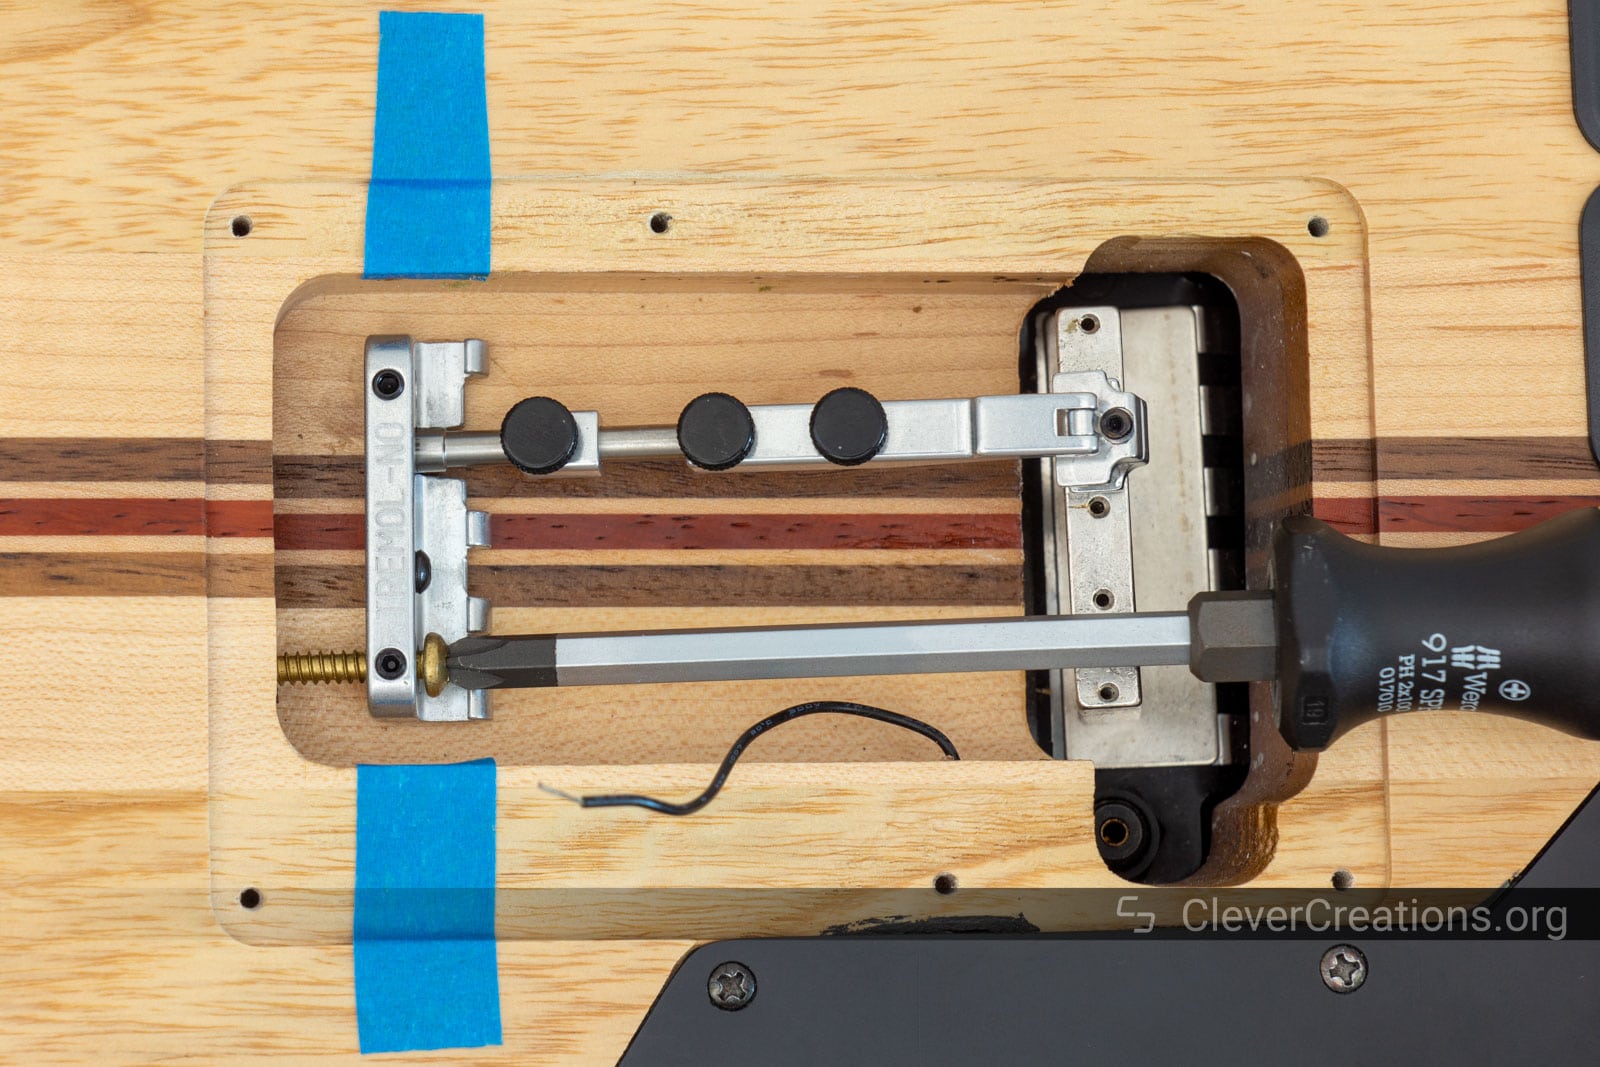


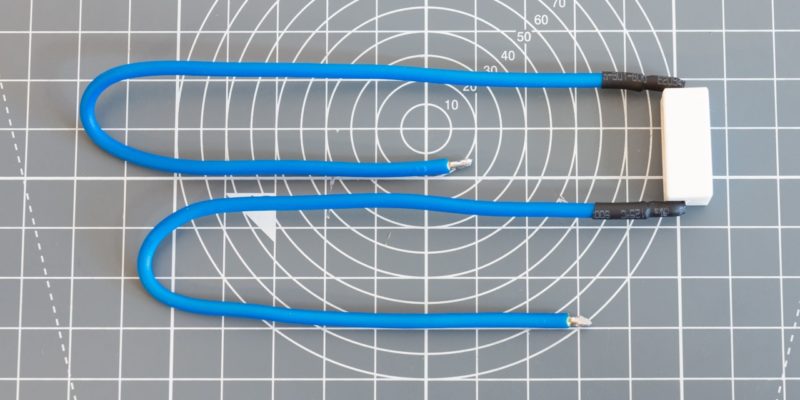
If there is not enough exposed wire left, you can use a wire stripper to remove some of the insulation from the end.

Final Set-Up
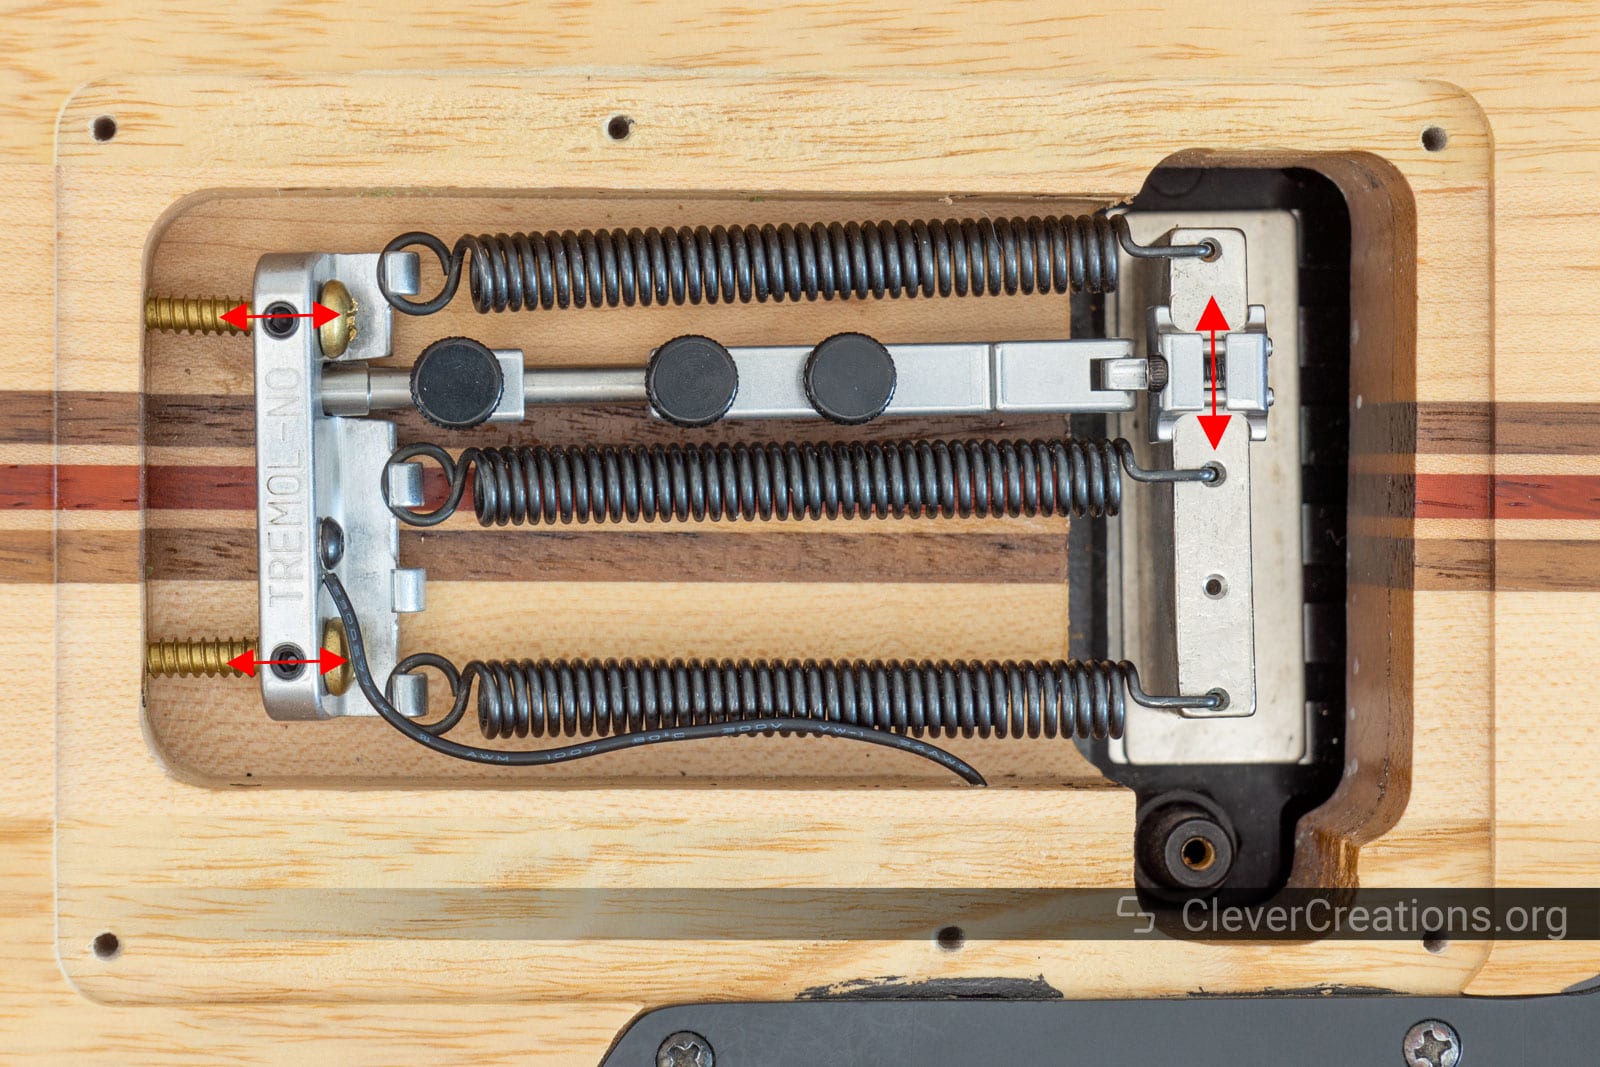
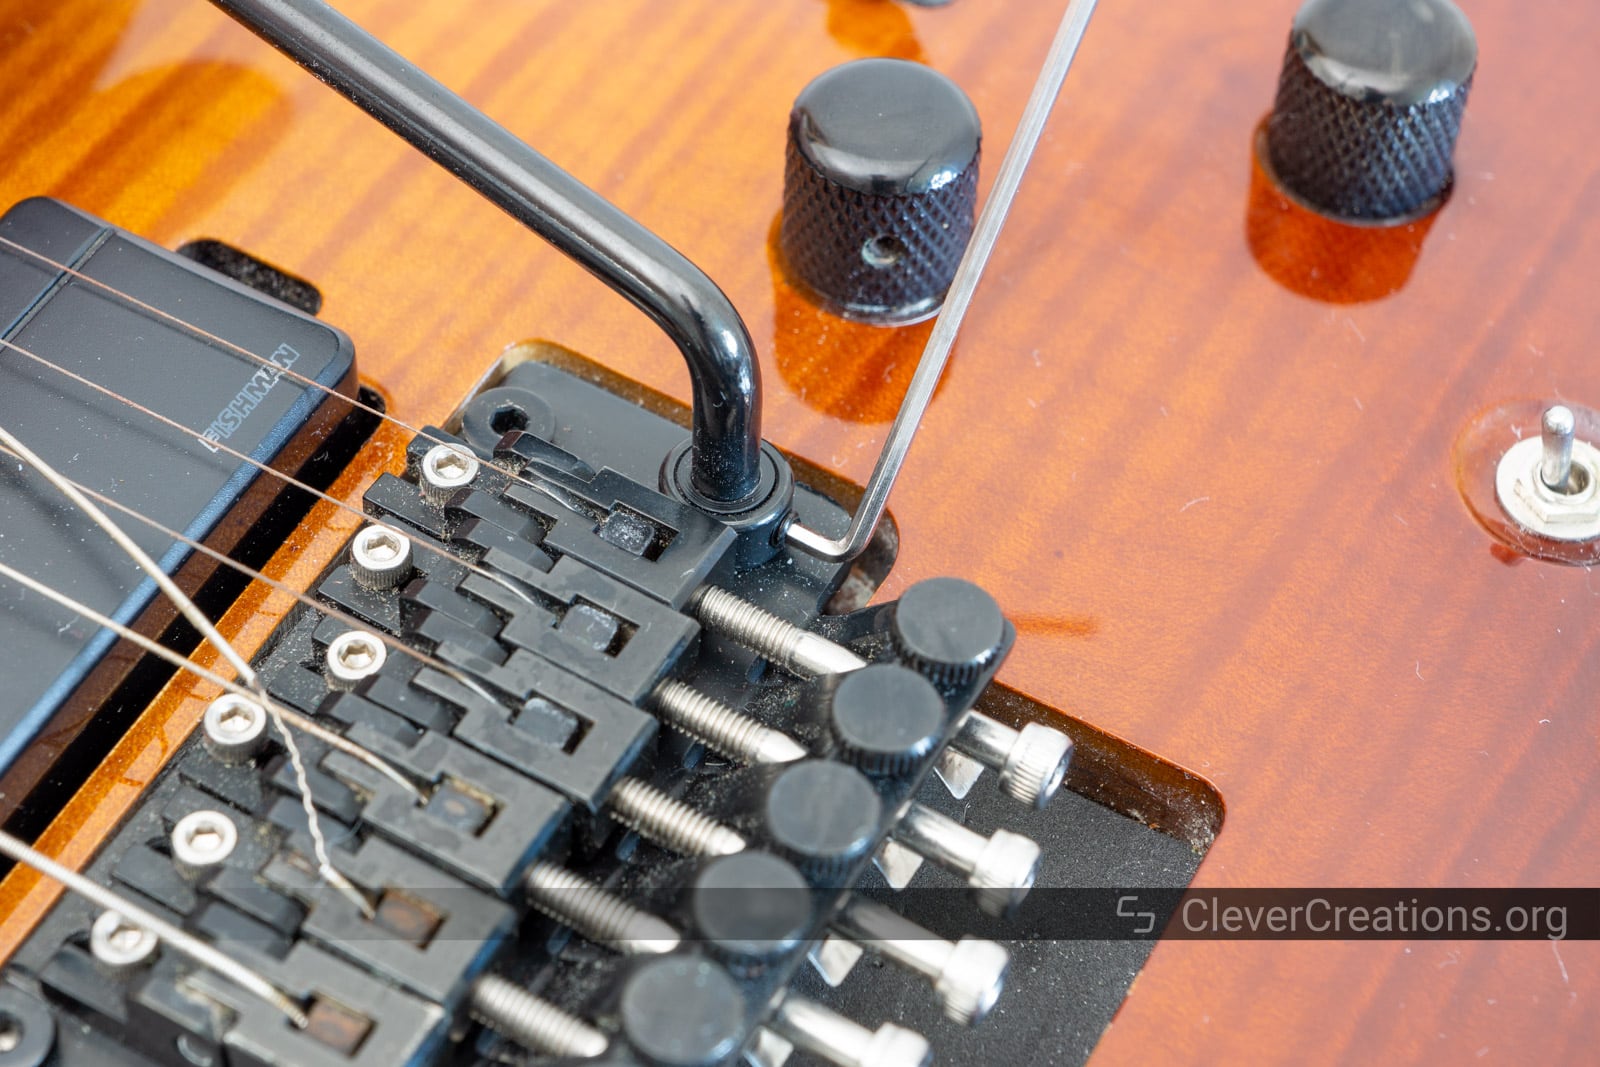
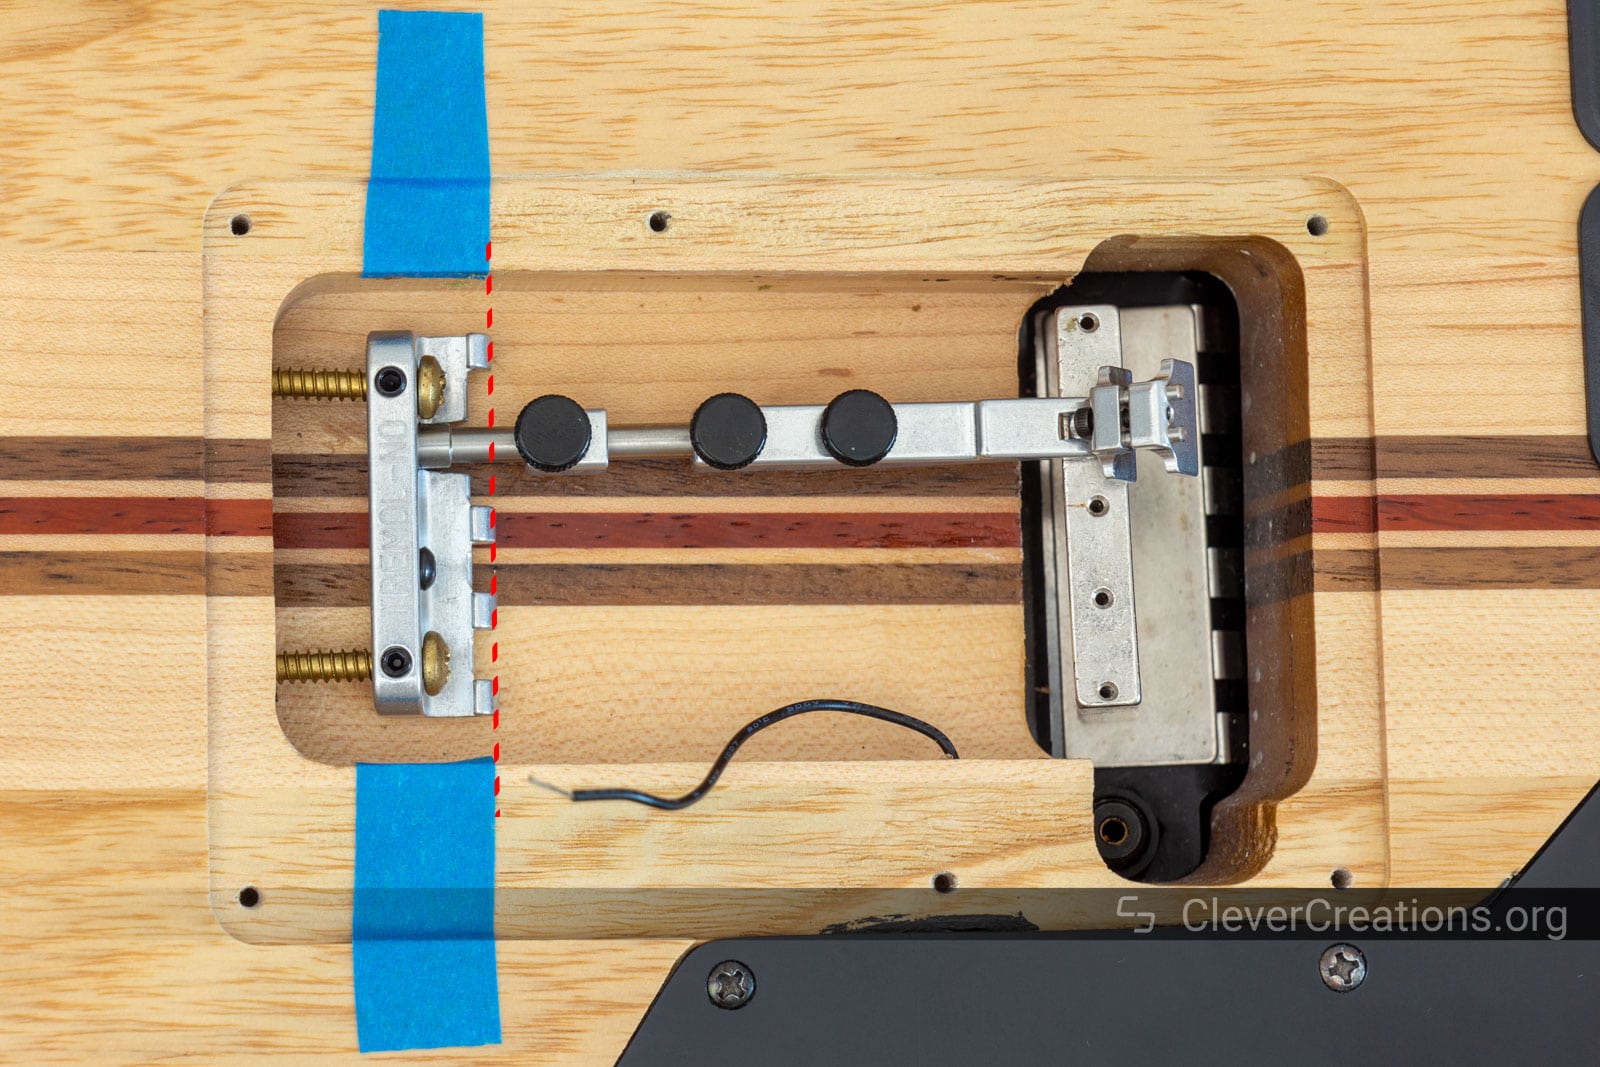
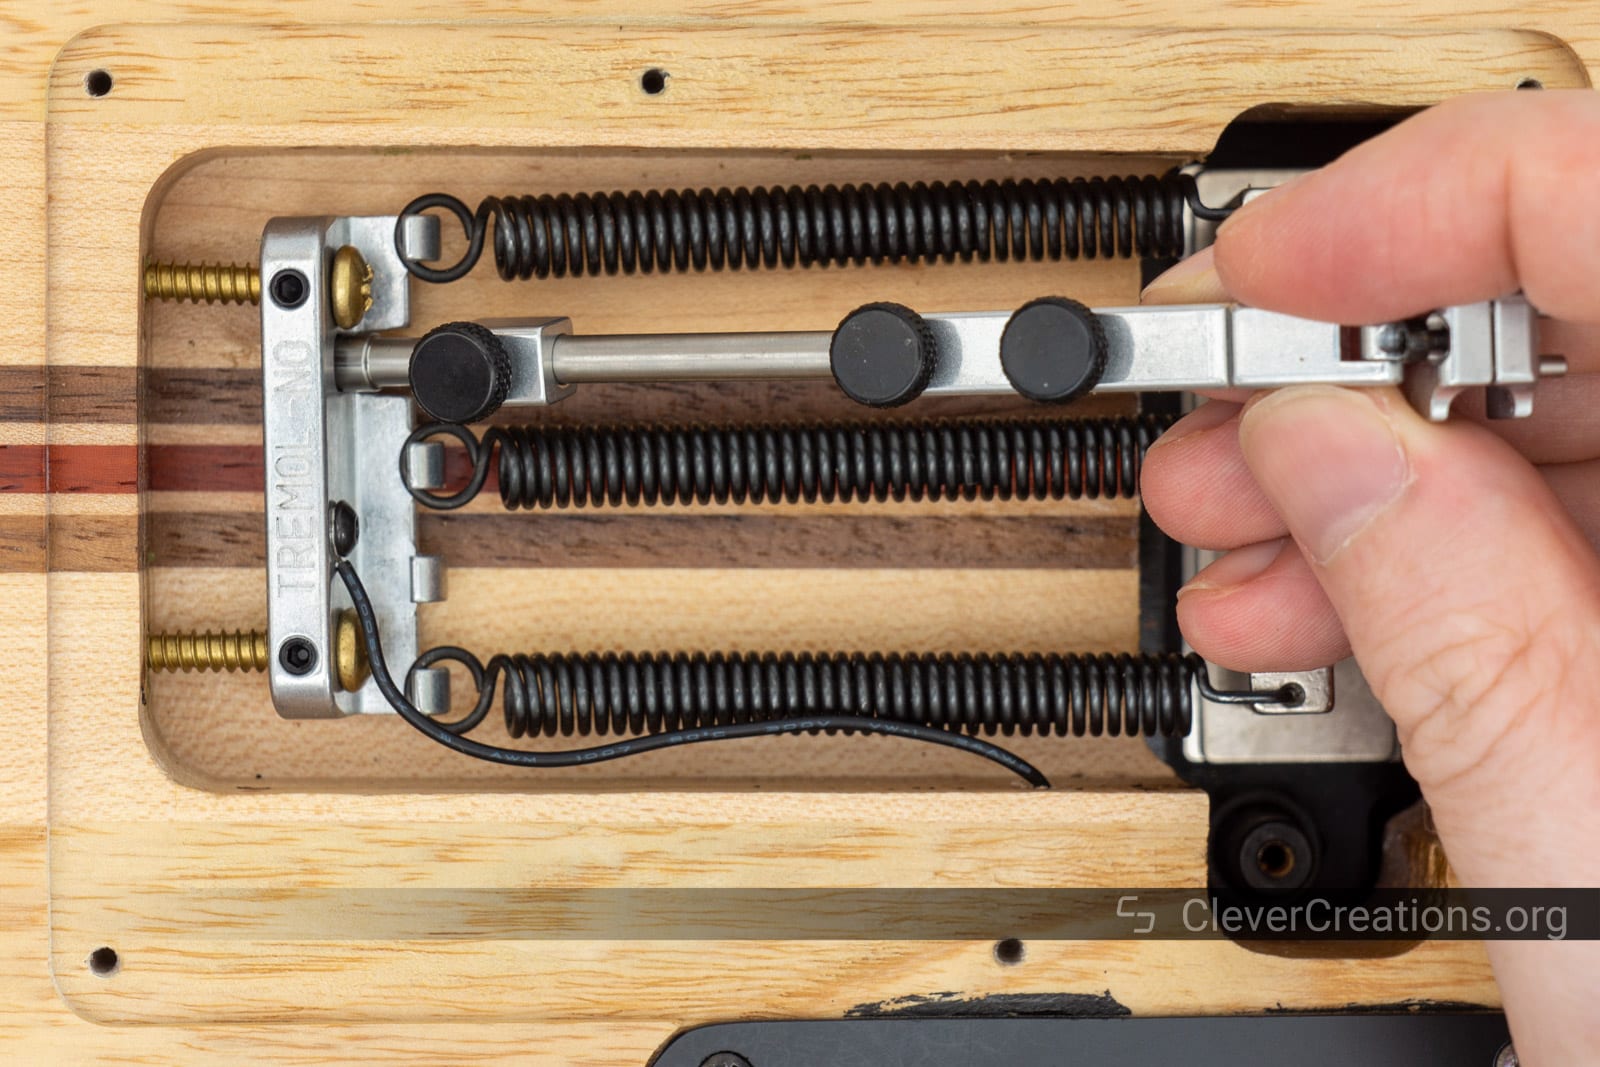
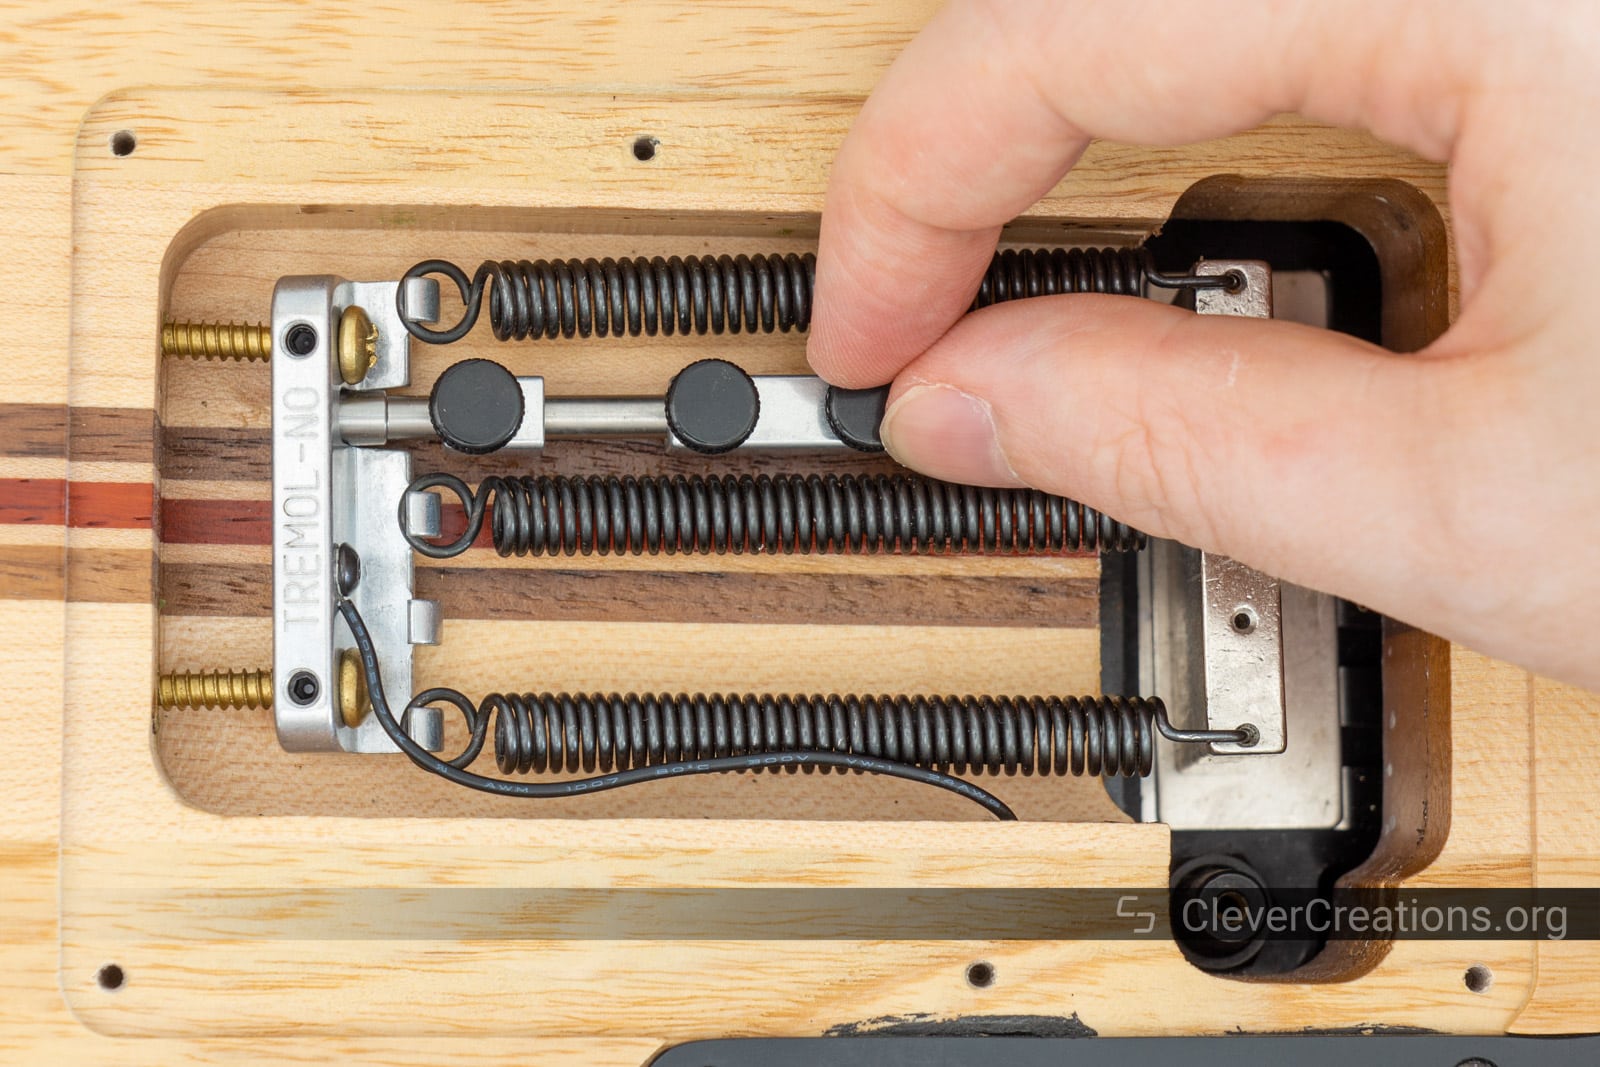
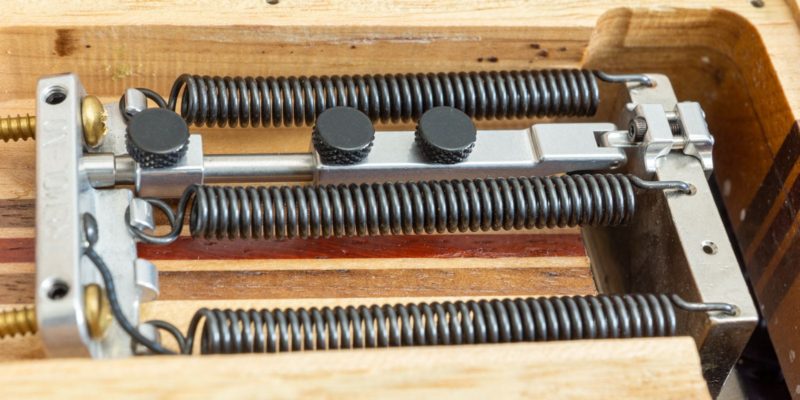
Adjust the position of the claw so that it is perfectly parallel with the trem block. The rod should be perpendicular (at an angle of 90°) to both the claw and the trem block. Essentially, you want it to resemble a big ‘H’. Not an ‘A’.
The final adjustment is best done by ear by checking for any remaining friction/scratching/binding sounds. Adjust the components until work as silently as possible.
That’s all there is to it! You have now successfully installed a Tremol-No on your guitar.
How to Use the Tremol-No
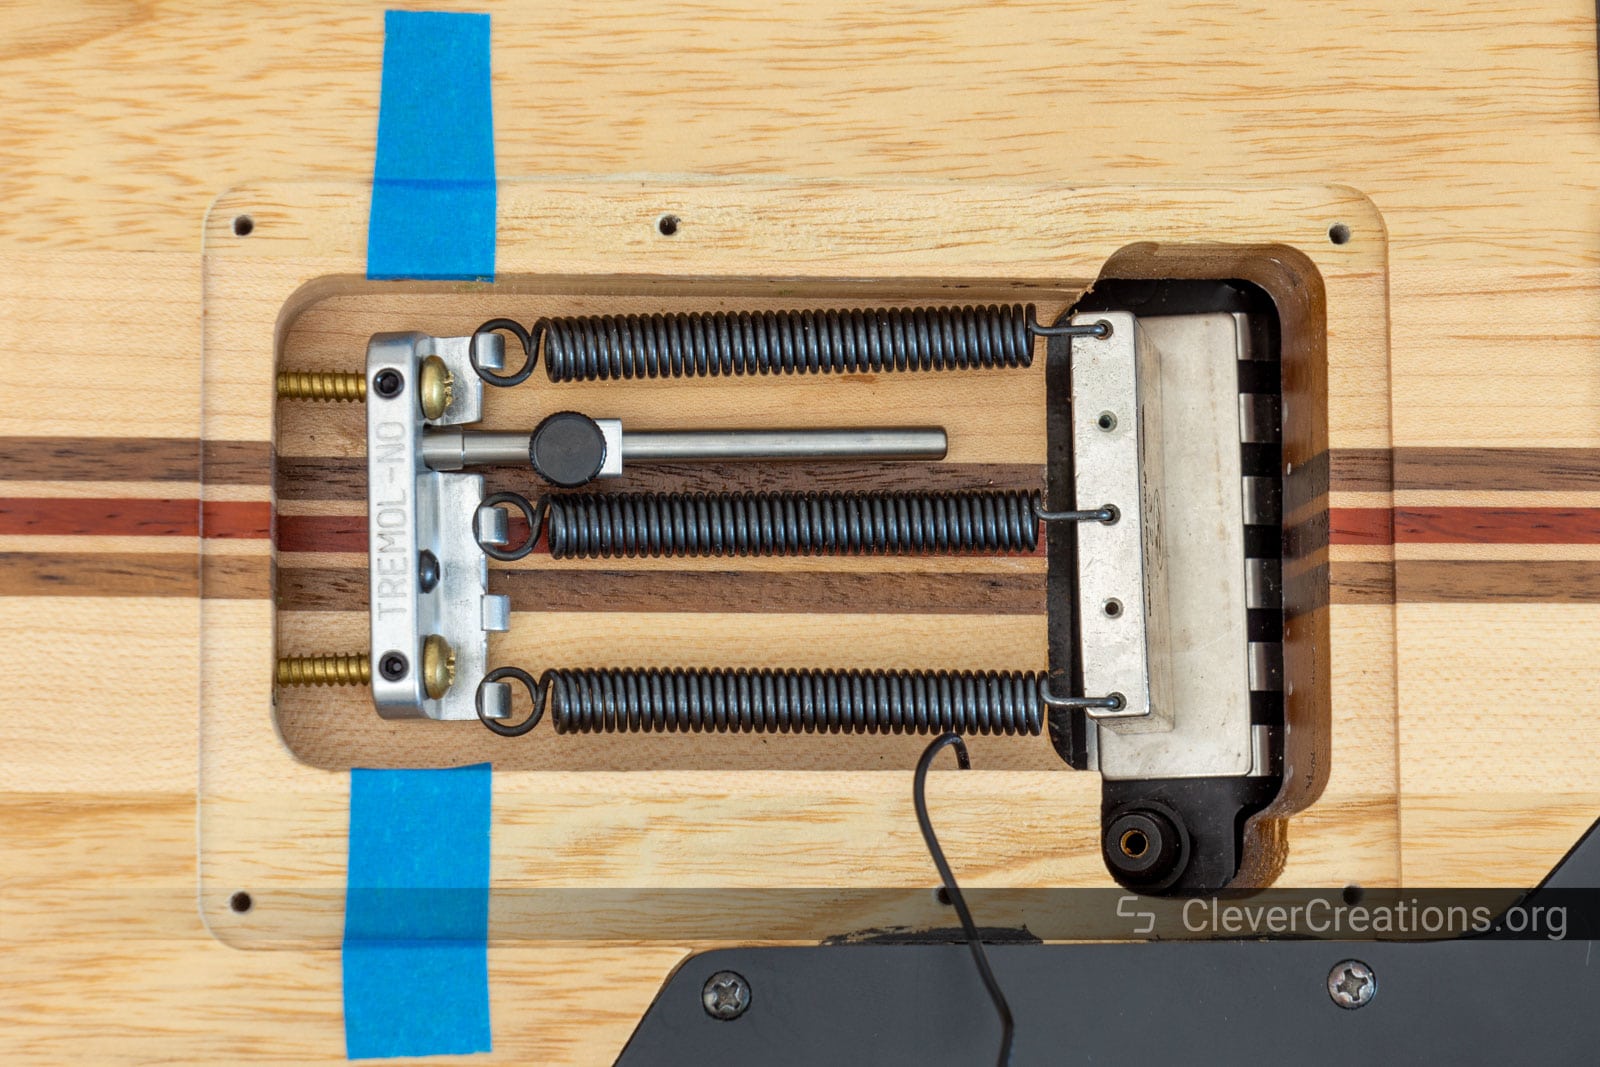
Using the Tremol-No is fairly straightforward. To switch the tremolo from full-floating to hardtail, tighten the thumbscrews on the sliding arm. To switch back to full-floating, loosen the thumbscrews.
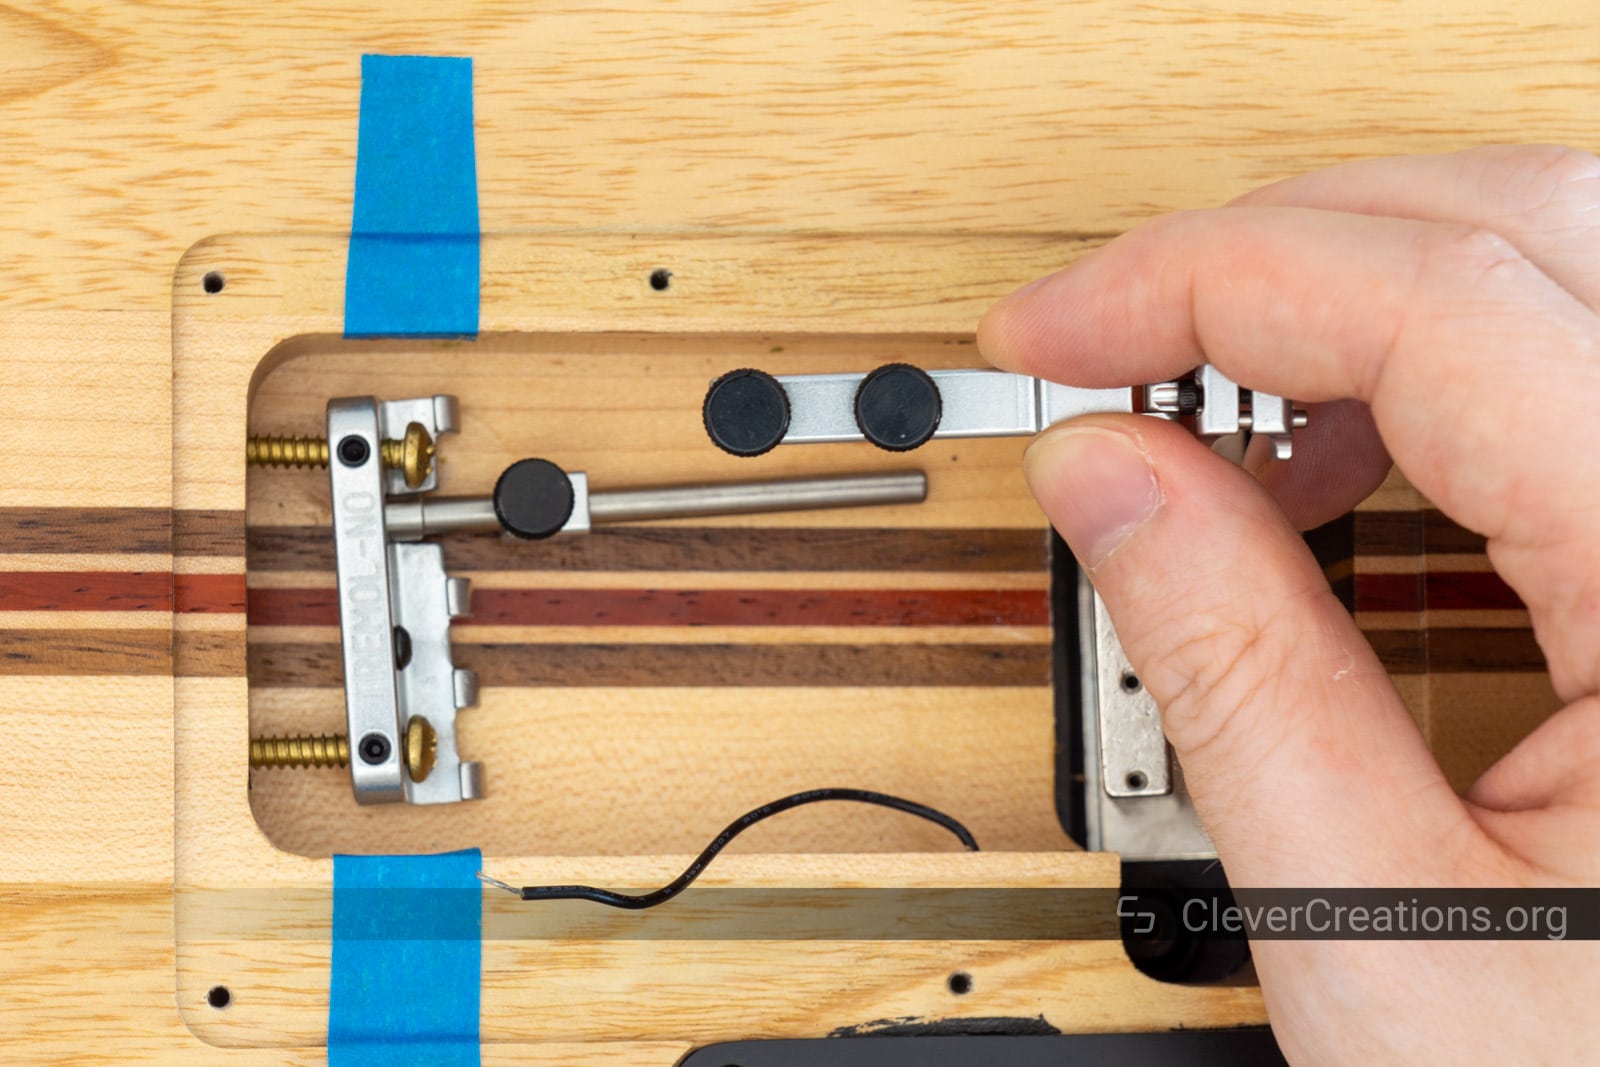
To switch to dive-only mode, slide the small block with single thumbscrew (referred to as the Deep-C accessory in the official documentation) up to the sliding arm when the bridge is positioned in its neutral position, and tighten its thumbscrew.
Troubleshooting
There are a couple of minor issues you might encounter after installing the Tremol-No. Rest assured, these are relatively easy to fix.
Thumbscrews Coming Loose
One of the major complaints about the Tremol-No is that the thumbscrews can come loose over time and even fall out. This can indeed happen, as guitars are exposed to plenty of vibrations. Some of these vibrations cause the thumbscrews to vibrate loose.
An easy way to fix this is to take the thumbscrews out and apply Loctite Threadlocker Blue 242 to the threads. After that, simply reinsert the thumbscrews.
Loctite 242 is designed to lock threaded fasteners and prevents them from loosening from vibrations, yet still allows you to remove them by hand if you so desire. Ideal for the thumbscrews on a Tremol-No.
Clicking/Knocking Sounds
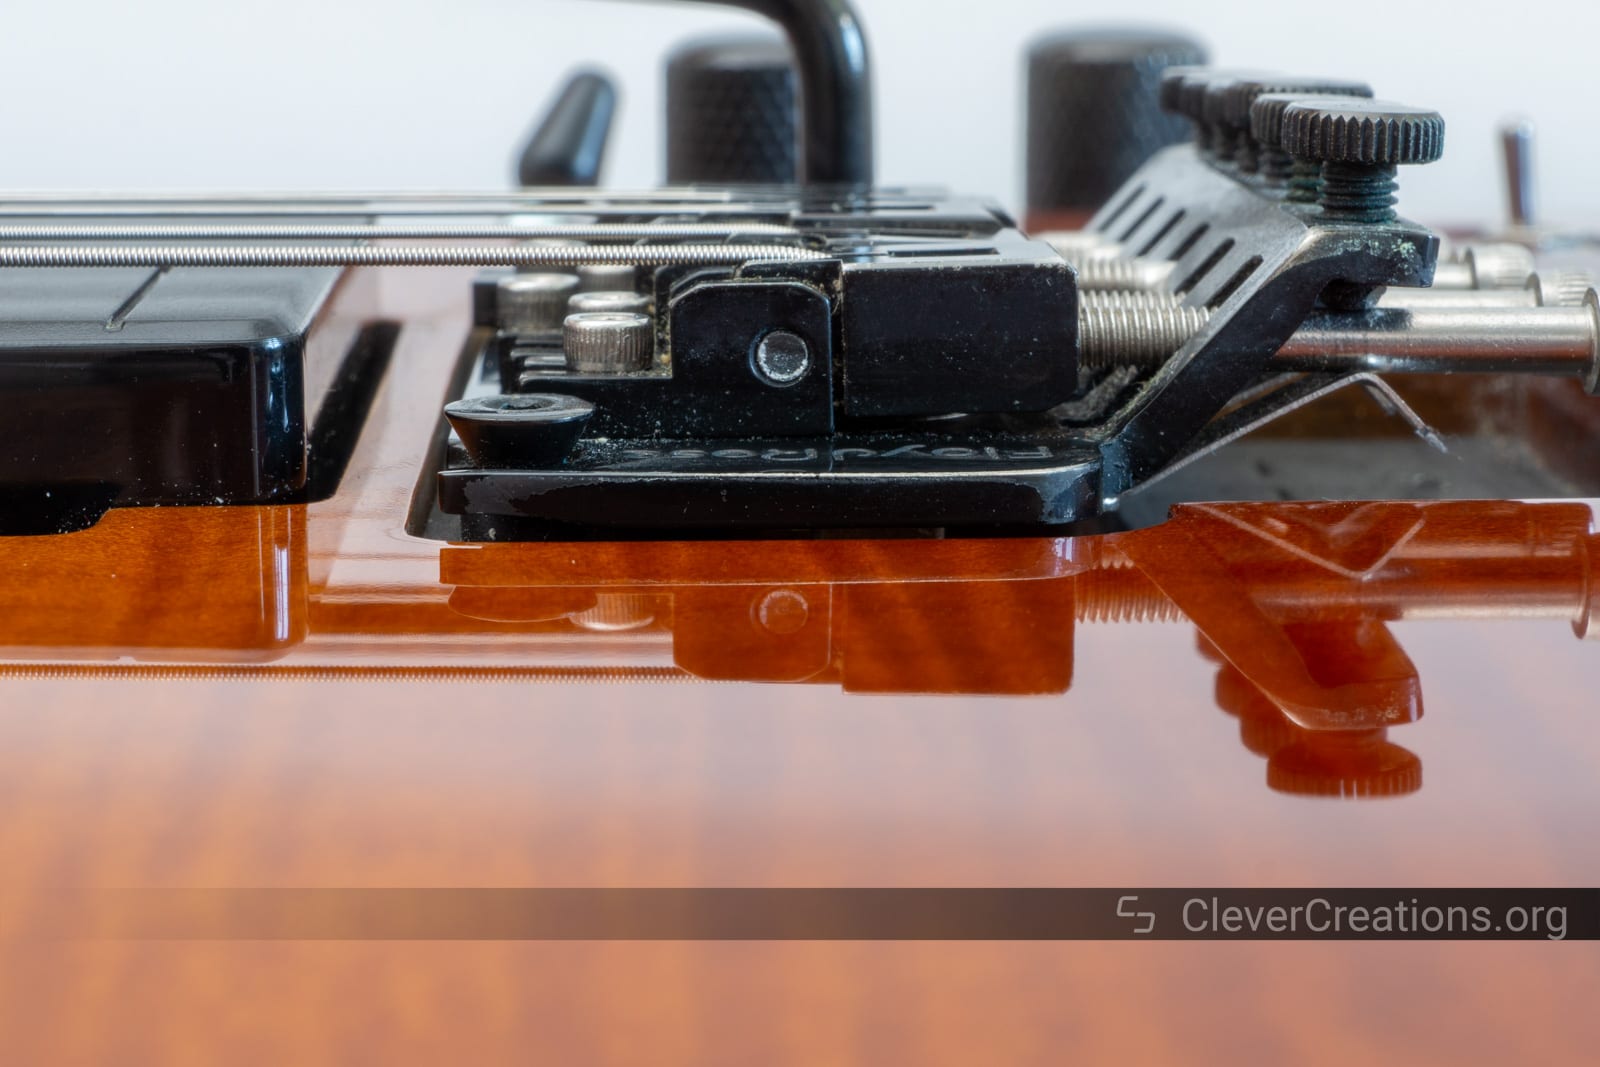
On some guitars it is possible that, even after installing the Tremol-No correctly, the bridge area emits a clicking or knocking sound when it is locked in hardtail mode.
In my experience, this is often caused by a bit of play between the bridge pivot posts (also called pivot studs or tremolo posts) and their inserts.
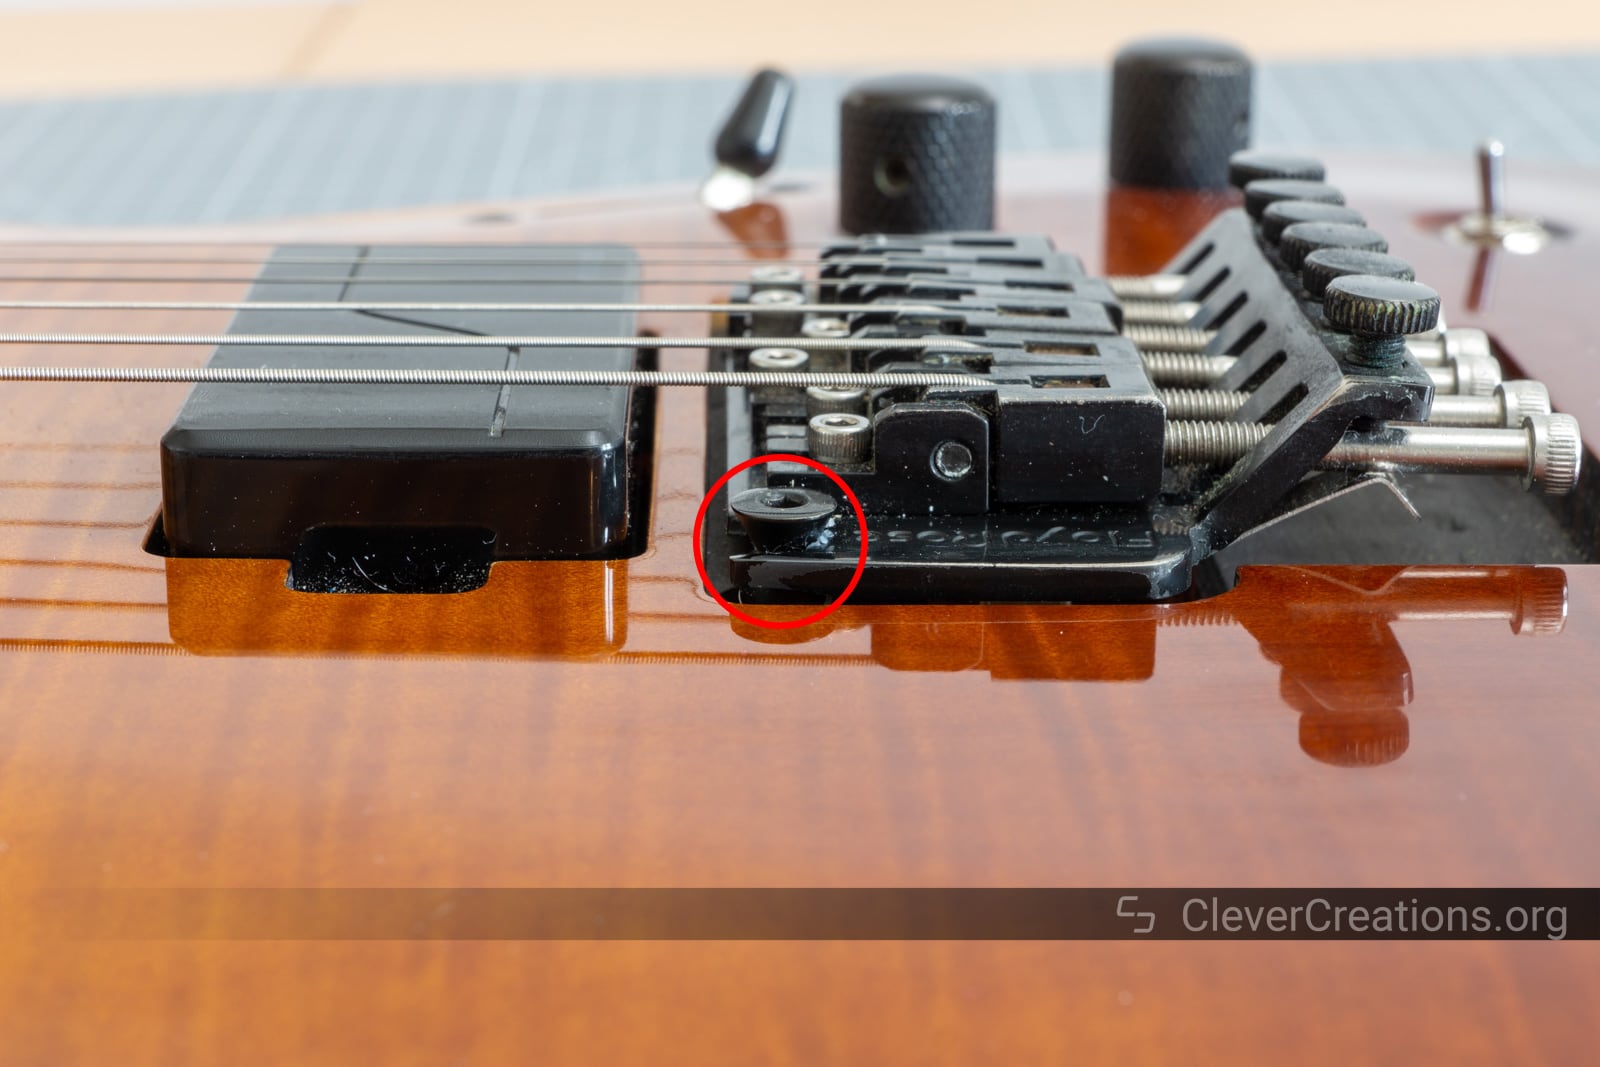
When the bridge is in full floating mode, the tension of the tremolo springs on the bridge prevents this play from being a problem. When the tremolo is locked and you rest your hand on the bridge, however, it can cause the pivot posts/studs to move around in the inserts and create a clicking sound.
To fix this, simply wrap the threads of the posts with a single layer of PTFE/plumbers tape. This seats the studs firmly in their inserts and removes any wiggle room.
Another possible cause for this sound is that the groove on the pivot studs has worn and is now too large. This problem is less common, as it takes a while for the studs to excessively wear. Another cause of pivot stud grooves wearing out is adjusting the tremolo bridge height when the bridge is under spring tension. Never do this!
Unfortunately, the only solution for worn-out pivot studs is replacing the studs with new ones.
Conclusion
If you want to avoid problems like a sticking or binding tremolo, it is essential to install a Tremol-No system correctly. The most important things to focus on are placing all key components parallel or perpendicular to each other and locking everything that does not need to move in place.
To avoid problems with the Tremol-No’s thumbscrews coming loose or falling out, it is a good idea to apply Loctite 242 to their threads. On the other hand, if you experience problems with clicking or knocking sounds, you are best off looking at the pivot studs and fixing any unwanted movement there.
Lastly, check that you have the right Tremol-No model for your guitar’s tremolo system. Depending on the sustain block that the guitar uses, you will either need the small clamp, large clamp or pin type Tremol-No.


Very motivational and informative. Thanks:)