

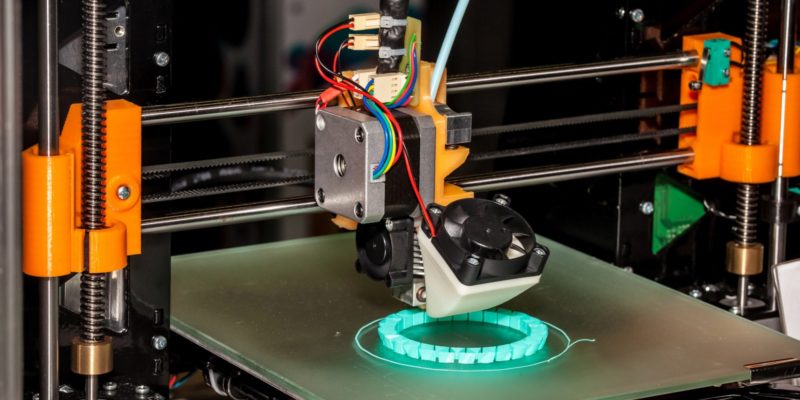
Power supplies used in 3D printers, like the popular MeanWell PSUs, can get noisy. This is generally not a problem in industrial settings, but when you have your 3D printer placed in your (home) office or workshop, it can get annoying quickly.
Aside from being obnoxiously loud, the noise of these power supply fans can also obscure other problems with your machine. For example, clicking bearings that have worn out or screws that are starting to vibrate loose. All in all, there are plenty of reasons to do something about the noise and make the power supply more quiet.
There are several ways of doing this, and in this article I will explain each one of them. Let’s explore how we can make the power supply of your Creality Ender 3, CR-10 or other 3D printer more silent!
What Power Supplies Does This Guide Apply to?
You can use this guide to silence any 3D printer, home CNC machine, laser engraver, or LED strip power supply with a fan. The one I fix as an example is a MeanWell-branded one, but the steps in this guide are the same for cheaper no-name power supplies.
Basically, if the noise is caused by a loud cooling fan (which it usually is), removing that fan from the equation will solve the problem.
If the noise is caused by coil whine, however, you might want to check out my guide on fixing coil whine for a solution.
Coil whine typically sounds like a high pitched hissing or buzzing sound, whereas a loud cooling fan simply sounds like a fan that rotates at a high RPM and blows a lot of air. These sounds are fairly easy to tell apart.
Why Does Your 3D Printer Power Supply Make So Much Noise?
Simply put, 3D printer and LED strip power supplies are loud because they need adequate cooling. They are high density power supplies that contain many components packed into a small space. To effectively get rid of their heat, they require a cooling fan.

Because of the limited space, there only is enough room for a small (40-60mm) fan. Small fans have little surface area and they need to spin at a high RPM to move sufficient air. Unfortunately, this results in more noise.
While small, quiet fans that move plenty of air do exist, they come at a higher cost. For power supply manufacturers, there is not much incentive to install them in their products. Cheaper components = more profit, and most end users probably don’t care that much about noise levels anyway.
But that doesn’t mean you can’t replace the cooling fan yourself if you want silence!
Methods to Silence Your 3D Printer Power Supply
As you have probably figured out by now, replacing the cooling fan is the most straightforward option to reduce power supply noise. But there are several other methods you can use that involve less technical skills. Let’s quickly go over all options.
Replacing the Fan
The cheapest way to silence your power supply’s fan is to simply swap it out with a silent fan of the same dimensions. You can find the full instructions for this further down the page.
For reliability and safety reasons, you should never run the PSU with the fan disconnected. The device is designed with a certain amount of airflow in mind, and changing that amount is likely to cause premature failure of the PSU and possibly kill everything that is connected to it.
In the guide below I have linked several popular replacement fans that push plenty of air while remaining silent. These models have better designed motors, bearings and blades than the included stock fans.
Replacing the Power Supply
If you are uncomfortable opening up your 3D printer or LED strip power supply and making changes, you can also simply swap it out with a more quiet option. This is more expensive than swapping out the fan, but it is quicker, easier and comes with less risk.
Fanless PSU
A popular choice is to simply replace the noisy power supply with a fanless one. PSUs without a fan run virtually silent and do not bother you in the slightest.
Because these fanless power supplies use passive cooling (convection) and can only get rid of a limited amount of heat, they are only available up to 200 Watts. Models that supply more than 200W tend to be actively cooled with a fan.
Fanless power supplies can be a bit bigger than their fanned counterparts because their components can’t be packed as densely without the risk of overheating.
The Best Replacement Power Supplies
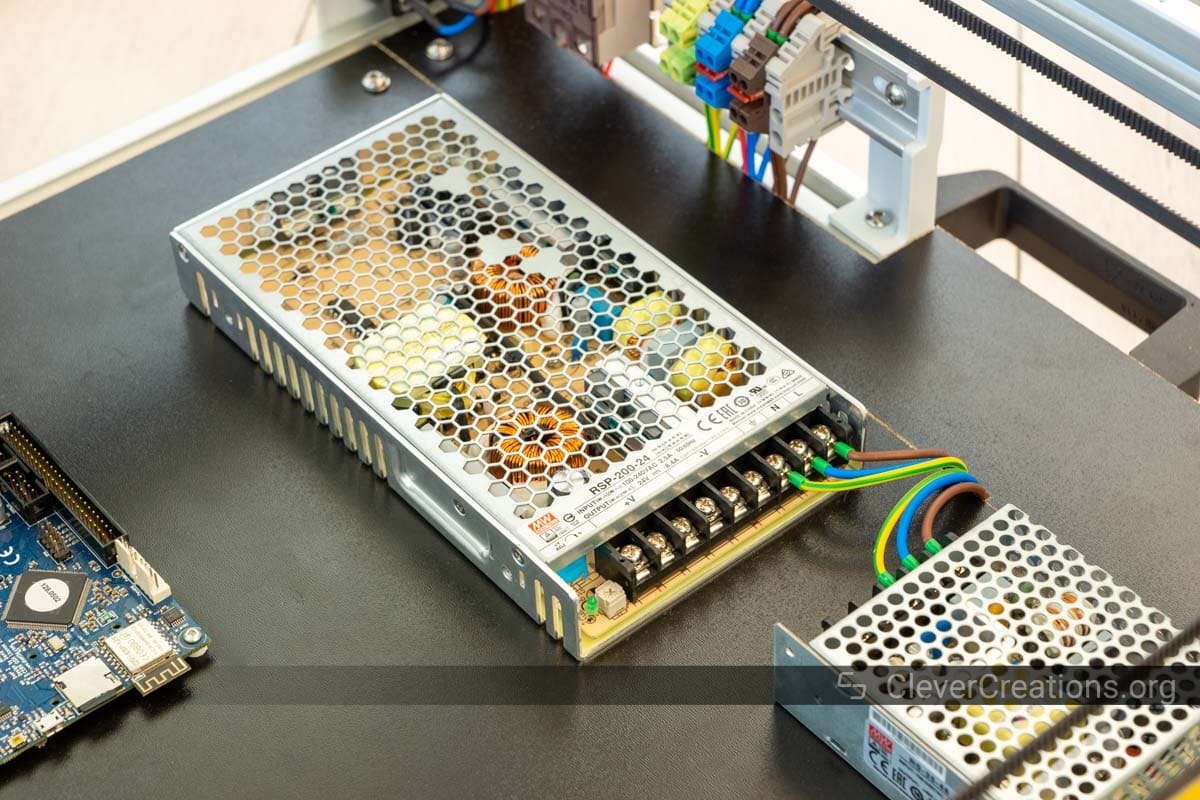
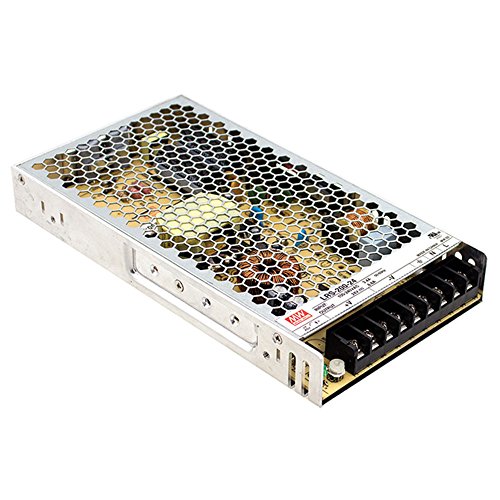
When it comes to power supplies for 3D printers, CNC machines and LED projects, my go-to products are those from the MeanWell LRS series.
Unlike the no-name LED power supplies that you can find on eBay and AliExpress, MeanWell PSUs come with protection circuitry and multiple safety certifications. Naturally, they are a bit more expensive. But at least they won’t blow up your project when something goes wrong.
The LRS series models are relatively compact, flat, efficient and come with 3 years of warranty. The models up to 200W are fanless.
3D Printers Without DC Powered Heated Bed
For printers without DC (direct current) powered heated bed, a 200W power supply is more than sufficient. It has enough power for the stepper motors, 3D printer hot end, and other electronics.
For 12V 3D printers the MeanWell LRS-200-12 (200W 17A) is the best option, whereas for 24V 3D printers there is the LRS-200-24 (200W 8.8A).
3D Printers With DC Heated Bed
3D printers that do power their heated bed through the power supply output (as opposed to a non-heated bed or one that is powered by AC power through a solid state relay) require a significantly higher capacity. These models are typically rated at around 350W.
Good power supplies for these types of printers are the LRS-350-12 (12V 29A 350W) and LRS-350-24 (24V 14.6A 350W) models.
Their main downside, however, is that they are actively cooled with a noisy fan. Not as loud as the no-name Chinese power supplies, but (for me) still loud enough to replace it with something more silent.
Xbox Power Supply
Another option is to use an Xbox power supply for your 3D printer. These are reliable, silent and easy to find. Their output is typically around 200W. They can only be used to power 3D printers that run on 12V and that do not have a heated bed.
You’ll need to modify the Xbox power adapter by removing the output connector and connecting the wires up to your 3D printer. If you have an Xbox PSU lying around, it might be worth giving it a go.
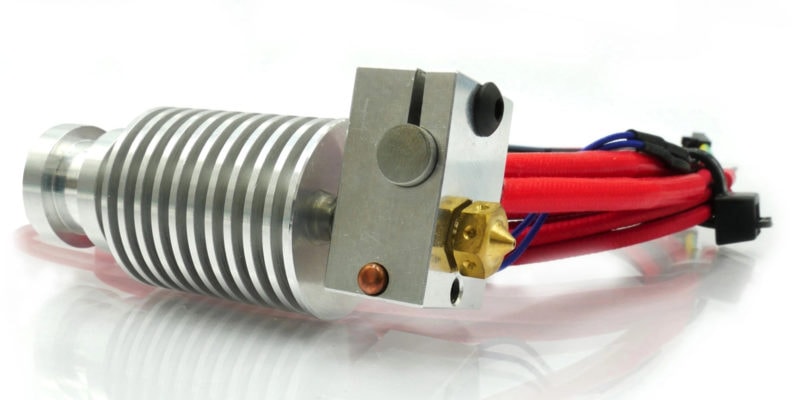
How to Replace a Loud 3D Printer Power Supply Fan
Warning / Safety
Power supplies contain capacitors that can hold a dangerous charge, especially when the power supply has recently been plugged in. Working on the internal components of a device like this needs to be done with care so that you do not accidentally come into contact with a stored charge and injure yourself.
It is a good idea to wear insulating gloves and use a capacitor discharge tool to safely discharge potentially dangerous capacitors. Anything you do based on this guide is at your own risk and responsibility.
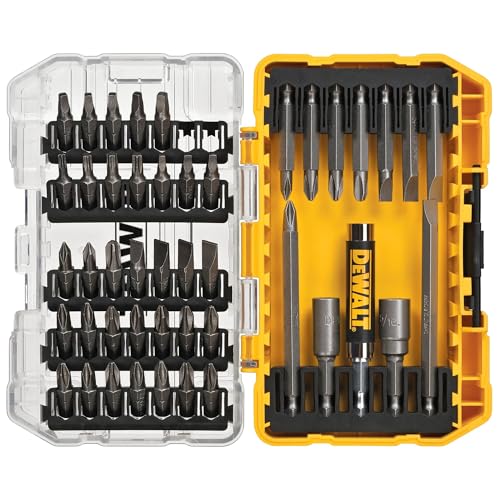
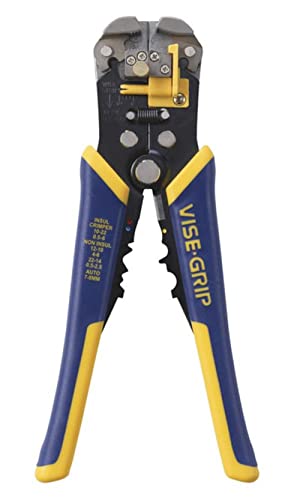
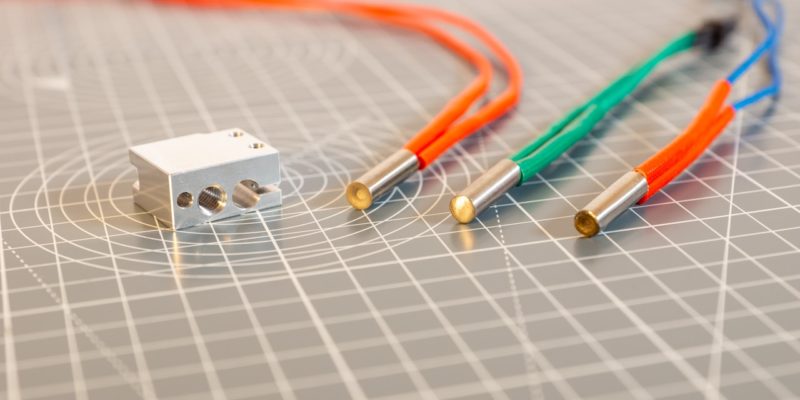
What You’ll Need


|
|
Parts | ||
|---|---|---|---|

|
Check Price | ||

|
Check Price | ||
|
Replacement Fan
|
x 1 | ||
Which Replacement Fan Do You Need?
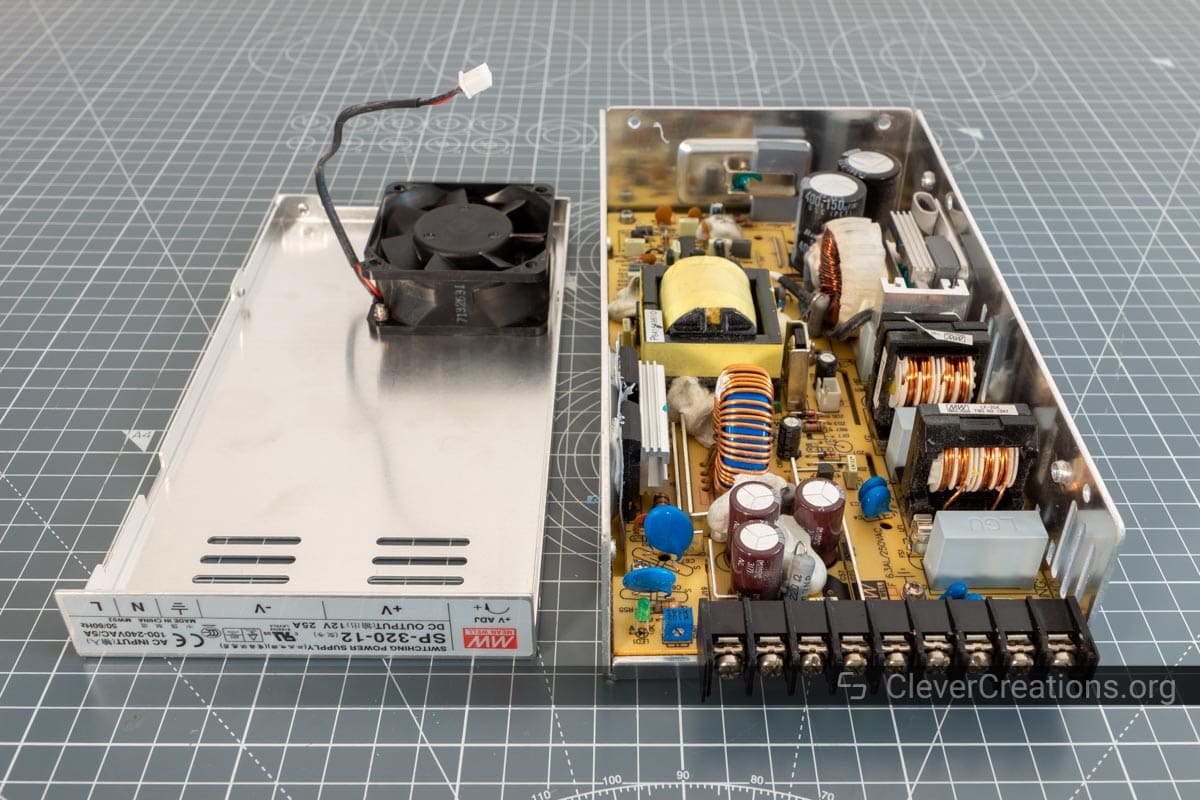
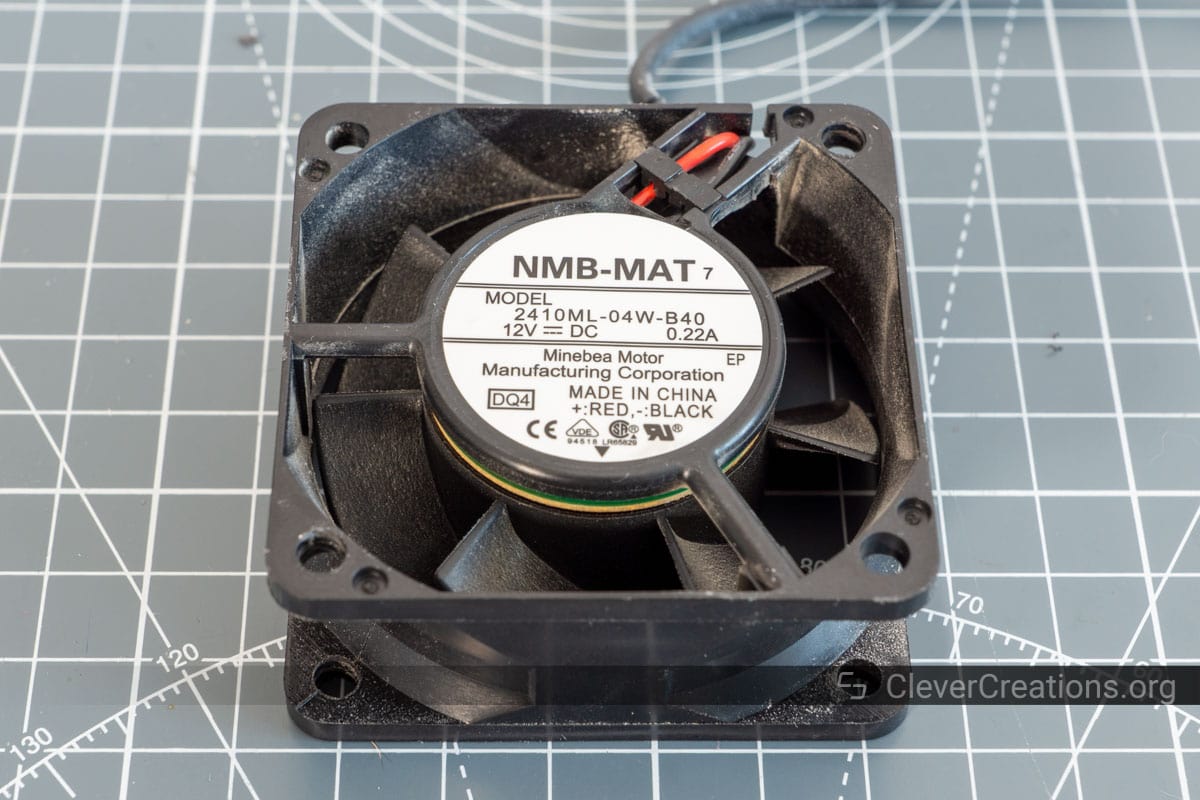
Not all power supplies use the same model of cooling fan. Fans have different sizes and run on different voltages. Figuring out the original fan’s specifications is crucial in getting good results. Opening the power supply up and inspecting the cooling fan’s label often gives you all the information you need.
Most power supplies either use a 40mm or a 60mm fan.
- 40x10mm (40mm length/width, 10mm thick) fans can be replaced with the Noctua NF-A4x10 FLX
- 40x20mm fans with the Noctua NF-A4x20 FLX
- 60mm fans with the Noctua NF-A6x25 FLX
You’ll notice that these are all Noctua fans. In my experience, their fans are the best option when it comes to reliable, silent fans that provide sufficient airflow for cooling.
Make sure to also the operating voltage of the original fan, as the above mentioned fans all run on 12V. Silent 24V fans are hard to find, so the easiest method to replace a loud 24V fan is to use a silent 12V fan and put a step-down buck converter in front of it.
Most power supply fans work on 12V, however. Even on 24V power supplies, like that of the Creality Ender 3 Pro, the internal cooling fan is a 12V fan connected to an internal 12V source.
Another option to silence a MeanWell LRS-350-12 or LRS-350-24 is to print a custom case and combine it with a Noctua NF-A8 FLX. A bit overkill, but a fun project nonetheless.
Step by Step
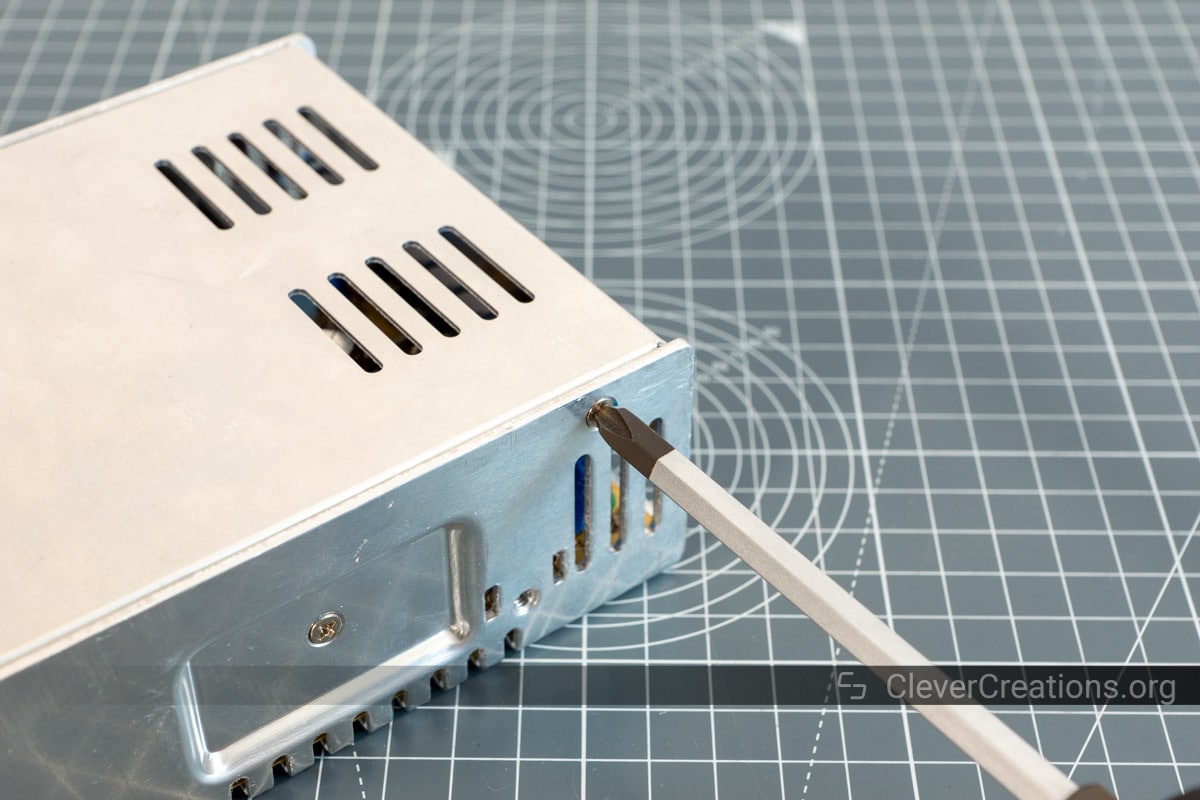
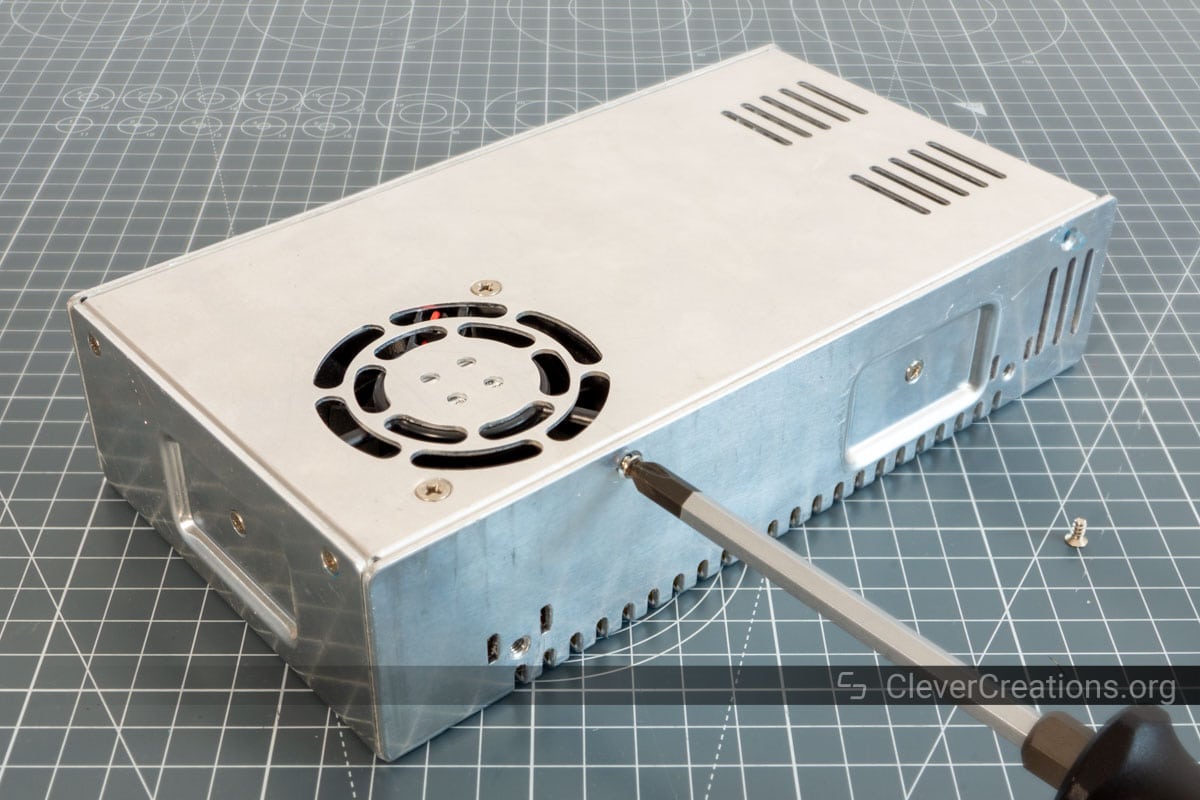
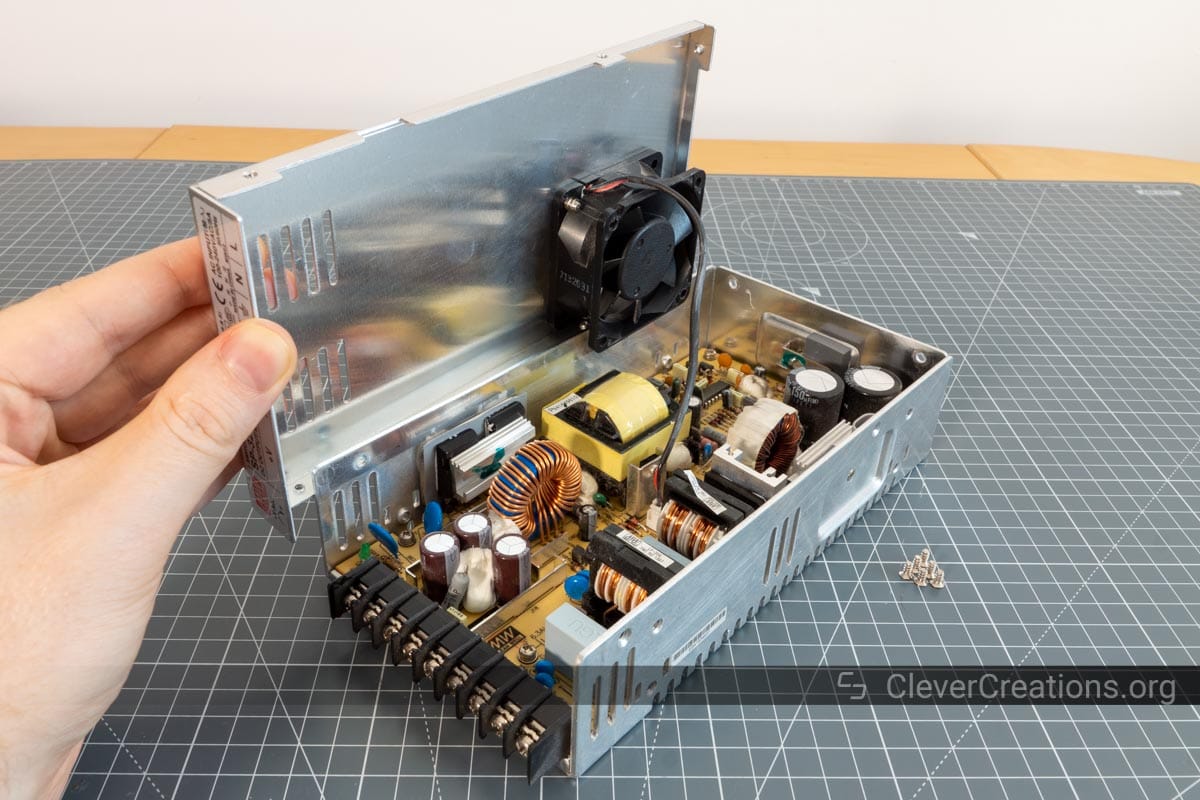

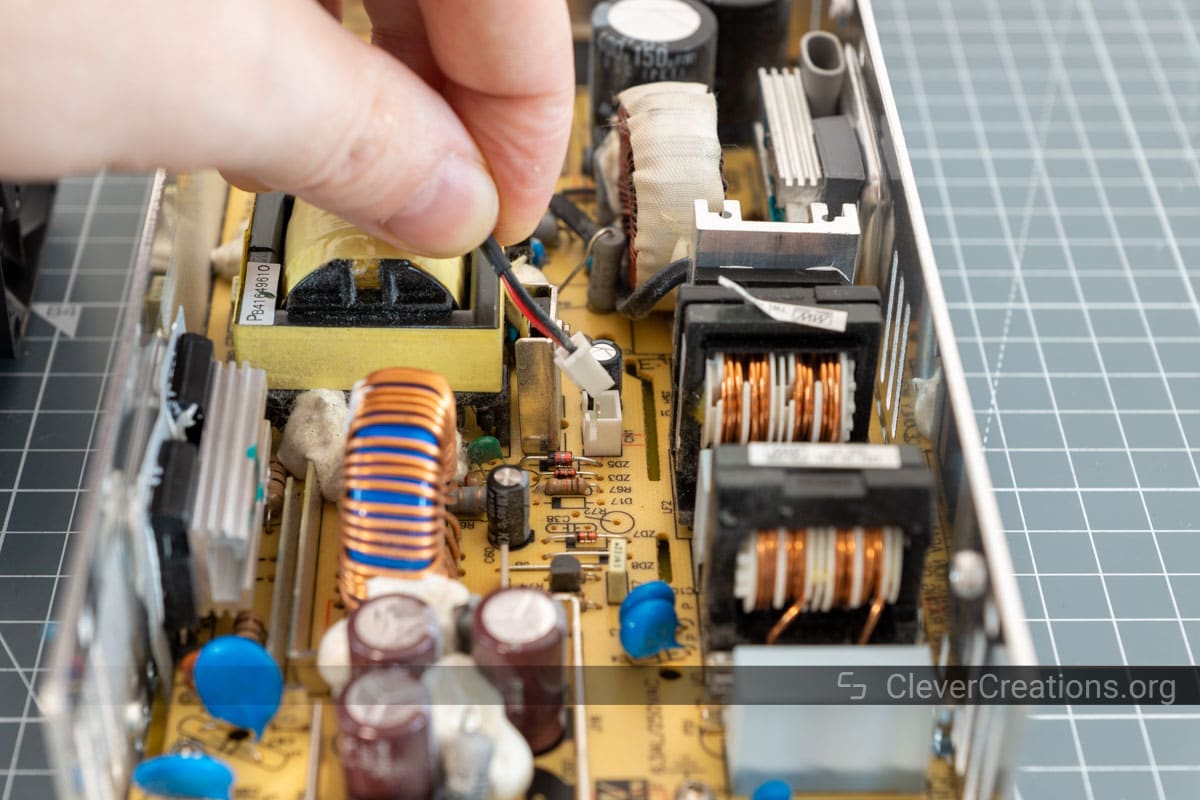
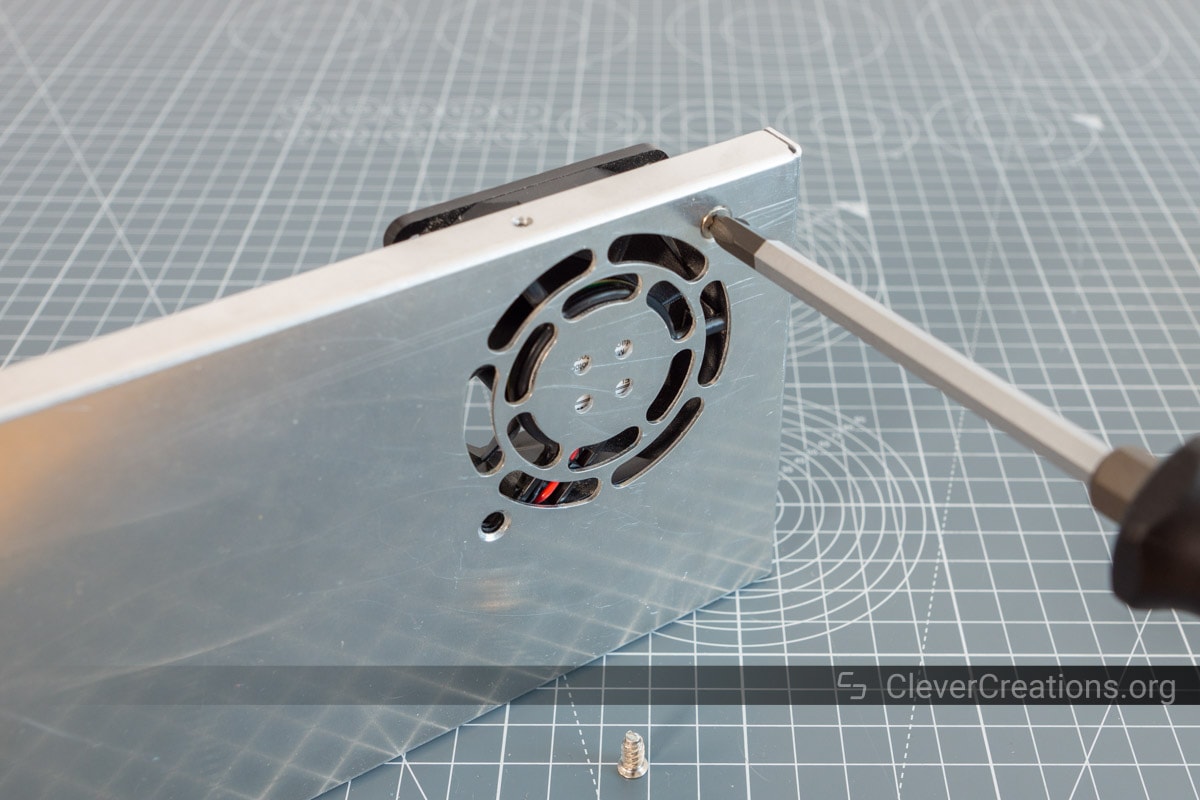
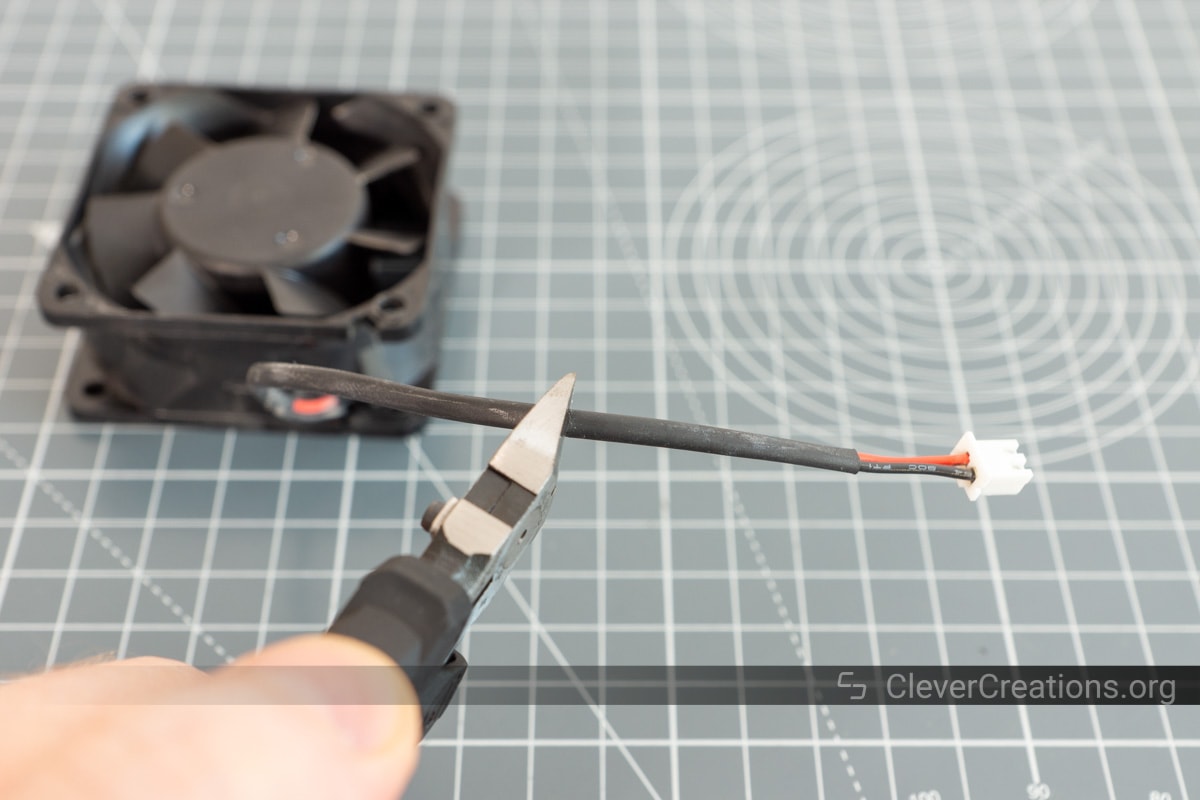
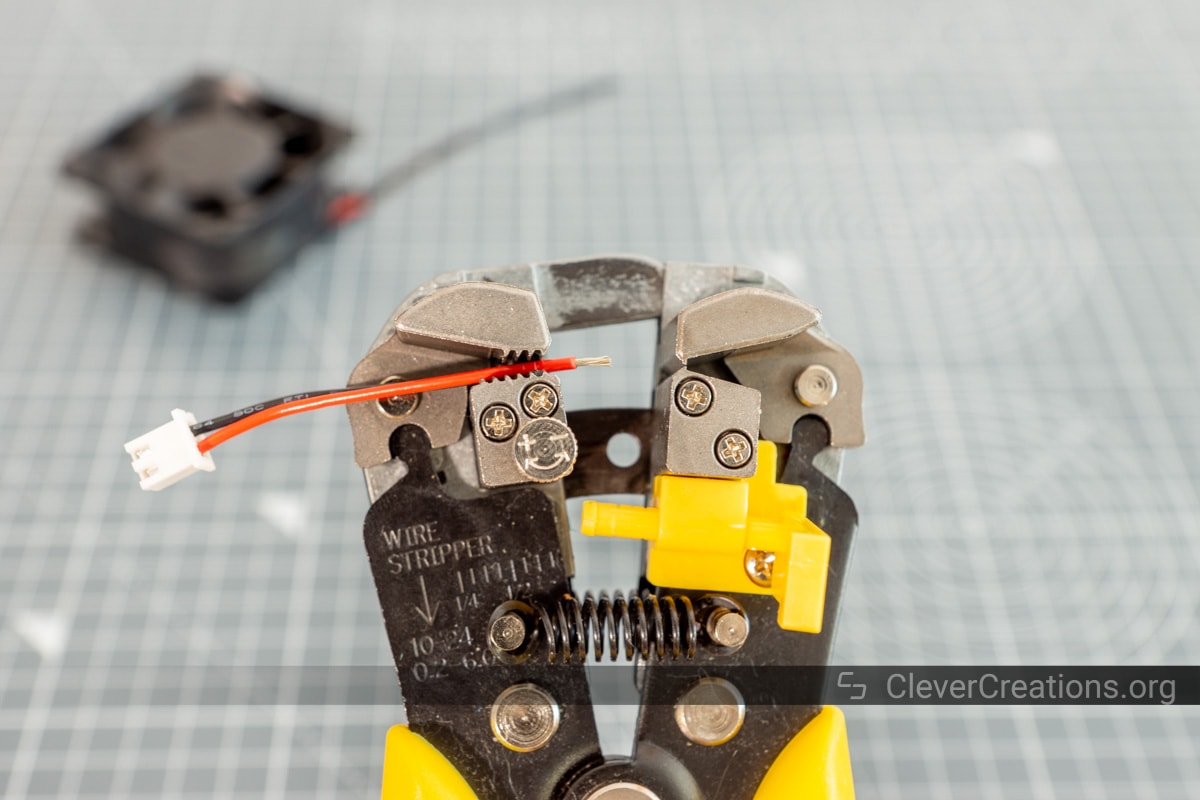
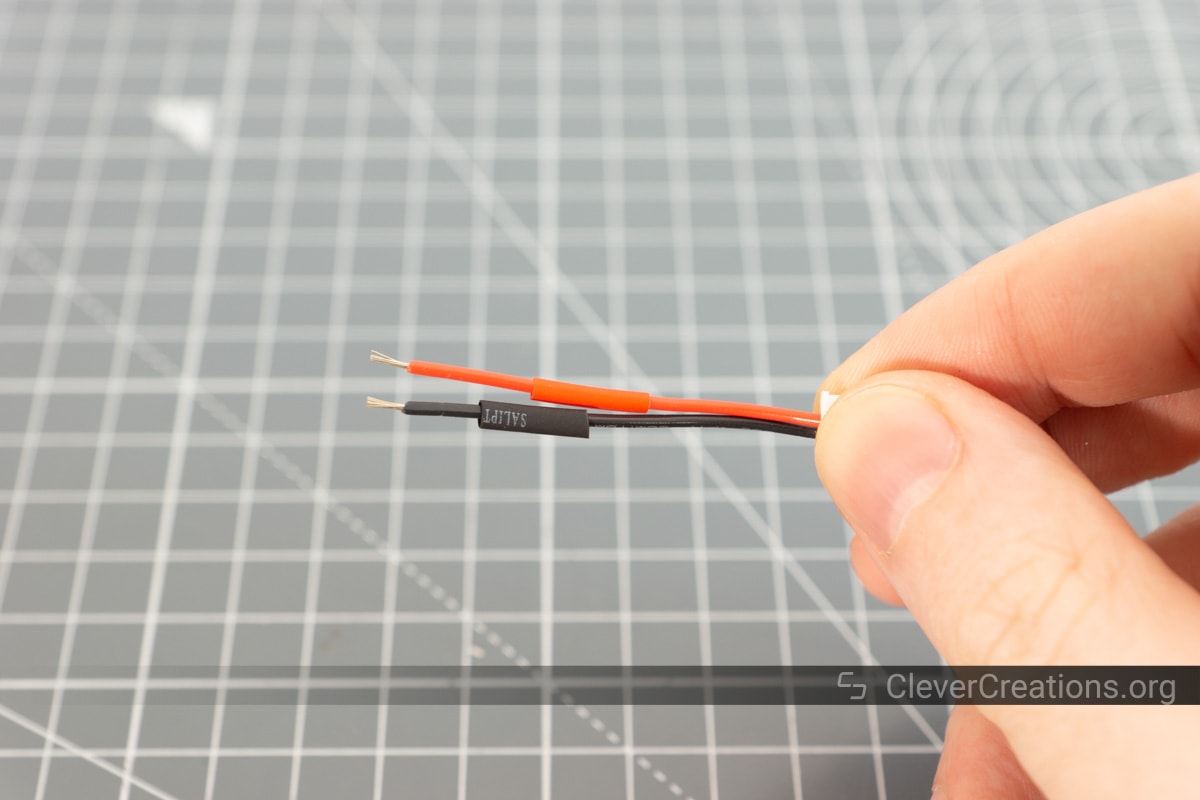
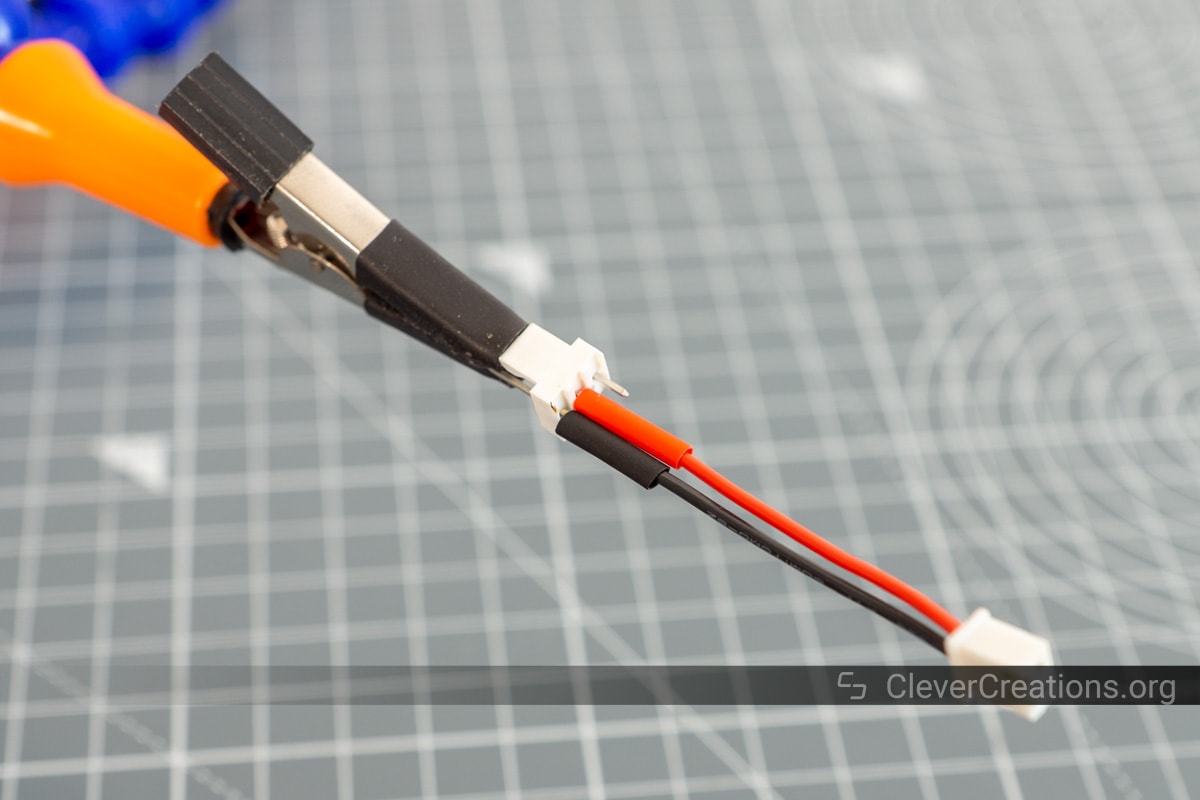
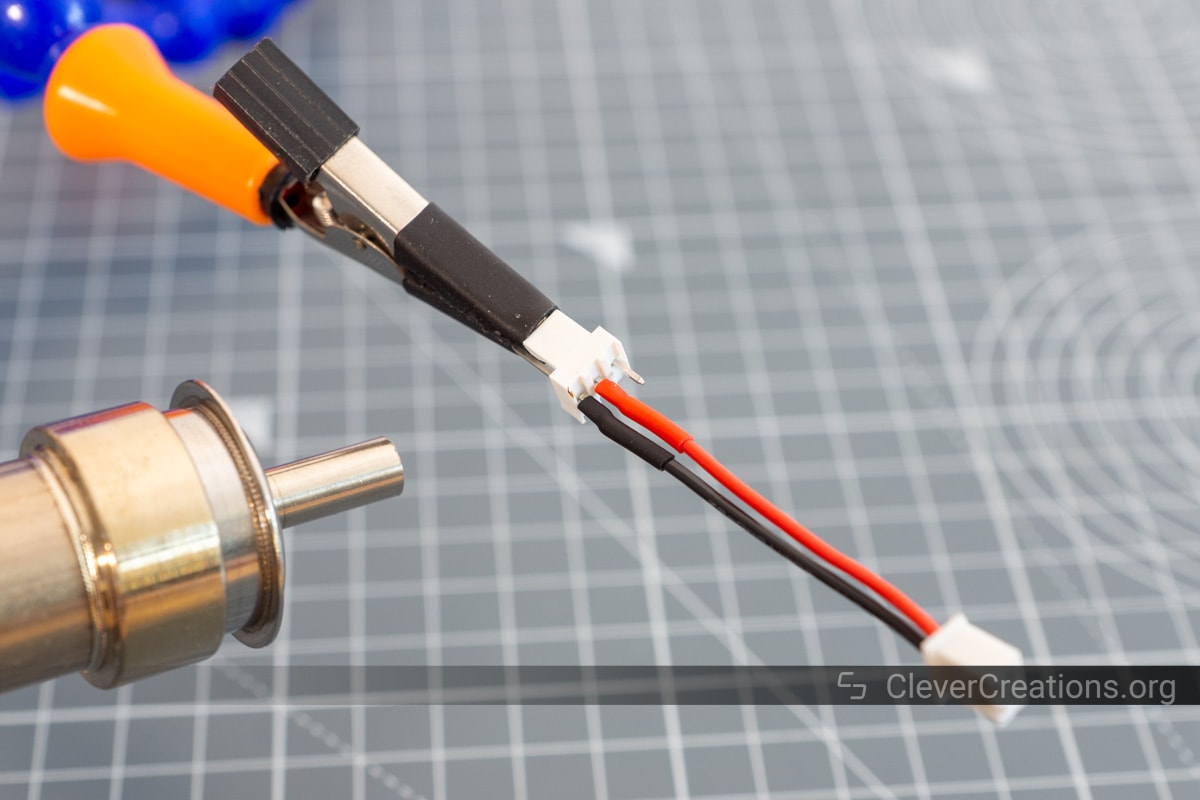
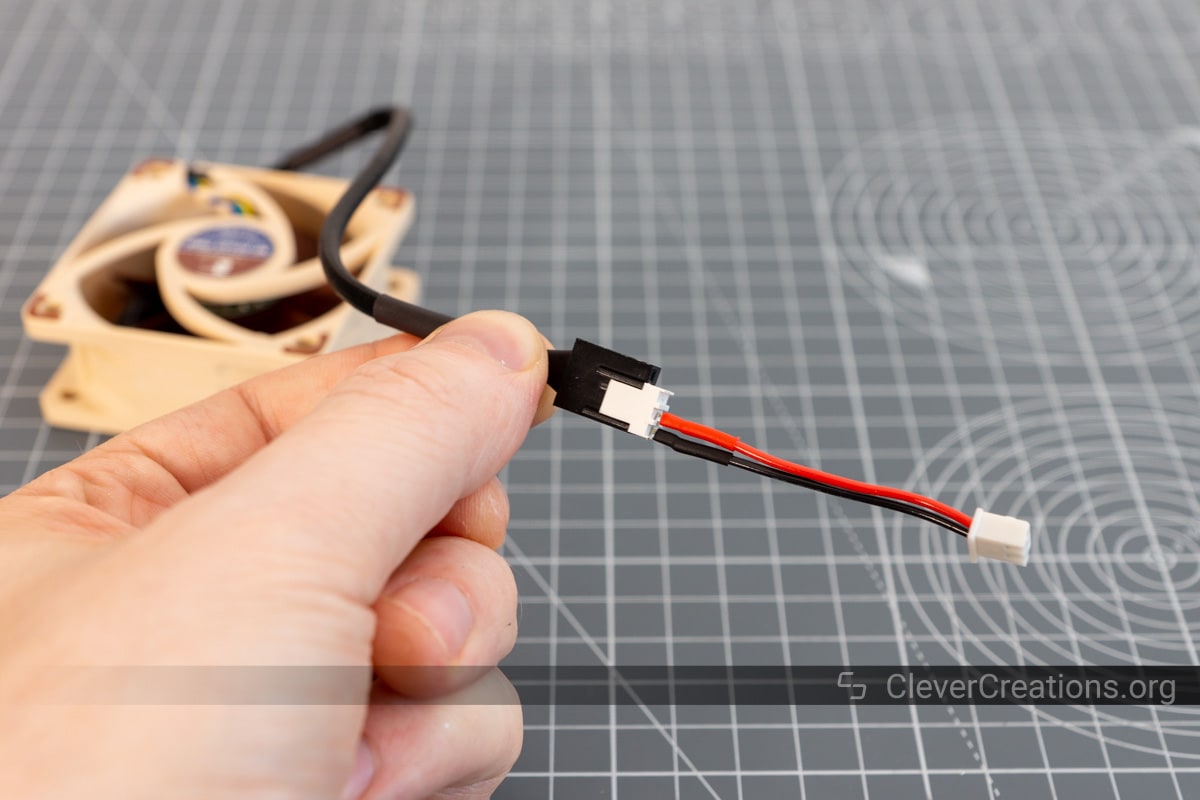
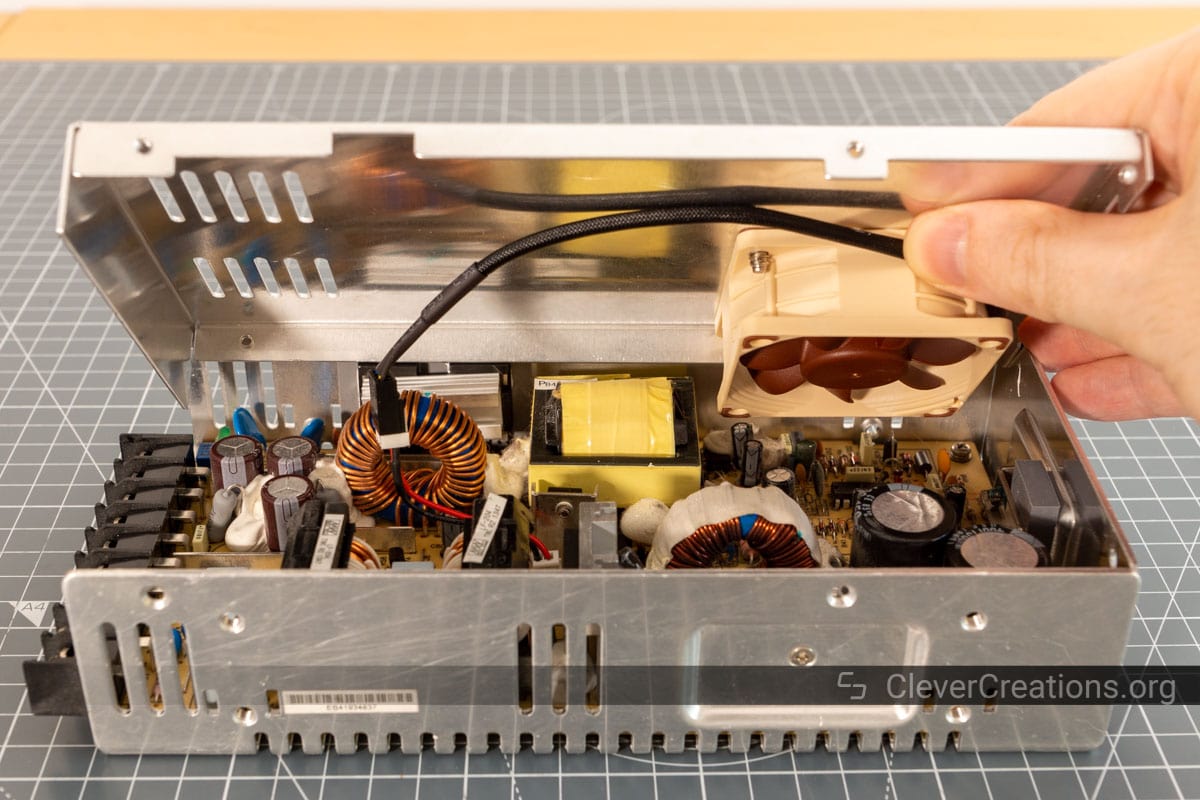
Detaching the Original Fan
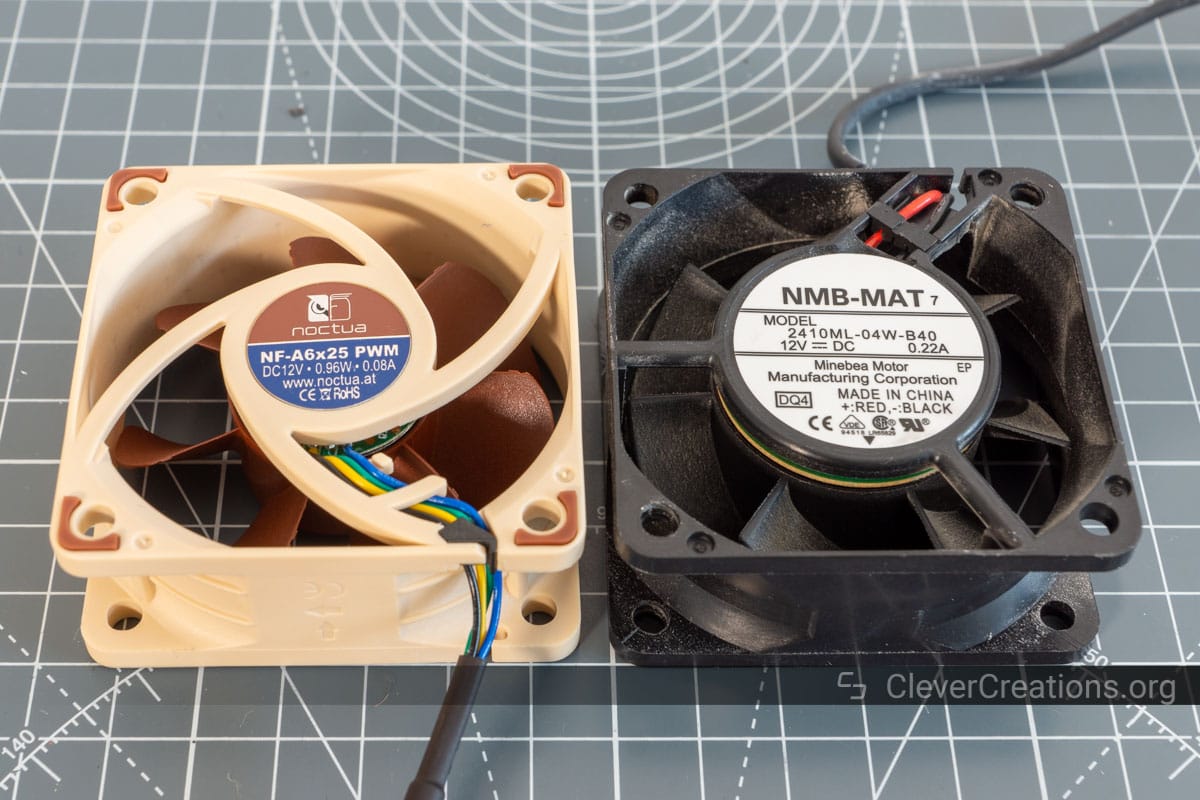
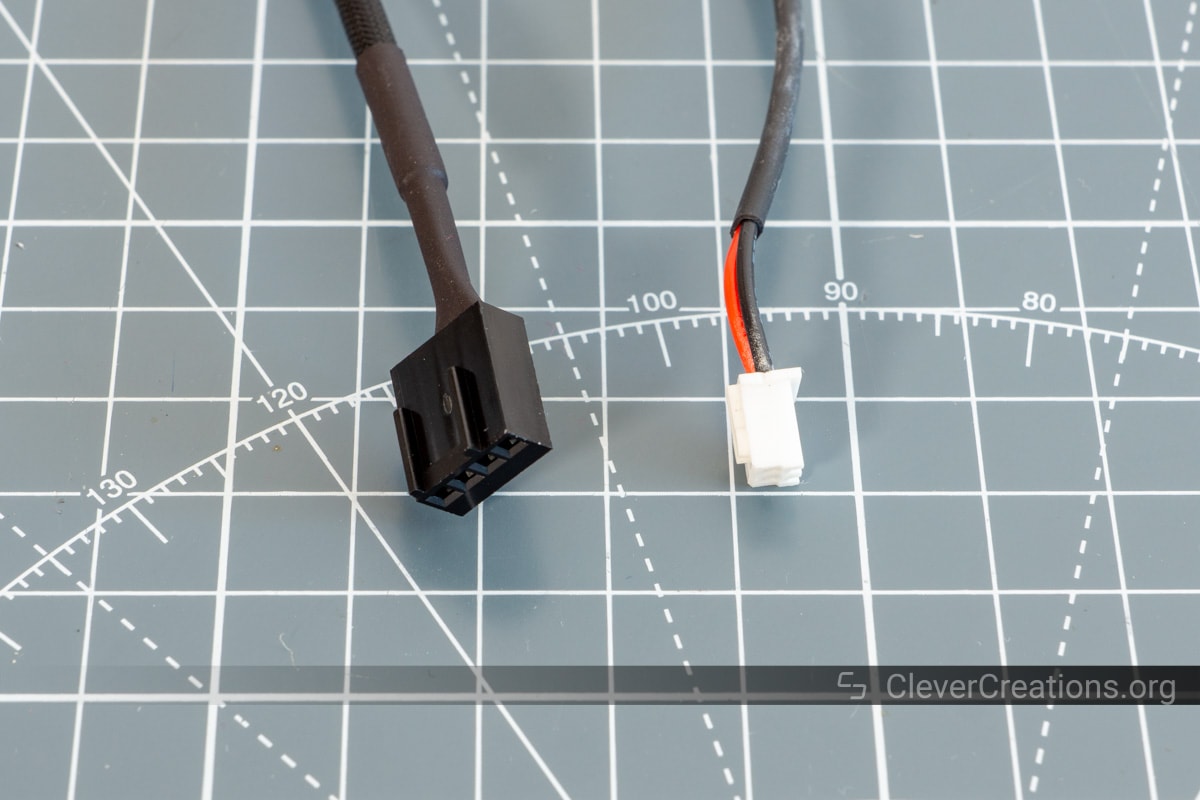
Attaching the original connector to the new fan


Instead of a 3-pin fan header, you can also solder the wires directly to the wires of the fan (after clipping its connector off). I opted to go for the header here to show the best option for people who don’t want to mutilate their brand new fan.
Keep in mind that Noctua PWM fans come with 4 wires that are differently colored than those on typical fans. On these fans, +12V needs to be connected to the yellow wire. More information on Noctua fan pinouts.

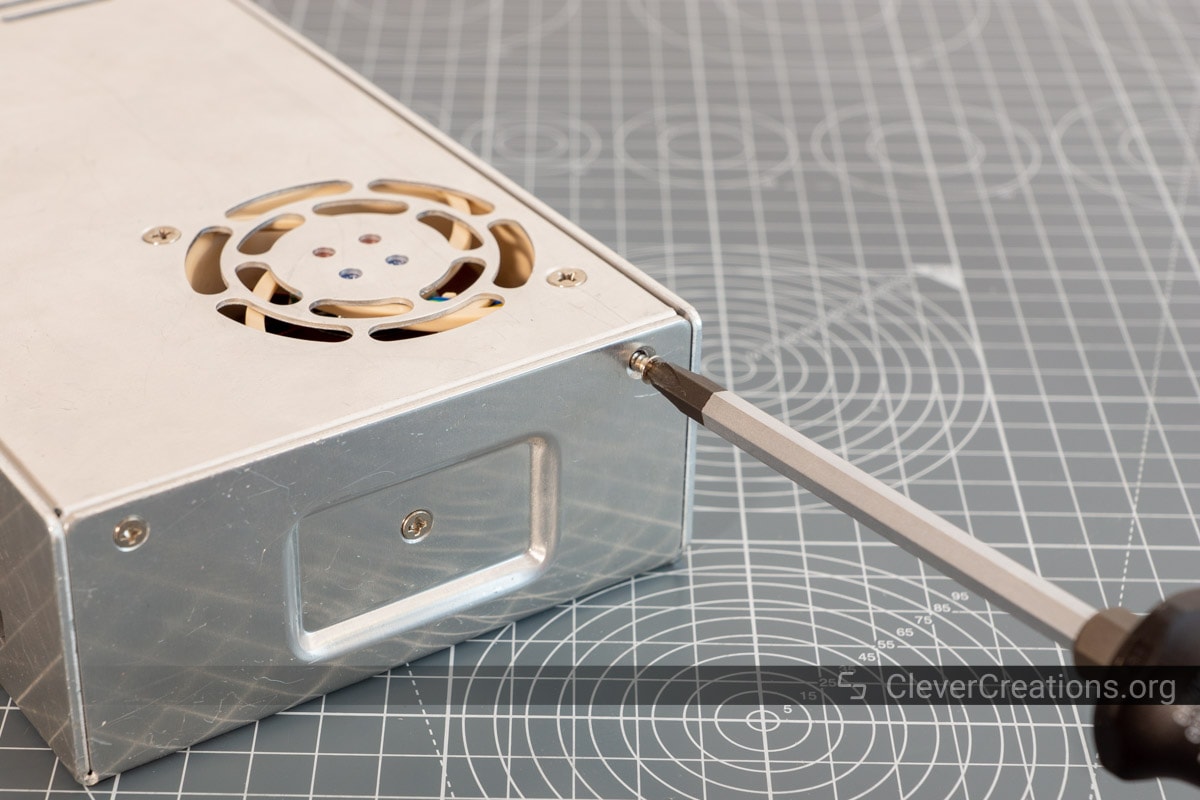
Reassembly

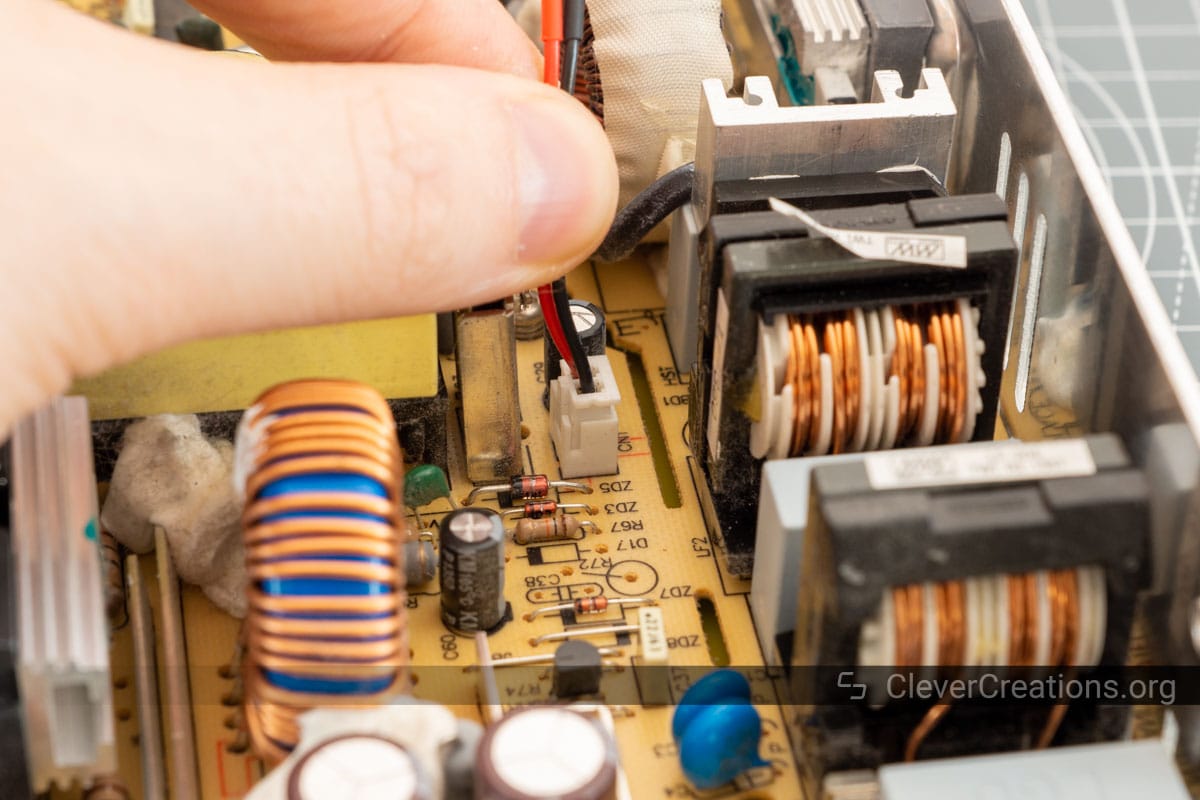
And there you go! A practically silent power supply for your 3D printer, CNC machine, LED strips or other project.
Conclusion
Replacing a loud fan on these commonly used power supplies is fairly straightforward. With only a couple of simple steps you are free of your noisy Creality Ender or CR-x 3D printer power supply.
When choosing a replacement fan, pay extra attention to its dimensions and voltage. The fan’s length, width and voltage all need to match that of the original. Noctua fans are a solid option that combine reliability, silence and sufficient airflow.
Always be careful around potentially charged capacitors. They can cause serious harm when dealt with improperly. Safely discharging them is one of the ways in which you can avoid harm.

I replaced my very noisy fan in a 24 volt 450 watt power supply with a quiet Gelid silent 9 92mm fan mounting it on the outside. I had printed a low profile 90degree fan duct that exits out the rear. Fortunately i soldered the wires then used heat shrink so the whole thing looks stock. Now I can not even hear the fan at all which is a ramp fan on the 450. That was for my highly upgraded Ender 3 Pro. I did the same thing to the Ender 3 Neo with the same results, dead silent. Sure it sticks out a little farther but it looks really industrial with the fan duct facing the rear. I have twice the air flow with 1/3 the noise and couldn’t be happier.