A while back my trusty LG Nexus 5 started to develop problems. The power button got stuck and caused the Nexus 5 to turn on and off by itself. Eventually it got stuck in a bootloop and would not power up anymore altogether.
The power button issue is common with this phone, but luckily it is possible to fix the problem. In this article I will explain how to repair the power button of your Nexus 5.
Before showing you how to fix your Nexus 5 power button, I will first answer some frequently asked questions:
What Causes the Power Button on the Nexus 5 to Break?
Simply put, the power button on the Nexus 5 breaks because it is only rated for a certain number of presses. This number is fairly low, and thus after a couple of years of use, the button stops working properly. LG could have prevented this by using a slightly more expensive button, but they didn’t.
The power button on the Nexus 5 is its most common failure point, and if you look around online you will be able to find many people with the same problem.
How Can You Tell if the Nexus 5’s Problems are Caused by the Power Button?
The power button on the Nexus 5 will almost always fail in a closed state. This means that when the power button breaks, it acts like it is pressed all the time. You can test the button’s contacts with a multimeter (see the step-by-step guide down below) to confirm that the button is the problem.
That said, when the Nexus 5 randomly restarts or gets stuck in a boot loop, it is usually the power button that is causing it. Especially if the phone is getting old (which they all are by now), and you haven’t made any recent changes to the software (such as rooting the phone) that could cause the boot loop.

How Can You Fix the Nexus 5 Power Button?
In order to properly repair the power button on the Nexus 5, you will need to remove it and solder a new replacement button in place. You can find some other fixes online (e.g. tapping the button hard for a while), but these fixes are only temporary (provided they work at all).
Replacing the button is the only way to go in order to get a lasting result.
What Do You Need to Replace the Power Button on the Nexus 5?
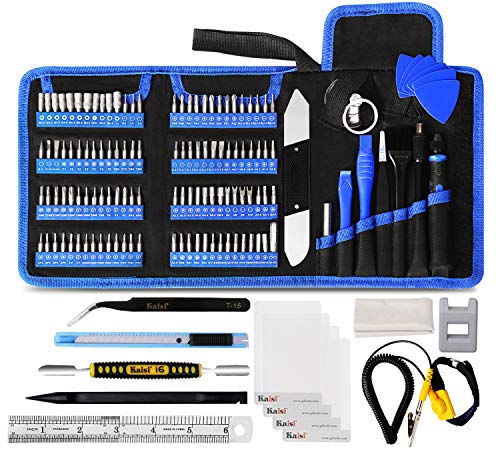
You will need some basic tools, a soldering kit, and of course a replacement power button. A more detailed list of the required tools and materials can be found below, along with a step-by-step guide to replace the button.
I recommend buying a couple extra replacement power buttons, just in case one ends up damaged during the soldering process.
Is It Worth Fixing?
Absolutely, throwing out a good phone because of a small broken button is a big waste. Repairing the button is not hard to do and will save you a lot of money not having to buy a new phone.
How to Repair a Nexus 5 Power Button
What You’ll Need


|
|
Parts | ||
|---|---|---|---|

|
Citizen Electronics LS12
|
Check Price | |

|
Check Price | ||

|
Check Price | ||

|
Check Price | ||
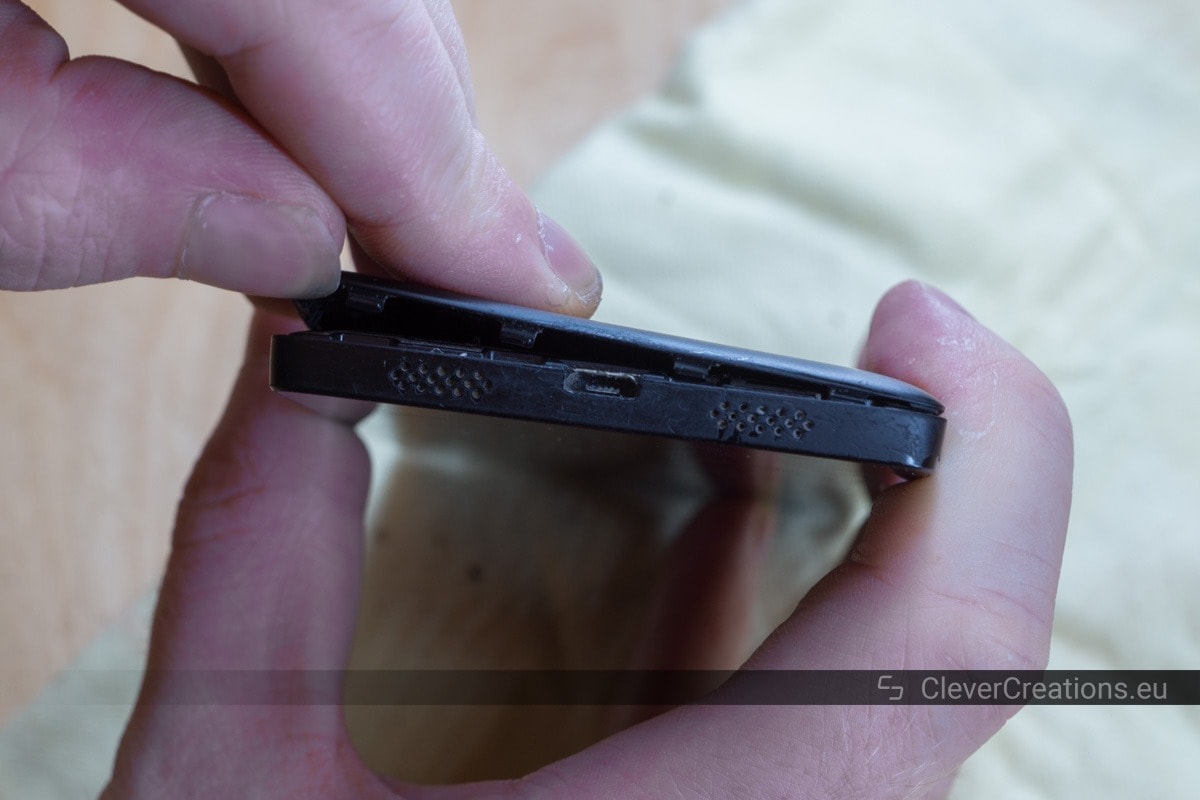
Getting Access to the Circuit Board
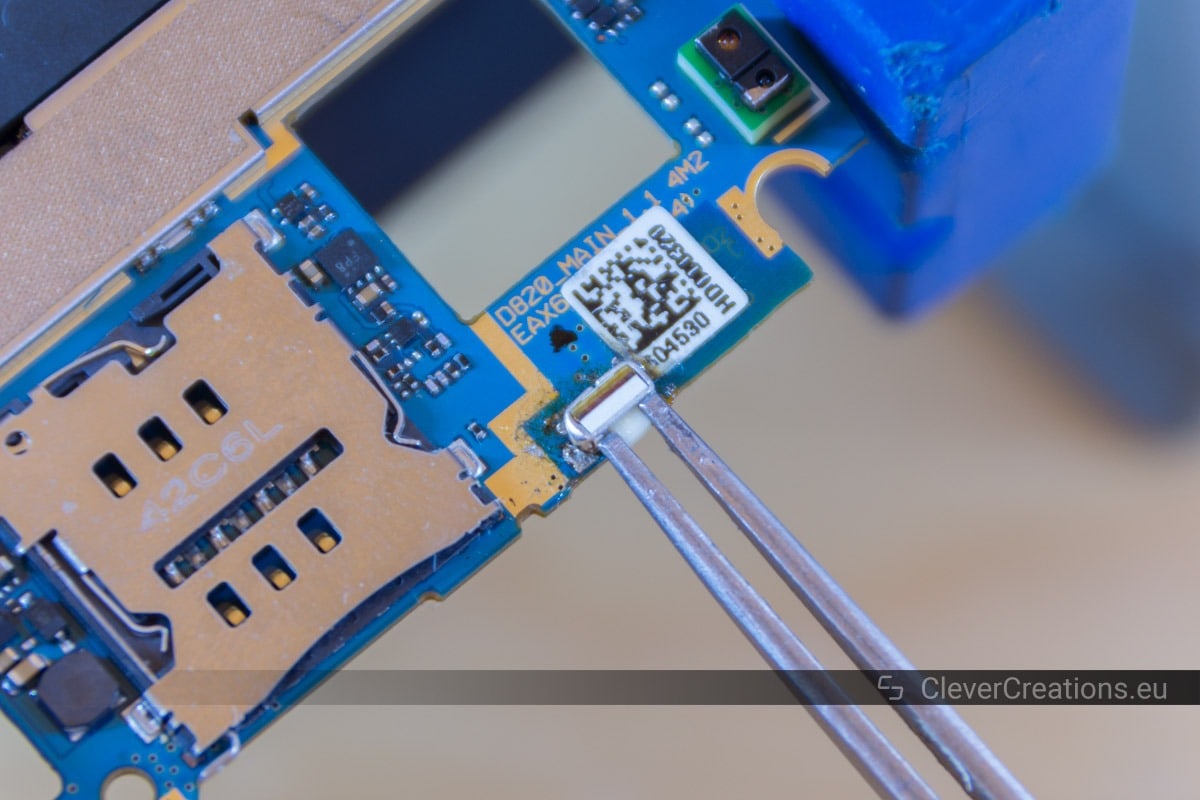
Desoldering the Broken Power Button


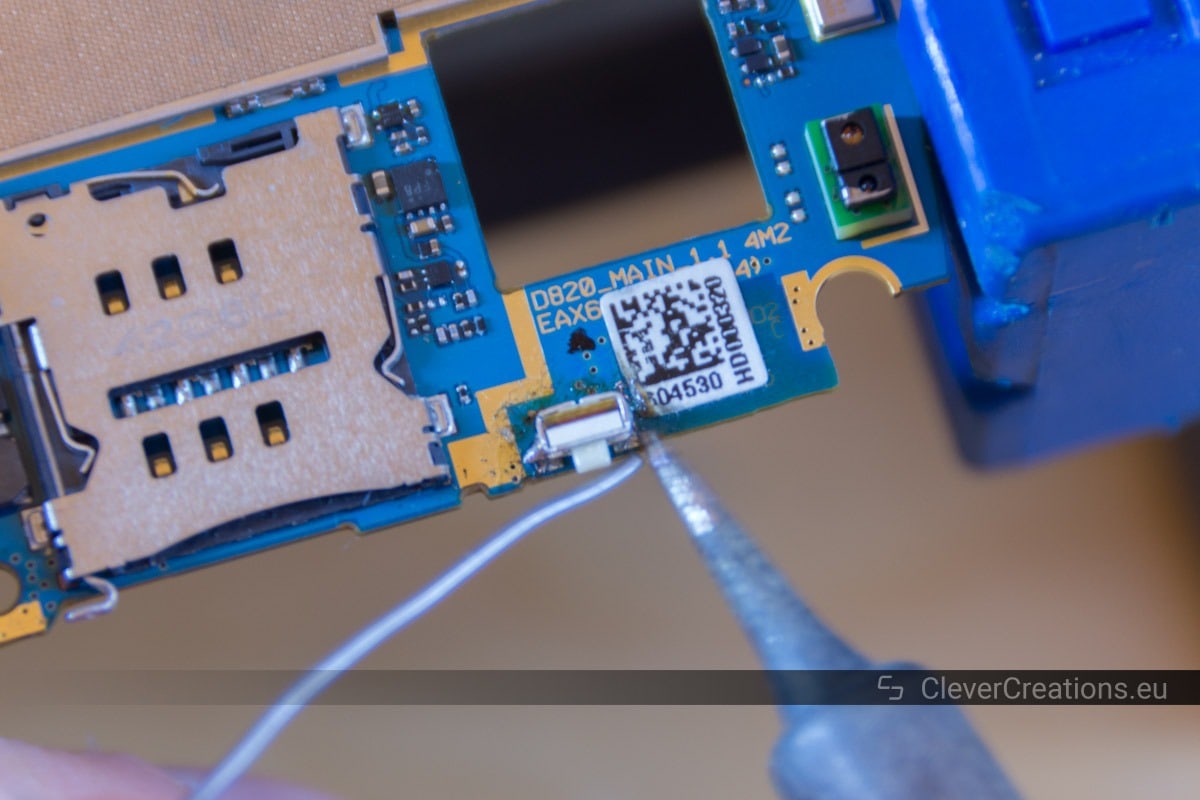
Soldering the New Power Button

After replacing the button, reassemble the phone by doing the above steps in reverse.

A Summary of the Repair Process
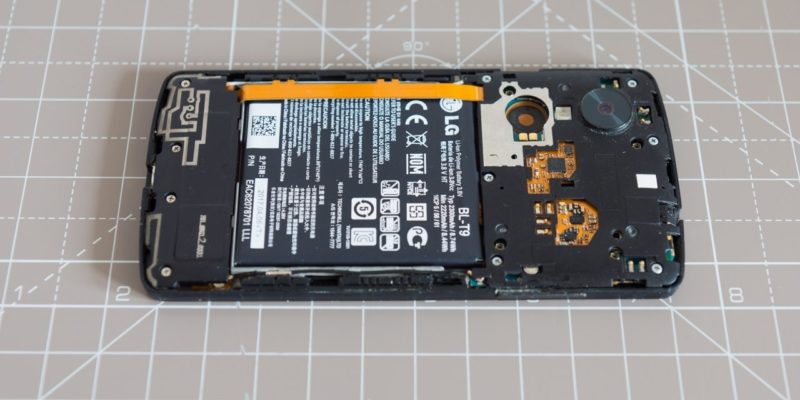
- Remove the back cover of the Nexus 5.
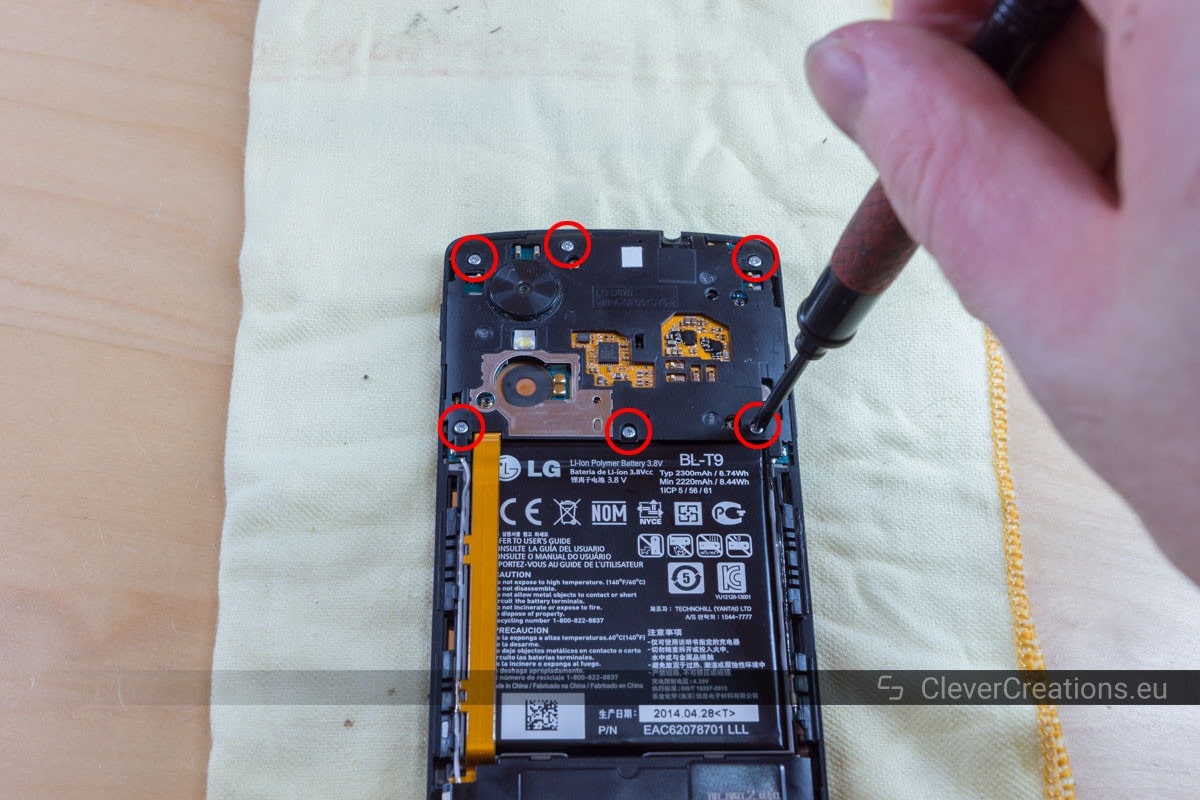
- Unscrew the six screws of the circuit board cover.
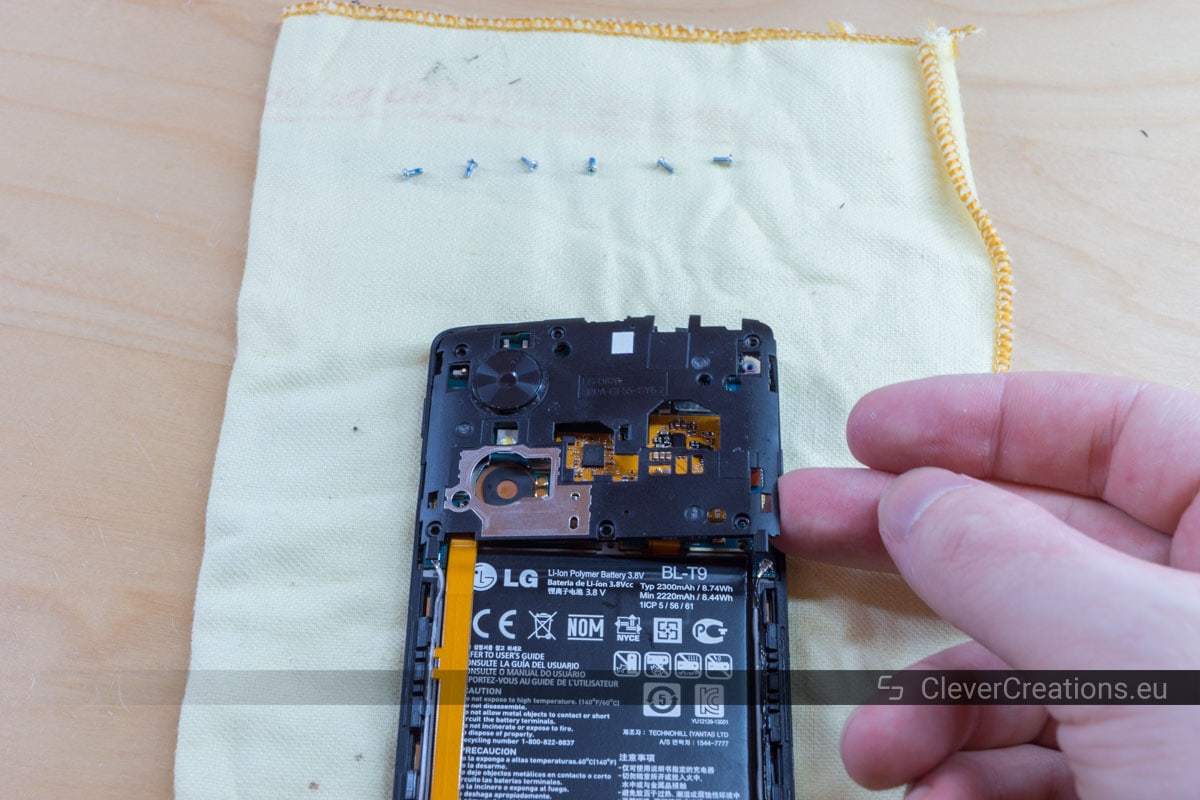
- Remove the circuit board cover.
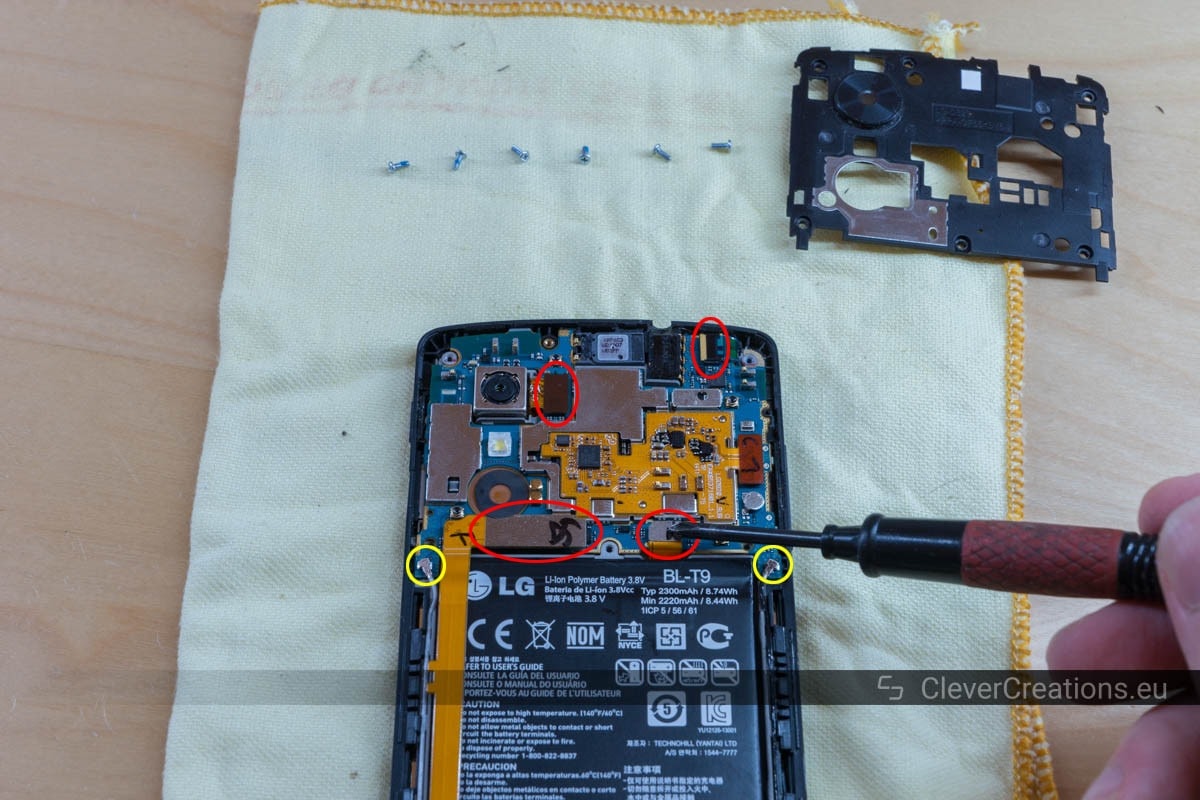
- Disconnect the flex cables, as well as the antenna cables.
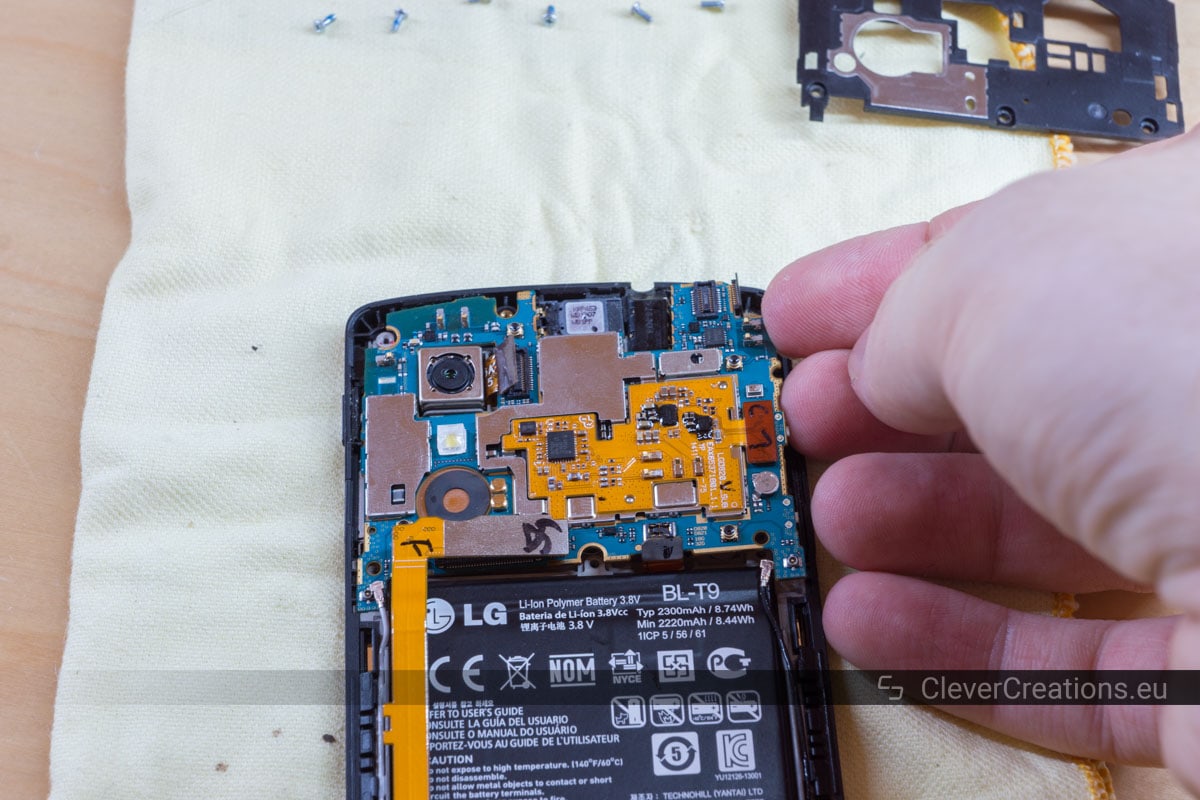
- Lift the circuit board out.
- Desolder the broken power button.
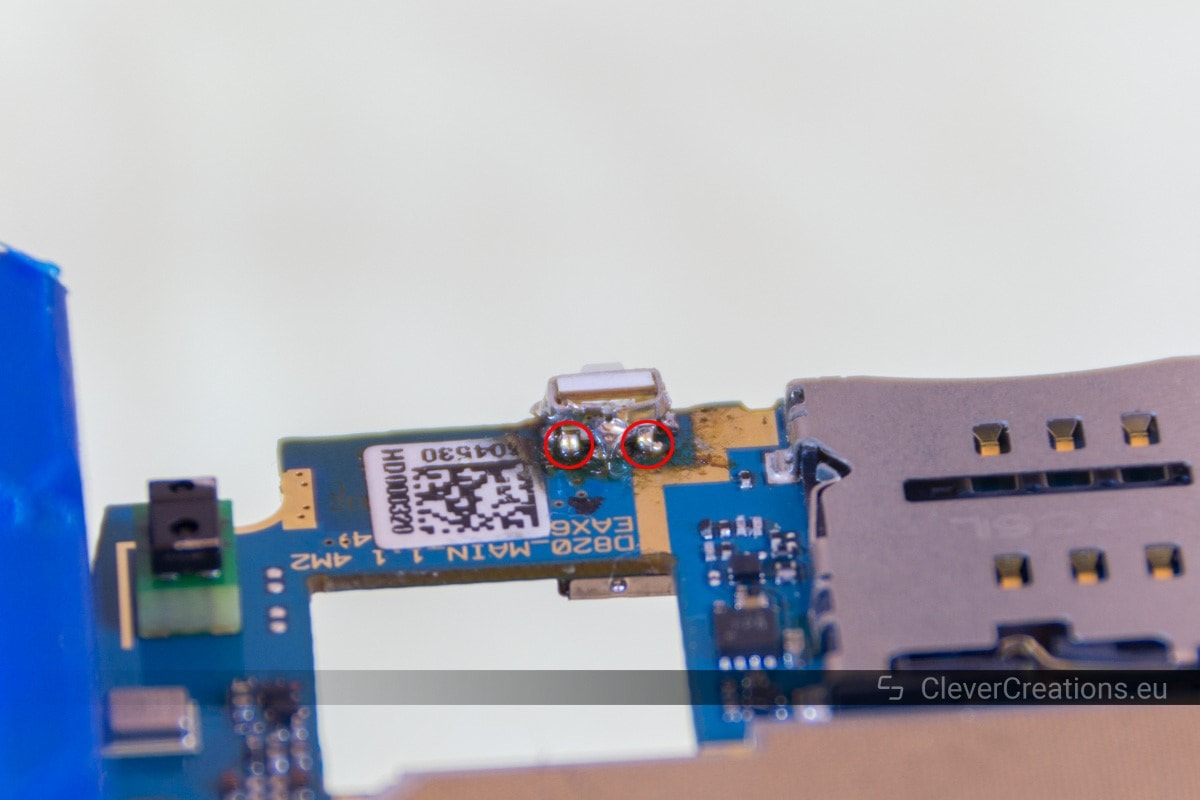
- Clean the solder pads.
- Add flux to the solder pads.
- Solder the new power button in place.
- Test the power button.
- Reassemble the phone.


Conclusion
It has been a while since I repaired the phone and it still works as it is supposed to. I am glad I was possible to extend the phone’s lifespan instead of having the phone end up on a landfill somewhere, all because of a tiny button that only costs a couple of cents.