
I recently had to replace the battery on my LG Nexus 5. Where I last year needed to repair the power button, it was now the battery’s turn to be swapped out.
For anyone else who also has problems with very little screen-on-time on their Nexus 5 due to an old battery, I will show the battery replacement process for the Nexus 5 in this article.
Can You Replace the Nexus 5 Battery by Yourself?
Yes, you can. Replacing the battery of this phone is a straightforward process. As long as you follow the instructions below, there is basically nothing that can go wrong.
When Should You Replace the Battery?
Generally most modern lithium-ion phone batteries last about 500 charging cycles. After that, the performance of the battery starts to degrade. This is a gradual process and typically happens after around two years of using the phone.
You will be able to tell when it is time to replace the battery once you get significantly less SoT (screen-on-time) than you used to get when the phone was new.
Can You Replace the Battery With One With a Higher mAh?
Not really. There are some unofficial batteries with 2450 mAh capacity (vs. the 2300 mAh that the stock battery has) available, but that will not make a big difference.
An easier way to have more battery power available would be to carry a portable charger. These are always useful to have on you and can be used to charge all kinds of USB-powered devices.
No products found.
Is Replacing the Battery Worth It?
Absolutely. As long as you are still happy with the performance of the phone, there is no reason to buy a brand new phone instead of just replacing the battery.
While a replacement battery is not going to last as a long as a new phone, it costs significantly less. A replacement battery for the Nexus 5 costs around $20-30, where as a new phone costs hundreds of dollars. You could replace the battery several times over for that money.
How to Replace the Nexus 5 Battery
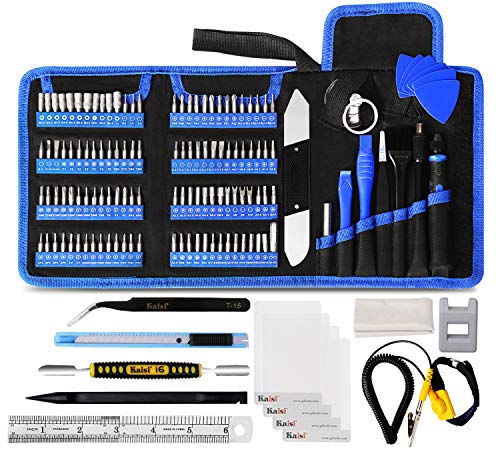
What You’ll Need
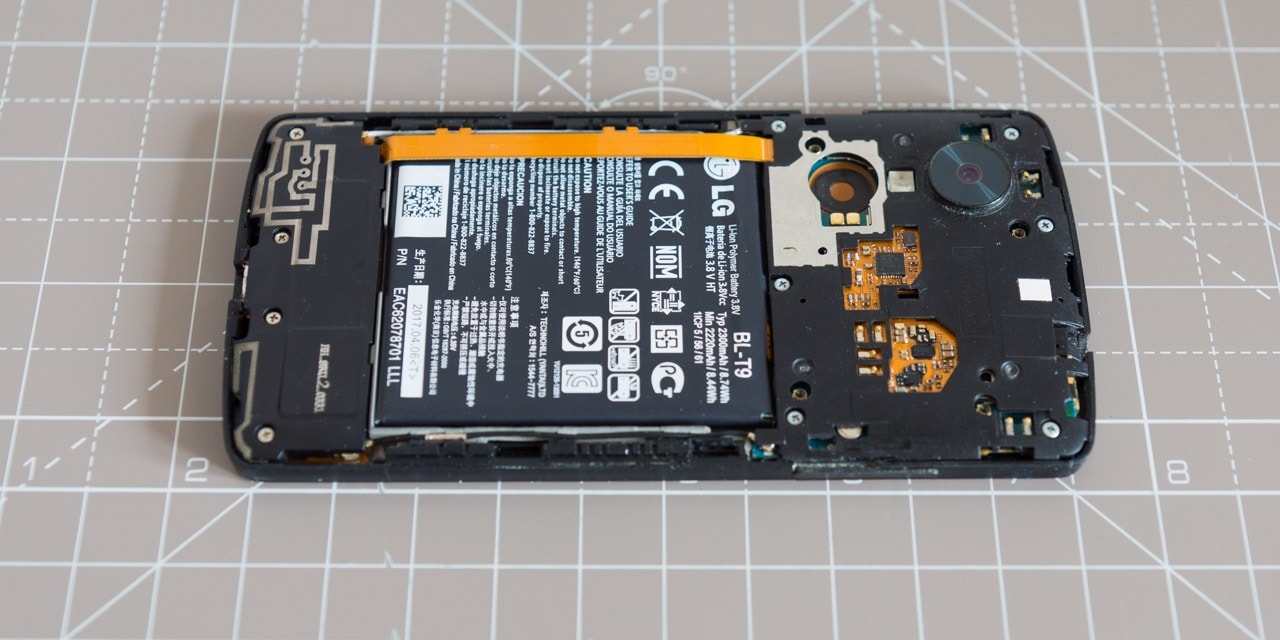
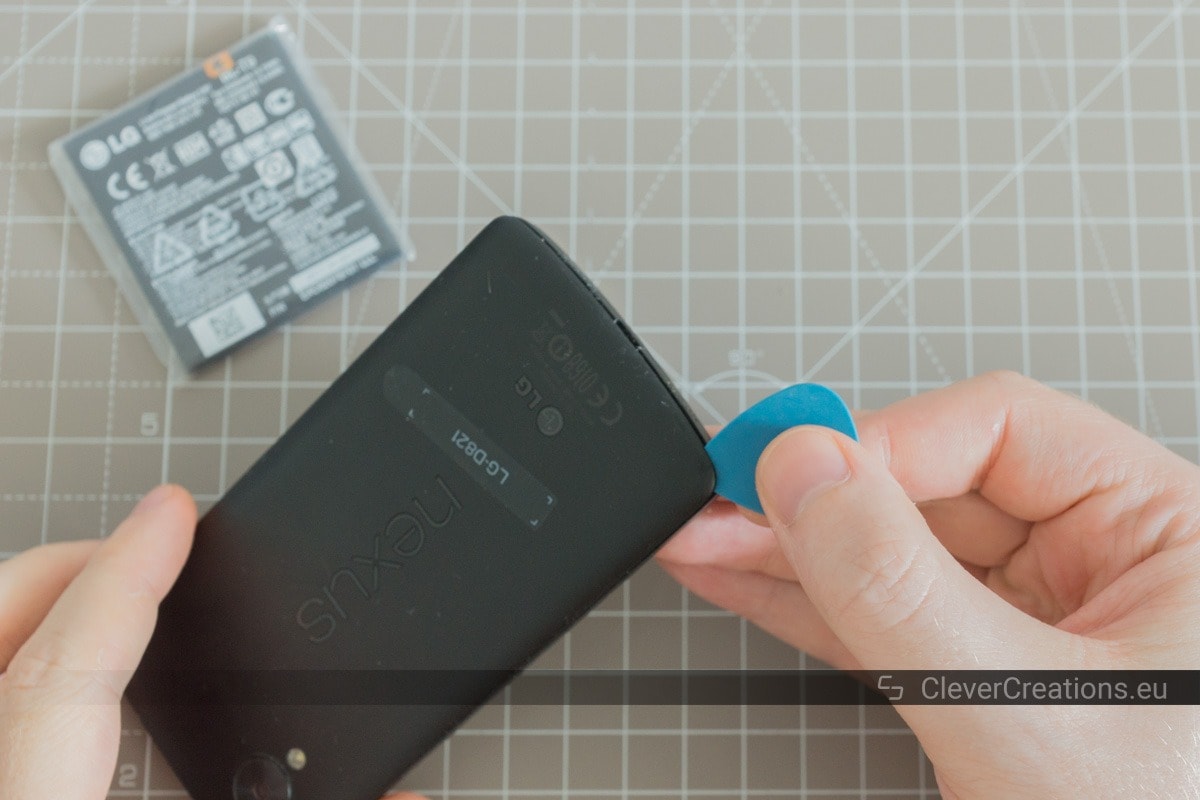
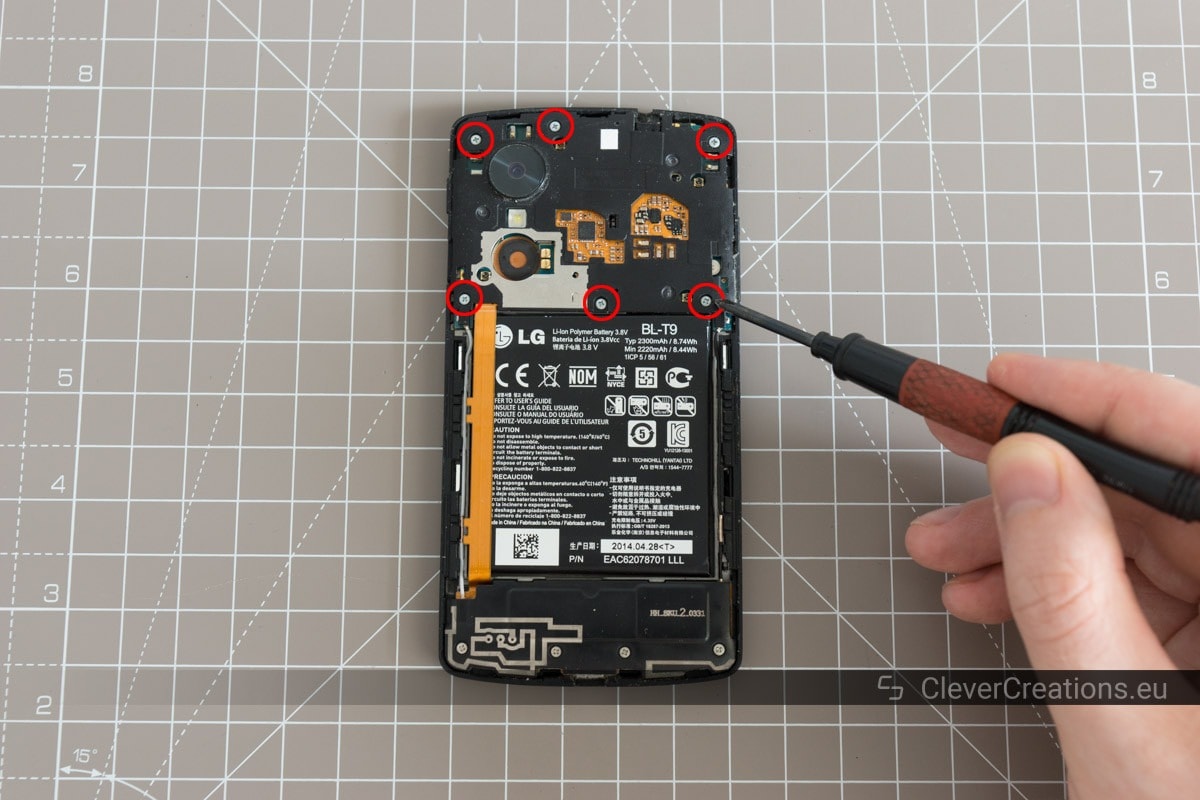
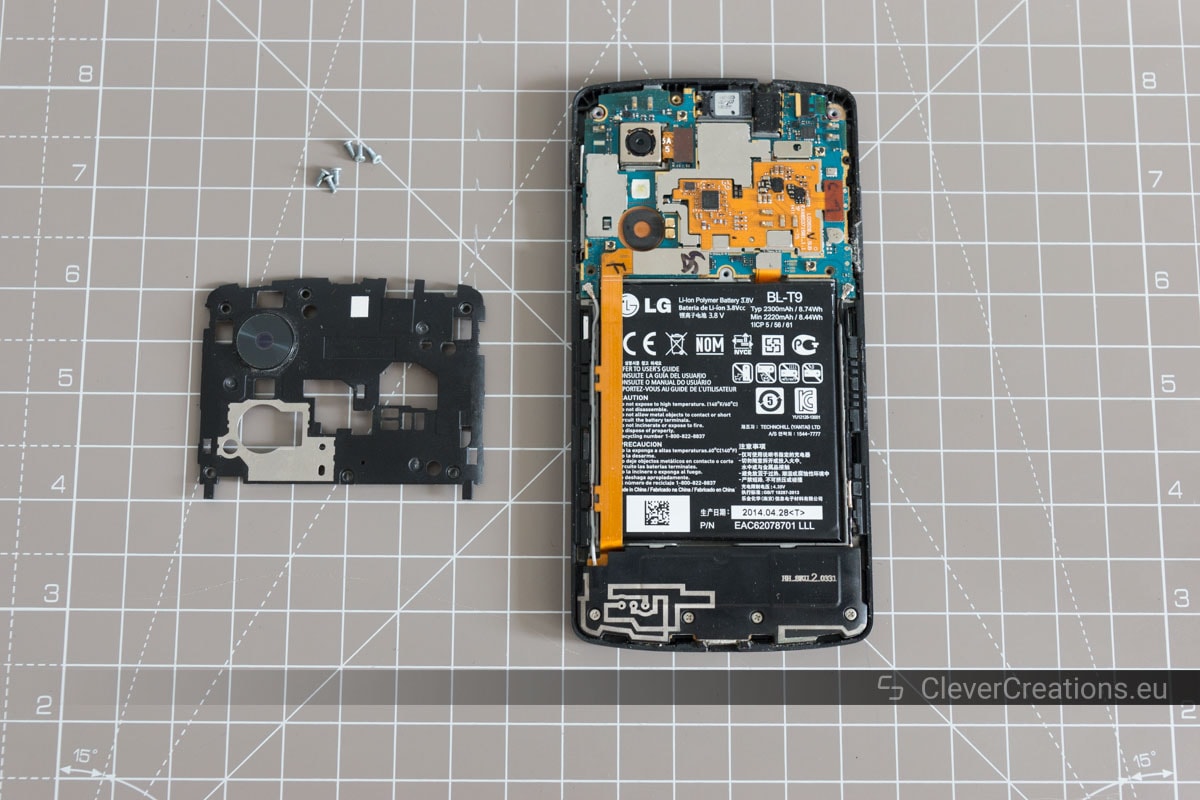
Removing the Back and Internal Covers

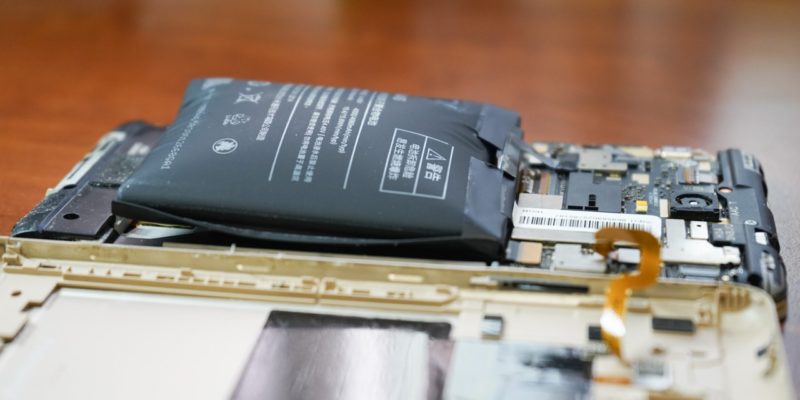
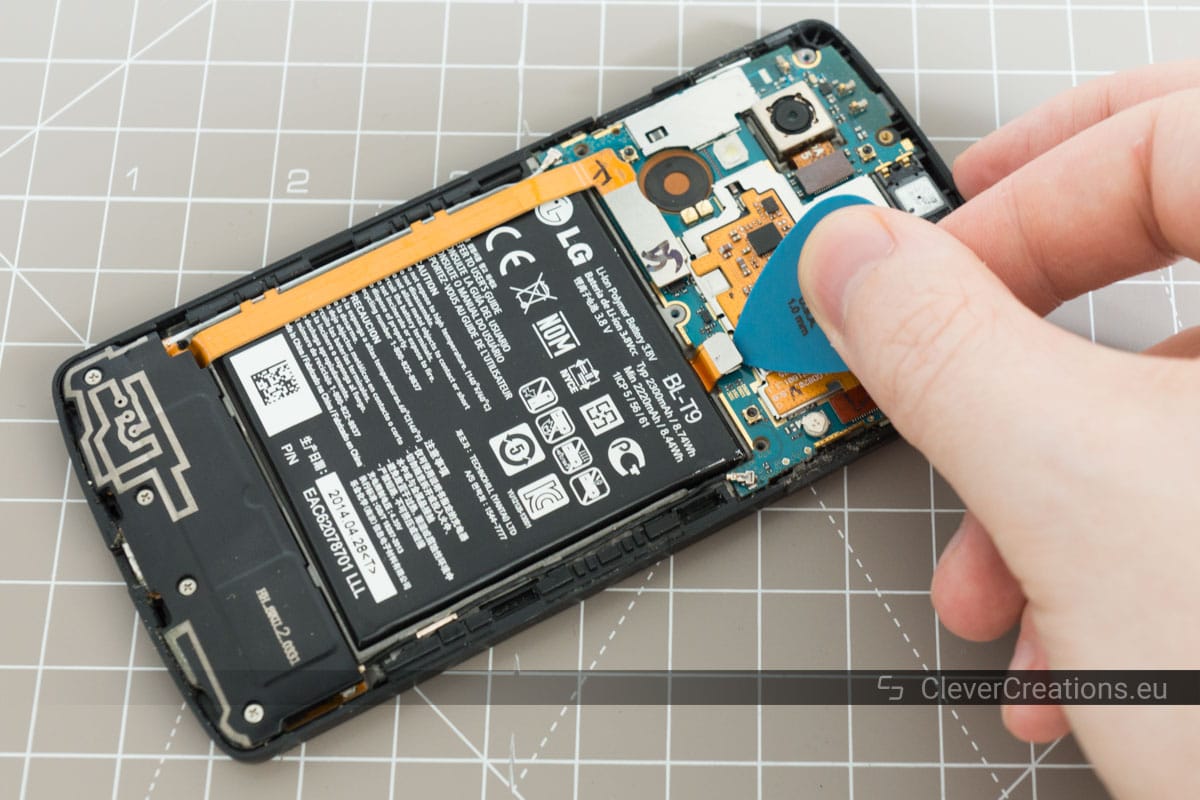
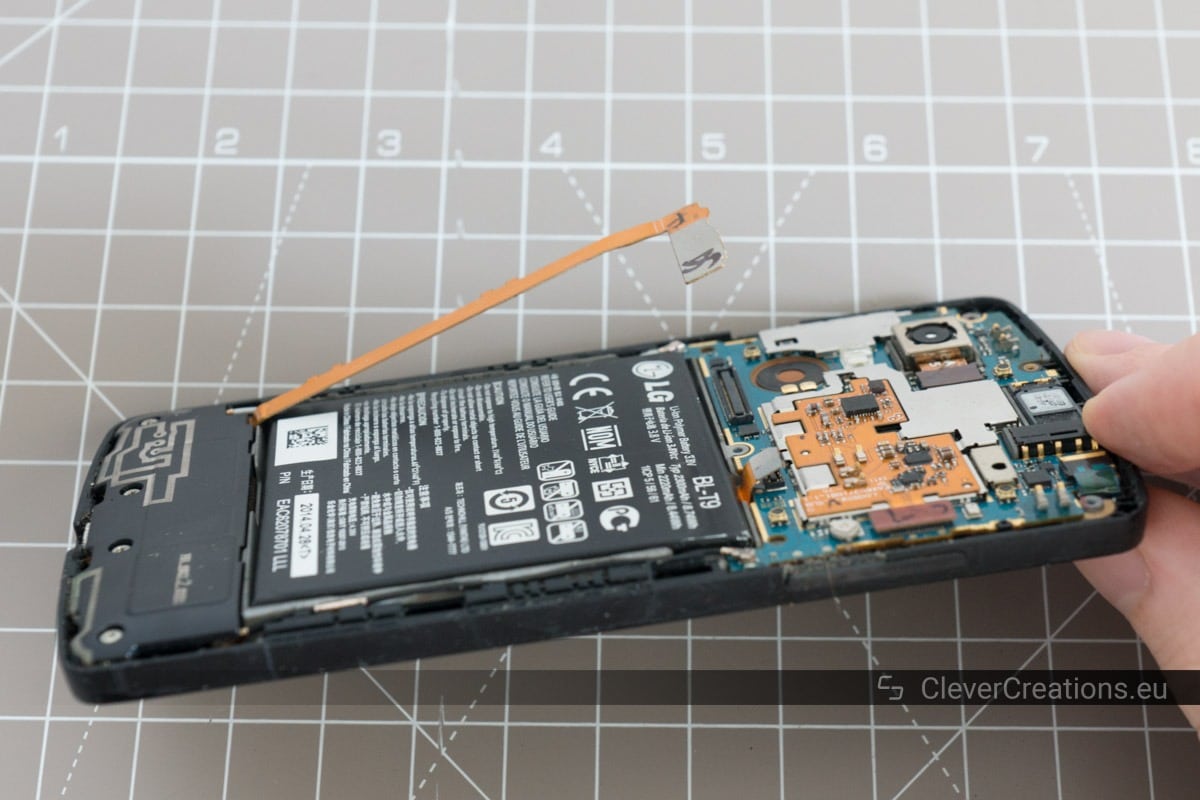
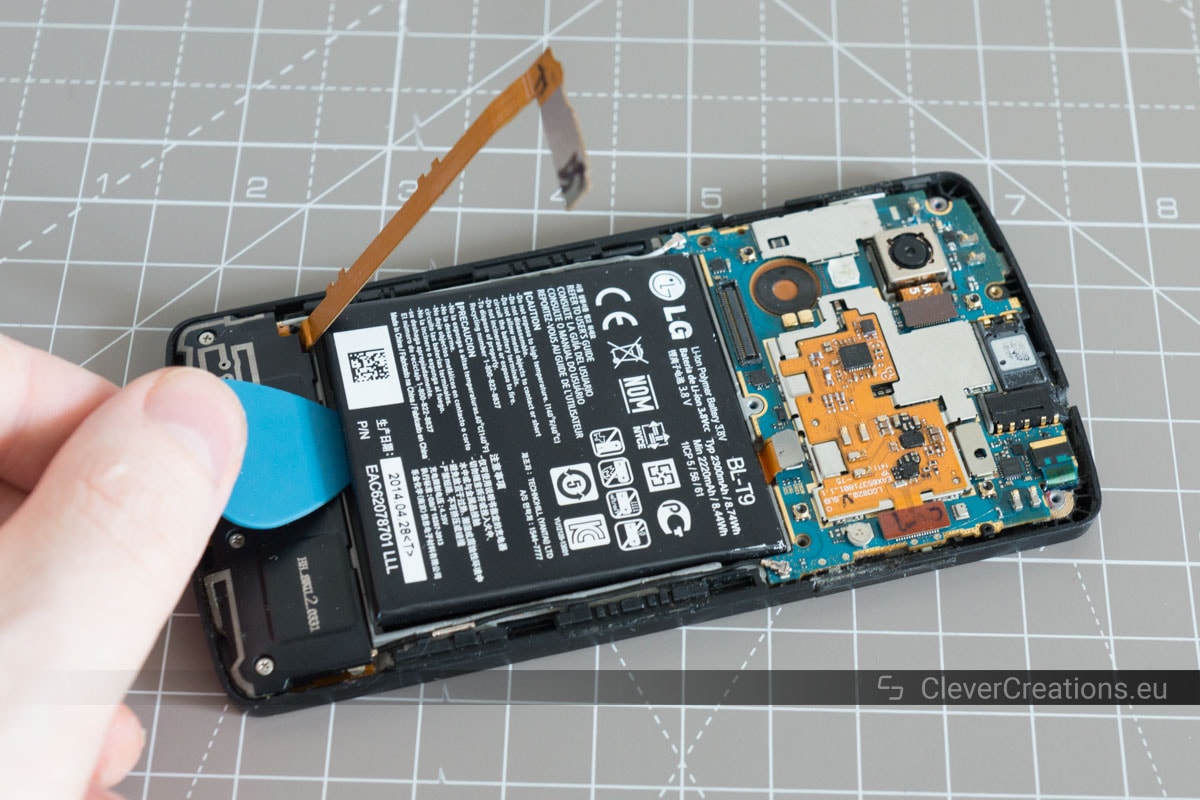
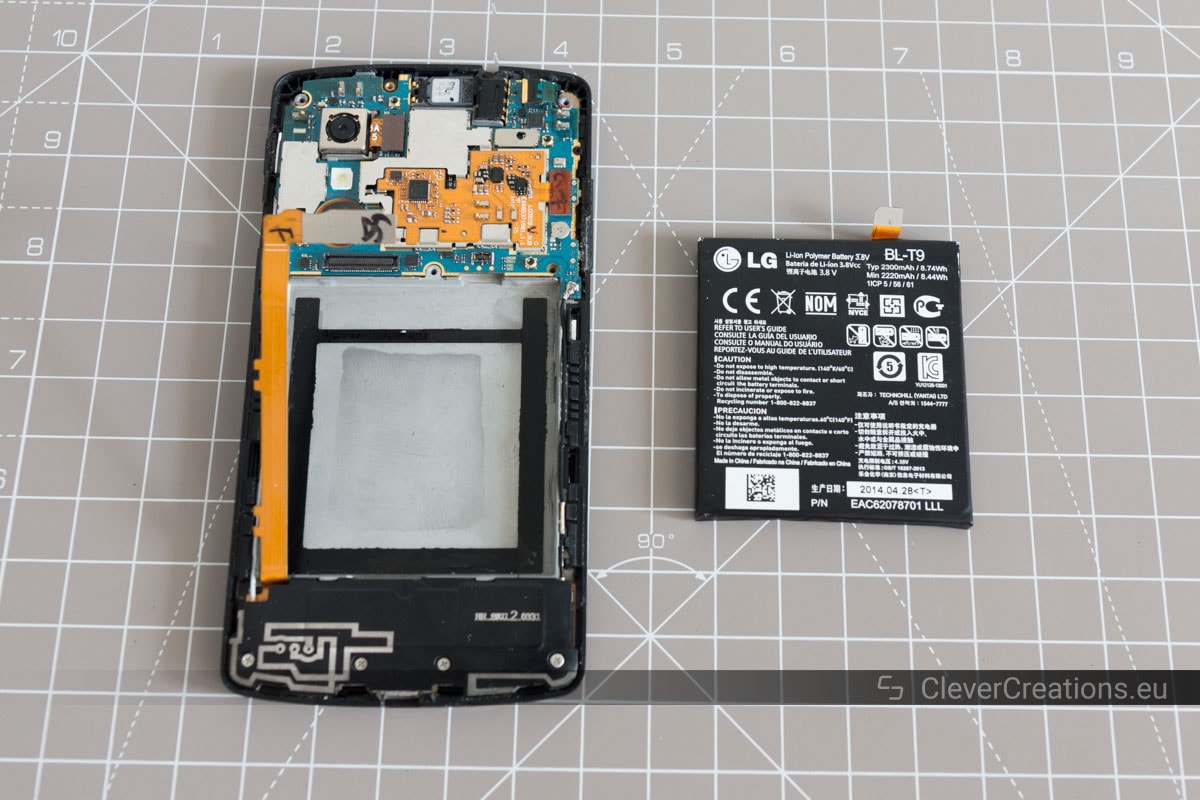
Removing the Battery
Reassembling the Phone
You can now insert the new battery into the phone, and follow the above instructions in reverse to reassemble the Nexus 5.

When placing the rear cover back onto the phone, make sure to apply pressure all over the cover to ensure that the NFC circuit in the cover makes a solid connection with the phone circuit board.
Please dispose of the old battery appropriately.
A Summary of the Battery Replacement Process
- Turn the Nexus 5 off.
- Remove the back cover.
- Remove the internal circuit board cover.
- Detach the battery cable.
- Detach the long flat cable that is placed on top of the battery.
- Take the battery out.
- Insert the new battery.
- Reassemble the phone by completing the above steps in reverse order.
- Dispose of the old battery in an environmentally friendly way.


Conclusion
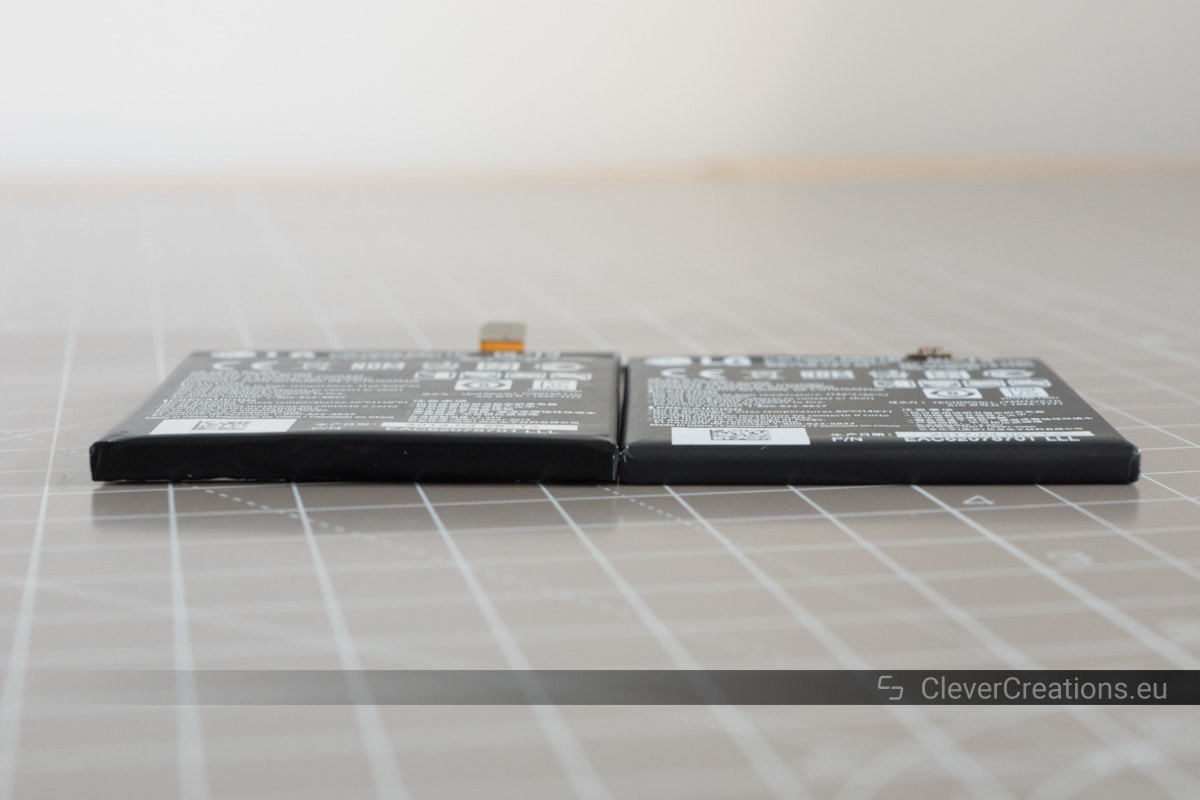
After replacing the battery of the Nexus 5, it has a lot more screen-on-time than it did before. I wouldn’t say it is as much as when the phone was brand new, but it is certainly a big improvement over what the swollen battery gave me.
The reason that the battery life is not as good as new, is that the replacement battery was produced a couple of years ago. Generally, replacement batteries for a phone are not produced anymore after a while. Therefore, the ones you can buy are older, and despite not having undergone many charging cycles they still degrade while they lie in a warehouse somewhere.
In the end, replacing the battery was worth it.