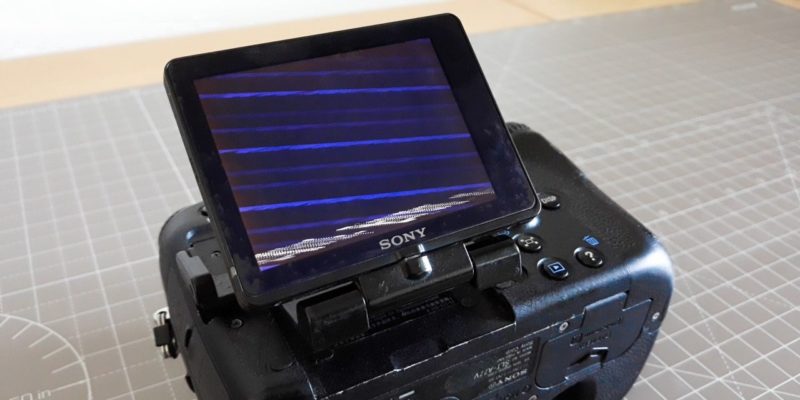
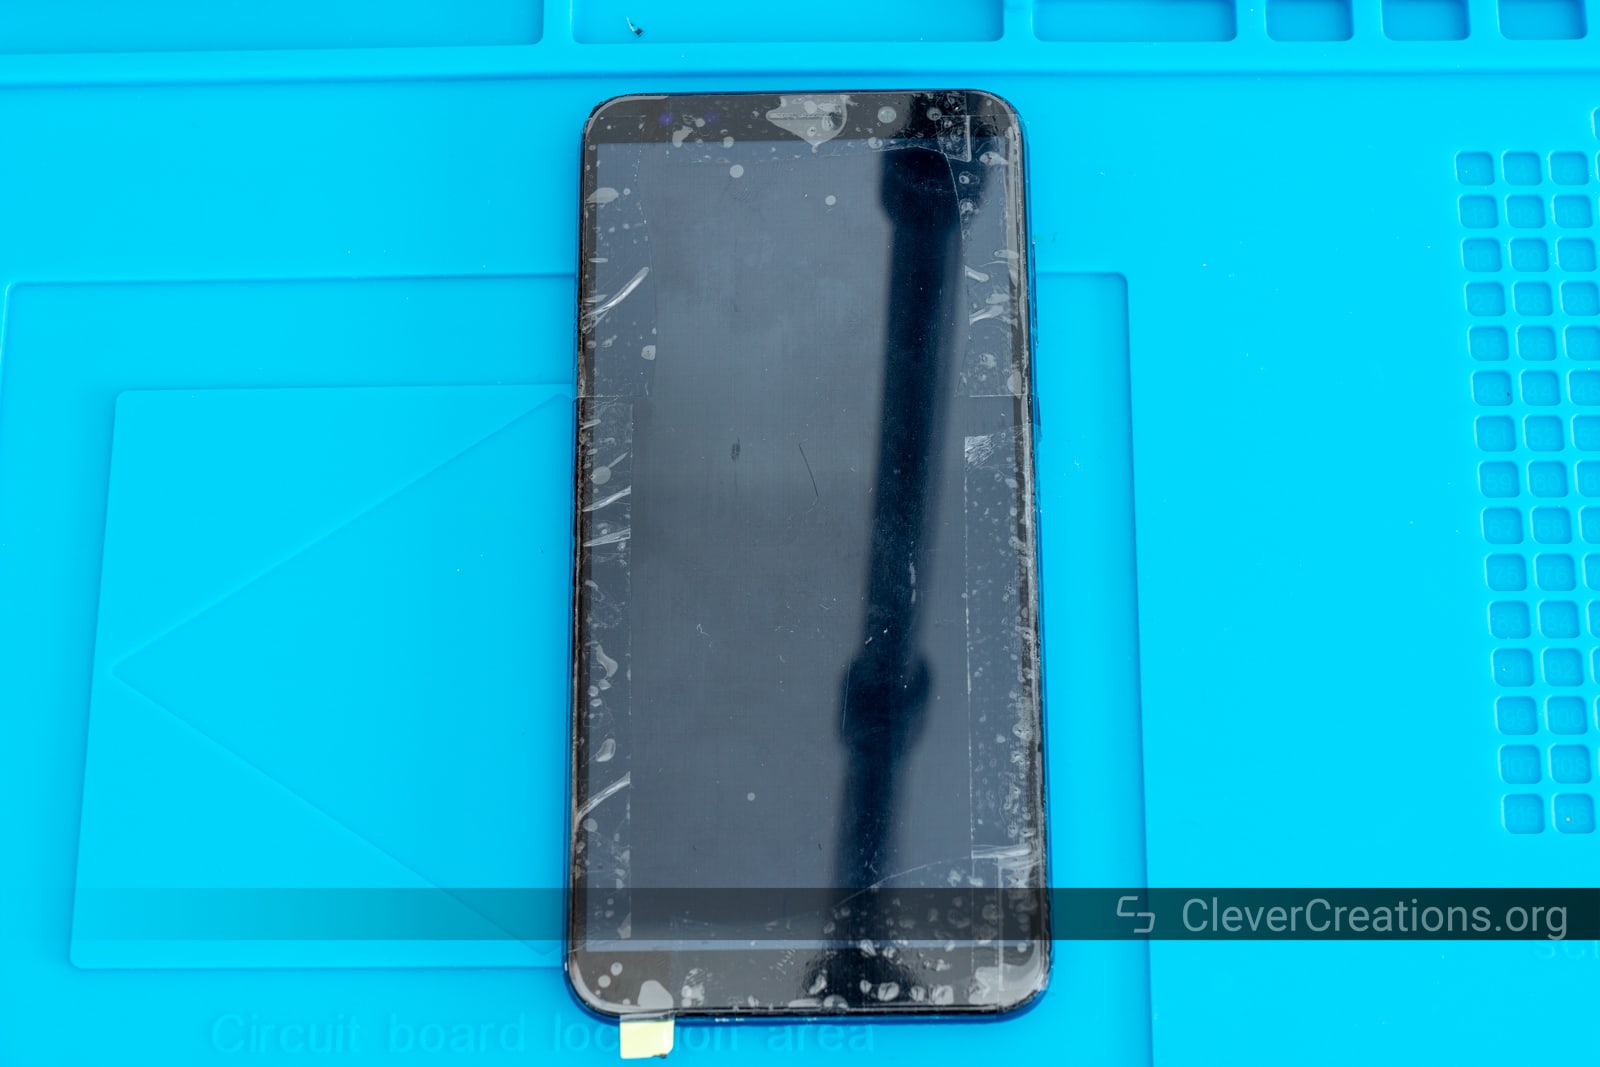
Just like many other phones, the Huawei Mate 10 can end up with display problems that make the device unusable. A broken or cracked LCD screen, an improperly functioning touch panel or a completely black screen are some of the most frequent issues people run into.
Luckily, if you deal with these problems on your Mate 10 series phone, you can replace the screen yourself in order to get the phone fully working again. Today, I will show you exactly how to do this. While it is a technically challenging repair, you will be able to do it by yourself at home with the required tools and the guide below. The entire process takes about 60 minutes.
Let’s see how you can repair your Huawei Mate 10 LCD screen!
Which Problems Can You Fix With This Guide?
Aside from the obvious, repairing a broken or cracked screen, replacing the LCD on a Huawei Mate 10 with the guide below is also likely to fix:
- Issues with a black screen.
- The touch panel / touch screen digitizer partially working, not working at all or responding slowly. This especially occurs when the screen has many scratches on it.
- Other display problems.
Do the Steps Below Also Work With Other Phones?
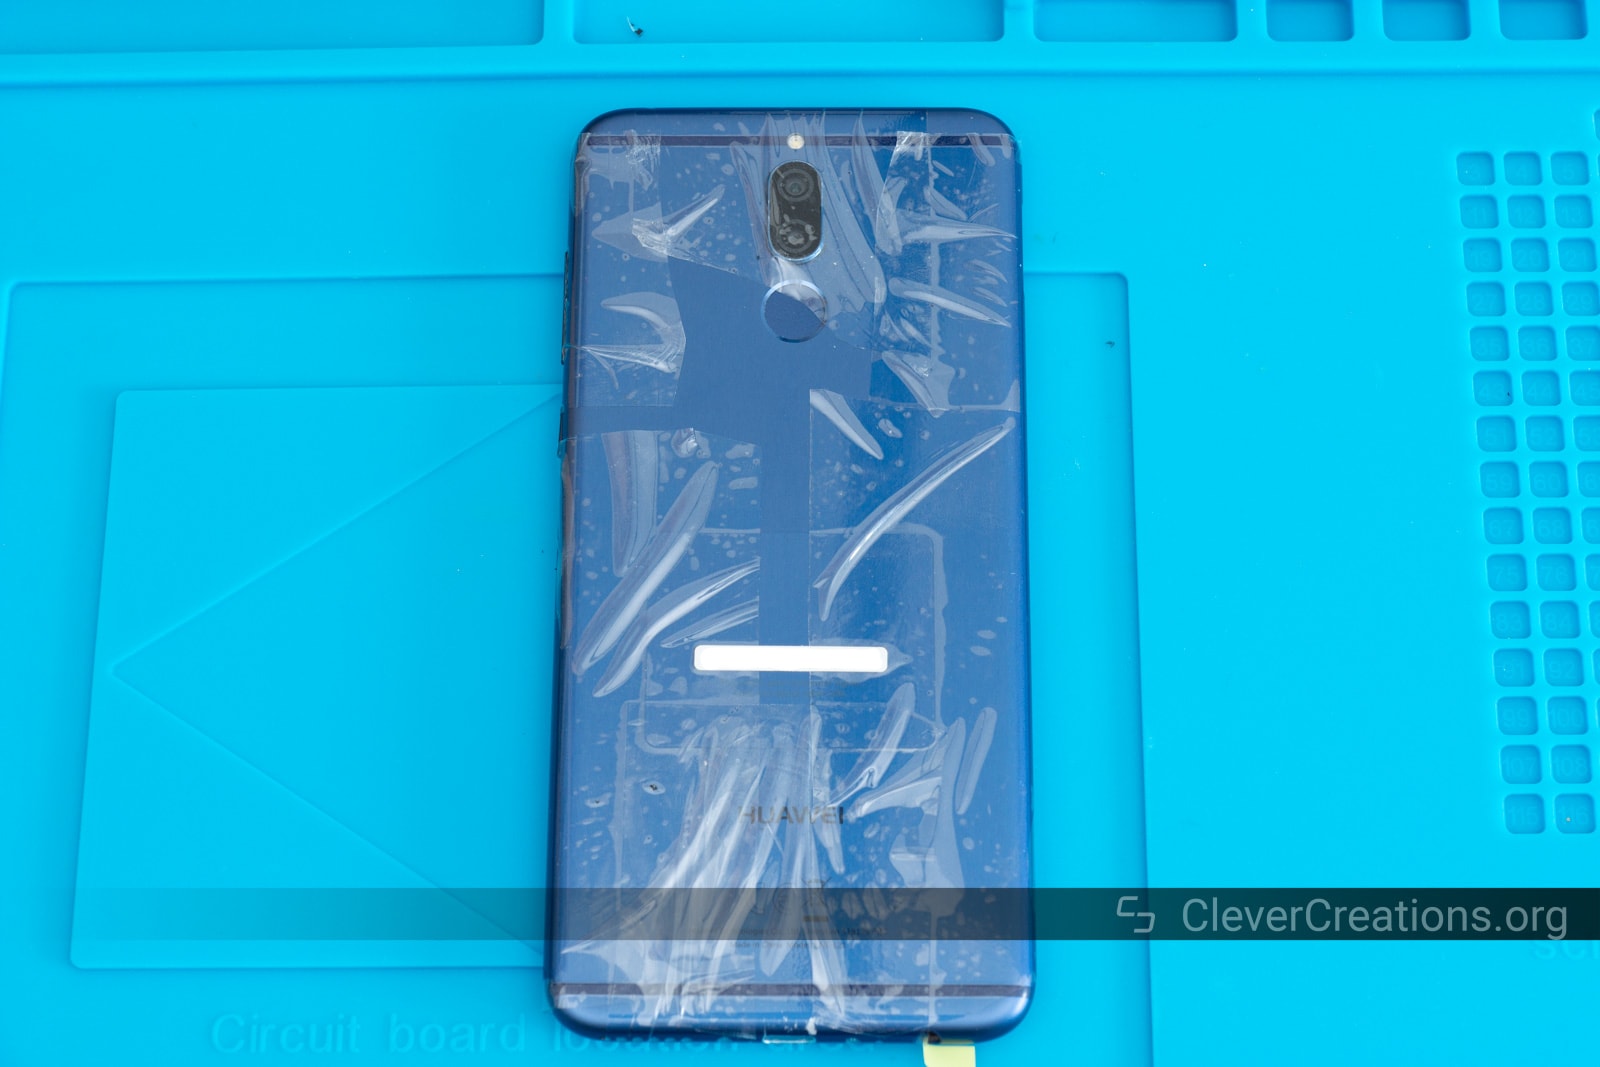
While the instructions further down the page use a Huawei Mate 10 Lite phone, it is likely that you can also use the same steps for replacing the screen on the ‘regular’ Mate 10 or the Mate 10 Pro. These phones are all constructed similarly enough that there are not many differences between their repair processes.
Just make sure that the replacement touch screen you buy is for the specific phone that you want to repair.
In nearly all cases (and for this guide) you want a replacement LCD screen with frame.
These are the links to the Mate 10 Lite, Mate 10 and Mate 10 Pro LCD screens.
How to Replace a Huawei Mate 10 Lite LCD Screen
What You’ll Need

|
|
Parts | ||
|---|---|---|---|

|
Mate 10 and Mate 10 Pro options.
|
Check Price | |

|
Check Price | ||
Step by Step
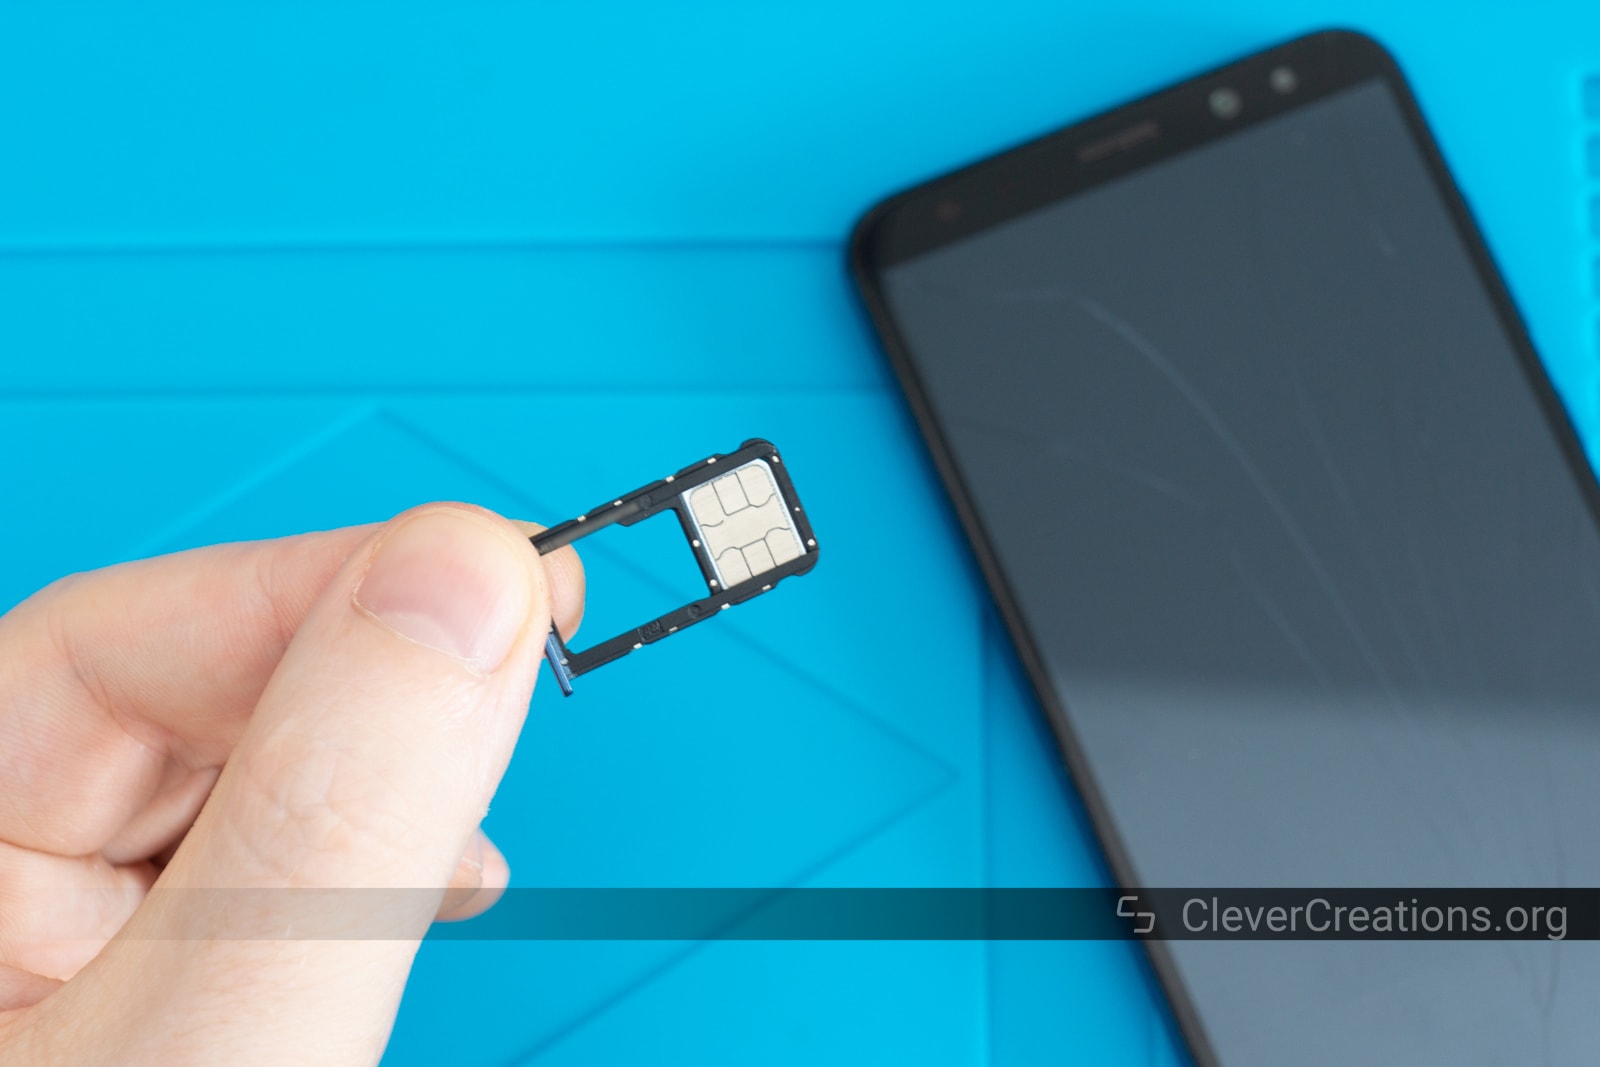
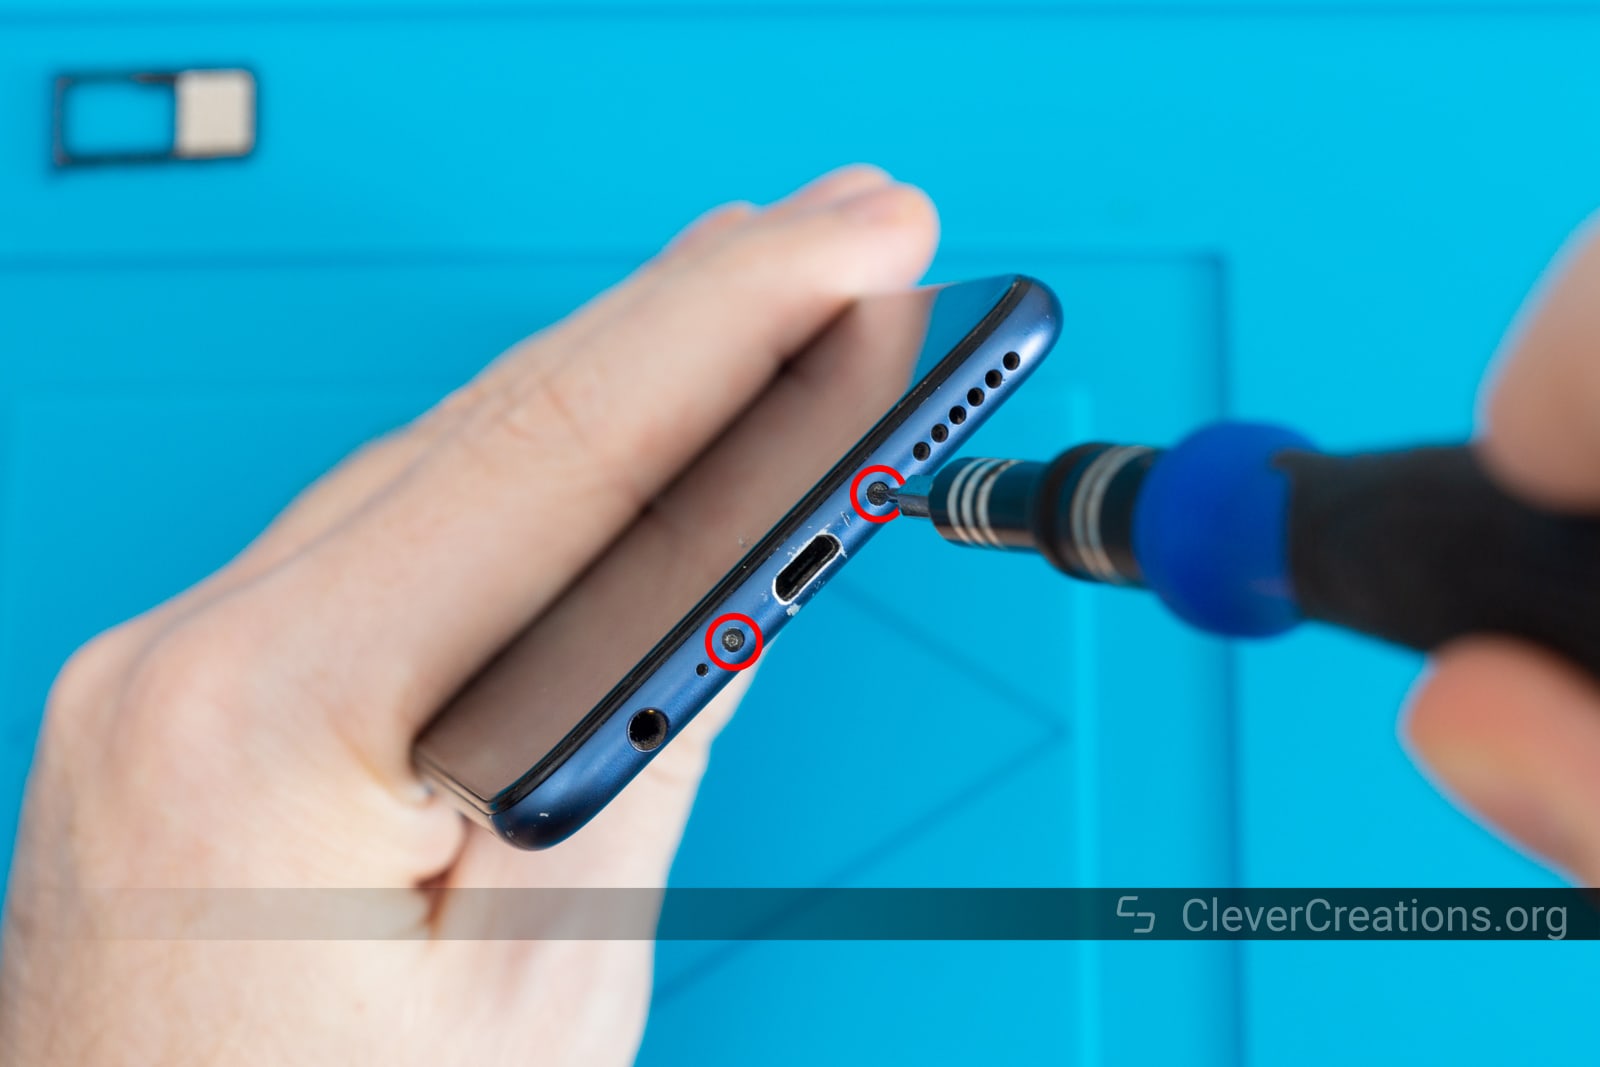
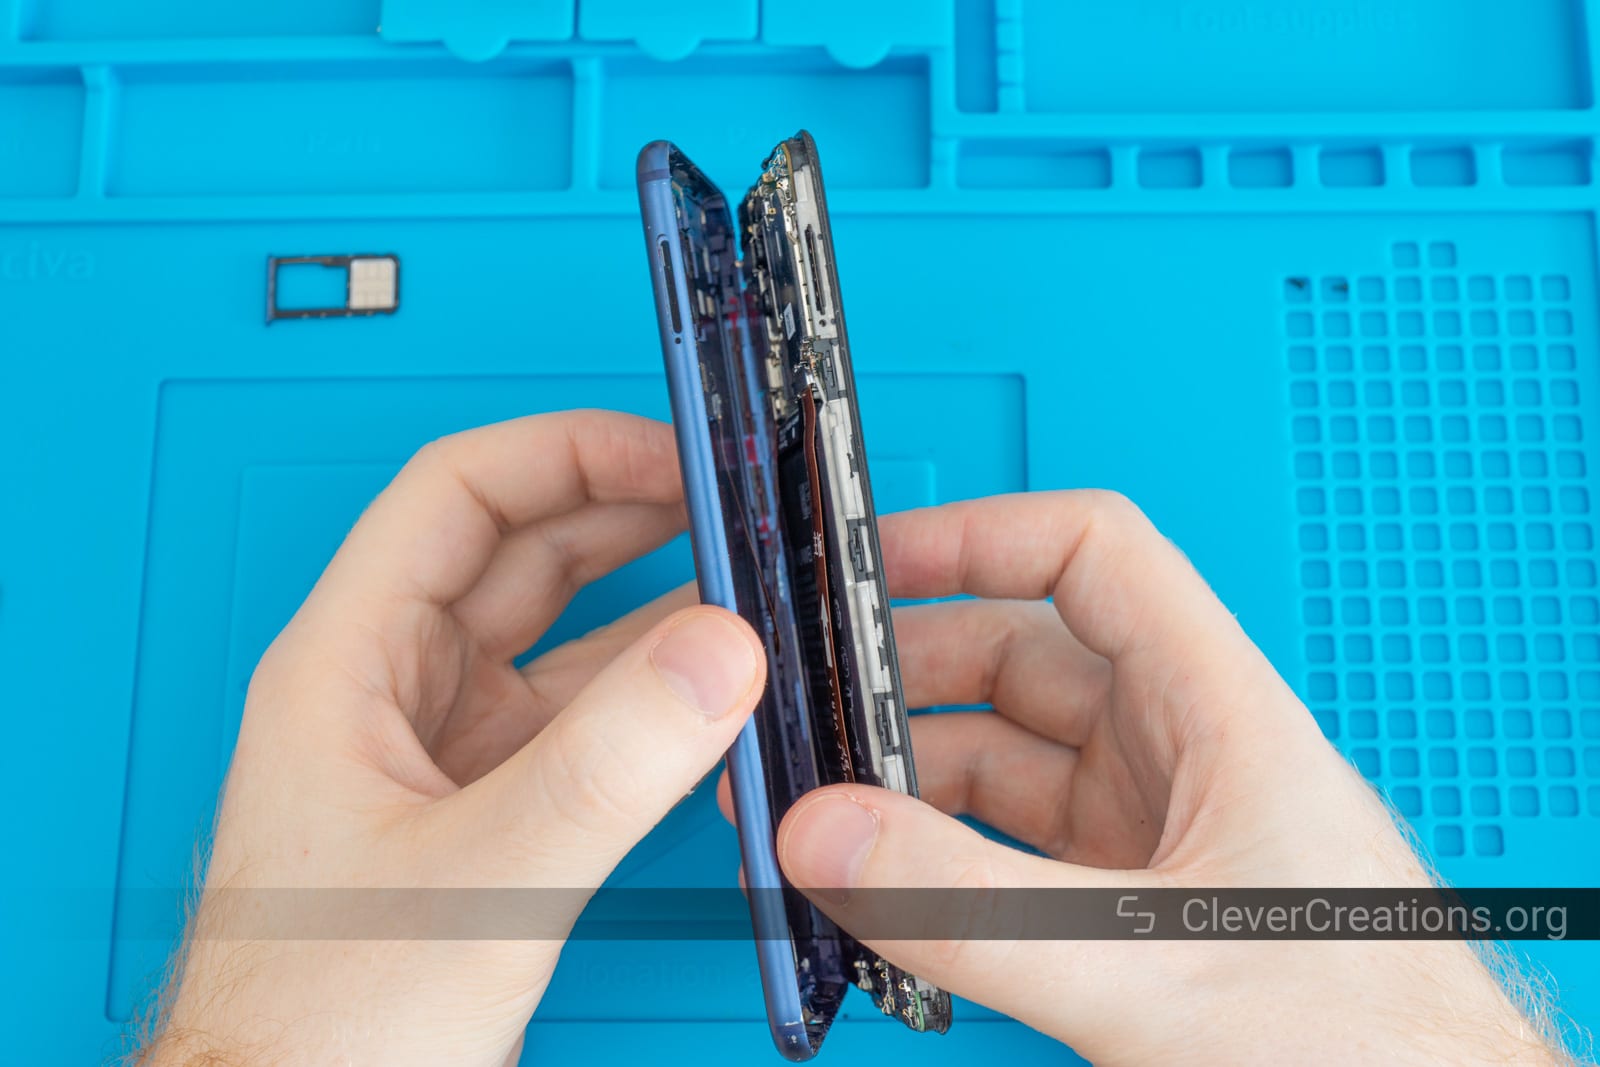
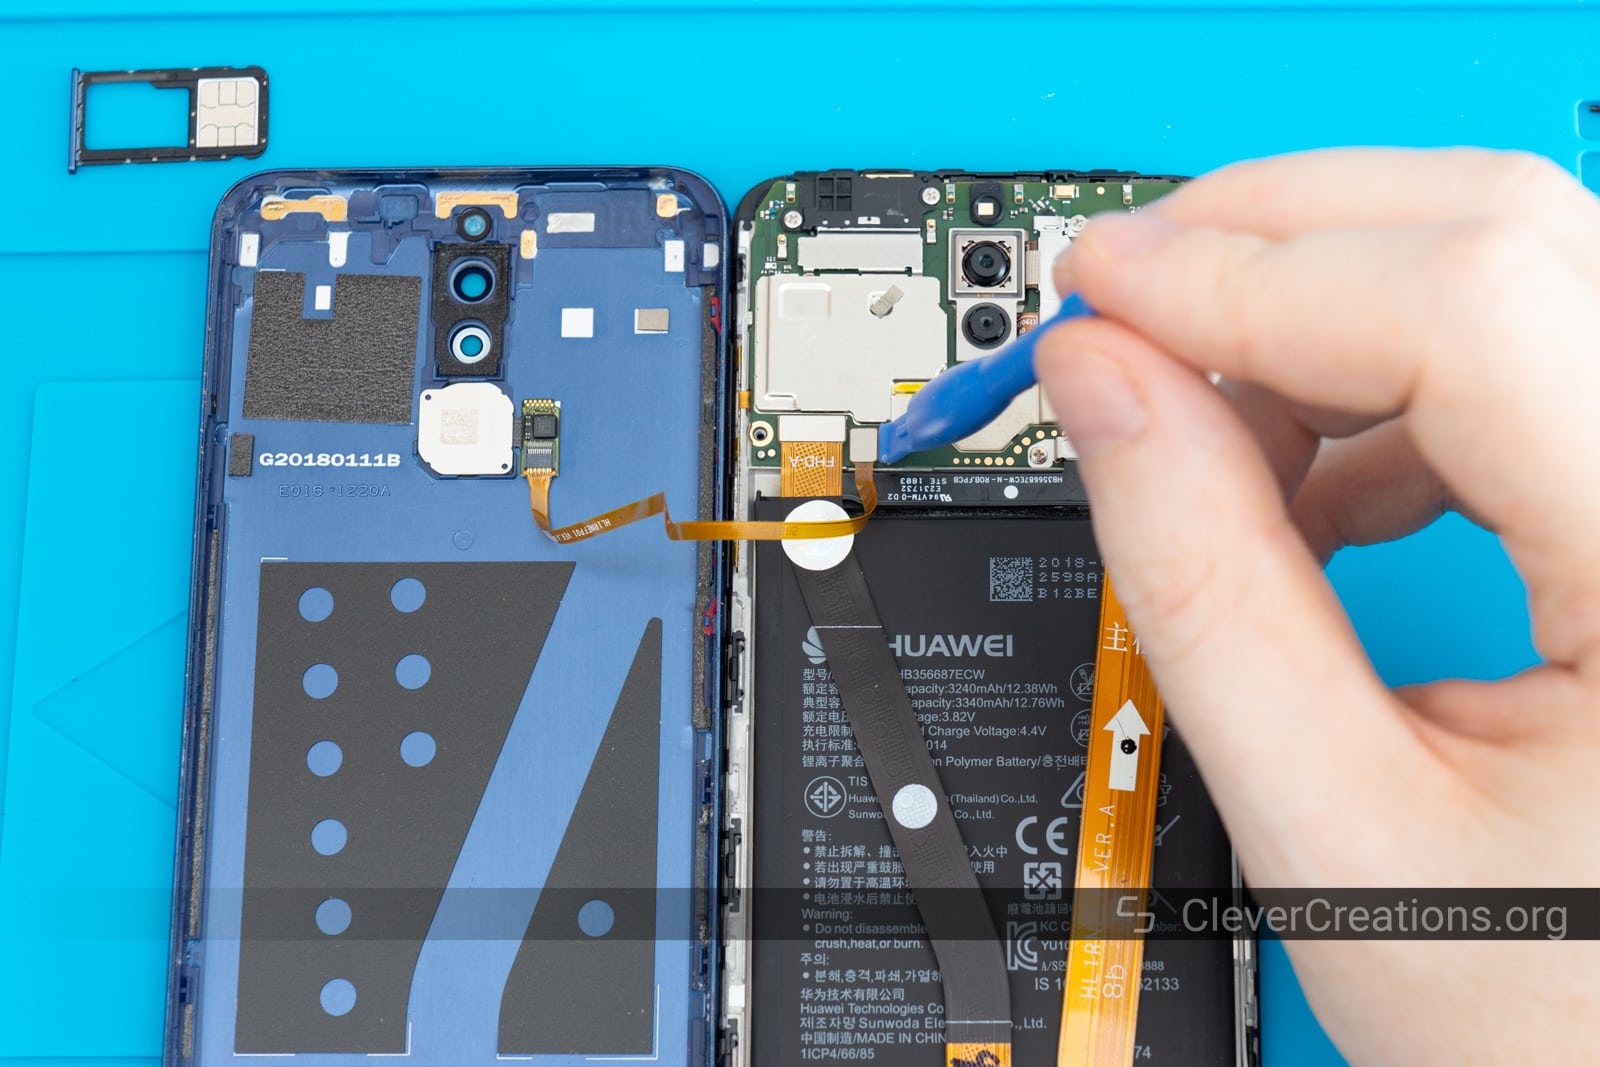
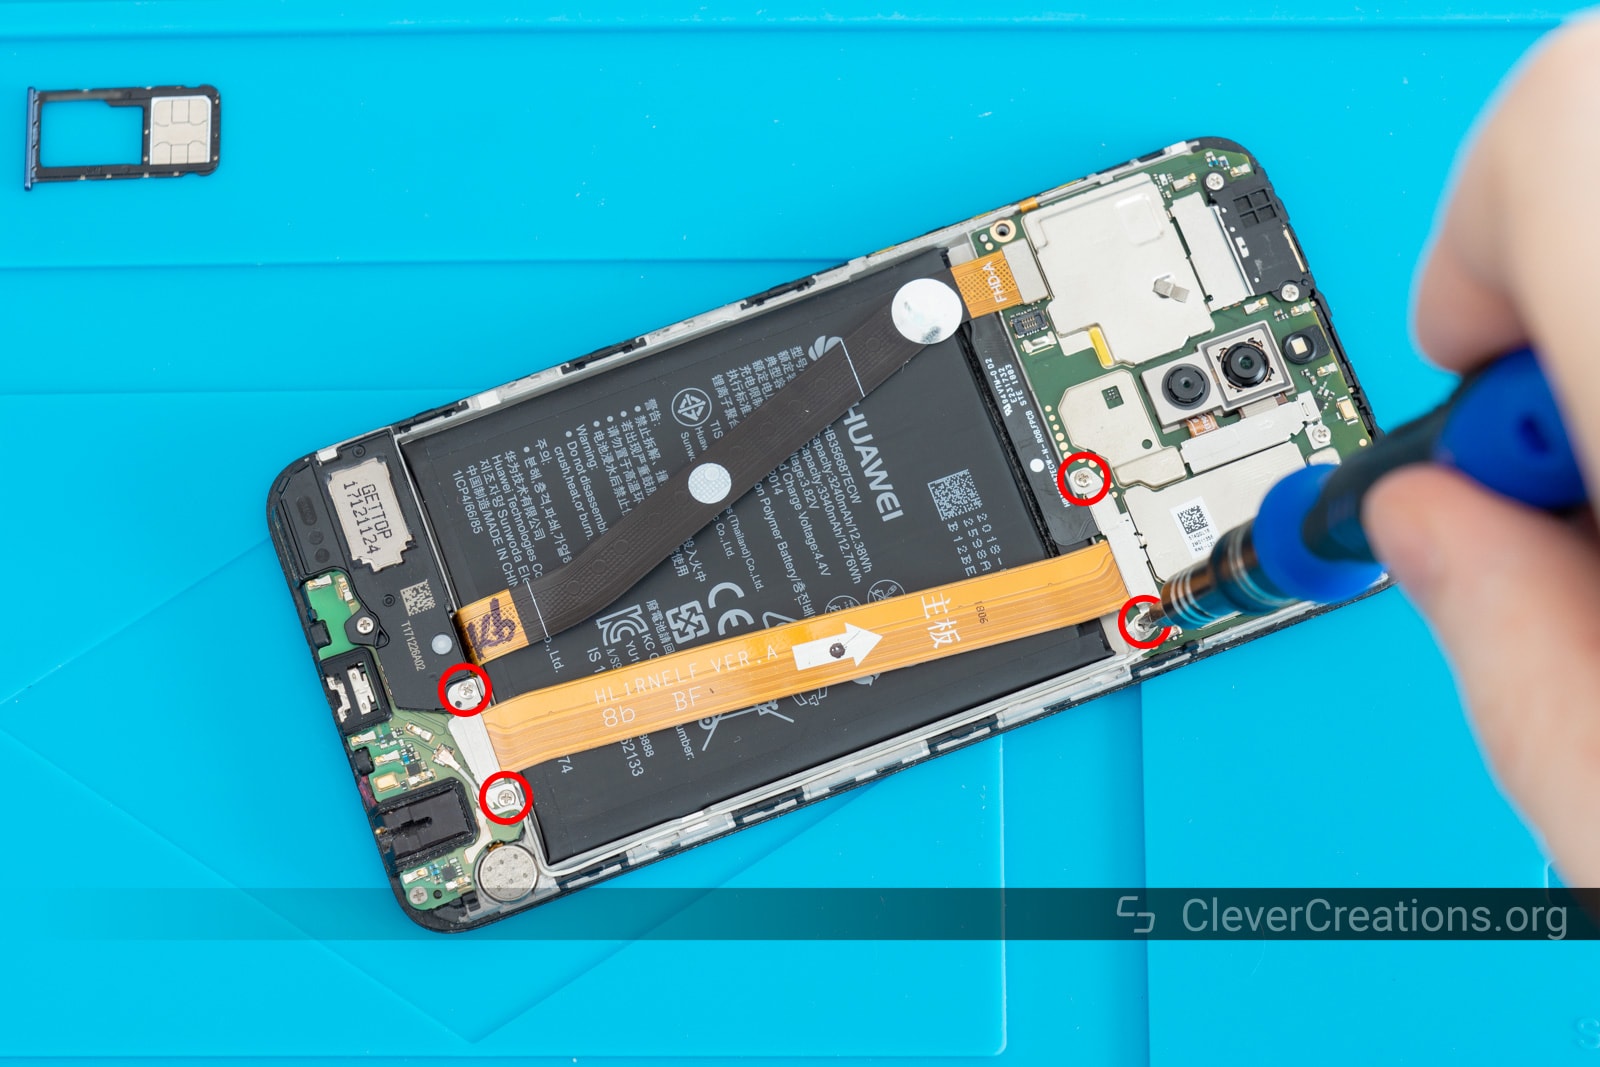
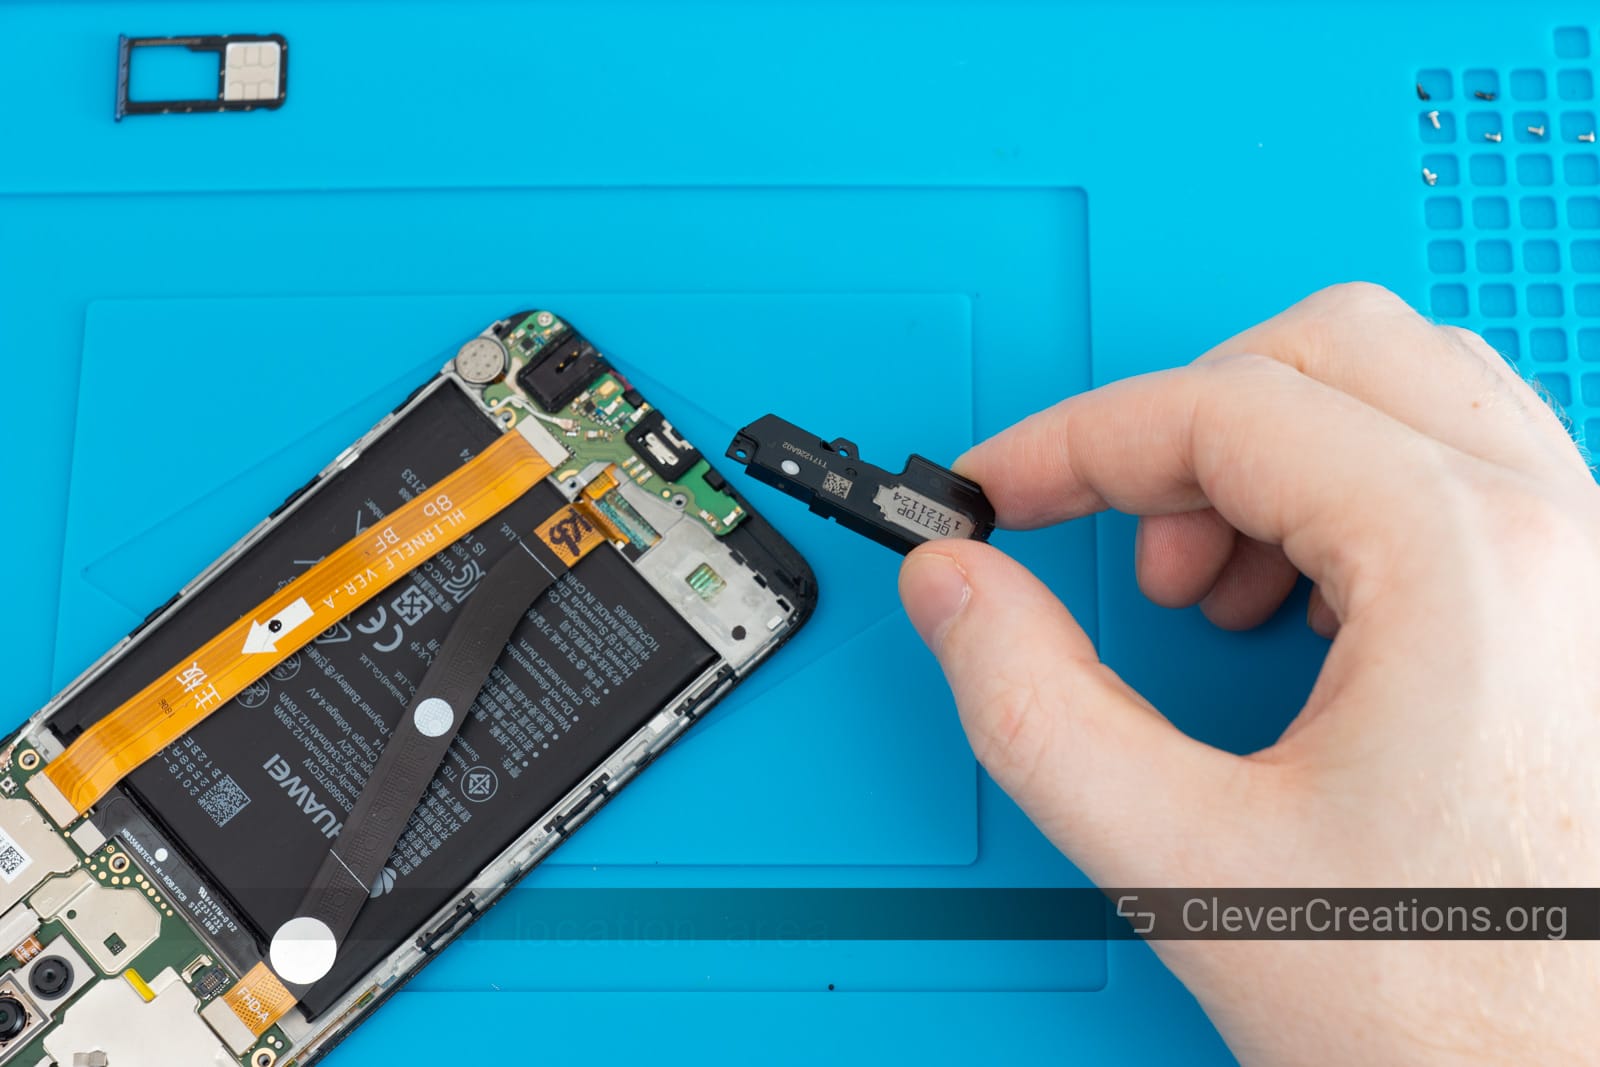
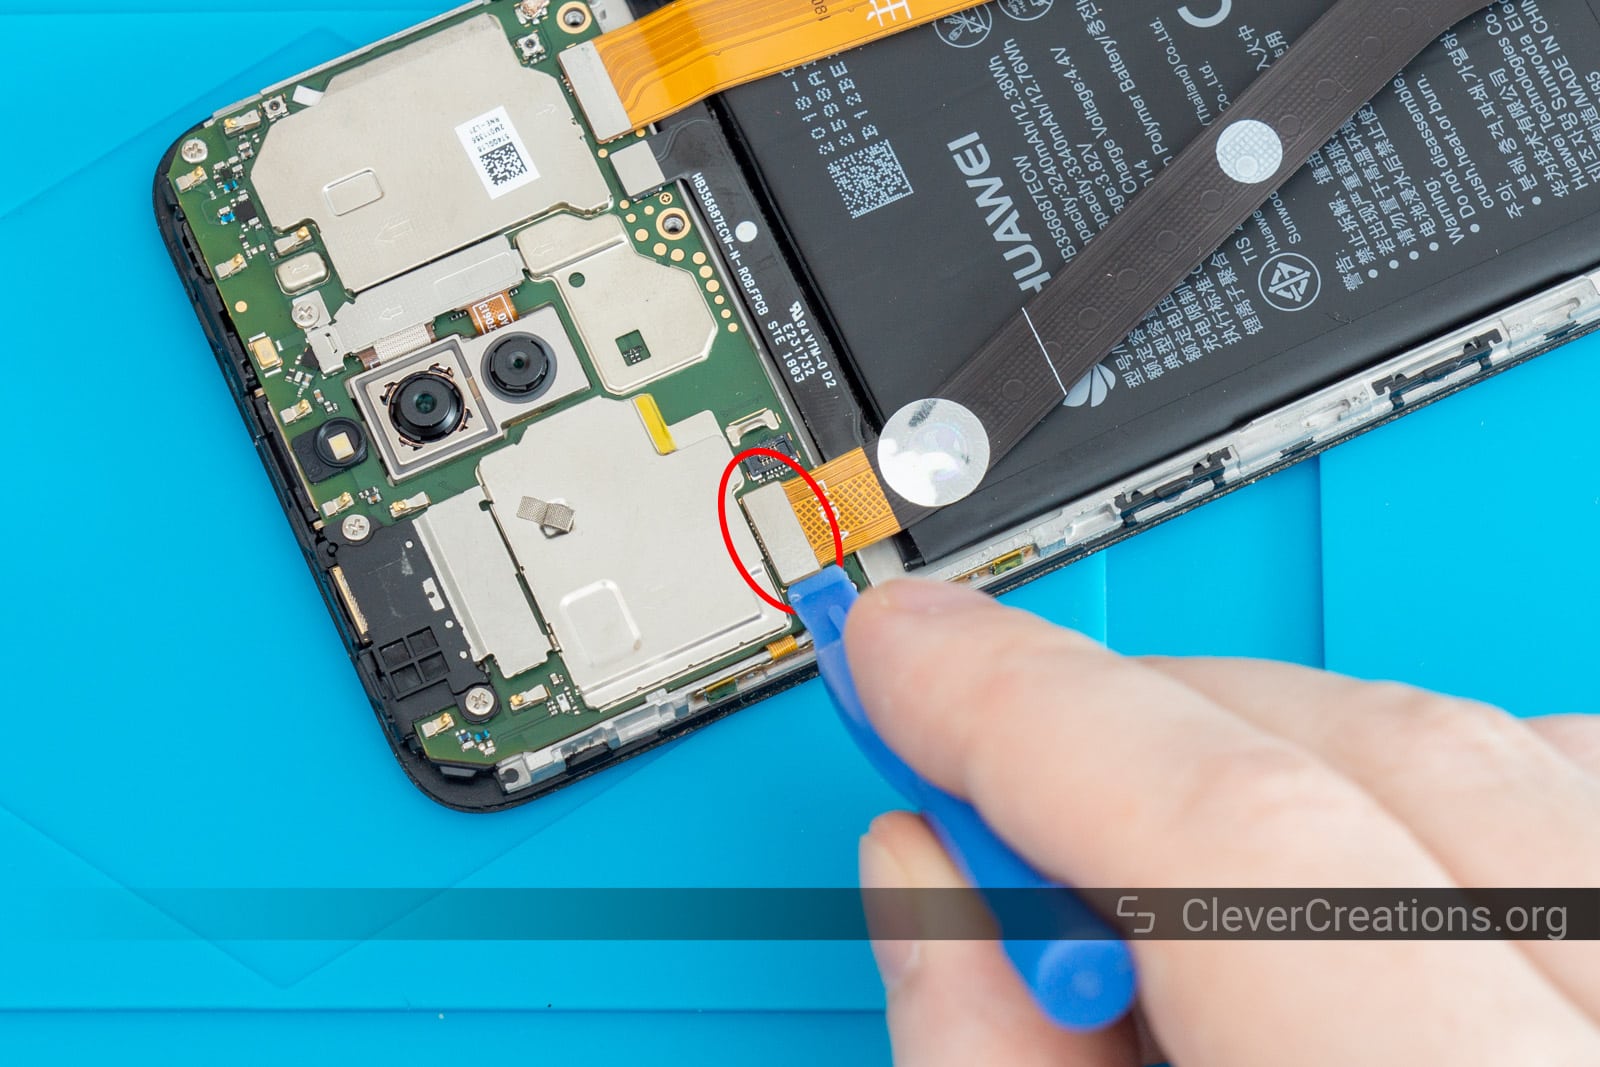
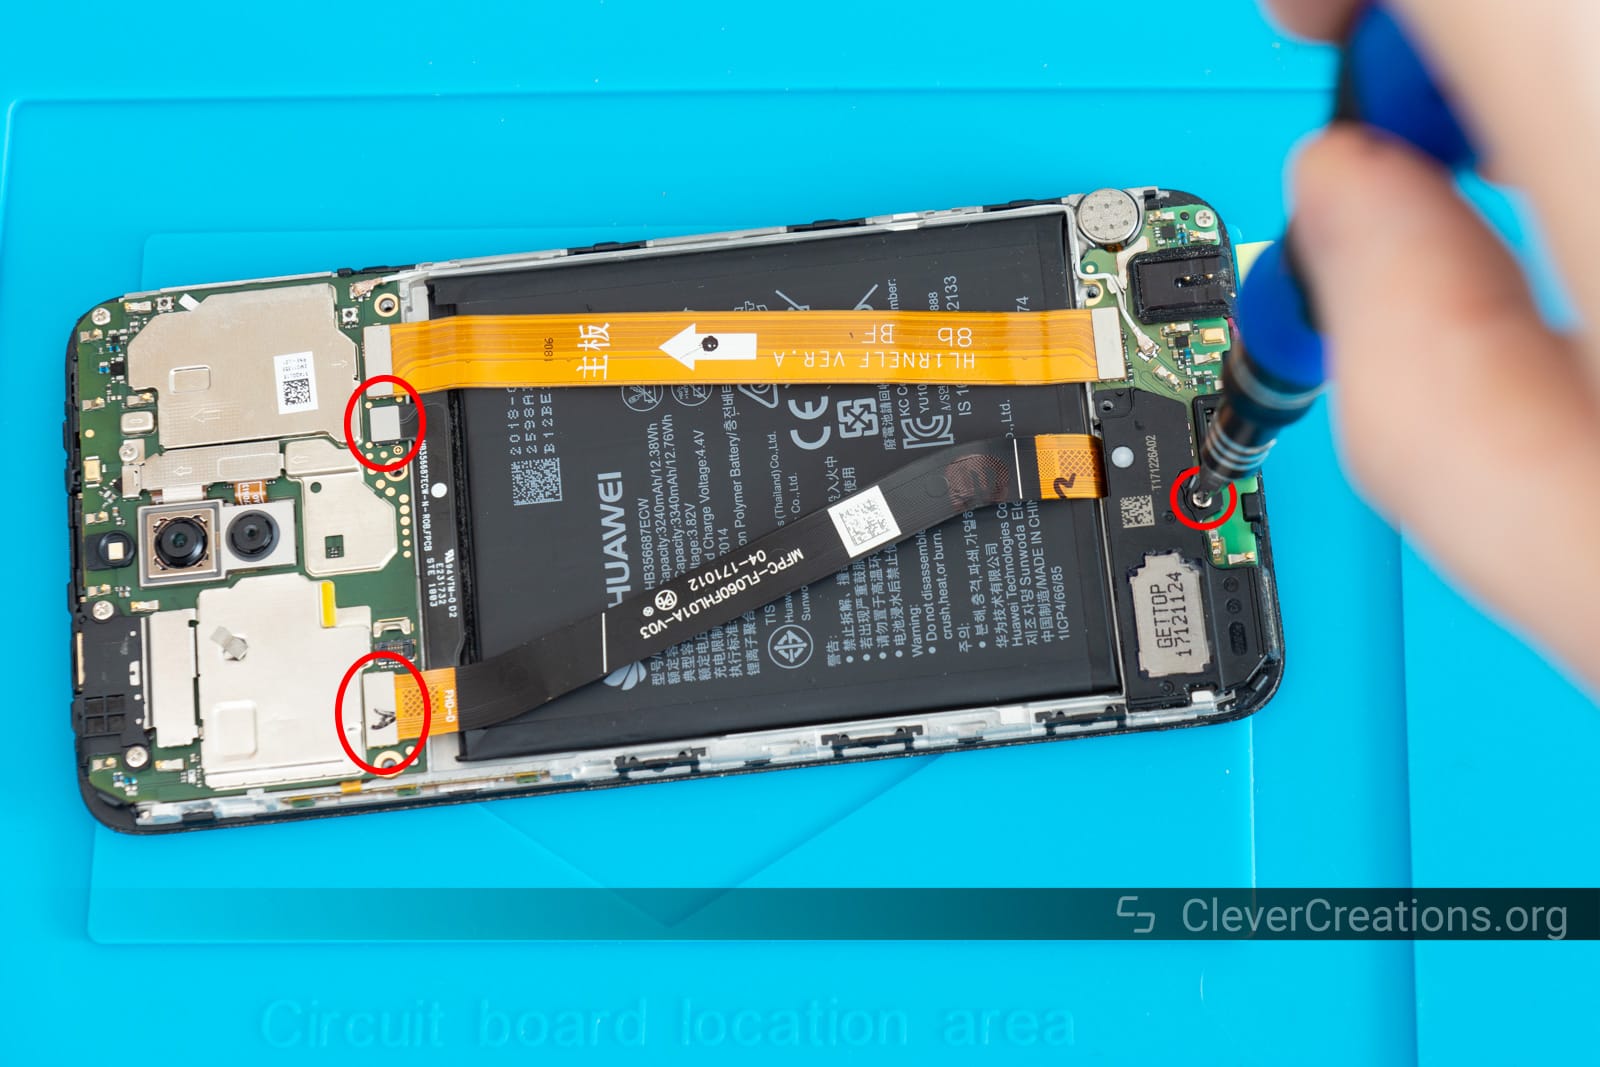
Opening the Mate 10 Lite


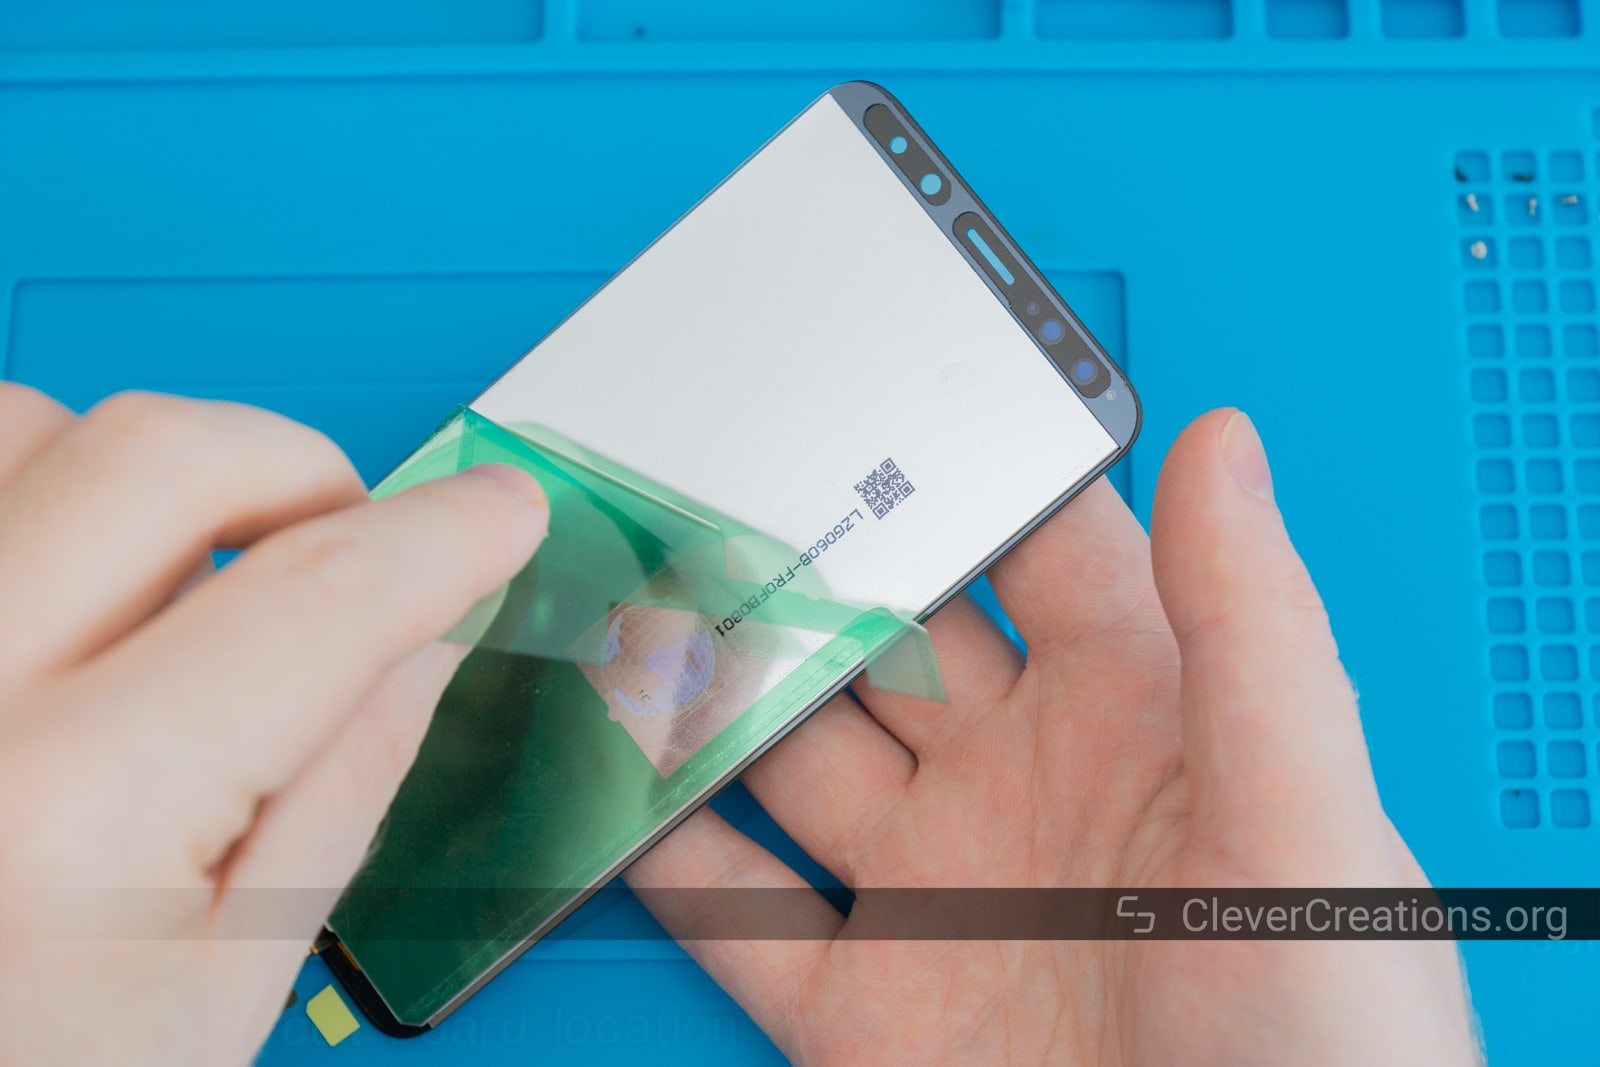
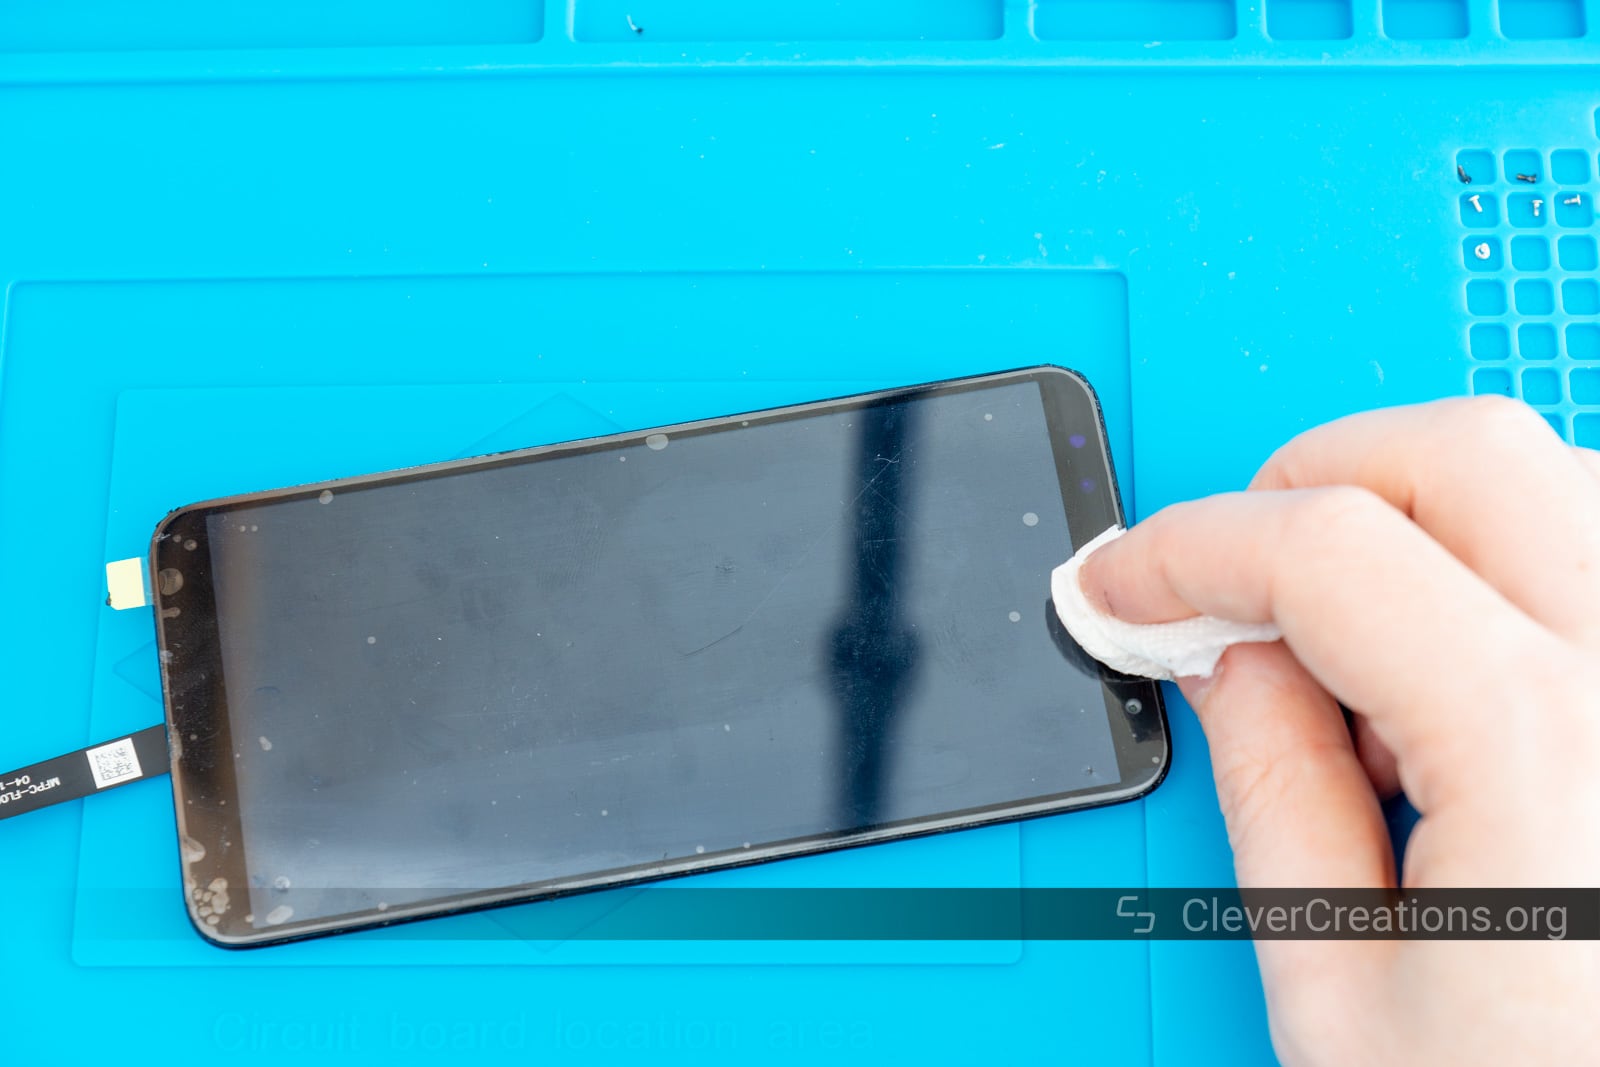
Testing the Replacement Screen
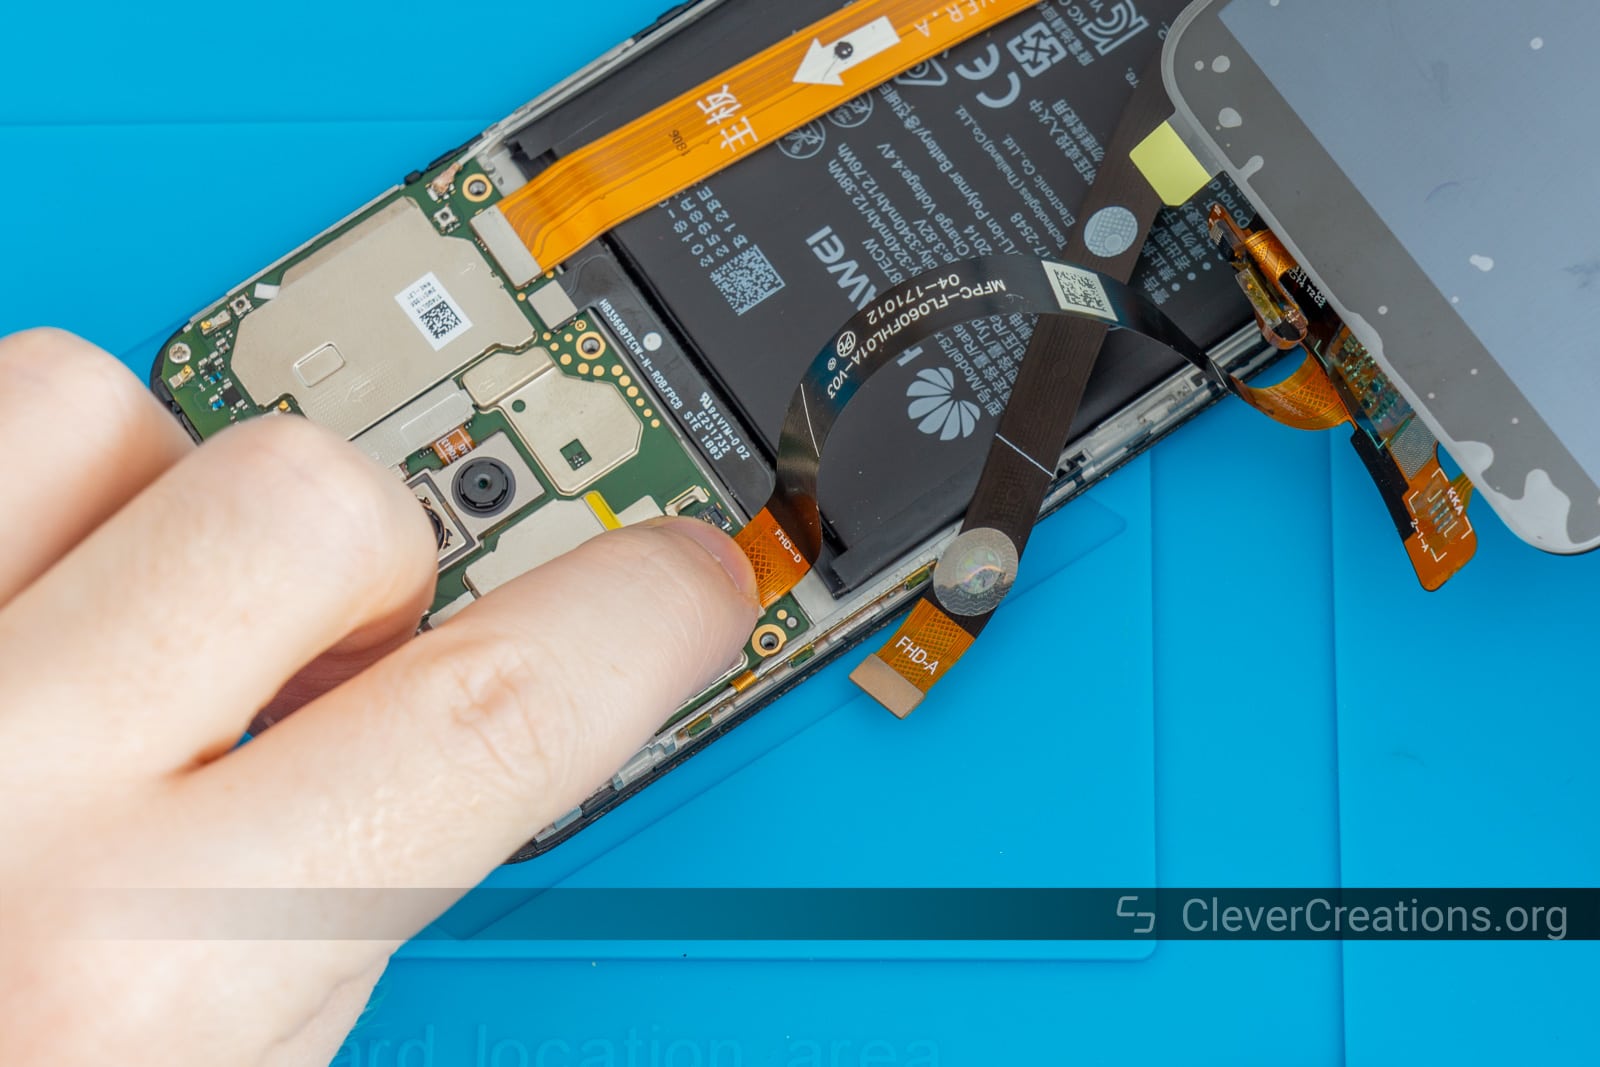

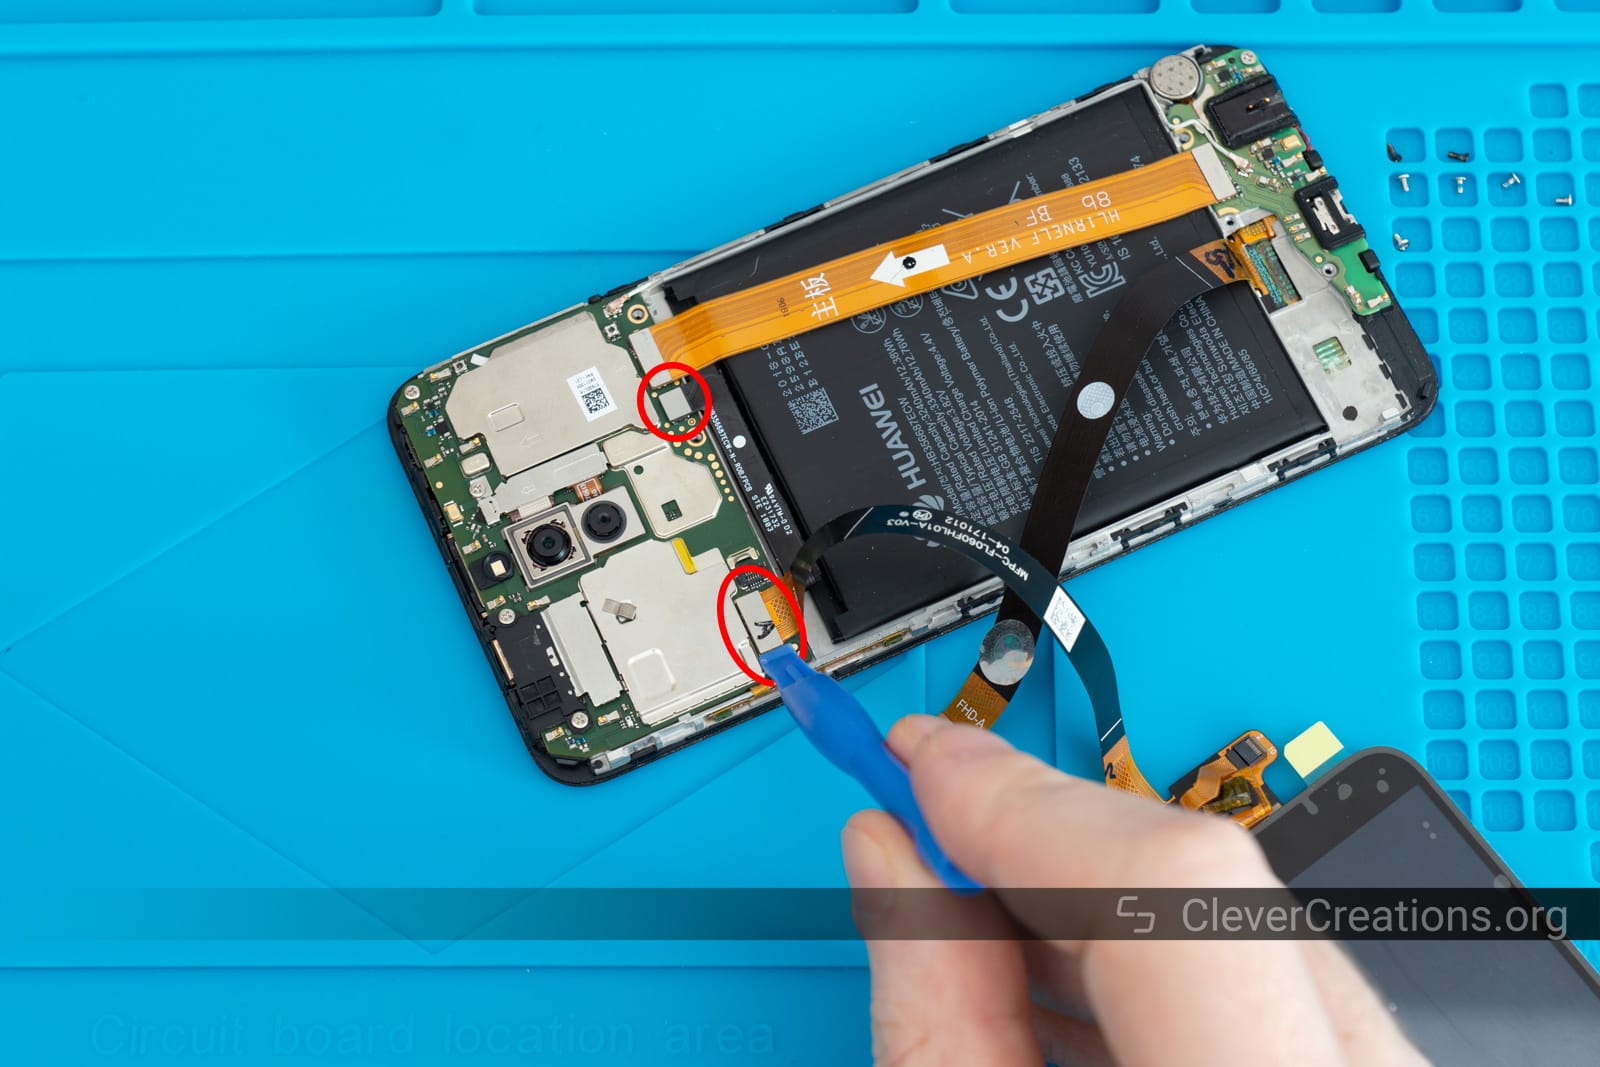
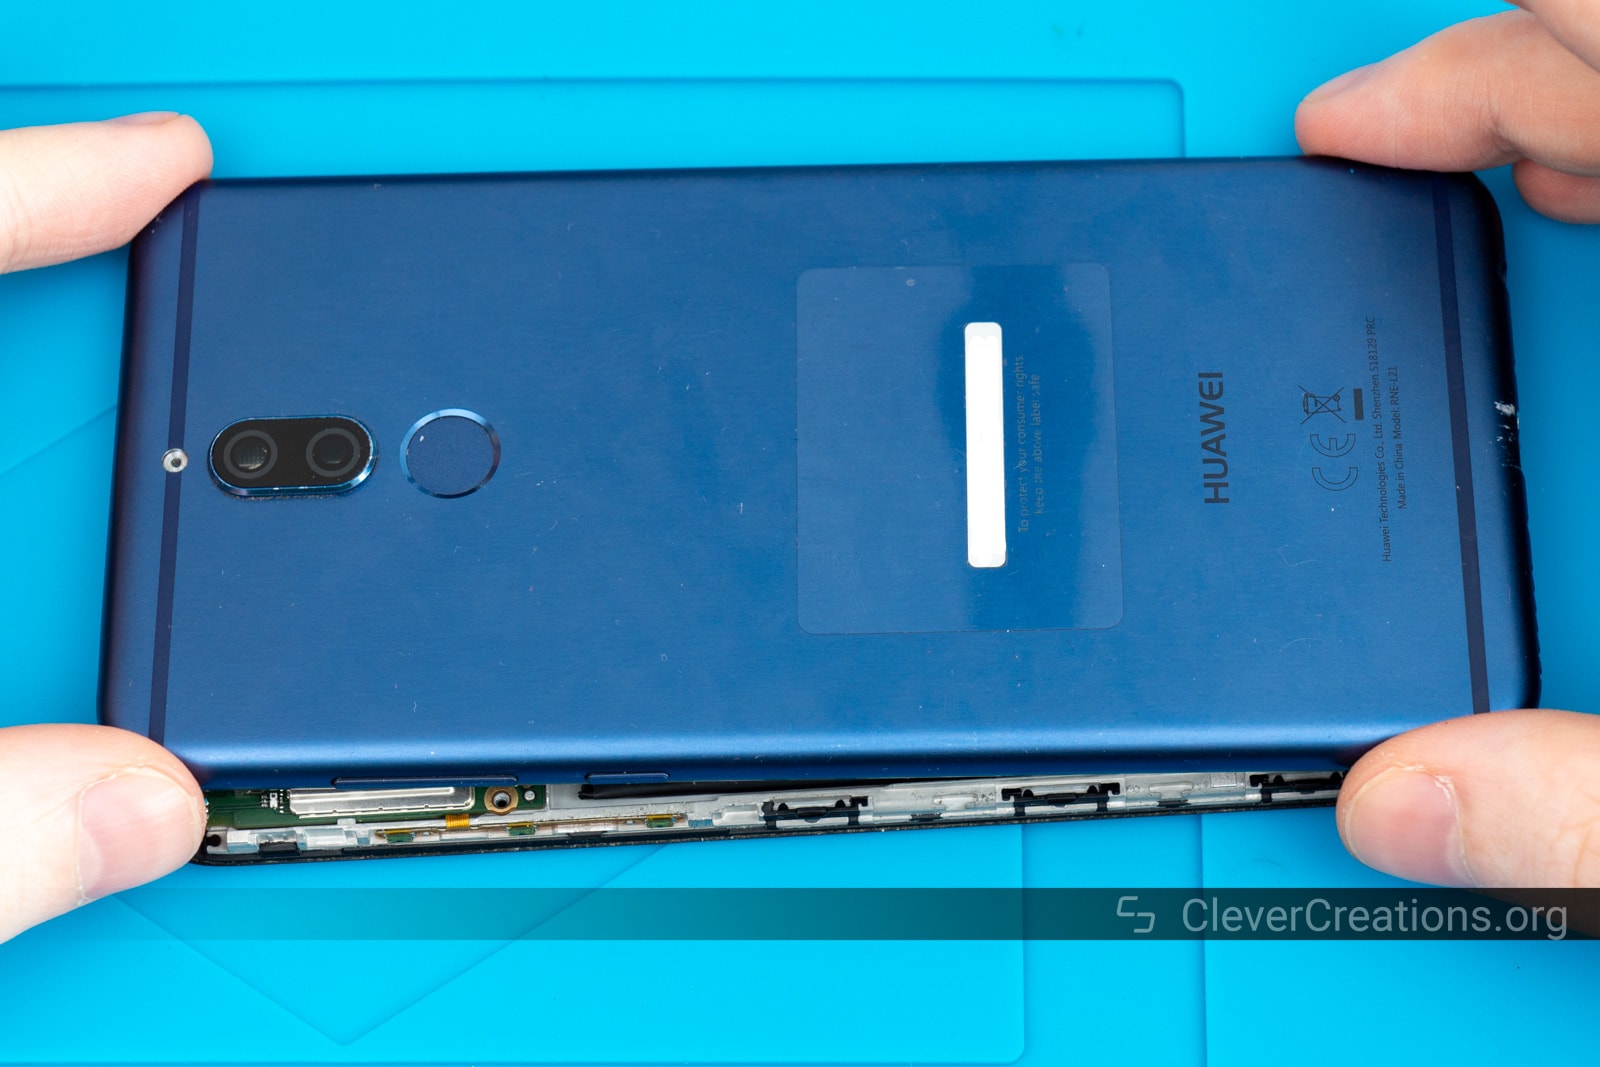

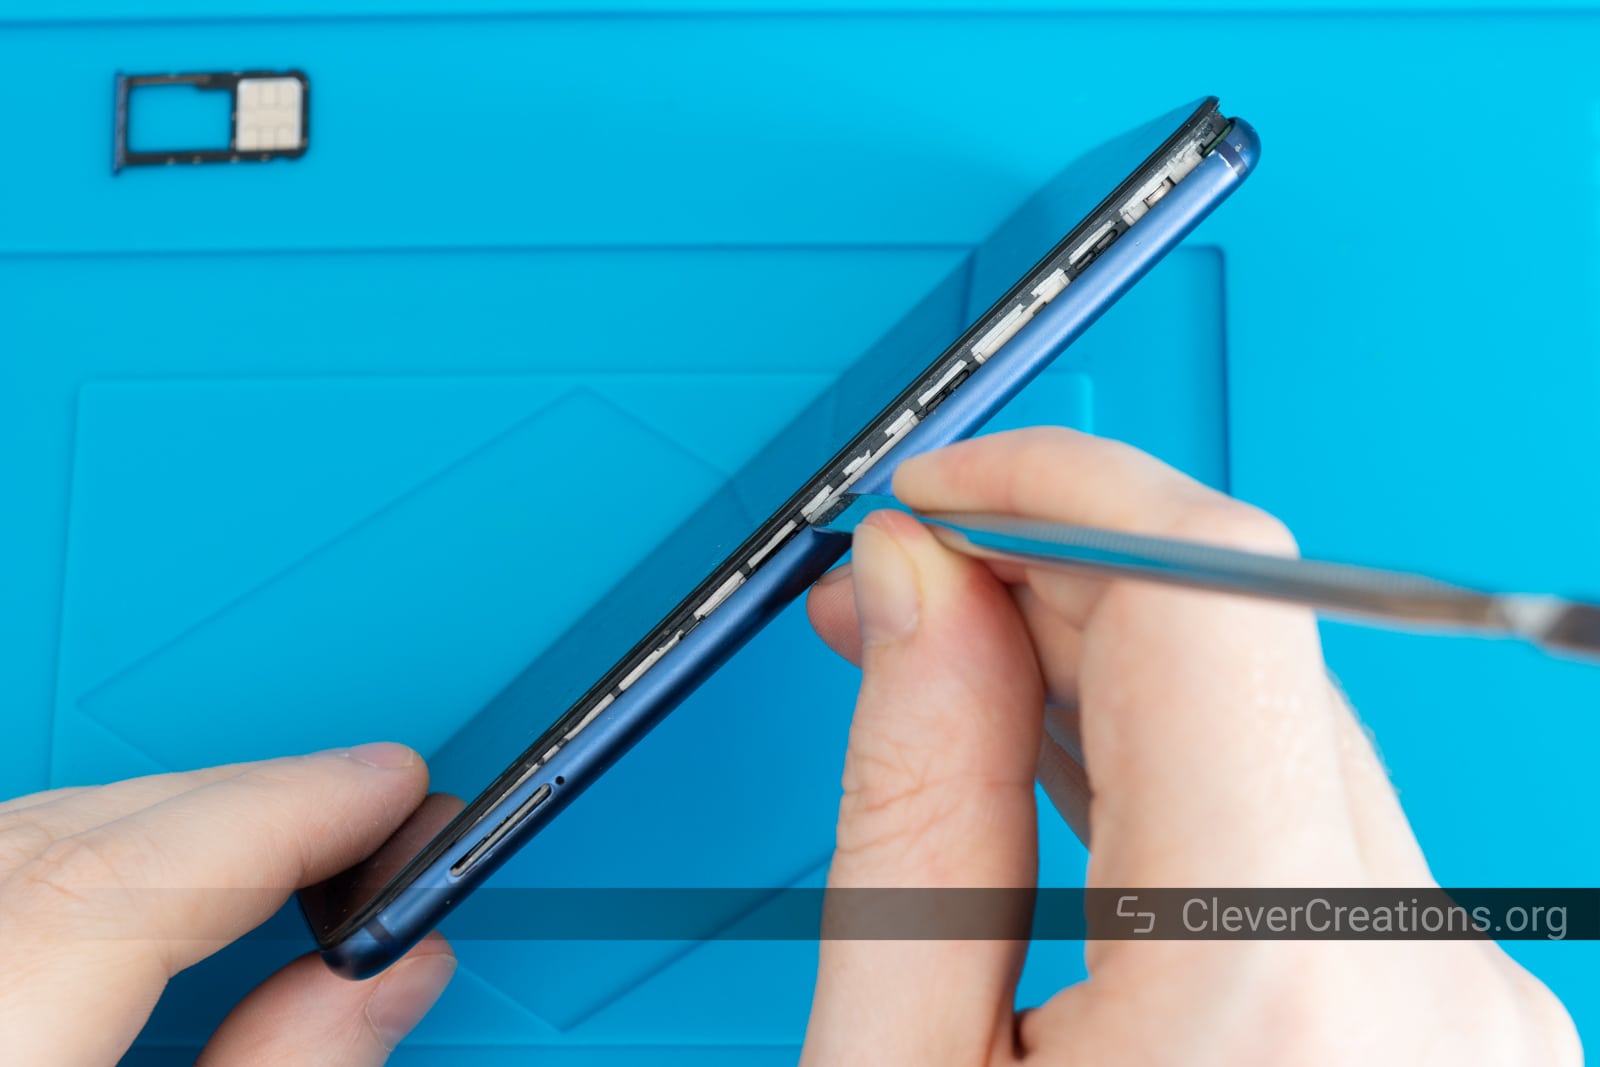
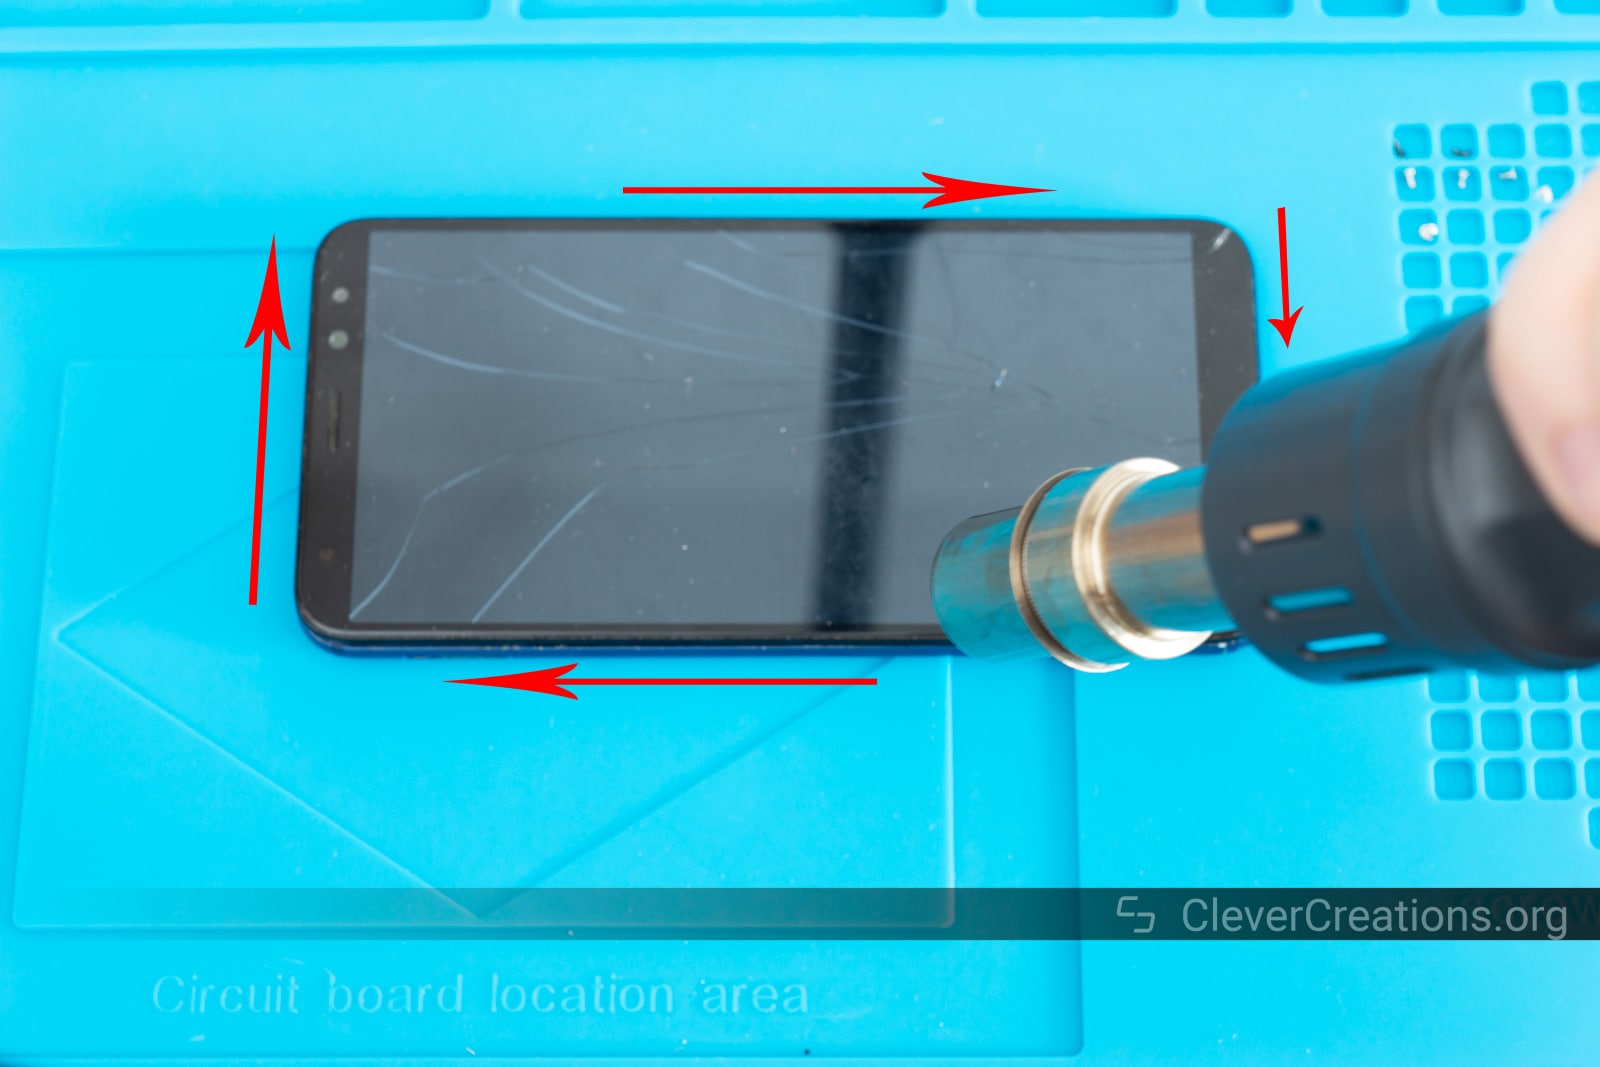
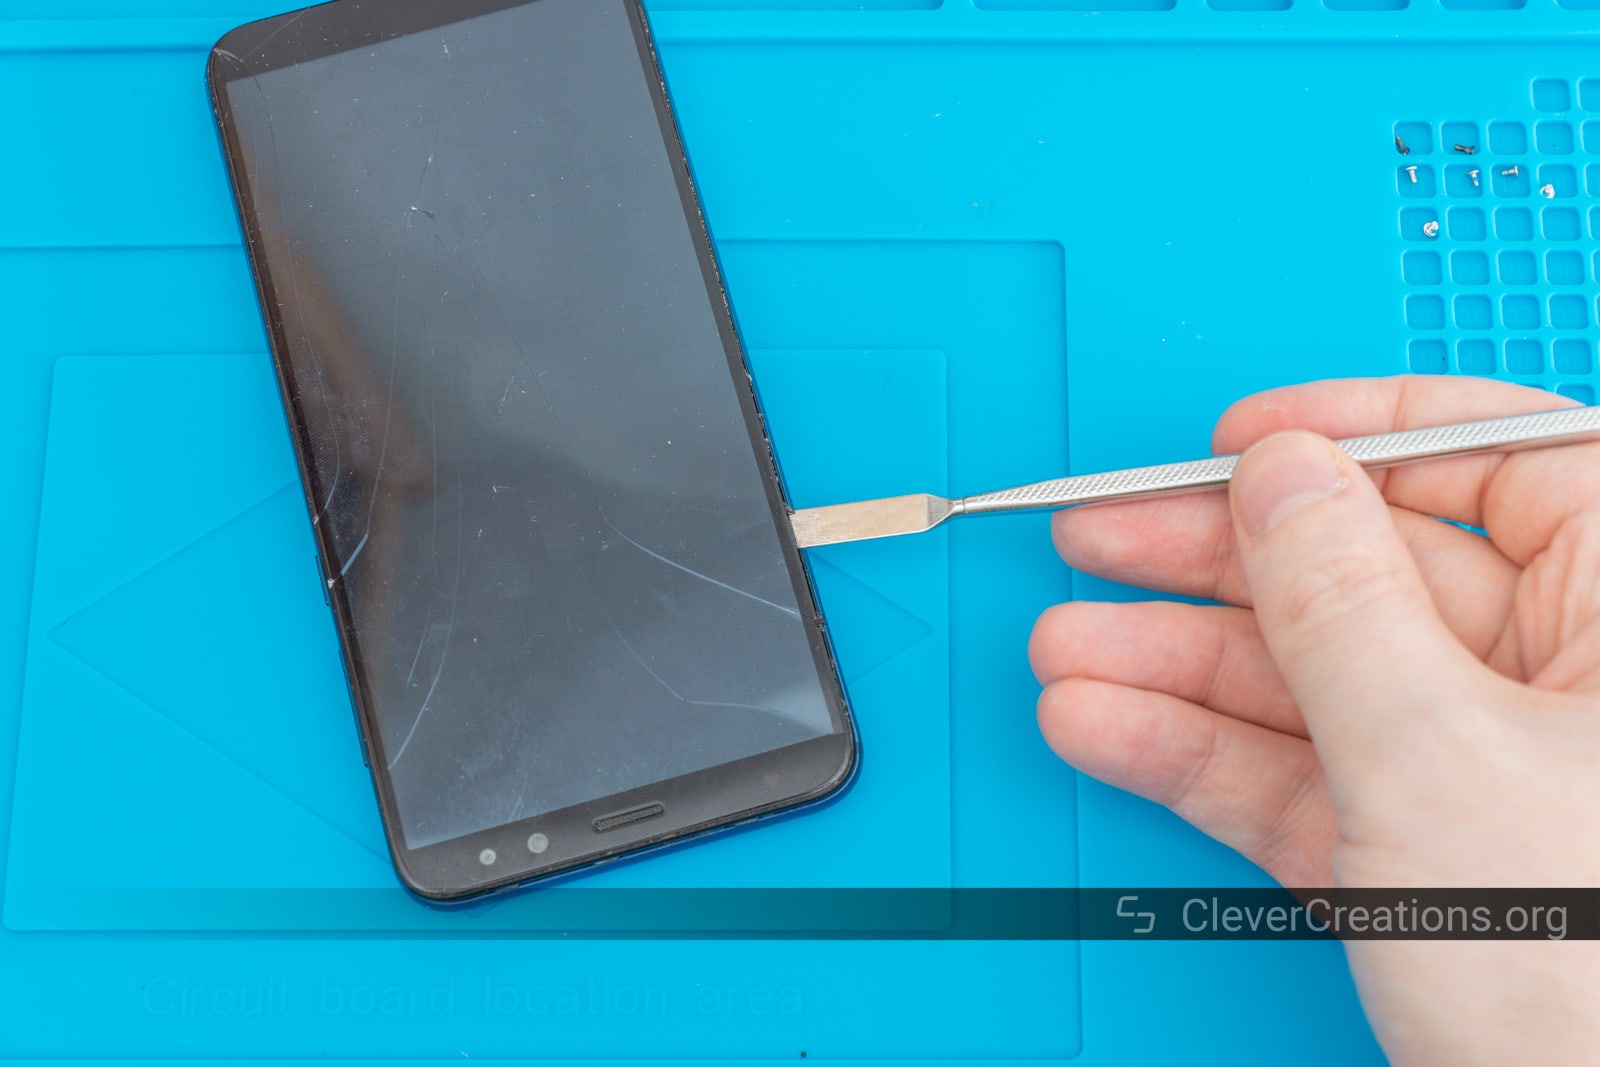
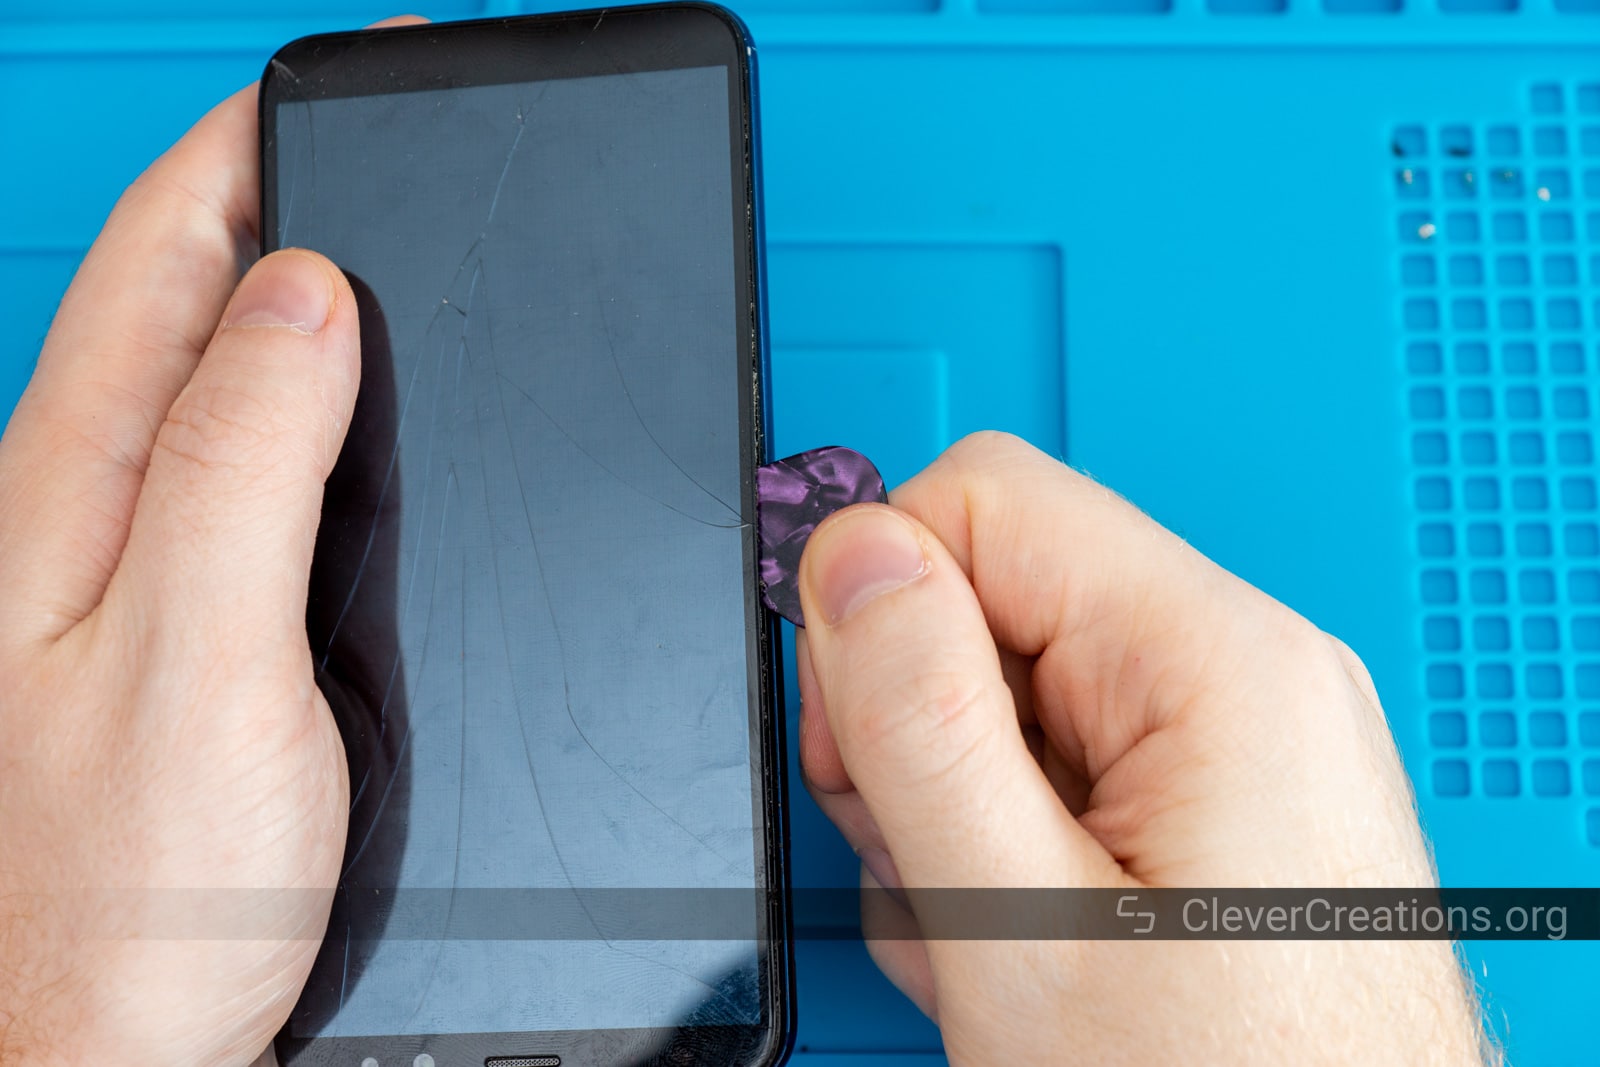
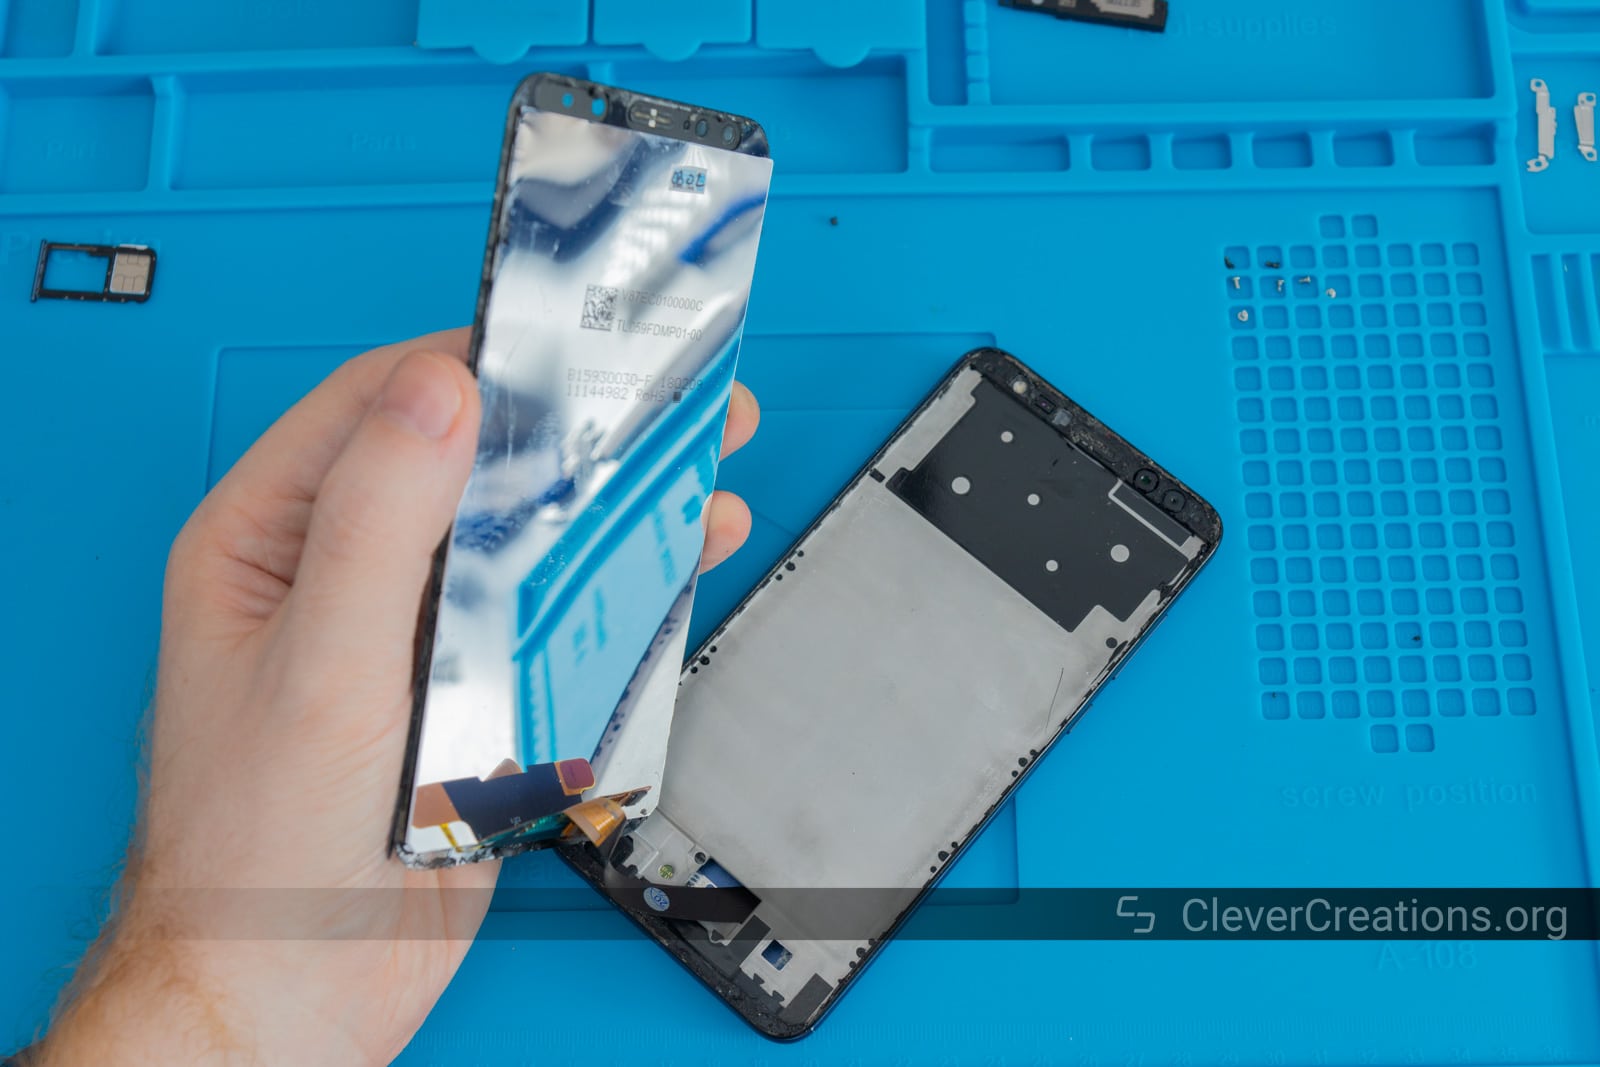
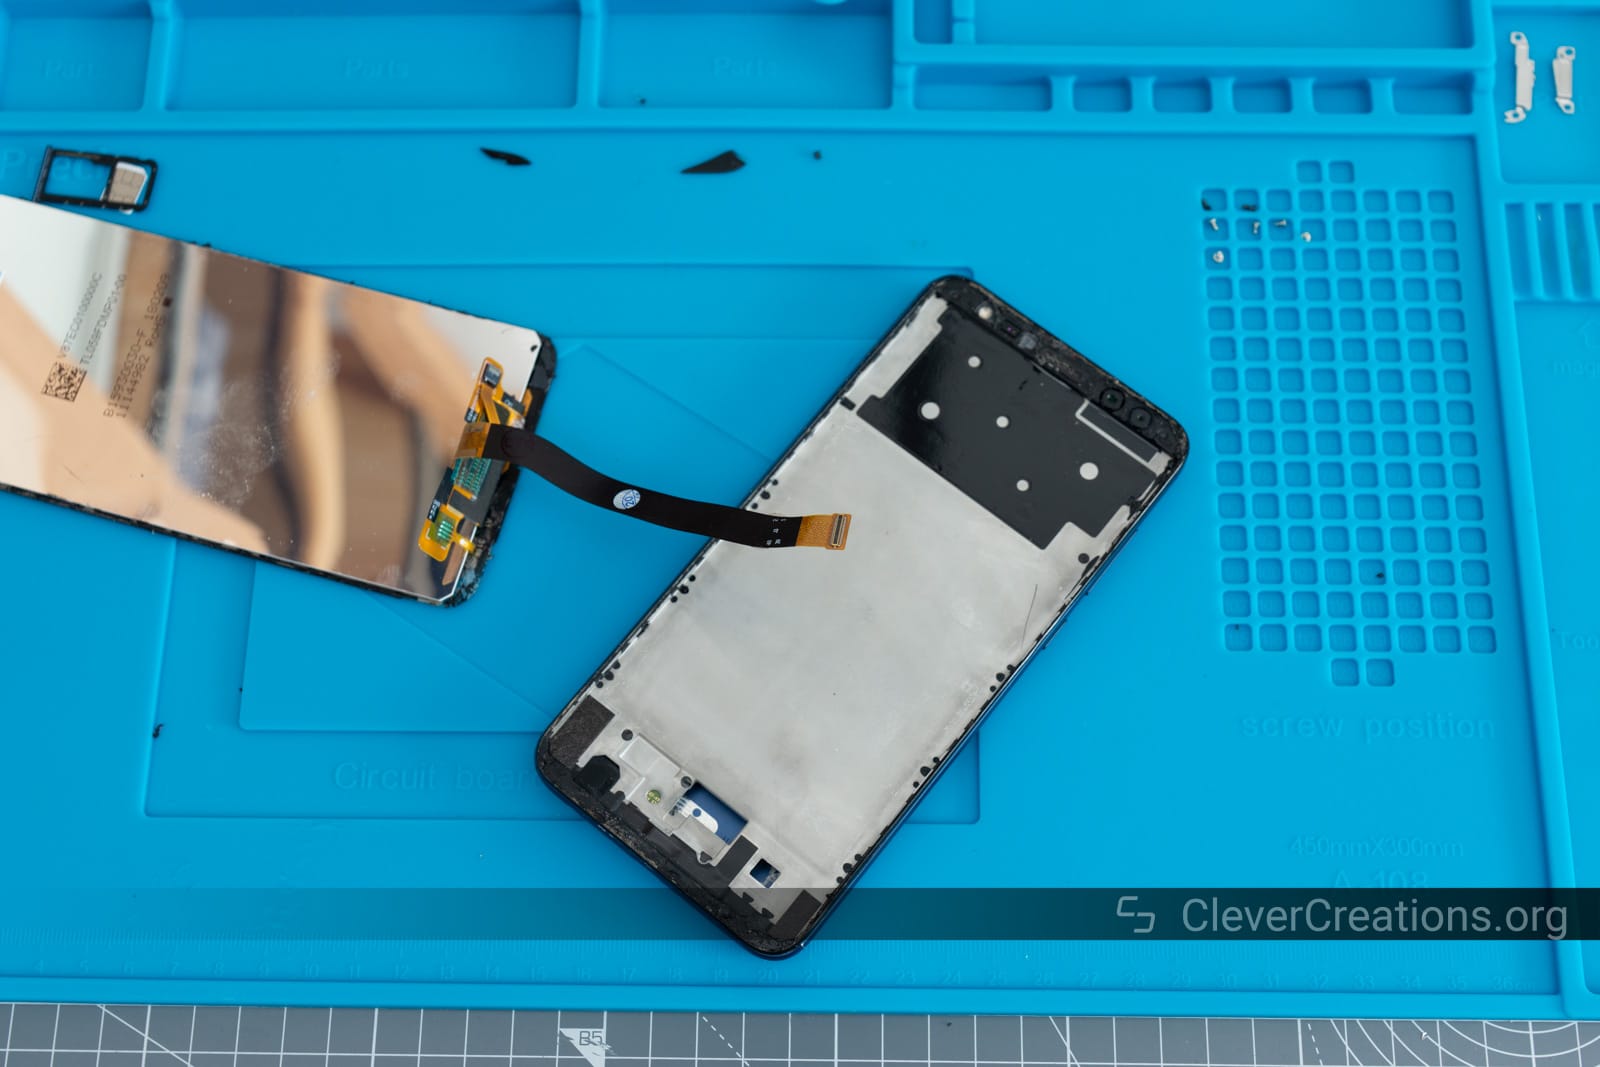
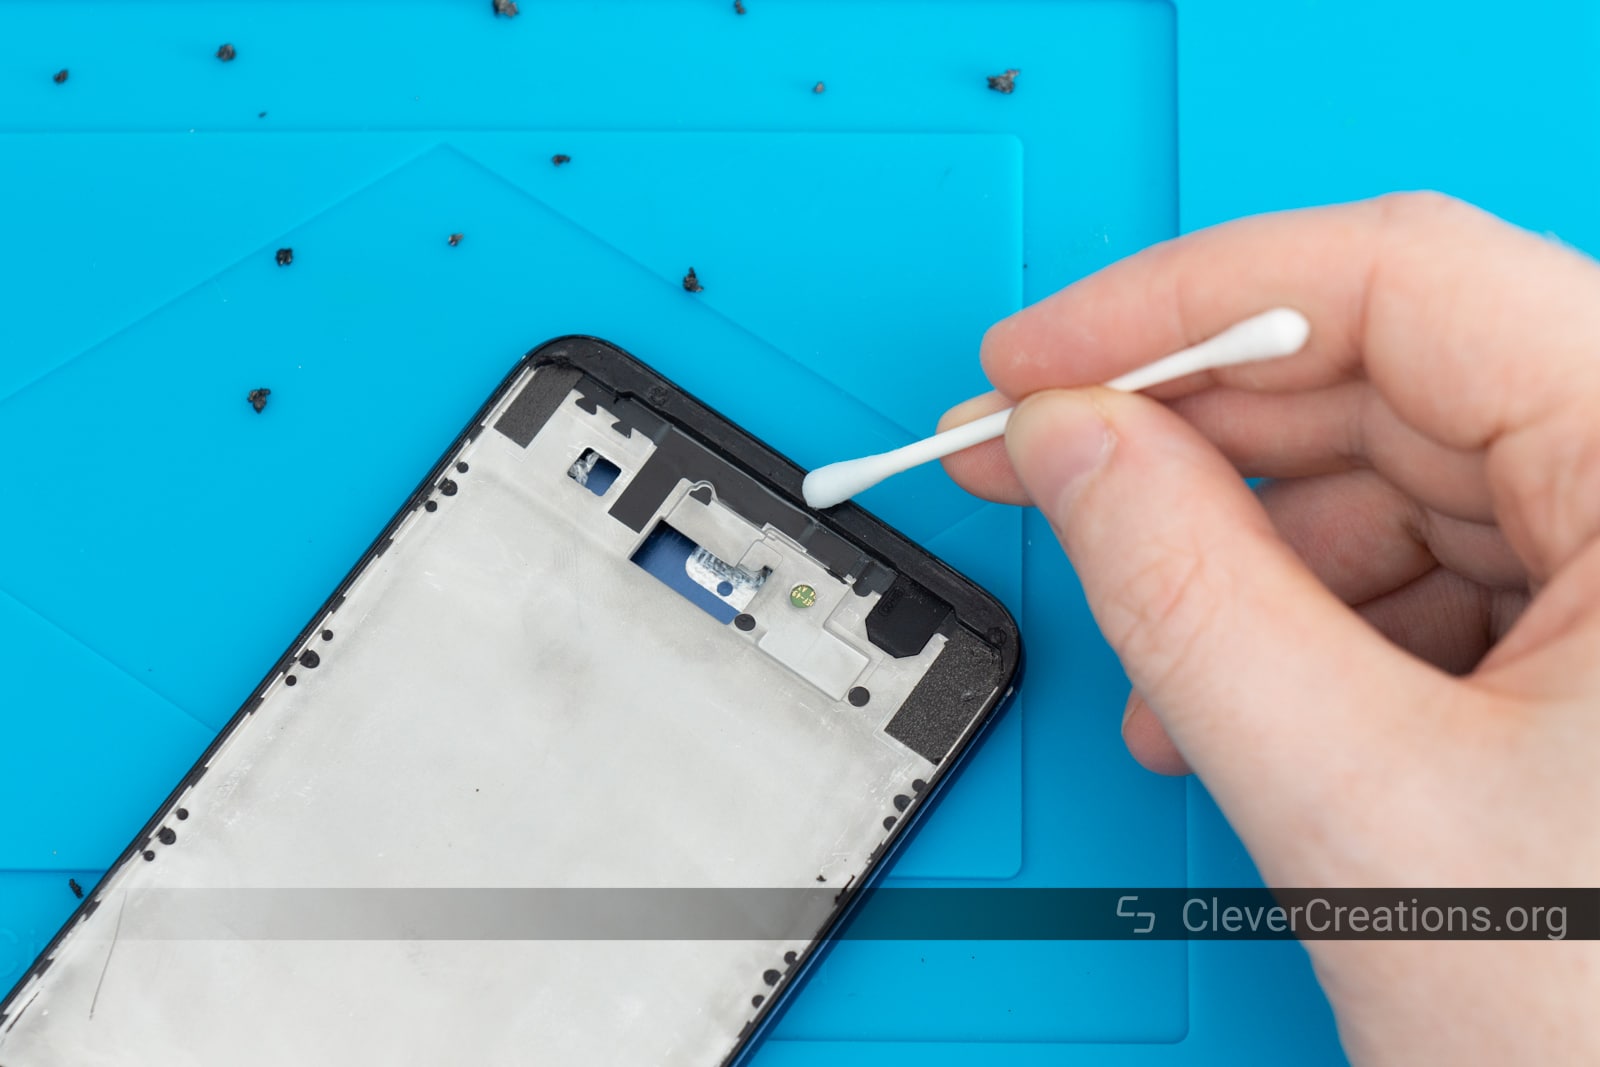
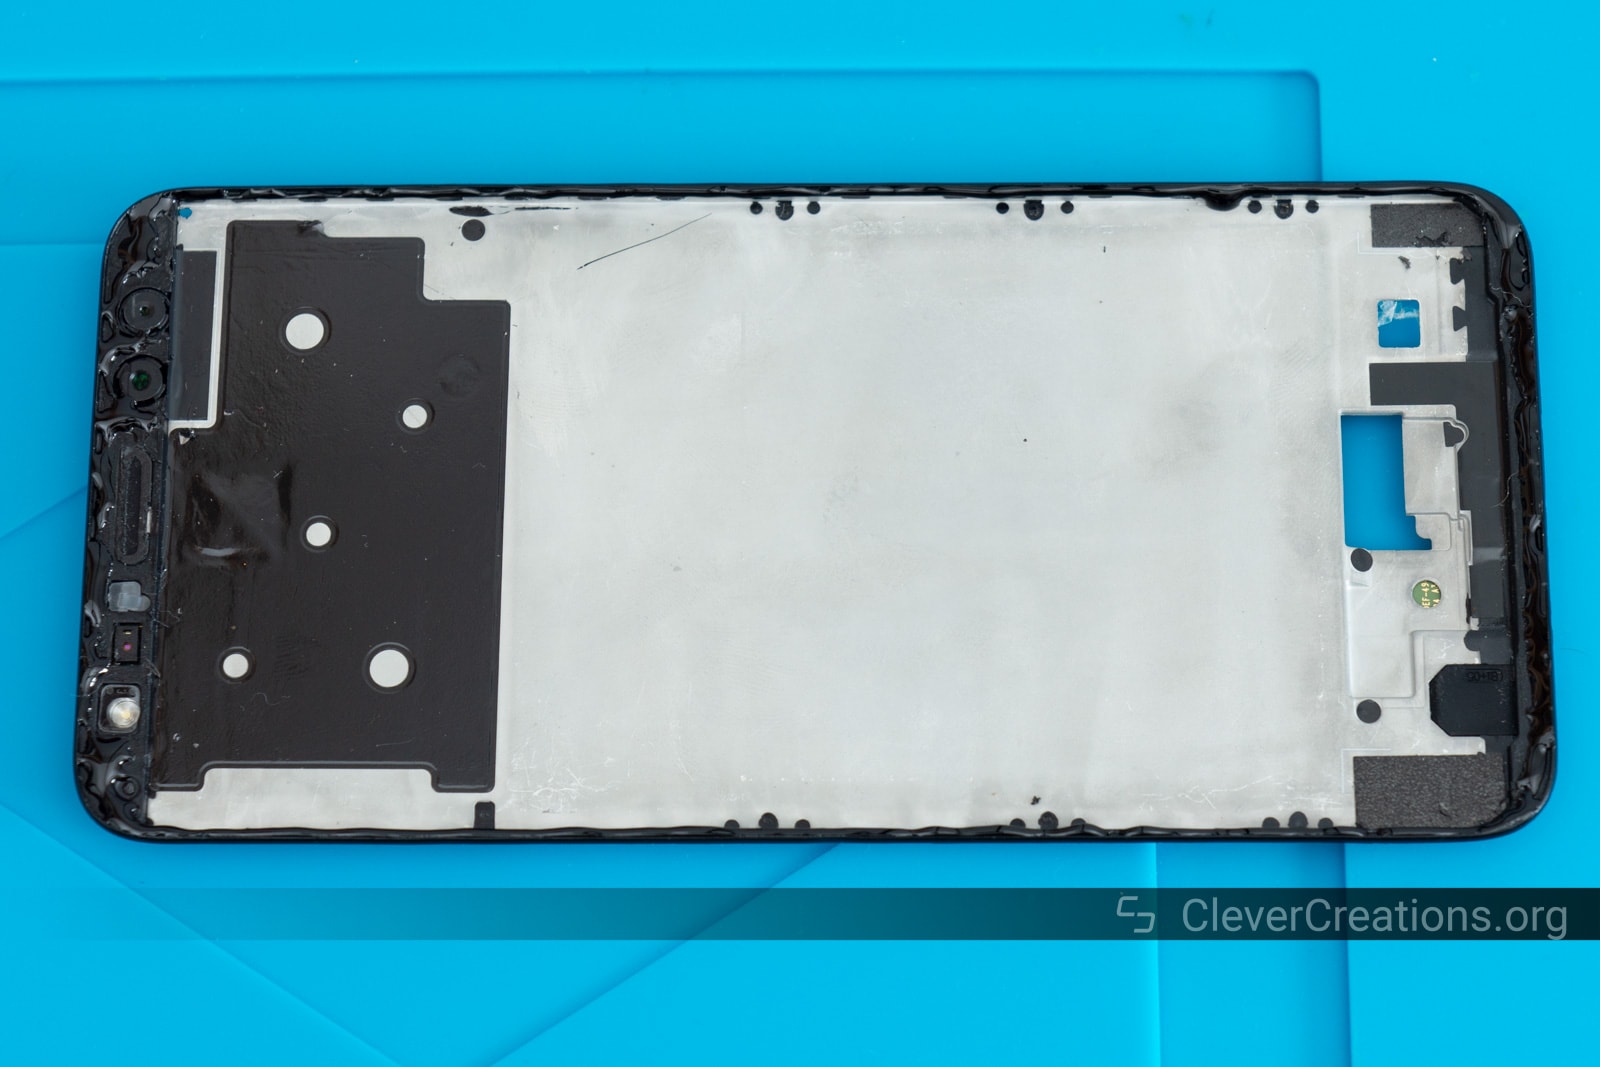
Removing the Broken Screen
To remove the damaged LCD, we must loosen the glue that holds it into place. This is best done with a heat source. I used a Quick 861DW hot air rework station, but you can also use a mini heat gun or even a hair dryer. The glue does not need a lot of heat. It softens around 60-80 °C (140-176 °F).


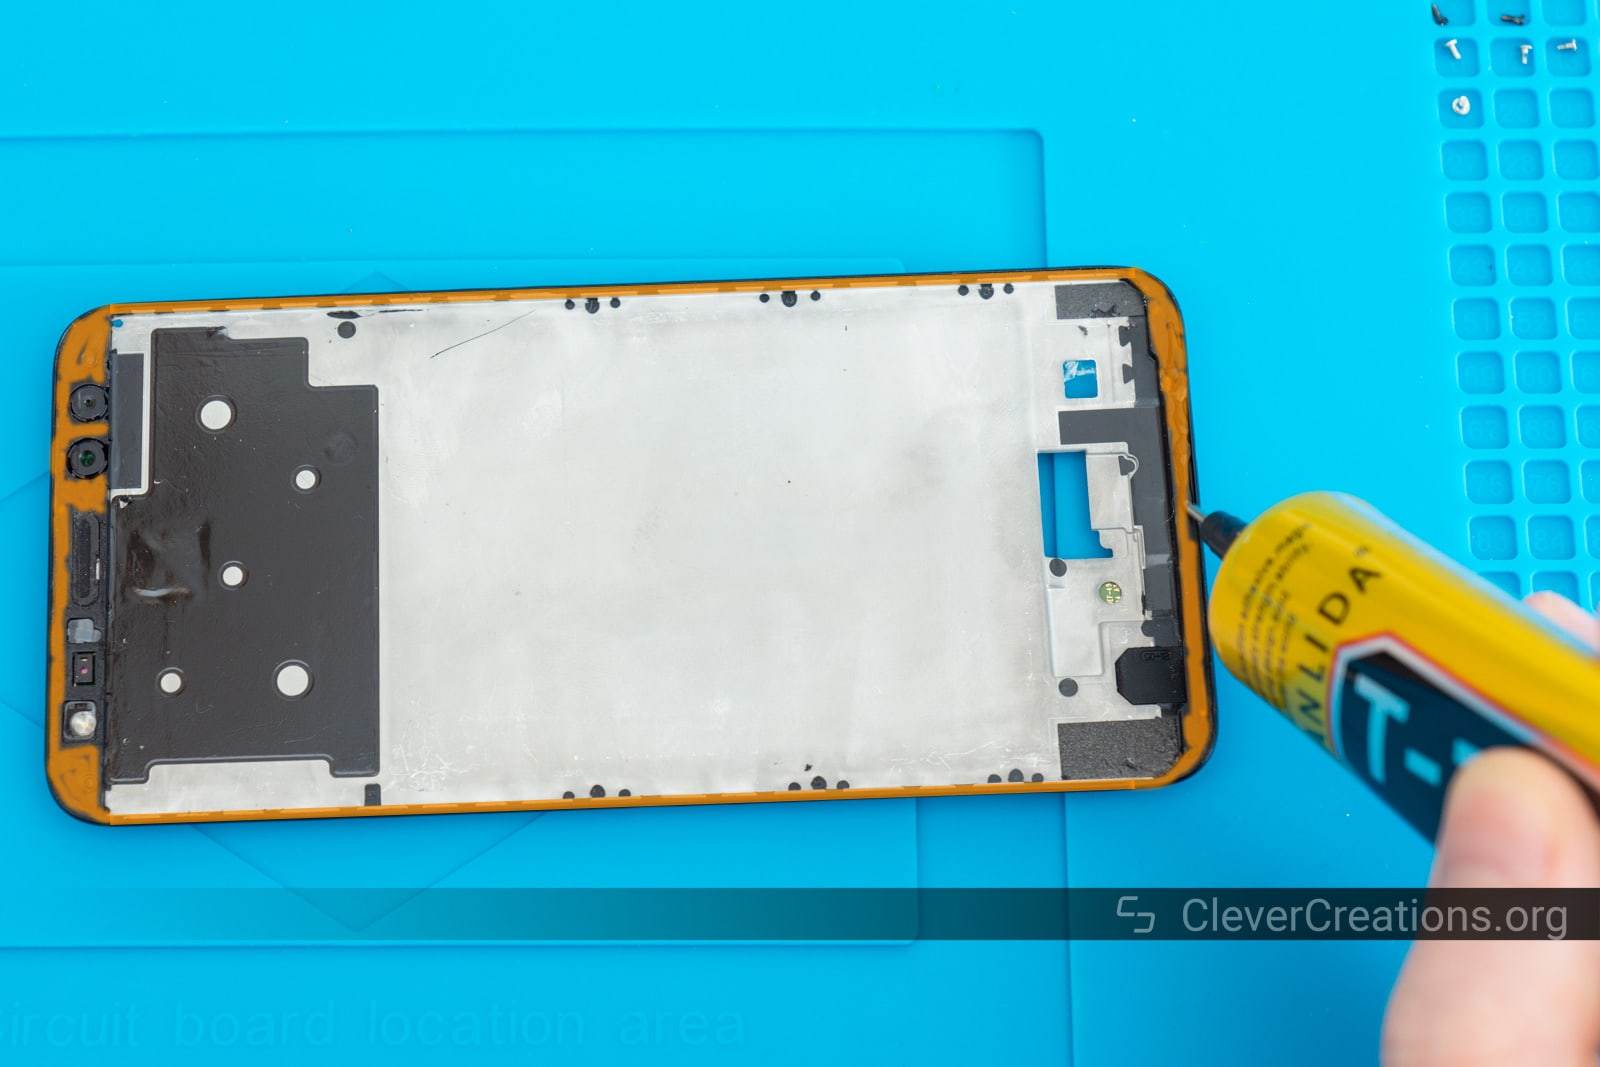
Installing the Replacement Screen


Curing the Glue
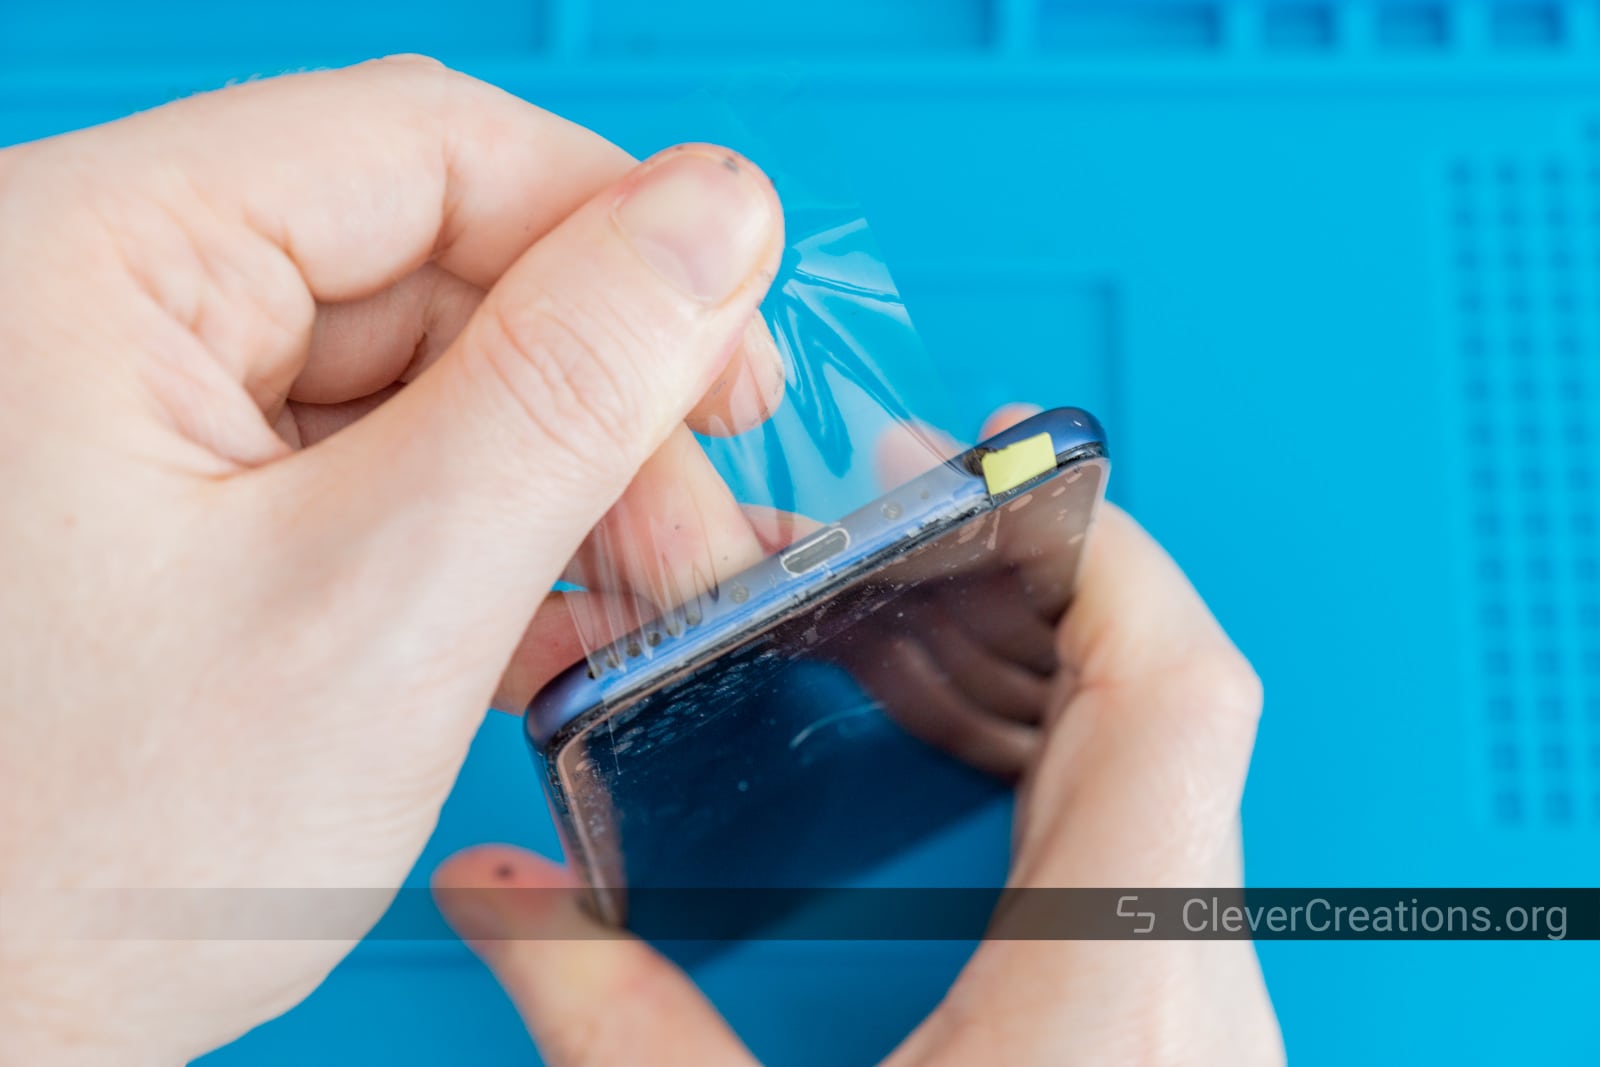
Before you start using the phone again, it is best to let the glue fully cure. This takes about 24-48 hours.
While the screen glue cures, it is important to lightly press the edges of the phone screen down. This ensures that the new screen is positioned right up against the body and no gaps open up while the glue dries.
The easiest way to hold the screen down is with a set of small spring clamps, but if you do not have access to clamps you can also use the tape method:


How Can You Prevent the Screen From Breaking Again?
Being careful goes a long way, but accidents happen, of course. To protect the screen from impacts (like when the phone is dropped), it is best to go with a quality case for the phone. Cases that are made of TPU (thermoplastic polyurethane) are better at absorbing impacts than those made of simply plastic.
On the other hand, if you expect the phone to endure a lot of scratches (like if you keep it in the same pocket as your keys), it is best to go with a screen protector instead. This will save you from having to replace the screen because of a touch panel that ends up too scratched.
How Much Does Replacing a Huawei Mate 10 Screen Cost?
If you go the DIY route and replace the screen yourself, the costs are fairly low. A replacement screen costs about $30, whereas the glue you need is priced around $8.
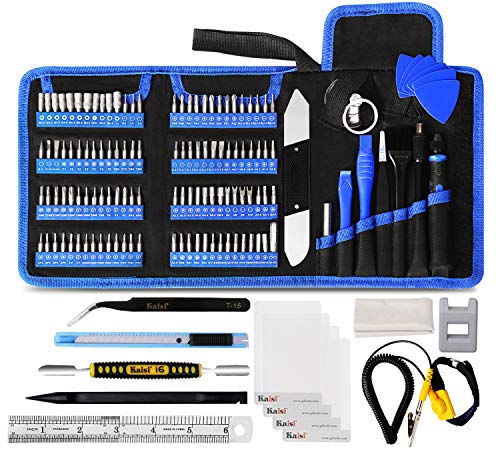
Of course, you might also need to buy some tools, depending on the ones you currently have. Situations like these are part of the reason why I recommend anyone to have a quality electronics repair kit at hand. In our current throwaway society, you will never run out of stuff to repair!
If you choose to have the Huawei Mate 10 screen professionally repaired, it is likely to cost you $50-$100 or even more. The price mainly depends on the salaries in your area. Unfortunately, the professional repair cost is often too high compared to the cost of a brand new phone.


Conclusion
Having a cracked LCD screen, malfunctioning touch panel or completely black display on your Huawei Mate 10 (Lite/Pro) can be frustrating. With this guide, however, you can fix these issues yourself at a low cost by replacing the screen at home.
It is essential to have the right tools, a bit of patience and to follow the steps above from start to finish. Before you know it, your Mate 10 display will be exactly the way it was when it was brand new.