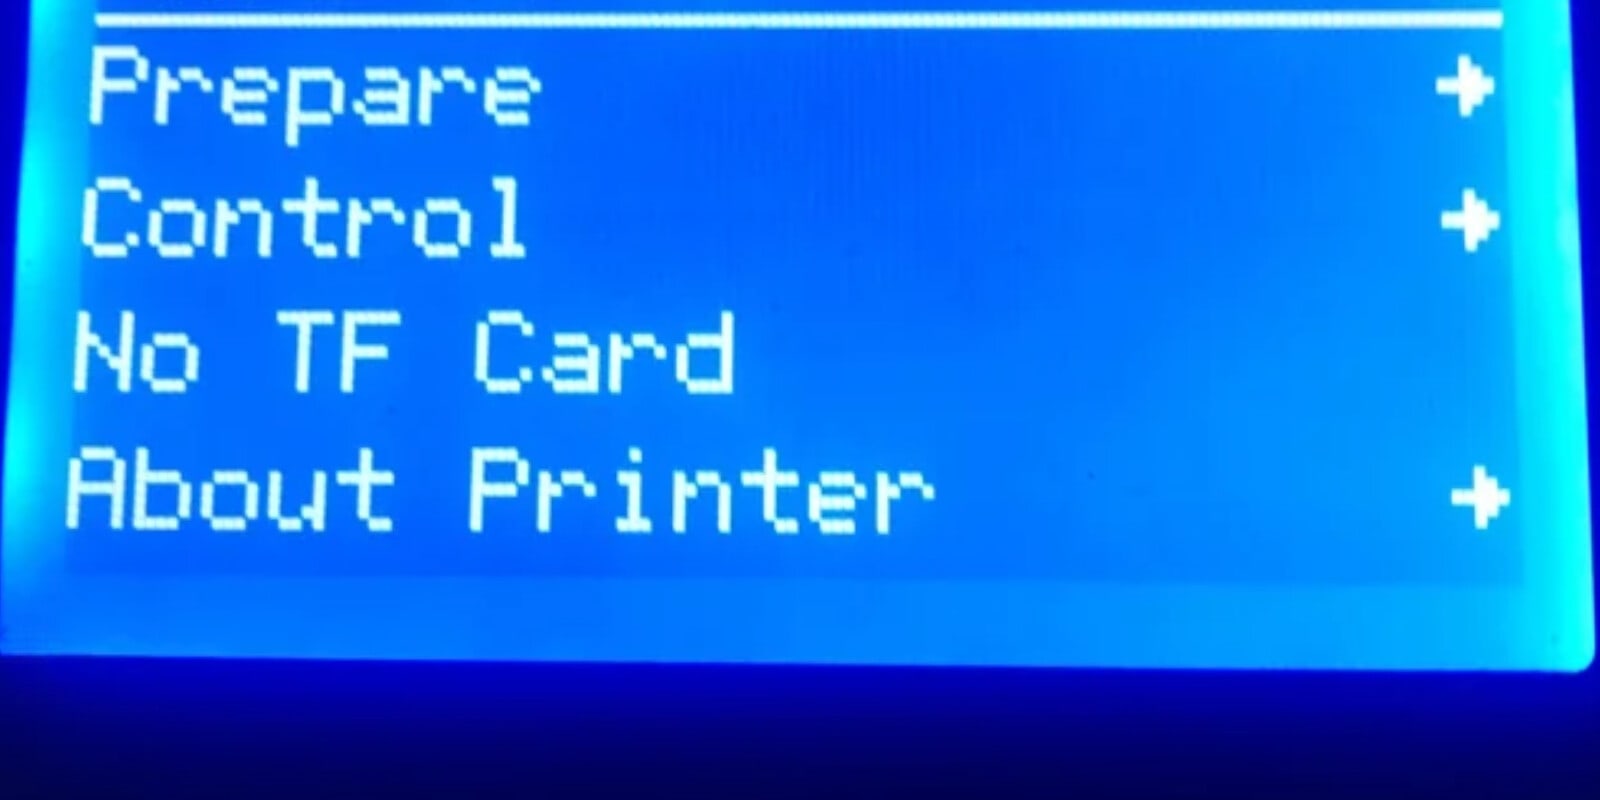
The dreaded ‘No TF Card’ error on the Ender 3 is more common than you’d think. You’re all set to print your next model, but suddenly, your 3D printer decides to play hard-to-read. This error prevents the printer from reading the G-code files stored on the SD card, halting all printing activities. It can quickly turn into a troubleshooting quest, leaving you frustrated and having to try all sorts of solutions.
Fear not, for this step-by-step guide is curated to bring an end to the Ender 3 ‘No TF Card’ error. We’ve compiled a list of five easy fixes which can help you sort out this issue. So, buckle up and get ready to sail smoothly into the world of uninterrupted printing.
It’s time to ‘TF’ (totally fix) your way out of this error and let the plastic flow!
Causes of the Ender 3 ‘No TF Card’ Error
Before diving into solutions, it’s important to understand the common causes behind the ‘No TF Card’ error on the Ender 3. Identifying these reasons will help you address the issue more effectively. Here’s a look at the most common factors that could be preventing your printer from reading the SD card:
Incorrect Filesystem or Partition Table
The Ender 3 printer requires the SD card to be formatted with a FAT32 filesystem and an MBR (Master Boot Record) partition table for compatibility with the Marlin firmware.
The FAT32 file system is excellent for files of smaller file sizes, like the G-code files. The MBR partition table, on the other hand, is widely supported across different operating systems, such as Windows, Linux, and macOS.
The FAT32 is one of the three commonly used file system types for storage devices. Large storage solutions like hard disks and SSDs come preformatted with the NTFS file system. However, NTFS is not supported across different OSs and has limited compatibility.
To counter this issue, most storage drives use the exFAT file system. It is compatible with Windows, Android, and macOS and supports large file sizes. However, this file system type, like the NTFS, is incompatible with 3D printers like the Ender 3.
Likewise, the MBR partition table is a legacy format that the computer uses for file booting up. There is a different SD card partition table option, GPT (GUID Partition Table). Larger storage drives use this due to its wider compatibility and support for some modern features. However, GPT is also not compatible with Marlin firmware.
If your SD card does not show up on the Ender 3, the first thing to check its file system and partition setup. You can do this by connecting the SD card to your computer and checking its properties.
If it’s not formatted as FAT32 or doesn’t have an MBR partition table, you’ll need to reformat it. You’ll find the instructions for this further down the article.
Corrupted SD Card Filesystem
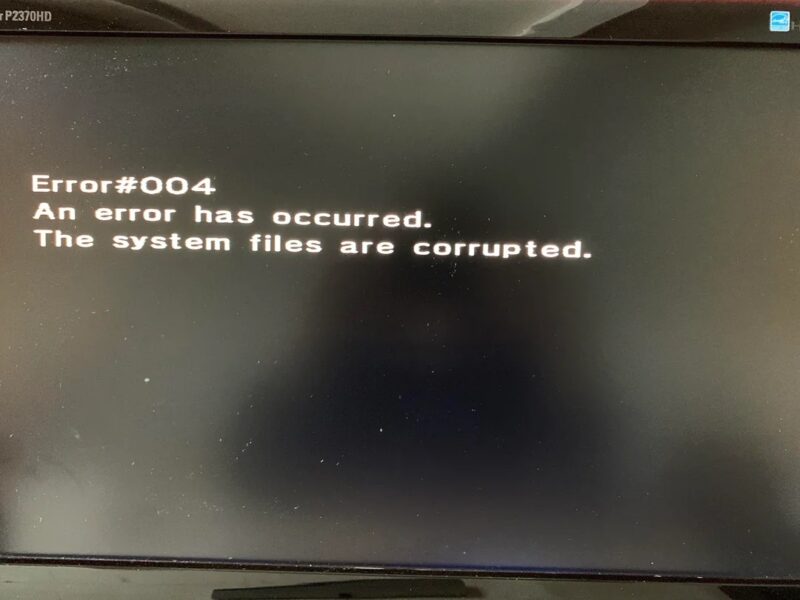
Another possible cause for the ‘No TF Card’ error on the Ender 3 is a corrupted SD card file system. This can happen if you remove an SD card from a computer without ejecting it first.
It’s not something that happens often in our experience, but it’s worth considering if you’ve recently had a power outage or if your computer has abruptly shut down while the SD card was still in use.
Because your Ender 3 3D printer cannot read the file names on the corrupted SD card, this can lead to the same No TF Card message as if the card were not inserted at all. If you suspect your SD card might be corrupted, there are steps you can take to verify and repair the issue, which we will show you later in this guide.
Physical Damage
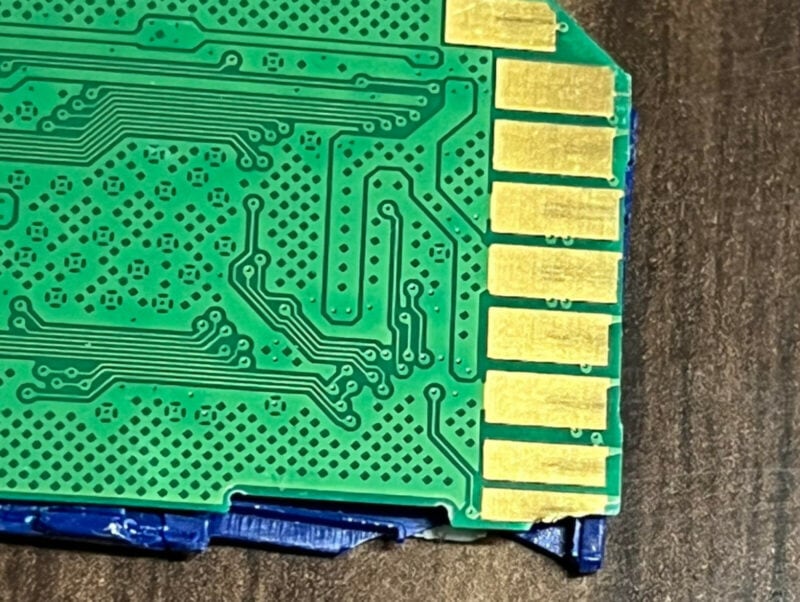
Physical damage is also a potential cause of the ‘No TF Card’ error. If your SD card has been exposed to high temperatures, moisture, or has been dropped or mishandled, it may have sustained physical damage.
Some physical damage is clearly visible on SD cards. However, small scratches or damage to the card pins can easily go unnoticed. Internal damage is invisible to the naked eye but can still cause the error.
Similarly, it’s a good idea to check for any signs of damage to the Ender 3 SD card slot. Just like on the SD card, the pins on the card reader can also become damaged or bent, preventing the printer from reading the card correctly. It’s easy to miss if you don’t know what to look for.
Incompatible SD Card Size
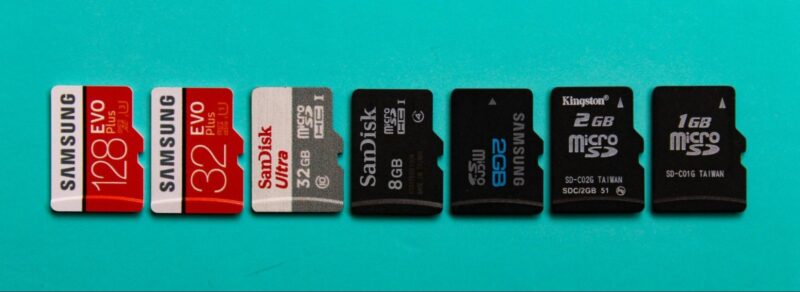
If the SD card you use with the Ender 3 is larger than 32GB, it can have compatibility issues with the Ender 3. This is due to the FAT32 formatting limitations and the Marlin firmware’s compatibility.
Therefore, the Ender 3 printer works best with SD cards with a capacity of 32GB or less. If you use a larger SD card and see the ‘No TF Card’ message, using a smaller capacity SD card can resolve the problem.
Invalid Firmware
Firmware problems can manifest as ‘No TF Card’ errors. For example, if the Ender 3’s firmware is outdated, corrupted, or incompatible with the SD card.
You are especially at risk of this when you use a third-party fork for Marlin or run an obsolete firmware version. This is one of the reasons to keep the firmware up to date (with the most recent stable version) at all times.
Incorrect Firmware Settings
It’s not just the firmware itself that can result in the ‘No TF Card’ error, the firmware settings can do this as well. When using Marlin (the stock firmware), your Ender 3 firmware has three settings that need to be correct to ensure proper SD card usage. Without them, your Ender 3 can fail to read the card, causing the error.
There are three main settings related to the SD card. One is for the SD card’s support, which is named SDSUPPORT in the configuration.h file of the printer’s Marlin firmware.
The second setting, i.e., SDCARD_CONNECTION, is for its connection source (LCD or mainboard). Finally, the SD_DETECT_STATE detects whether the SD card has been inserted into the slot. Both of these settings are in the configuration_adv.h file.
We’ve listed in the solutions section below how you can modify these firmware settings to fix this SD card error on the Ender 3.
SD Card Failed to Initialize
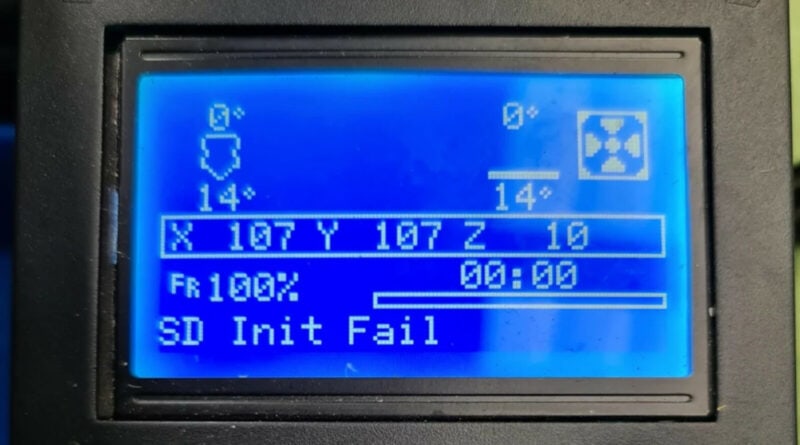
A related error is the Ender 3 ‘SD Init Fail’ warning that can appear on the 3D printer’s LCD screen. This indicates that the SD card is not automatically initialized by the machine, and you may need to initialize it manually. This error often happens if you insert the SD card into the printer while it’s already turned on.
How to Fix the ‘No TF Card’ Error on the Ender 3
Now that we’ve identified the potential issues for the ‘No TF Card’ card error on the Ender, it’s time to fix them. The following solutions will help you systematically address and rectify each issue.
Ensure a Correct Filesystem and Partition Table
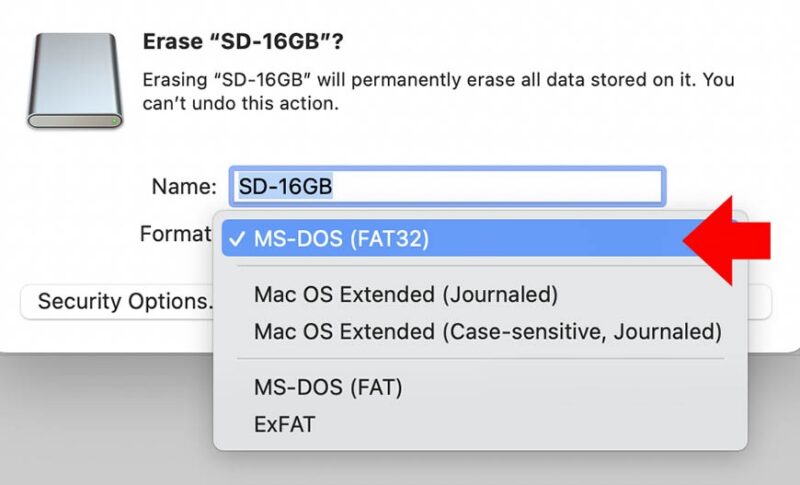
Reformat the SD card to FAT32 with an MBR partition table. You can format the SD card using your computer’s built-in tools or third-party software for greater control over the formatting options.
- Windows Users: Utilize the Disk Management tool to reformat the card. Right-click on the SD card listing and choose ‘Format,’ select FAT32 as the file system, and ensure the partition style is set to MBR.
- macOS Users: Use the Disk Utility app, choose the ‘Erase’ function, and set the format to MS-DOS (FAT) for FAT32.
Clean or Replace the SD Card and Card Reader
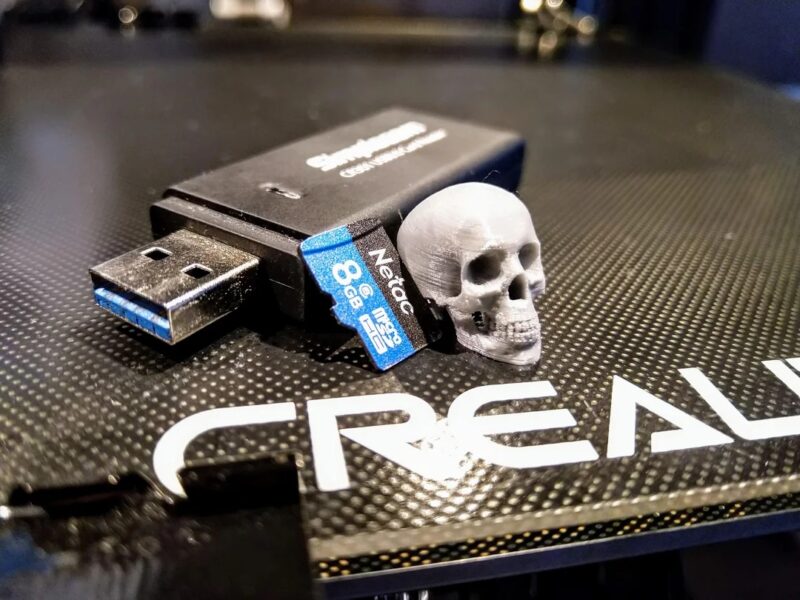
If your Ender 3 SD card has minor scratches on the contact pin, try cleaning them first. You can do this by using compressed air to remove dust or grime on the contact pins and cleaning the SD card pins with isopropyl alcohol (IPA).
For clearly visible damage, or when the SD card is not recognized by any devices, you are better off replacing it with a brand new one. In that case, opt for a size between 2GB and 32GB to ensure compatibility and reliability with the Ender 3.
It’s also a good idea to check the SD card slot on the Ender 3. Just like the card itself, you can clean it with IPA and then re-insert the SD card to see if the error has been resolved.
If the error persists, it might be due to a damaged card reader. In this case, you might need to consider replacing the motherboard itself. However, not before trying the other ‘No TF Card’ fixes below.
Update or Revert Firmware
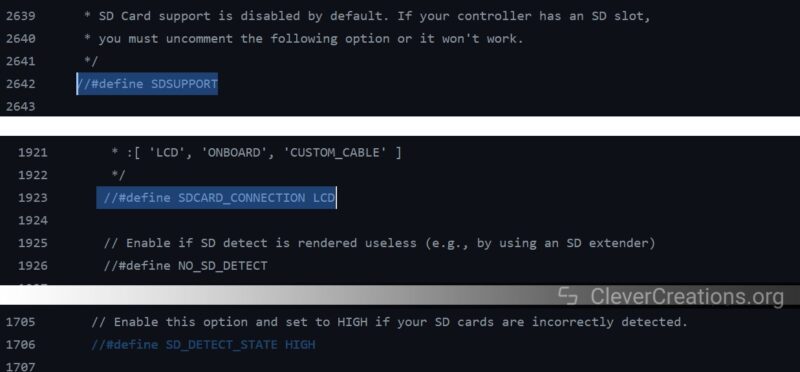
To ensure that the Ender 3 ‘No TF Card’ error is not caused by incompatible or misconfigured firmware, you can take several steps.
First, check whether your Ender 3 is running the most recent firmware available. You can do this by visiting the official Creality website to download and flash the latest firmware version for your Ender 3 model.
On the other hand, if you know that your issues started after a firmware update, try reverting to a previous version that worked without problems.
To ensure that the Ender 3 Marlin firmware settings for the SD card are correct, you can do the following:
- Verify whether the SDSUPPORT is enabled in the printer’s configuration.h file. If it is not, enable it by removing the comment symbol (//) before the #define SDSUPPORT line.
- Check the SDCARD_CONNECTION setting in the configuration_adv.h file to ensure it’s set to LCD. If it’s set to ONBOARD, change it to LCD. This setting determines where the printer expects the SD card to be inserted: in the LCD or the mainboard.
- Finally, check the SD_DETECT_STATE setting in the configuration_adv.h file. This setting should be set to HIGH. If it’s set to LOW, change it to HIGH. This setting determines whether the printer can detect if the SD card is inserted.
Just like the first setting, the other two should be uncommented (remove the double backslash) to ensure they are active in the firmware configuration. After making these changes, save the configuration files, compile the firmware, and flash it to your Ender 3.
Reformat SD Card to Repair File System Corruption
If your SD card shows up as corrupted on your computer, it’s also best to reformat it. Reformatting the card will erase all the data on it, but will remove any file system errors and restore it to a state that Ender 3 can recognize.
Before formatting, if possible, back up any important files from the SD card to your computer.
Then, use the disk-management utilities to reformat the SD card to the FAT 32 file format.
Alternatively, you can use third-party storage repair software like Rufus or EaseUS to fix your corrupted SD Card without losing data. We prefer the clean format option, but if you have important files on the SD card that you cannot afford to lose, these tools can be a lifesaver.
Initialize the SD Card Manually
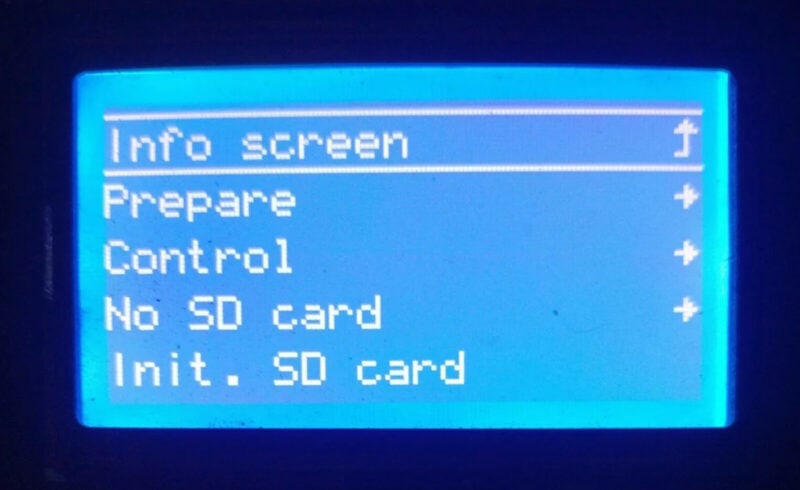
Alternatively, if your Ender 3 does not recognize the SD card automatically (i.e. if you run into the ‘SD Init Fail’ error), it’s critical to manually initialize it from the 3D printer’s onboard display. You can do this as follows:
- Navigate to the ‘Control’ or ‘Settings’ menu on the Ender 3.
- Select the ‘Init. TF Card’ to force the printer to recognize the card.
This method is what you want to use when you insert the SD card while the printer is powered on. It prompts the printer to re-establish the connection and recognize the SD card.
Can You Print on Ender 3 Without an SD Card?
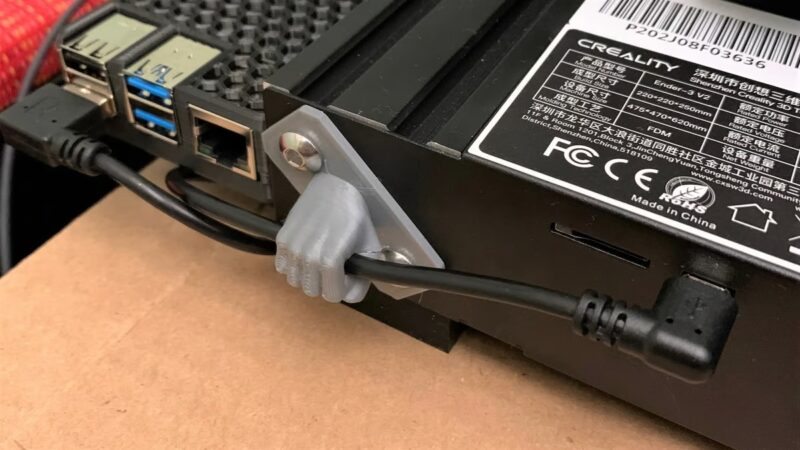
You can print on an Ender 3 without an SD card by connecting the printer directly to a computer using a USB cable. To make this setup work, you’ll need software like Cura, Pronterface, or Simplify3D to stream GCode files to the 3D printer in real-time.
That said, in our experience, we’ve found that having the G-Code file directly on the printer is the most reliable and convenient way to print. We’ve encountered numerous interruptions and inconsistencies when streaming the file over USB from a computer.
This is particularly frustrating when you’re halfway through a print and a sudden disconnection glitch or computer sleep mode ruins hours of progress. Therefore, we always recommend troubleshooting and fixing the error instead of circumventing it.
Conclusion: Is the ‘No TF Card Error’ Difficult to Fix?
The ‘No TF Card’ error message on the Ender 3 can be a nuisance but is generally fixable by troubleshooting and going through the list of solutions above.
To begin, check if your SD card is formatted with a FAT32 file system. Next, make sure the SD card can initialize properly. Check for any SD card corruption or physical damage and ensure it’s less than 32 GB in size. Lastly, look out for any firmware issues and reflash the firmware if everything else is working as expected.
It’s important to be patient and troubleshoot each solution one by one. While the process can be frustrating, one of the fixes will likely work for you.
However, if the error persists, feel free to ask for help in the comments below. We’ll do our best to assist you in resolving the issue and getting your Ender 3 back up and running.
