
SuperSlicer is an extensive slicing software that’s based on Prusa Slicer. It provides you with numerous additional settings to fine-tune your slicing process. You get better control over perimeters, thin walls, and also benefit from an excellent community that’s ready to help you out with any issues.
SuperSlicer is one of almost 20 slicing software solutions in the 3D printing community. It sets itself apart by giving you a fantastic set of new features that let you fine-tune every aspect of your 3D prints. Yet, it’s not as frequently used as other slicers, and information about it is still limited.
In this article, we’ll try to understand some of the key features of SuperSlicer that make it unique. The aim is to give you a better idea about SuperSlicer and help you determine if it’s the right fit for your 3D printing projects.
Let’s SuperSlice some models!
What is SuperSlicer?
SuperSlicer is a forked version of the PrusaSlicer by Prusa Research, which itself is based on the original Slic3r software. It continues the lineage of the Slic3r program that was developed by the RepRap community way back in 2011.
Superslicer adds extra features that are designed to give you control of more 3D printing parameters.
For example, SuperSlicer features a dedicated calibration menu that comes in handy to calibrate your 3D printer. It gives you fine control of your printer settings and also helps you customize every aspect of your print to the last detail.
What started as a personal project by supermerill has since become a powerful 3D printing slicer for more users. There’s a lot more to SuperSlicer than meets the eye, so let’s look at the various features that set it apart from other slicers like PrusaSlicer.
What Are the Unique Features of SuperSlicer?
User Interface
SuperSlicer’s User Interface (UI) is similar to PrusaSlicer, yet offers some subtle improvements. The entire UI follows a simple theme and consolidates similar settings within a single section to give you easy access to its features.
First, you’ll instantly notice a distinct section below the menu bar on the home screen. It gives you quick access to the various viewing modes while highlighting separate settings tabs right on the top.
Within the different settings sections, too, all similar settings are grouped together to help you find related controls within a single window.
This simple UI design is intuitive and helps beginners get quickly familiar with the various features of SuperSlicer. The UI design also enhances the printing experience by giving you easy and quick access to multiple slicing tools.
Calibration Menu
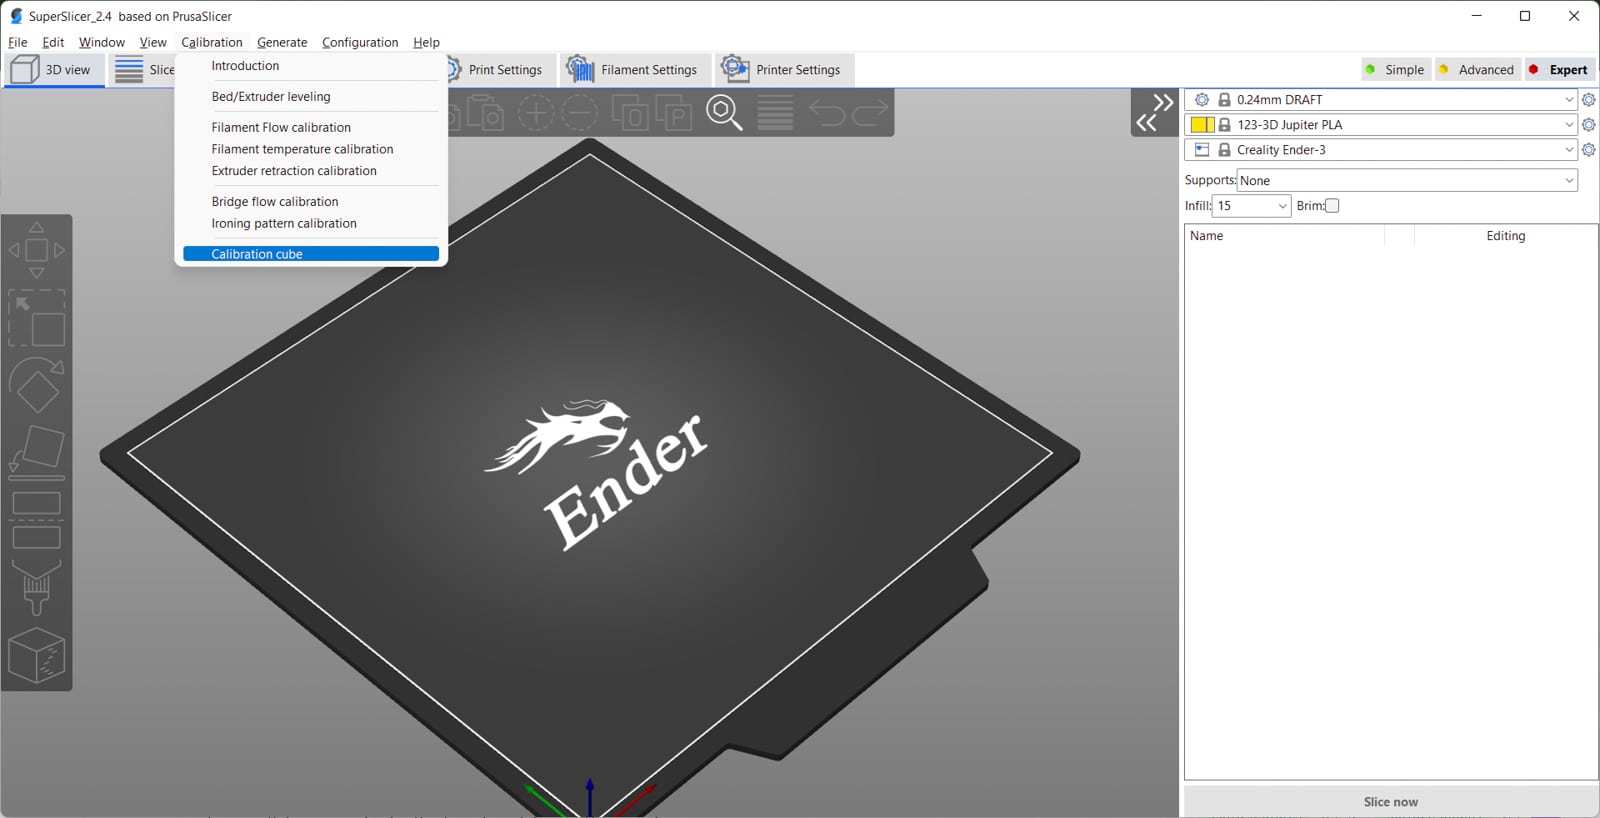
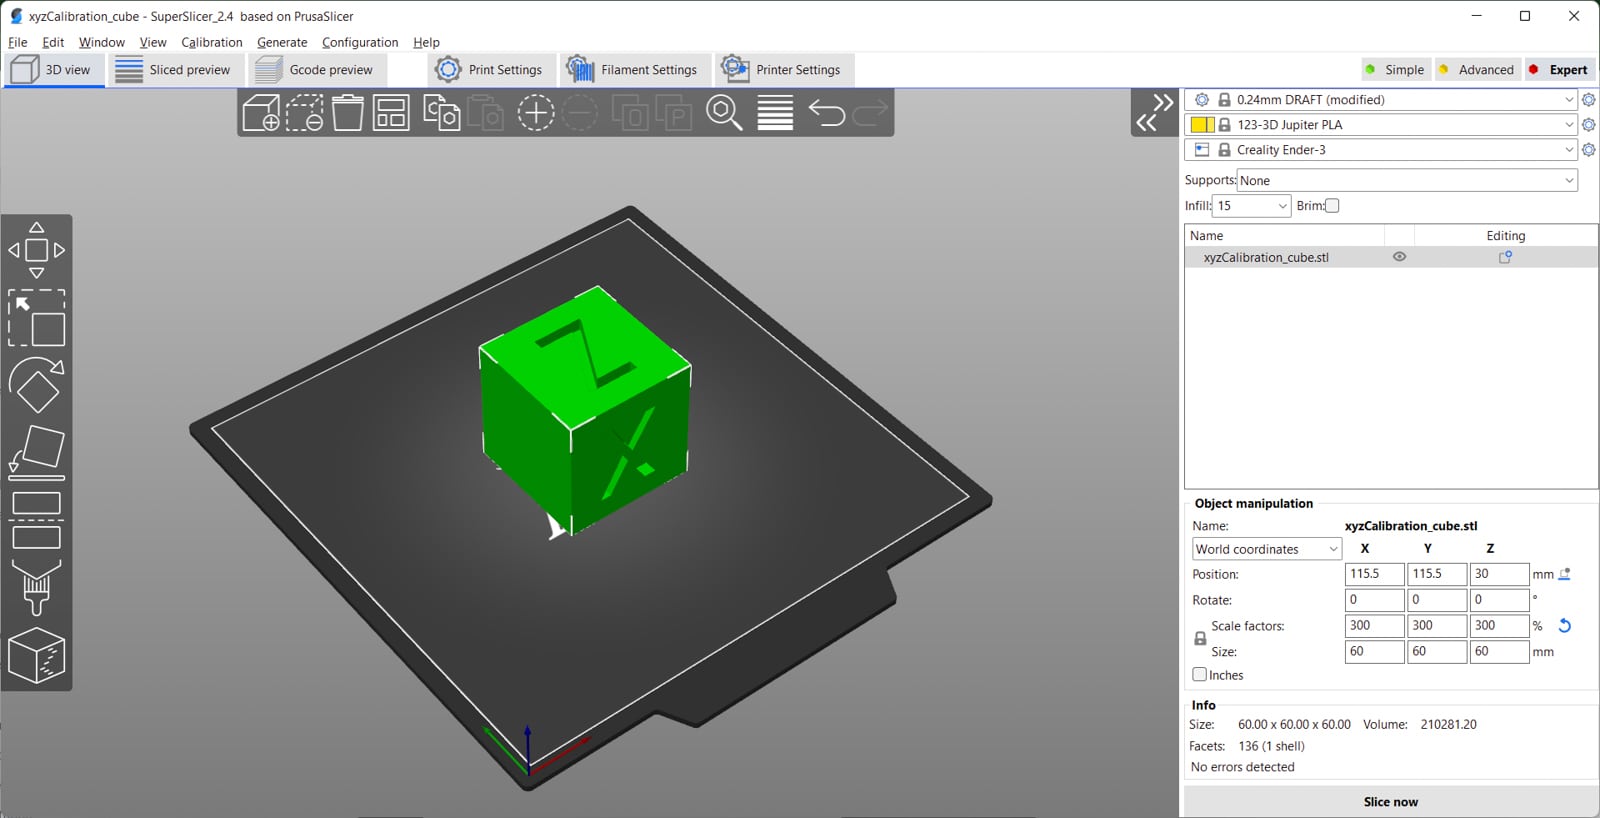
SuperSlicer features a calibration section in its menu bar. This calibration menu is extensive and provides pre-sliced models to help you calibrate your printer’s settings.
For example, there’s the XYZ calibration cube which you can use to figure out dimensional inaccuracies in your 3D prints. Or you can use the Filament flow and temperature models to calibrate your filament settings accurately.
Each calibration model has a detailed visual guide that takes you through the entire calibration process. Using the guides, you can quickly pinpoint your errors and understand how to calibrate your 3D printer for that particular aspect.
The calibration menu comes in handy while setting up a new 3D printer or troubleshooting issues with your current machine. It saves you a lot of time going back and forth, searching for calibration models, and figuring out how to use them.
Specifically for beginners, the calibration menu is a great place to learn more about the initial setup and configuration process of 3D printers.
Object Generation Menu
SuperSlicer’s ‘Generate’ section features two unique functions that give it an edge over other programs and help it stand out from the rest.
First, you can generate 3D models using a FreeCAD Python script within the slicer itself. This feature is based on the OpenSCAD platform. However, the commands and programming techniques are quicker to understand and implement than OpenSCAD.
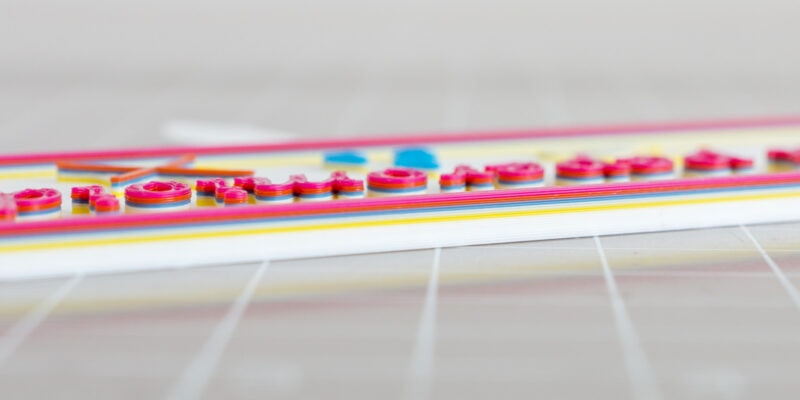
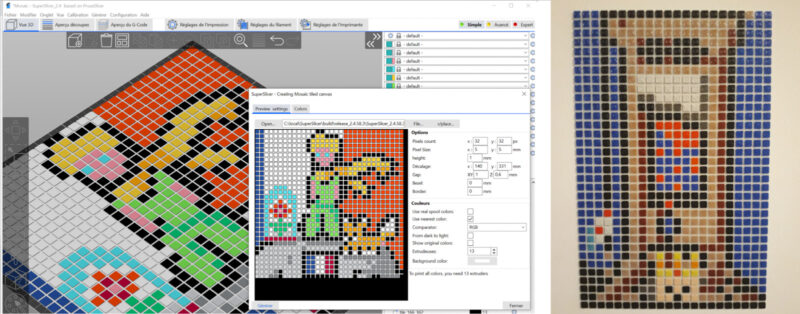
The second feature of this menu is quite handy, and you don’t need any programming skills to use it. SuperSlicer’s Mosaic From Picture functionality lets you split an image into multiple small-square tiles.
Similar to a mosaic, you can print these tiles in various colors and assemble them to create a multi-colored 3D-printed image.
The mosaic feature mimics the multi-color printing mode on multi-extruder 3D printers. However, it’s pretty new, and there’s little to no information on the tool yet. Be prepared to play around with its settings to get the best results.
Fine-Tune Overhangs
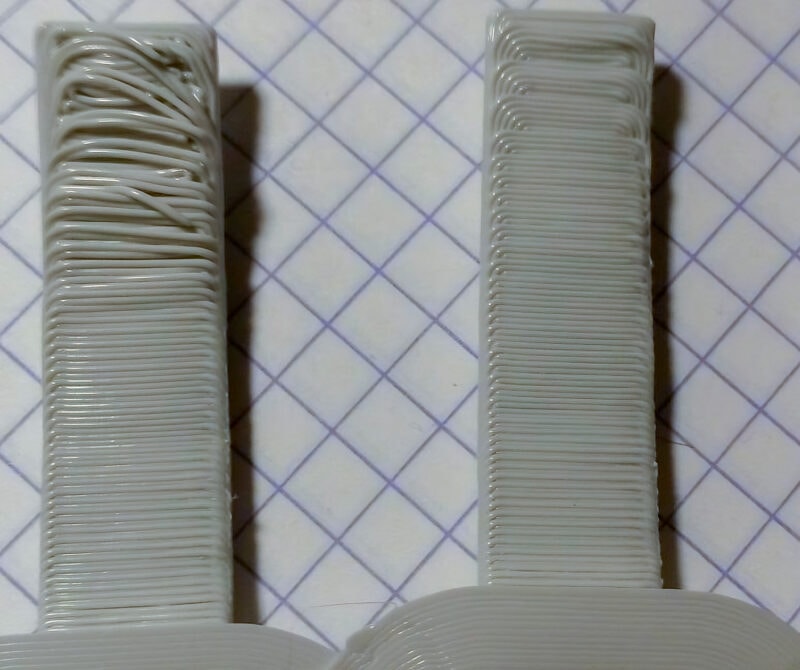
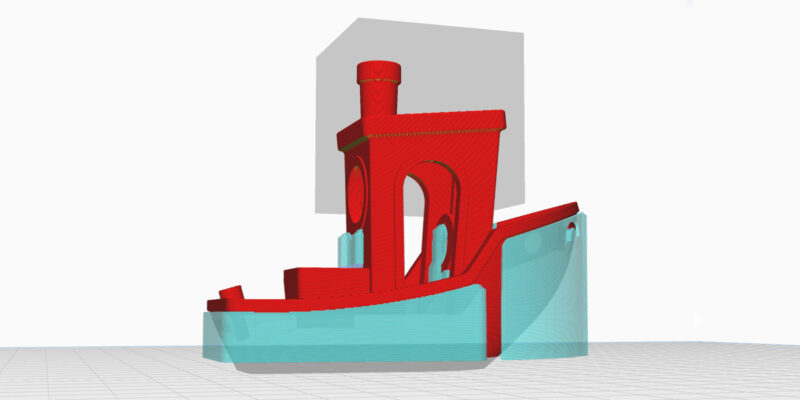
Steep overhangs above 60° can be challenging to print without support material. With the wrong settings, it can lead to the drooping of plastic. This drooping leads to a gap between the layers and ruins your surface quality and print finish.
SuperSlicer allows you to add extra perimeters to your 3D print and support the consequent layers to prevent the drooling effect.
Moreover, all the overhang settings in SuperSlicer are consolidated under a single menu in the Print settings tab. This helps you quickly access and fine-tune the overhangs without fiddling around in various menus.
PolyHoles
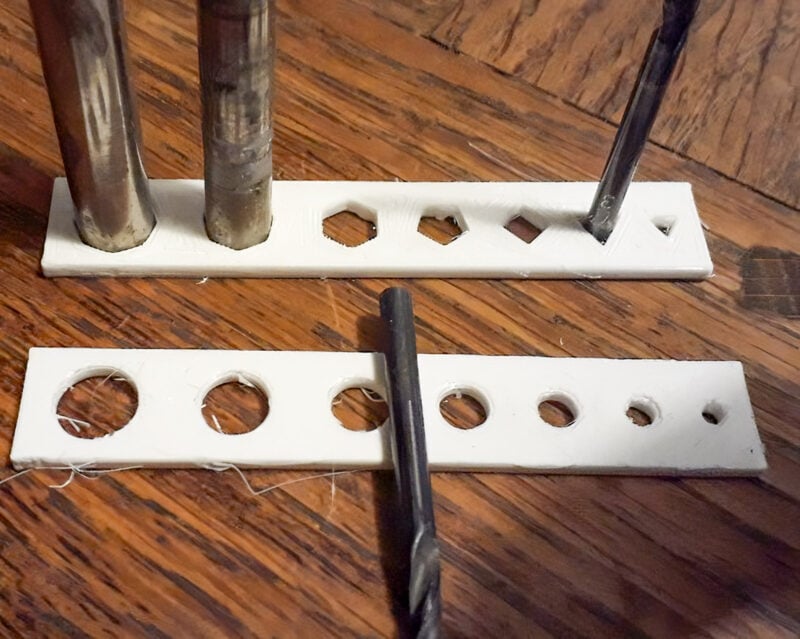
Due to the extrusion process in FDM printing, the actual size of the hole in the model is typically smaller than what’s intended in the design. This mismatch can lead to issues in mating printed parts or fitting components in 3D printed parts, like with a tool guide.
SuperSlicer uses a unique method; instead of printing a circular hole, it prints a polygonal hole with multiple sides. The result is similar to an incircle of a polygon that’s accurate to the designed hole size.
The theory behind this feature is supported by the fact that a 3D printer can more accurately print straight lines instead of curved ones. There’s a detailed article on PolyHoles, which you can refer to understand the mathematics and theory behind this feature.
You can enable this feature within the Modifying Slices section in the Slicing settings. It is helpful to do a couple of test prints to understand it and optimize its use for your 3D models.
Single Perimeter on Bottom and Top Surfaces
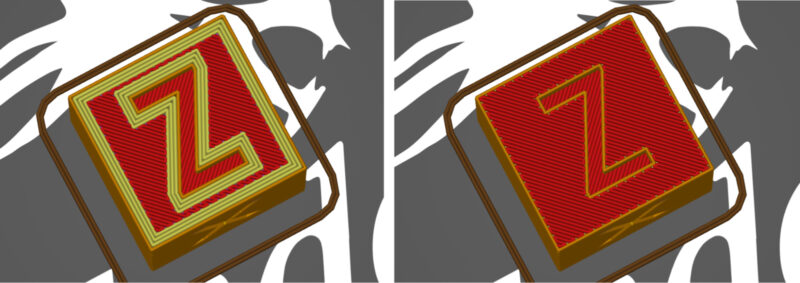
Super slicer gives you the option to customize the perimeters on your bottom and top layers. You can configure the slicer to output only one perimeter on the top layer or the bottom surface of your 3D prints.
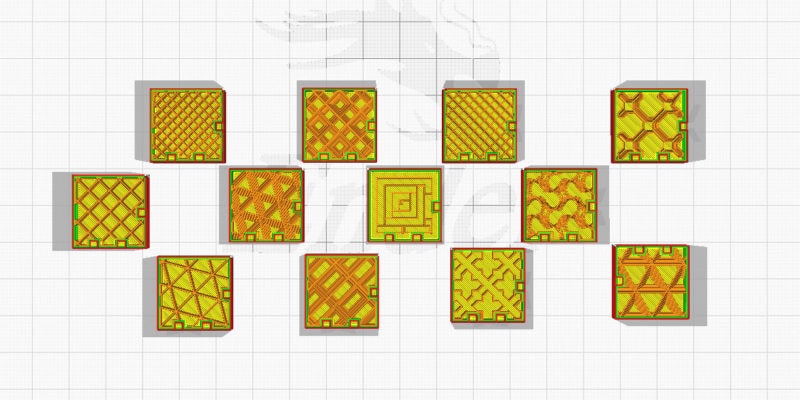
A single perimeter on the top layers gives more space for the infill to show on the outer surface. You can also customize the infill pattern and add a more aesthetic look to your 3D prints.
The above image represents the differences between multiple perimeters and a single perimeter on the top layer. You can see that the cube on the right has a denser infill pattern that covers almost the entire top surface.
Improved Thin Walls
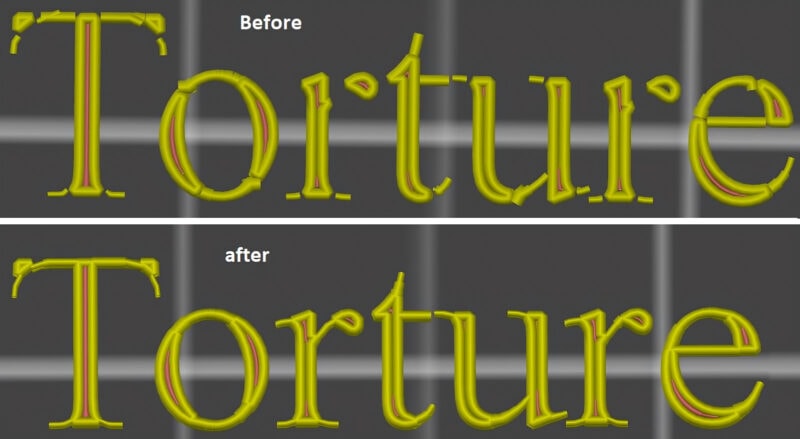
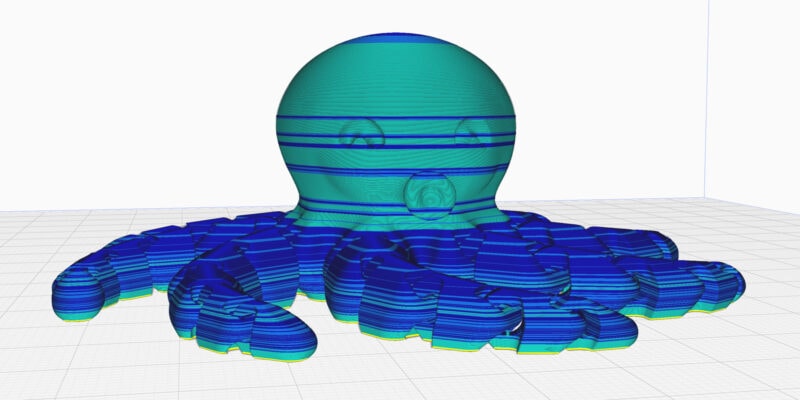
SuperSlicer can detect single-width walls and optimize GCode to print better thin walls. It can automatically compensate for their extrusion width to prevent under and over-extrusion.
Suppose you have a thin section in your 3D print that measures less than the width of a single extrusion line. Oftentimes, 3D printing slicers skip these sections and do not print them at all in the final model.
However, once you enable the Thin Walls to feature in SuperSlicer, it detects these thin walls and adjusts the filament flow accordingly for these small lines. The above image gives an excellent visual representation of this feature.
Multi-Material Filament Settings
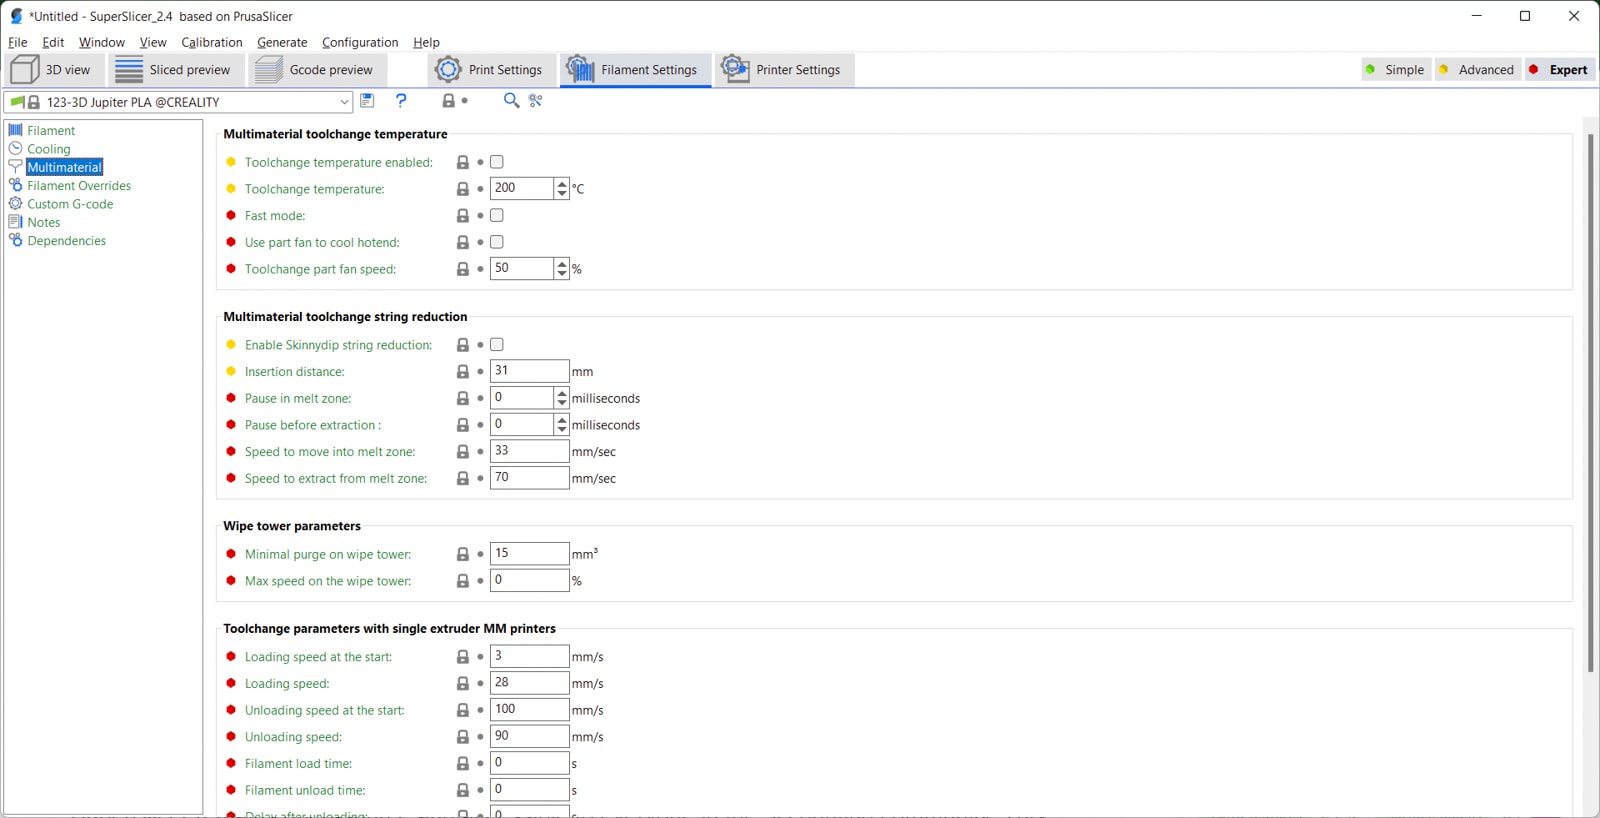
There’s an entirely separate section in SuperSlicer for configuring Multi-material settings. There are two additional sections within the multi-material settings, like the ‘Tool Change temperature’ and ‘String Reduction’.
These sections let you fine-tune the filament settings during a multi-material 3D print, further building on the theme of extra customization options of SuperSlicer.
Acceleration settings

SuperSlicer has multiple extra parameters in the speed section that you can adjust to fine-tune your acceleration settings. It goes much deeper than Prusa Research’s PrusaSlicer by letting you control acceleration for particular aspects of a print.
For example, you can set different acceleration speeds for internal and external perimeters. Similarly, the infill and support acceleration settings feature individual sections for adjusting acceleration.
It’s mostly a feature for experienced users. If you are keen on getting the optimal surface finish on high-speed 3D prints, these are the types of settings you’d want to take a look at.

Community Support
SuperSlicer remains open-source and accessible to everyone in the 3D printing community. This has led to an active development of the slicing software, with regularly-added new settings and good support.
There’s a dedicated page on SuperSlicer’s GitHub that lists current issues and feature requests. Similarly, there’s an active discussion board on GitHub that you can use to get help with any issues you might run into with SuperSlicer. The small, yet helpful SuperSlicer subreddit is also practical for this purpose.
Overall, the SuperSlicer has decent community support across various platforms. It’s still relatively new, however, so you won’t find a vast user base like that of Cura and PrusaSlicer. Nonetheless, SuperSlicer is still growing by the day, and you can expect a stronger community network in the coming years.
How to Start Using SuperSlicer?
Now that we have an understanding of SuperSlicer’s features, let’s go over how to get started with it.
1. Download and Install SuperSlicer
Go to the SuperSlicer GitHub website and open the Releases section. Skip any pre-release alpha or beta version, and find the latest regular release of the slicer.
You’ll find different releases for Linux, Mac, and Windows users. Download the zip file as per your operating system and install it.
2. Add Your 3D Printer
Launch the SuperSlicer application and follow the initial setup procedure. Choose your 3D printer and add it to SuperSlicer.
3. Configure Print Settings
Head to the Print settings tab and configure the settings to suit your needs. Alternatively, you can leave these settings at default for your first print and dial them in later. The default profiles for most other printers are good enough.
4. Load and Print Your First Model
Select 3D view and Go to File >> Import >> Import STL. Then load your preferred model in the workspace and click on the Slice Now button. Once completed, inspect the model and export the G-code onto a microSD card or flash drive.
That’s the entire procedure from start to end. Of course, there are infinite parameters that you can configure to fine-tune your 3D prints. Superslicer’s documentation will help you out with this further.
Final Thoughts
SuperSlicer is one of the most powerful and rising slicing software in the 3D printing community. It gives you a high level of control over your slicing process, helping you to obtain higher-quality models on your 3D printer.
It’s best suited for experienced users and people who like to take control of every aspect of their 3D printing. At the same time, its in-depth calibration features also make it a good slicer for beginners in 3D printing.
Do you think you’d use the advanced features of Super Slicer in your 3D prints? Let us know your thoughts and experience (if any) with SuperSlicer.