
- Creates high-quality prints
- Easy multicolor printing
- Small learning curve
- Screens can be reused
- Compatible with third party inks
- Fun experience
- Laser engraving screens can be time consuming
- Limited fabric space near back of machine
- Glitter paints clog screen mesh
- No choice for different screen sizes and mesh counts
Screen printing has long been a complex and labor-intensive process. Not only do you need a significant amount of equipment and time, but the learning process can be daunting as well.
Enter the xTool Screen Printer. At first glance, it looks like a massive step forward in making screen printing accessible to everyone, from hobbyists to small businesses. By letting you laser engrave designs onto the mesh, it skips the traditional, messy process of using emulsions and light exposure.
On paper, this—and the other features we’ll get into shortly—sound amazing. But does xTool’s innovative screen printing setup live up to its claims?
In this hands-on review of the xTool Screen Printer, we’ll test the device for you. We’ll put it through its paces, examine its features, and compare it to regular screen printing to see if this is a good investment for your printing needs.
Let’s start printing!
xTool Screen Printer Unboxing
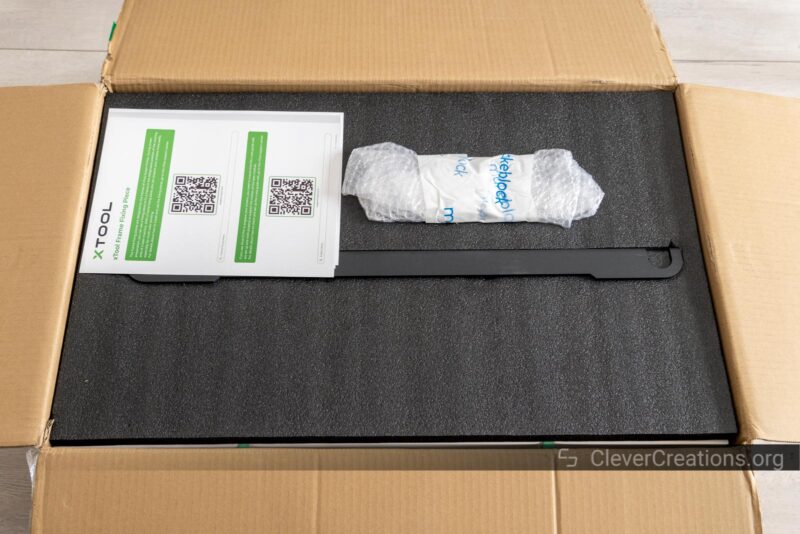
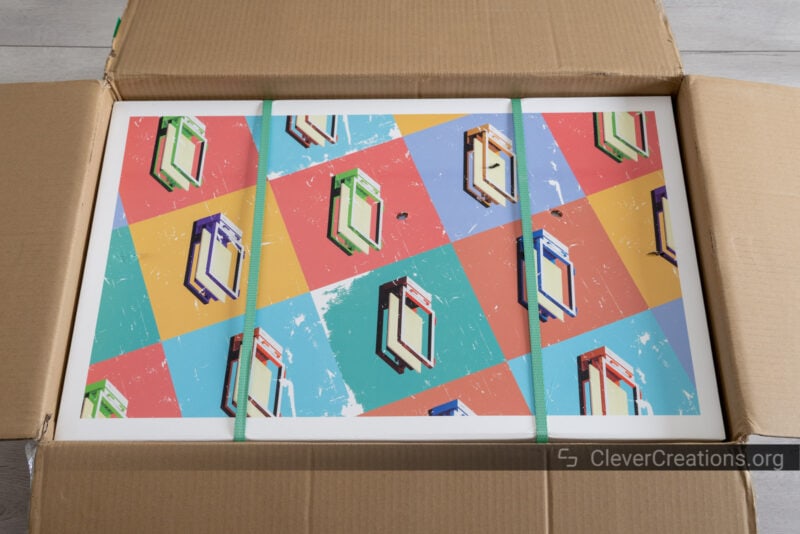
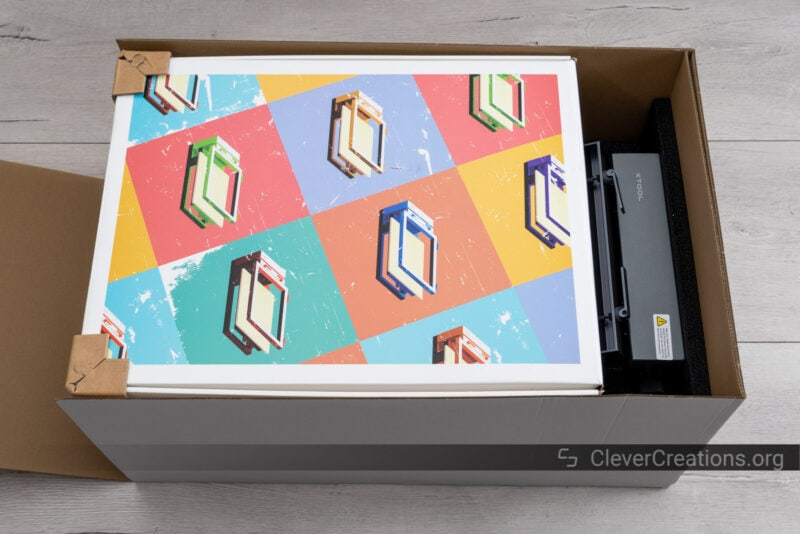
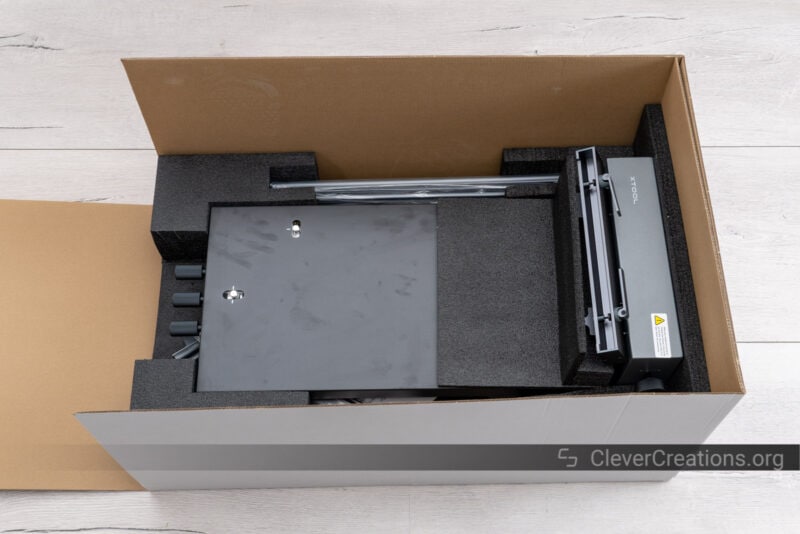
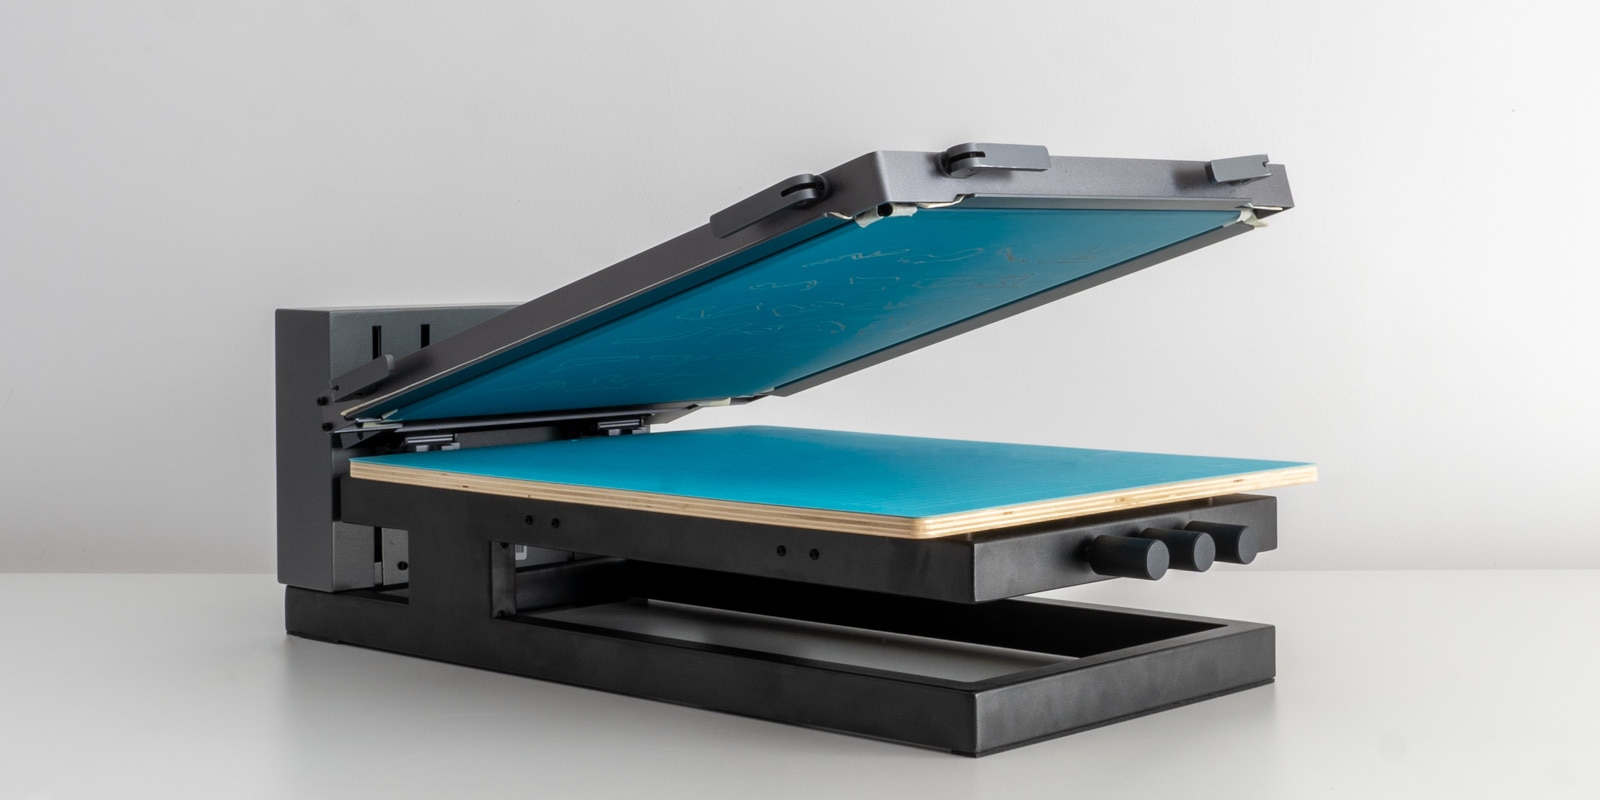
The first thing we noticed when handling the box of the xTool Screen Printer is that it weighs a lot. It’s no surprise, with the device itself consisting of a large amount of rigid steel to ensure that it has the necessary precision. Overall, this is a plus, but we recommend having a second person around to help with the unboxing and setup process.
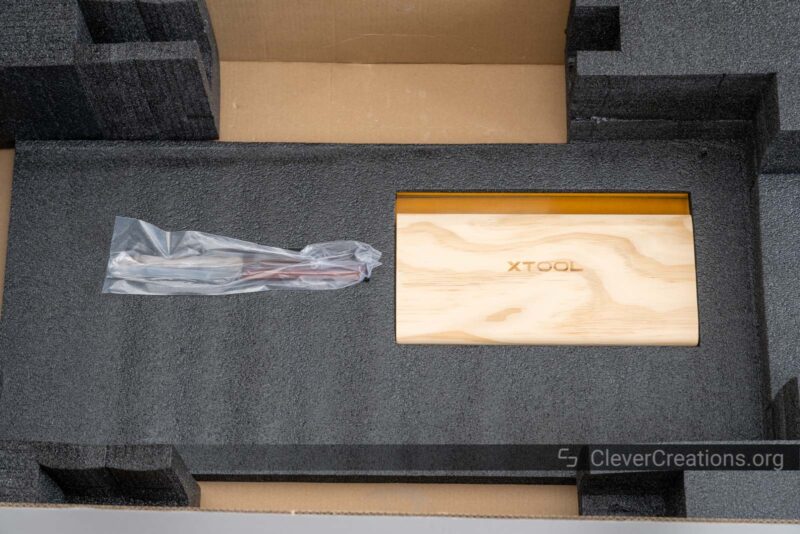
The exact content of the box depends on the version of the screen printer that you get. The basic version is enough to get started—provided that you also have a laser engraver. We’ll explain more about how this works below.
The multicolor version, on the other hand, comes with more screens, more paint colors and more frames. It’s the best option if you want to focus on more complex, multicolored designs.
| Box Content | |
|---|---|
| xTool Screen Printer – Basic | xTool Screen Printer – Multicolor |
| xTool Screen Printer | xTool Screen Printer |
| Magnetic board | Magnetic board |
| 11.5″ x 16″ frame | 11.5″ x 16″ frame (4x) |
| Fixing pin (4x) | Fixing pin (16x) |
| Cutting mat | Cutting mat |
| 9″ x 5″ squeegee | 9″ x 5″ squeegee |
| 8″ x 0.8″ ink spatula | 8″ x 0.8″ ink spatula |
| Storage box | Storage box |
| Water-based ink (4x) | Water-based ink (10x) |
| 11.5″ x 16″ screen (3x) | 11.5″ x 16″ screen (12x) |
| Cardboard | Cardboard |
| Canvas bag | Canvas bag |
| FAQs | FAQs |
| Sticker | Sticker |
| User manual | User manual |
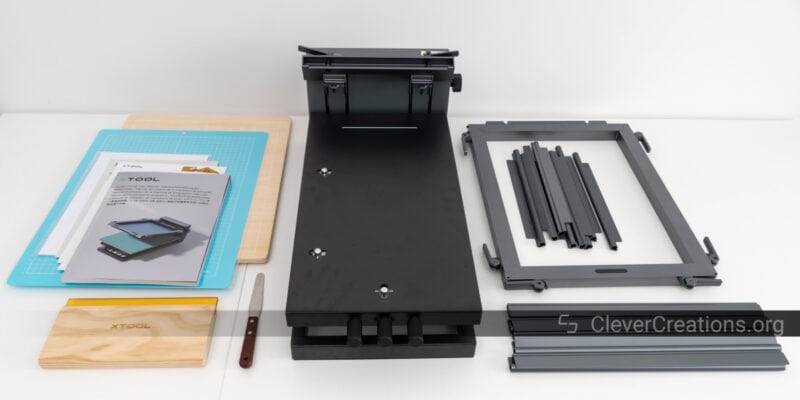
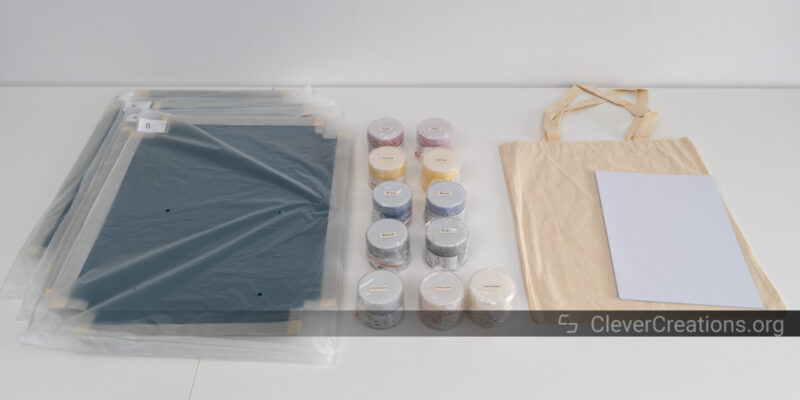
xTool sent us the multicolor version for testing, so everything you’ll see from here on out in this xTool Screen Printer review is based on our experience with the multicolor model.
Altogether, we find it to be a generous amount of kit for the price. One thing that we missed however, was white paint. So if you want to print with white—for example on darker surfaces—you’ll need to purchase it separately.
On that note, you can use any brand of water-based paints, you’re not locked into using xTool’s own. So you have the freedom to keep using your preferred brand or utilize paints you may already have on hand.
Getting Started With the xTool Screen Printer
We had no trouble setting up the xTool Screen Printer. The package comes with a clear instruction manual, and the company’s online instructions are equally useful. There’s no need to be familiar with screen printing either, as the documentation is designed to guide even complete beginners through the setup and printing process.
Here’s the full experience of getting started with the xTool Screen Printer:
Preparing Screens

Traditional screen printing requires a lengthy and messy process involving emulsions and UV light. With the xTool, you can use a laser engraver to burn your design onto the mesh screen.
We found this to be much cleaner, quicker, and most of all, requires less expertise. If you are a beginner or if you just want things to be easy, this feature alone might be a game-changer for you.
Before engraving, however, you’ll need to install one of the screens into one of the metal frames. This frame is what holds the mesh in place during both the engraving and printing process. It’s a simple, yet robust system that ensures your design stays precisely where you want it to be.
Installing the frame takes surprisingly little time. You start by placing a screen with the carton side down on the metal frame.

Next, you slot the metal fixing pins into the slots of each edge of the frame. This is something we found we had to get the hang of. There’s a specific angle to insert the pins in, and then you rotate them to help secure them in place.

Once you’ve inserted all four fixing pins, it’s time to secure them by tightening the clamps on the sides of the frame.

This actually took a surprising amount of force. The first time, we were worried about applying too much tension on the mesh and rupturing it. However, we quickly realized that the metal mesh inside the screens is strong enough and can handle the tension.
As the final step, you’ll need to remove the carton protection layer from the screen itself. It’s secured with a mild adhesive, and usually you can just peel it off without the need of additional tools.

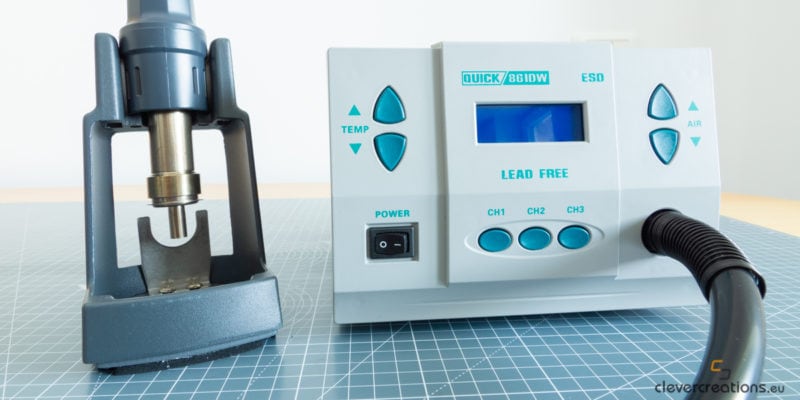
That said, if it is particularly cold in your work area, you might need to use a heat gun to soften its adhesive. We noticed that the colder it is, the more difficult it is to remove the carton. Heating it up beforehand makes a noticeable difference.
After tightening, you can test the tension of the mesh by tapping it with your finger. It should produce a high-pitched sound, similar to a drum. If it doesn’t, you’ll need to reposition the fixing bars and the screen, before tightening the clamps again.
After understanding the process, it took us 15 minutes at most to prepare three more screens for engraving. We recommend preparing several in advance, as it’s useful to have them at hand for when you need them.

Engraving Designs
Once you’ve got a screen ready, it’s time to engrave it. We used the xTool S1 for this, but you can use any brand or type of laser engraver. It’s important that the frame can fit underneath the laser machine and that the laser is powerful enough to burn the blue coating away.
If we had to estimate, any blue light laser over 5W in power would do the trick. That said, the more powerful the laser, the quicker the engraving process will be. When we used the 40W S1, engraving a large design took us between one and two hours.
When the engraving is completed, however, you can use the screen as many times as you want. So it’s worth the wait, especially if you’re planning to print the same design multiple times or on multiple items.
Laser Machine Prep
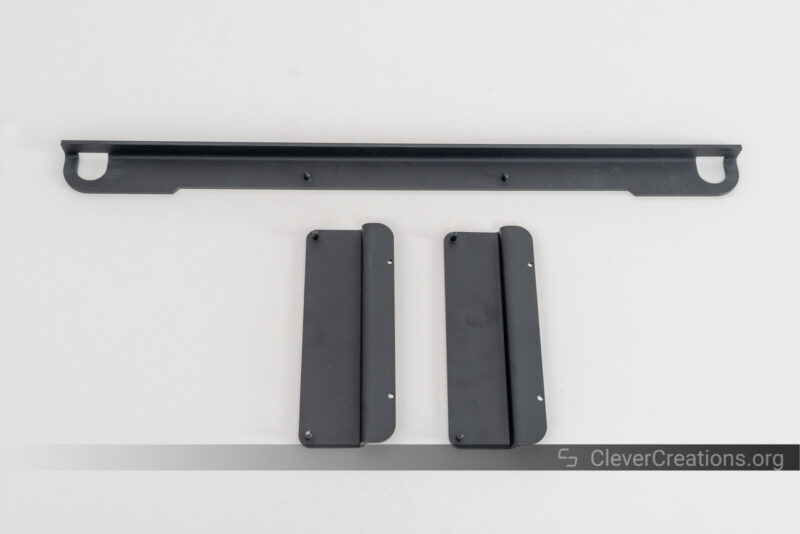
If you use the multicolor version of the xTool Screen Printer, you will find that it comes with brackets that you can use to align frames with a laser machine. That way, you can engrave designs for separates onto separate screens, in the exact position required for a perfect overlap.
There’s one bracket included for the enclosed xTool S1, as well as one for the open-frame xTool D1. You can also laser cut a custom bracket for different laser machines, but unless you find a design for it online, you’ll have to design it first.
Mounting the included bracket was straightforward, even though we did not realize at first that it is incompatible with the xTool S1 riser base. The documentation is not clear on this. We had the riser installed from a previous laser job, but we had to remove it first.
With the riser installed, we weren’t able to install the black metal tray in the correct position for the screen printing frame to rest on.


After we removed the riser, we could lift the metal tray, install the mounting bracket on top, and position the screen printing frame onto the bracket without it falling down.

Engraving
As mentioned earlier, the engraving process takes a good amount of time. In fact, we found it to be the most time-consuming part of preparing screens before screen printing.
There’s nothing complicated about the process, it’s just the amount of time it takes to remove the coating from the mesh screen that is a lot.
That said, compared to old-school screen printing, we’ve found this laser based process much faster and cleaner. There are no messy emulsions, no lengthy drying process, and once your laser engraver is doing its thing, it’s a hands-off experience.
Before you engrave your first design, it’s a good idea to run a test to figure out the optimal engraving settings with your laser machine.
The test (official instructions for reference) involves importing a small design and engraving it multiple times on the mesh screen, each with different speed and power settings.

What you are looking for in the outcome is the optimal balance between speed and power. The laser should cleanly burn away the blue coating without damaging the underlying mesh.

After running the test, we found that a speed of 295 mm/s with 60% power worked best on our S1 laser cutter (the bottom, most-right engraving).
It’s important to do this because every laser engraver is different. Even if you find settings online that work for your laser engraver, your specific machine can have differences in laser diode/tube strength, quality and cleanliness of the mirrors and lens, and so on.
You only have to run the test once. When you have done so, you can move on to engraving actual designs.
Engraving designs is as simple as importing your design into the engraving software, aligning it with your screen, and starting the engraving process with the settings you found in the previous step.
We used xTool Creative Space for this, but you can also use Lightburn or whichever software came with your laser machine. It doesn’t really matter as long as you use the correct settings.
One important thing is to flip your designs horizontally before engraving (before rotating them), as the screen will be flipped when you use it for printing. This is easy to forget, but luckily the XCS software actively reminds you.

It’s also important to orient designs correctly, matching the direction of the material you will print on.
For example, you can only place T-shirts facing a single direction in the xTool Screen Printer —with the neck hole facing the front of the machine. You’ll need to ensure your design faces the same way when engraving.
If you don’t align the design correctly, you can end up wasting a screen, so we recommend always double-checking before starting the engraving process.
After you’ve set everything up, you can start the engraving. As mentioned before, this can take a while, but it’s mostly hands-off.
We found it useful to use this time to prepare our paints and other materials, or simply screen print a different design while the laser works on engraving the next one.
Cleaning the Screen

The first thing we noticed when opening the laser machine after engraving was that the screen was covered in a layer of white dust. This is a residue left behind from the laser burning off the blue coating. You’ll need to clean this off before doing the actual screen printing.
We tested several methods for removing the dust, all with varying results:
- Wiping. We found that wiping with a cloth and alcohol to be effective, but only if there’s a small amount of dust. If there is a lot of dust, this method can lead to smearing and an obscured design.
You’ll also have to be careful about the type of cloth you use. A lint-free cloth is a must, as left behind lint can interfere with the printing process. - Vacuuming. We found that using a vacuum cleaner without a brush attachment can effectively remove the dust from the screen. However, the strong suction force felt abrasive for the screen. While the screens are durable, we were slightly concerned about potential damage over time. Additionally, vacuuming the screen can be a time-consuming process.
- Rinsing. Our preferred method was rinsing the screen with a garden hose. This method efficiently washed away the dust particles without risk of damaging the screen. The only downside to this method is that the screen needs to be dried afterwards. We found that using a heat gun speeds up this process significantly and gives a clean, dry screen in no time.

We also tested engraving the screens with the air assist enabled to see if that would change the build-up of the white dust. This resulted in a thinner layer of dust everywhere on the screen, as well as in the laser machine itself.
In terms of engraving quality, we did not notice a difference in the clarity or sharpness of the design when using the air assist.
Long story short, we recommend not—or at most very gently—using an air assist and rinsing the screen after engraving for the best results and easiest clean up.
Screen Printing
When you get to the screen printing step, you’ll already have done most of the heavy lifting. This is where you’ll start to see your hard work pay off, as your designs come to life on your chosen material. Whether you’re printing on t-shirts, tote bags, or even posters, the process remains largely the same:
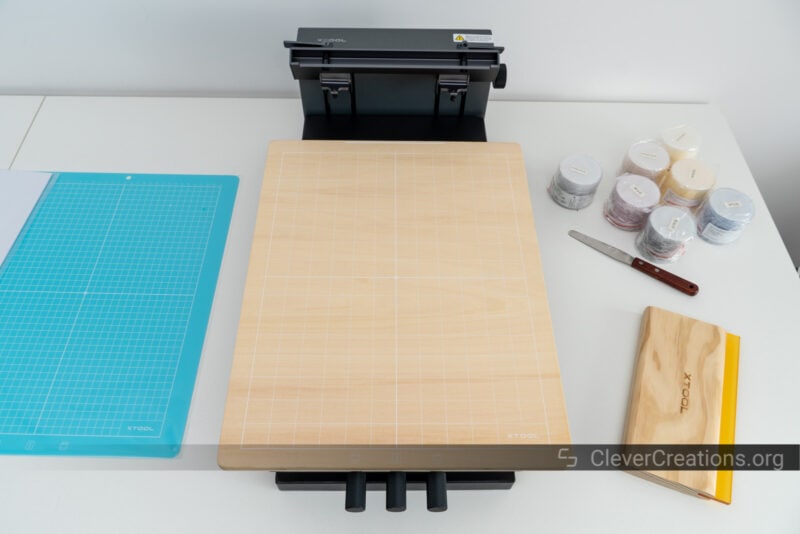
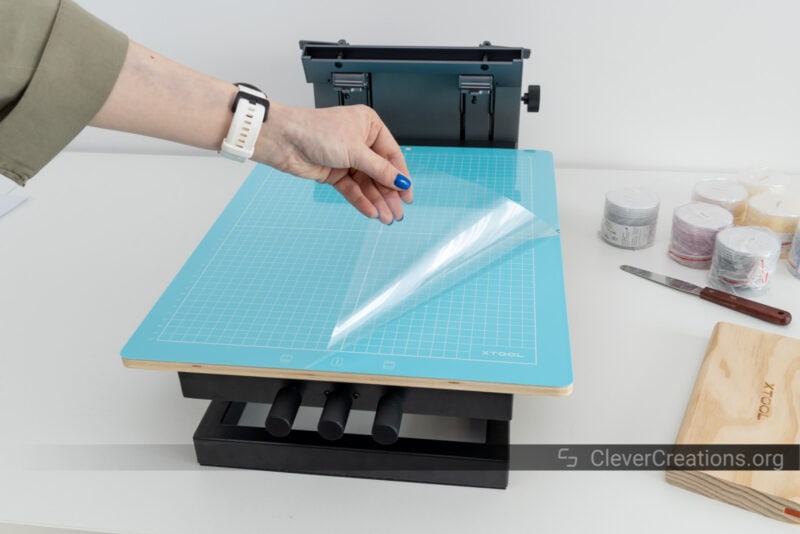
Preparing the xTool Screen Printer
For your first use, you’ll want to prepare the xTool Screen Printer. This means installing the magnetic wooden board, placing the sticky blue mat that your fabrics will adhere to, and peeling its plastic protection off.

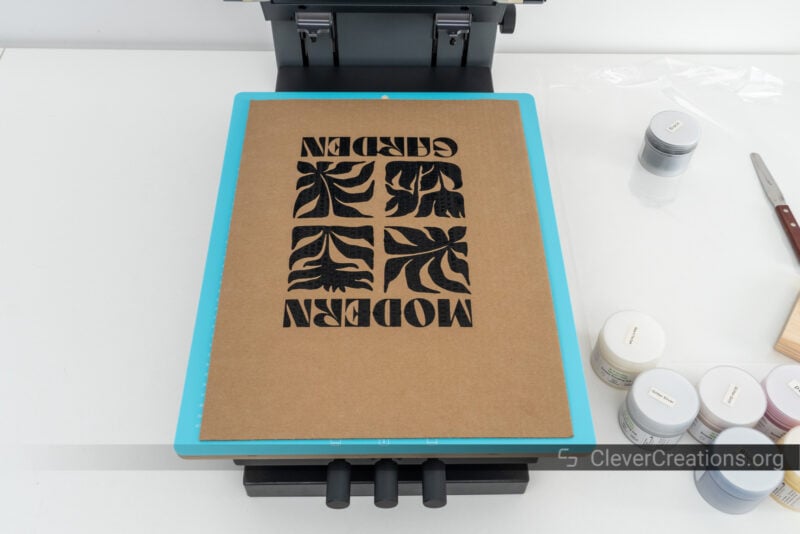
Next, place your material onto the blue mat. We used a piece of carton for our first try, as we did not have the confidence yet to jump straight into printing on fabric. The carton we used was the piece that was stuck on the screen prior to installation. We found that using them for test prints was a practical way of recycling them.

After placing your material, slot the frame containing the screen with your engraved design into the xTool Screen Printer. There’s only one way to insert it and it locks in place with little effort. There’s not much that can go wrong here.
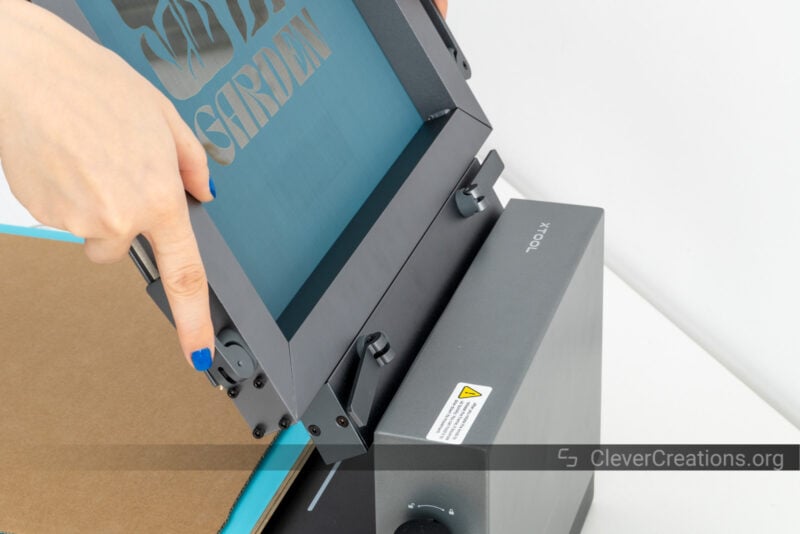
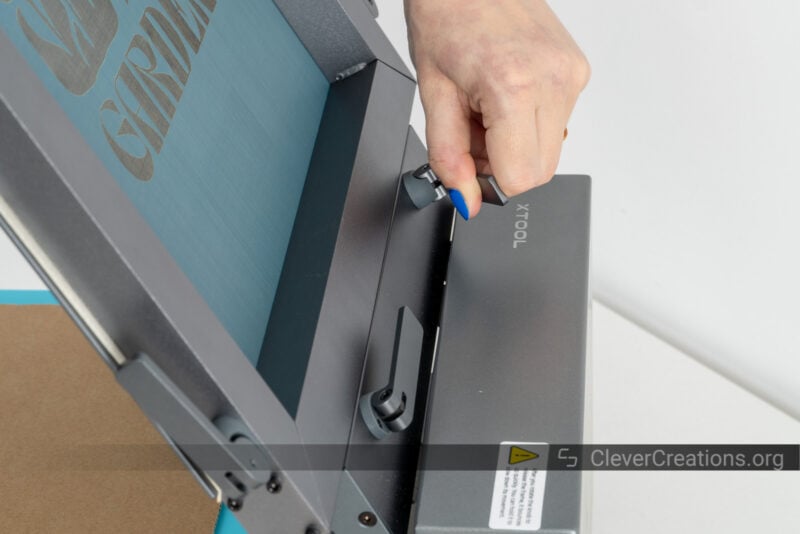
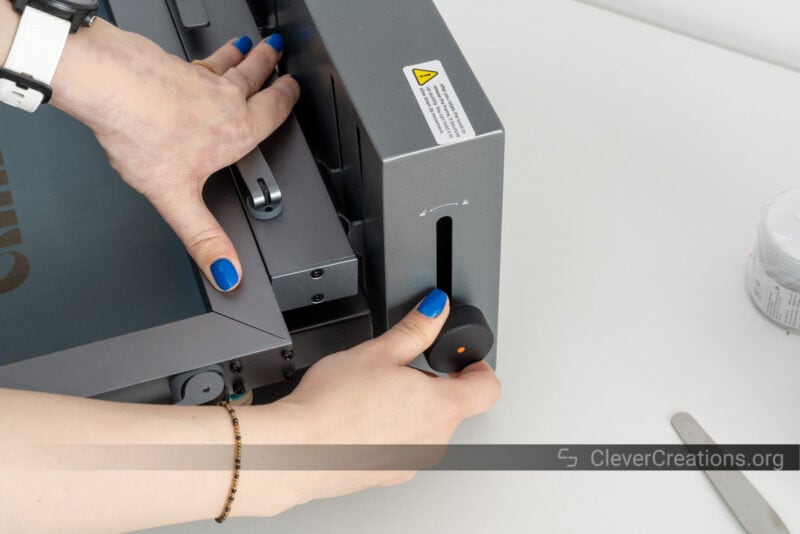
With the frame installed, you can press it down to bring the screen into contact with your material. When they are in contact, you can use the locking knob to set the frame height.
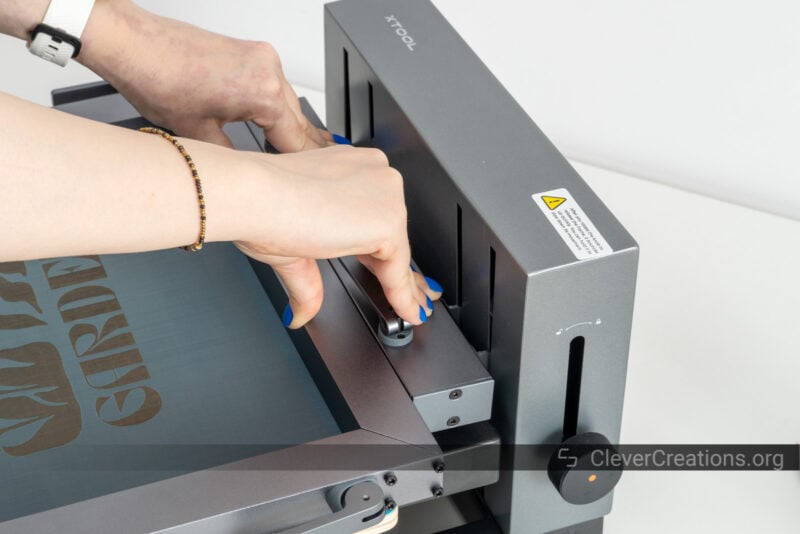
At this point, you are still able to adjust the angle of the frame. This allows you to lift it to make adjustments to the placement of your workpiece.
Printing
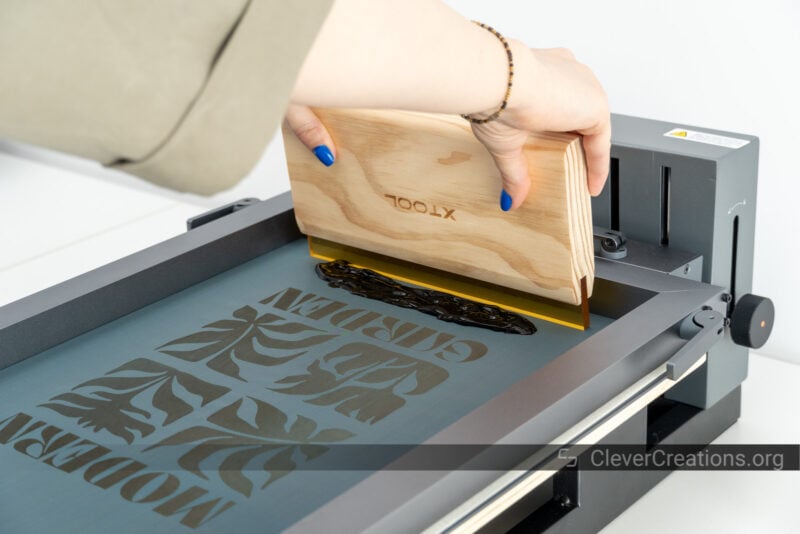
Once you’re happy with the placement of the design onto the material, it’s time to apply your paint. We found it best to apply a generous amount of paint at the top of the screen, right above the design.

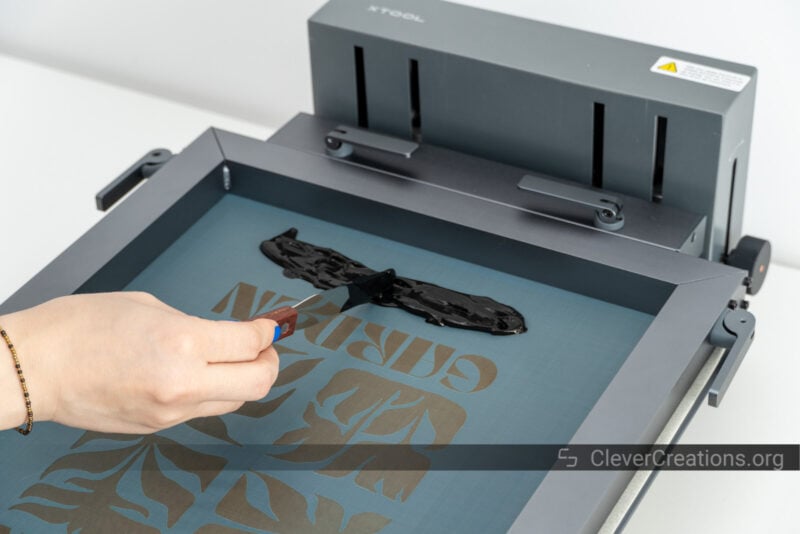
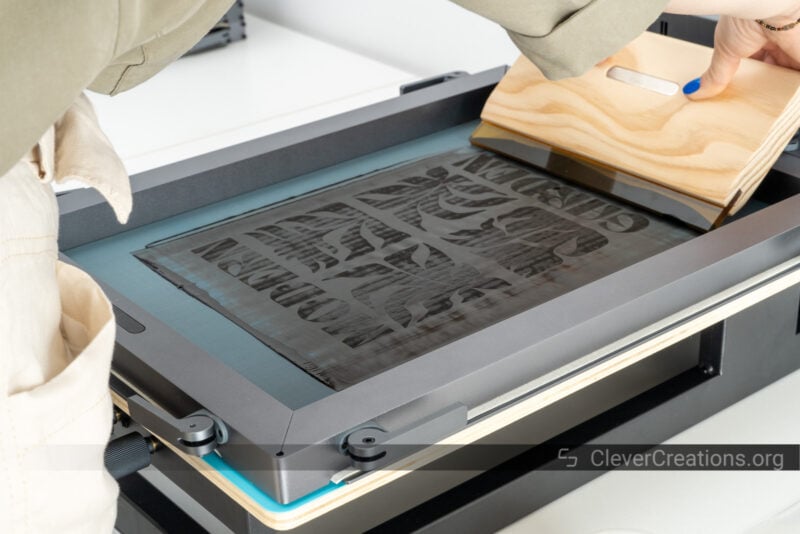
You can then drag the included squeegee down the screen, spreading the paint over the design. We found it best to do this in one smooth, firm motion.
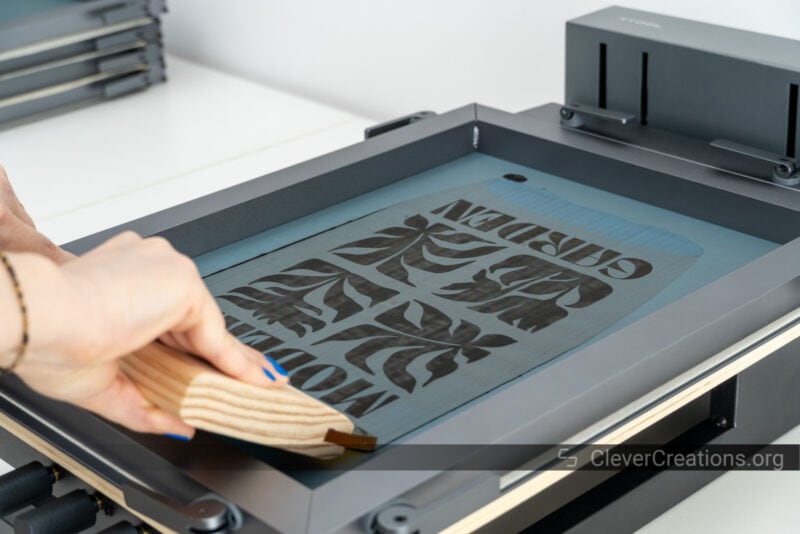
After applying the paint, you can lift the frame and check your print. If you’re not happy with the coverage after the first pass, you can do a second one. Just be careful not to overdo it, as too much paint can lead to messy results.
You can now place the magnetic squeegee onto the frame magnet to avoid paint dripping onto your freshly printed design or workspace. In practice, we found it useful to put excess paint from the squeegee back into the paint container first.

Inspecting Results
One thing we noticed while using the xTool Screen Printer is that it is important to pay close attention to the quality and consistency of the paint application.
If the paint is applied too thinly, the print may appear faded or uneven. In that case, you might need to do a second pass with the squeegee to ensure a more vibrant and even print.
Alternatively, if you don’t apply enough pressure, you may end up with a print that doesn’t have clear lines or sharp details.
For example, our first print looked good overall, but we quickly noticed that several outlines had extra paint that was not supposed to be there. This happened because we did not apply enough pressure to the squeegee.


A second attempt where we applied more pressure gave us better results. Before the second attempt, we rinsed the leftover paint from the screen and dried the screen. This is something you want to do regularly for the best results.

This is all similar to traditional screen printing, but what we’d like to point out is that there is a learning process. With every print, you’ll better understand how much pressure to apply, how much paint to use, and how to achieve the best results with the xTool Screen Printer. It’s all about practice and patience.
Multicolor Screen Printing

One of the best things about the xTool Screen Printer is that you can use it to create intricate multicolor designs. By preparing multiple screens, each engraved with a different color layer of your design, you can create vibrant, complex prints that really stand out.
Because the screen printer lets you install the screens in the exact same spot relative to your workpiece, you can achieve perfect alignment between the different color layers. This is a huge advantage over traditional screen printing methods, where aligning different colors (also known as registration) can be a frustrating and time-consuming process.

To create a multicolor print, you’ll need to prepare and engrave a separate screen for each color. Then you print with the first color, wait for it to dry, and then do the same thing with the remaining colors until the full design is complete.
We’ve found multicolor printing to work very well in practice, even though it requires careful planning and a good amount of patience. The end results, however, are absolutely worth it. The ability to create professional-looking, multicolor prints at home or in a small business setting at such a low cost is nothing but impressive.

Thoughts & Things We’ve Learned
After spending considerable time with the xTool Screen Printer, we have gained insights and learned tricks that can enhance the screen printing experience. Here are our thoughts and tips that can help you get the most out of the device:
Screen Printer Design

The design of the xTool Screen Printer is impressive, with a robust and durable construction. It’s clear that a lot of thought has gone into it, particularly in how the machine allows for precise alignment and adjustment when printing in multiple colors.
One area where we think the design could be improved is at the back of the screen, near the hinge of the machine. We found that there isn’t much room for excess fabric, which can sometimes prevent the screen from making full contact with the workpiece.
We’ve found this to be a drawback when working with larger pieces of fabric. It would be great to see future models of the xTool Screen Printer with a bit more space in this area to accommodate larger projects.

Taping Screen Sections

When working with multicolor prints with colors that don’t overlap, we found it beneficial to tape off sections of the screen that are not being used. That way, we could use one screen for multiple colors, saving time and resources.

Based on our xTool Screen Printer tests, we found this to work best with large prints. Small designs or those with intricate details are challenging to tape off effectively without obscuring parts of the design.
We also found that it’s best to use a thin tape that doesn’t absorb paint. We ended up settling on a plain clear tape. Clear tape also made it easier to verify the alignment of the screen with the print underneath.
Cleaning Screens
By cleaning the screens, you can use them over and over again. On the other hand, neglecting to clean the screens leads to paint build-up and reduced print quality.
The cleaning process itself is straightforward. We found that a simple rinse with water was enough to remove most leftover paint. However, paint that started to dry on the screen was harder to remove, and required a mild soap and a small amount of friction to help remove it.
Cleaning the Sticky Mat

We found it useful to frequently clean the blue mat that comes with the xTool Screen Printer. It loses its stickiness quickly, especially when working with fabrics that have lots of lint.
A rinse and light scrub with warm water is enough to restore the mat’s stickiness. After rinsing, we let the mat air dry. It’s possible that over time, the mat will lose its adhesive properties, but it can be easily replaced.
Cleaning Your Tools

When working with paints, it’s important to keep your tools (especially the spatula) as clean as possible. It’s one thing to accidentally add a bit of the wrong color on a print, but it’s another to contaminate a paint container. This can lead to ruining your entire supply of a specific color.
On the topic of dirty tools, we noticed that the wooden handle of the squeegee stains easily. Especially with big prints (when you push around lots of paint), it’s inevitable that paint ends up on the handle.
While this doesn’t affect the functionality of the tool, it does ruin its appearance quickly. We would have preferred to see it made from a non-porous material instead of wood.

Keeping the Work Area Clean

We found that the plastic peel-away sheets that come attached to the blue mat are great for protecting your table or workbench. They provide a space to both place tools and mix paints, and they are easily cleanable. Make sure to keep them around!
Our Thoughts on the Paints
.")
Even though the quality of the xTool Screen Printer is top-notch, the paints you use are equally important in determining the final results of your prints.
The multicolor variant of the xTool Screen Printer that we tested comes with a set of water-based paints in seven colors. We were happy with most of them, but some leave room for improvement. We’ll go into more detail below.
Overall, however, it’s a great set to get started with. The paints are easy to work with and spread evenly across the screen. They also dry relatively quickly, which is a plus when you’re working on multi-color prints.
One thing we would advise you to buy is a white water-based paint. Unfortunately, the set doesn’t include it, and we missed when printing on darker materials.
You’re not limited to using xTool’s own paints, and you can use any brand of water-based paint. Just make sure it has a similar thickness as the included paints for consistent results.
Color Accuracy & Mixing
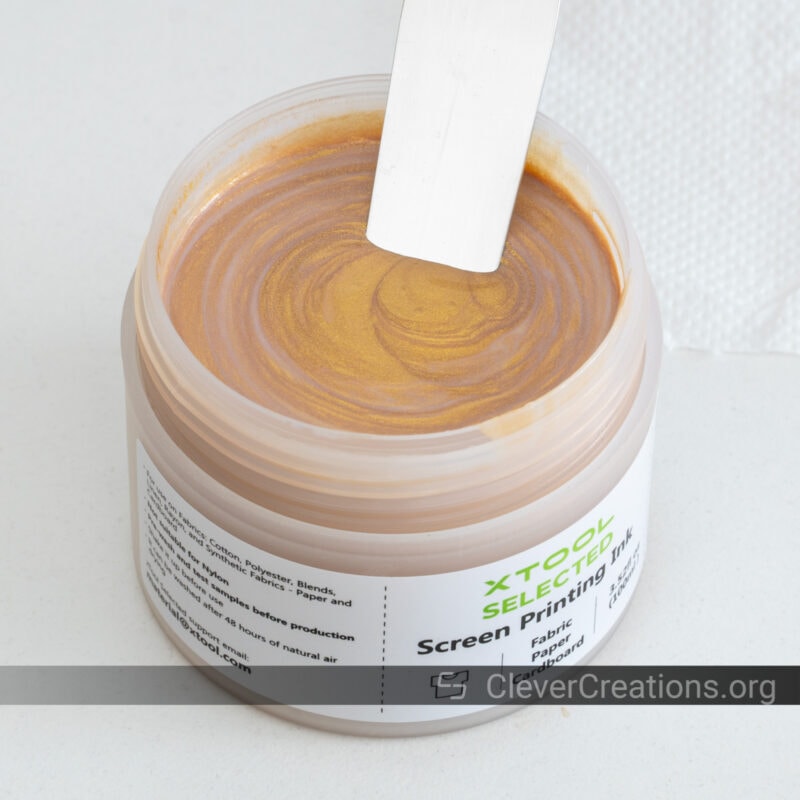
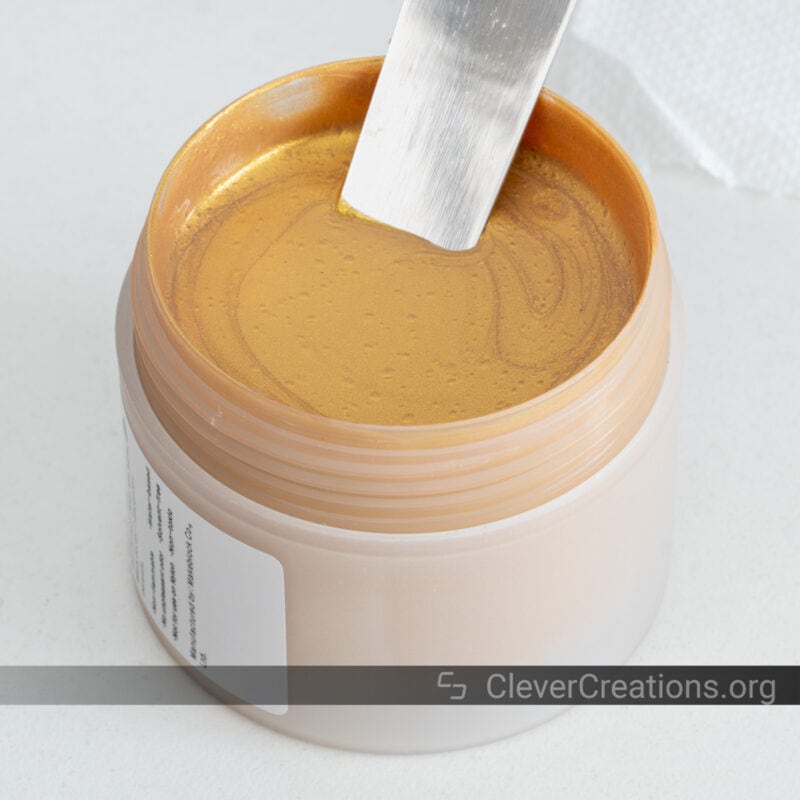
The colors of the paints included with the xTool Screen Printer are vibrant. The multicolor kit comes with (approximate) CMYK (Cyan, Magenta, Yellow, and Key (black)) colors, as well as glow-in-the-dark, silver glitter, and gold glitter paints.
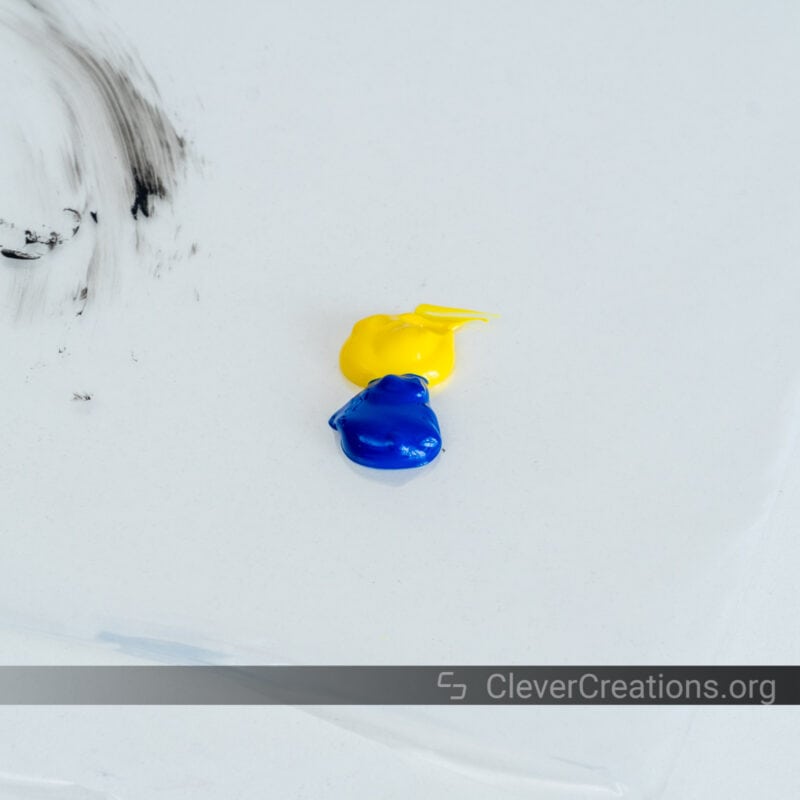
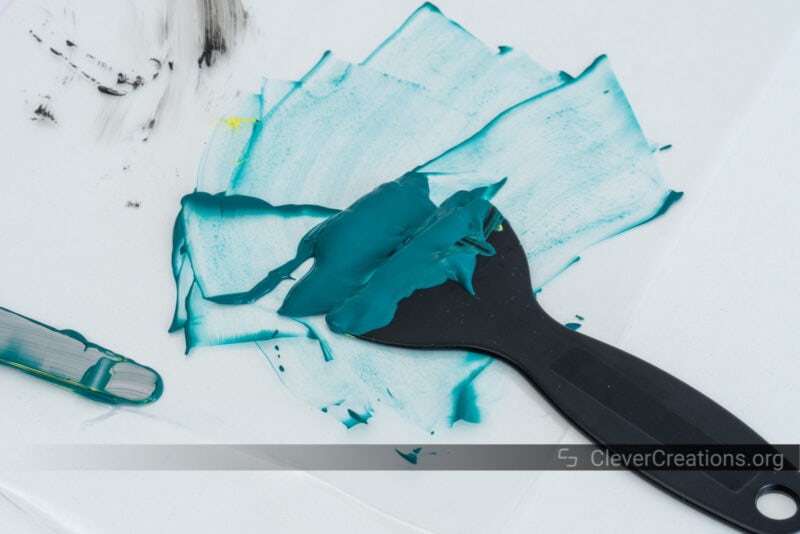
You can mix the CMYK colors to create a wide range of custom colors. We found this to be a fun and creative aspect of the process, as it allowed us to experiment with different hues and shades.
For most colors that we created, like green, orange, and red, we found that the typical CMYK values for those colors mapped well to the ratio of paints to use. However, because the Cyan that xTool provides is more like blue than Cyan, we found that we sometimes needed to adjust the ratios to achieve the desired colors.
In our experience, the best approach is to mix a couple of small test batches before committing to a larger quantity. This way, you can adjust the ratios as needed to get the exact hue you’re looking for.

Smells
Despite the paints being labeled as having ‘no unpleasant odor’, we found some of them to smell unpleasant. Most notably the black paint, with the blue paint coming second.
The amount of pigment in the paints seems to directly impact the smell, with the more heavily pigmented paints having a stronger odor. When working with these paints, we found it useful to create a well-ventilated area by opening a door and a window.
Durability
We haven’t done any extensive tests on the durability of the paints, but from what we have observed so far, the prints hold up well to regular use and washing. The colors remain vibrant and the prints have not cracked or faded.
That said, we will continue to monitor the durability of the prints over time and update this review accordingly.
Compatibility

The CMYK paints are thick water-based paints and behave similarly to other paints in this category. They work well on a variety of fabrics, like cotton, polyester, linen, blends, rayon, and synthetic fabrics, but also paper and cardboard.
We recommend always testing a small amount of paint on the material you plan to use, as different materials can absorb the paint differently, affecting the final look of the print.
We experimented with printing on some unconventional materials, like a Google Pixel 6a phone (see above). We found that the paint didn’t adhere well to the phone’s smooth surface. It’s worth noting that this was a bit of an outlier in our testing process that was more of a fun experiment to see what’s possible.
Glitter Paints

Moving on to the specialty paints, we have mixed feelings about the glitter paints that are provided with the xTool Screen Printer. For starters, the glitter paints are more liquid compared to the regular paints, making them prone to leakage during the printing process.
The tiny glitter particles are hard to clean as well. They clog the mesh quickly and impact the clarity of future prints with the same screen. No matter what we tried, we weren’t able to fully remove the glitter paints from screens.

For this reason, we don’t recommend using glitter paints on screens that you want to use multiple times.
The end result with the glitter paints is impressive, however, as they add a unique sparkle to your designs.
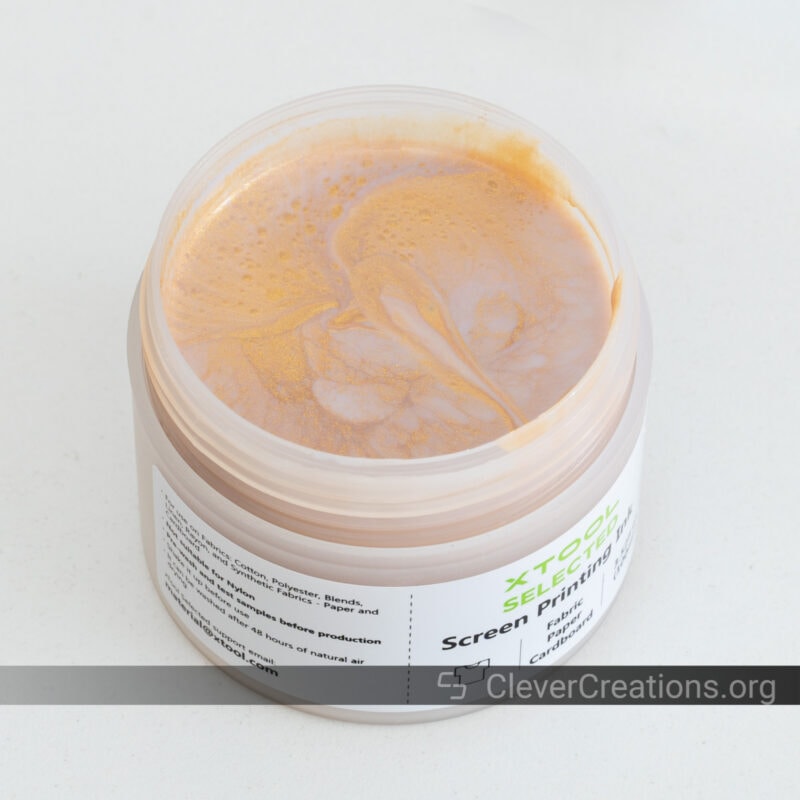
It’s important to mix the glitter paints properly before use. We noticed that the glitter particles have a habit of collecting at the bottom of the container. It takes a while before you have the paint mixed into a homogenous mixture again.
Glow-in-the-Dark

The glow-in-the-dark paint is one that also presents a challenge. It dries transparent, so it’s difficult to see how much you applied. Additionally, we found its glowing effect to be weak and quickly diminishing, even after charging it up with a UV lamp.

It’s possible that we didn’t stir the glow-in-the-dark paint well enough, we don’t believe it makes as significant of a difference as it does with the glitter paint.
Either way, we don’t think that any of xTool’s specialty paints are worth getting at the moment. They look like a fun addition on paper, but we find them impractical for actual use.

Pricing
As of writing this, the xTool Screen Printer is priced at $269 for the basic version (check current price) and $479 for the multicolor version (check current price). At those prices, we find both kits to be a great deal.
It should be noted that the kits are currently listed as having a 33% discount. Because xTool has discounts all the time, however, you’ll rarely have to pay full price.
Equally important is that you will need to have (or have access to) a laser machine for engraving the screens. While this is an added expense, you are not locked into xTool’s machines for this. So you can practically use any cheap laser engraver that you can also use for other DIY projects.
In terms of ongoing costs, each screen is priced at $10. It’s expensive enough to think carefully about what you’ll use them for, but compared to traditional screen printing screens, it’s about half the price. Plus, you don’t need to invest in emulsions, transparency sheets, and other materials typically required for traditional screen printing.
You are locked into buying screens from xTool, however, as they are the only company selling laser engravable screens uniquely designed to fit the xTool Screen Printer.
For most other things you are not dependent on xTool. As mentioned above, you can use a different laser machine, but also different paints and accessories.
Conclusion: Should You Buy the xTool Screen Printer?
All in all, we believe the xTool Screen Printer offers great value for money, especially when you consider the convenience, efficiency, and versatility it brings to the table.
In our experience, there is a learning curve that you have to go through. Especially if you are not familiar yet with screen printing. But it’s a relatively small one, as it will likely only take a couple of prints before you get the hang of the process and start producing high-quality prints.
There are still things we believe can be improved about the kit. For example, the paint assortment looks great on paper, but is less so in practice. The overall design and feature set of the xTool Screen Printer are nothing to complain about, however.
Whether you’re a DIY enthusiast, a small business owner, or even a professional screen printer, we believe the xTool Screen Printer is a worthy investment. It’s a tool that can help you create stunning, professional-grade prints with little effort. On top of that, it offers a level of versatility that’s hard to find in other screen printers in its price range.