

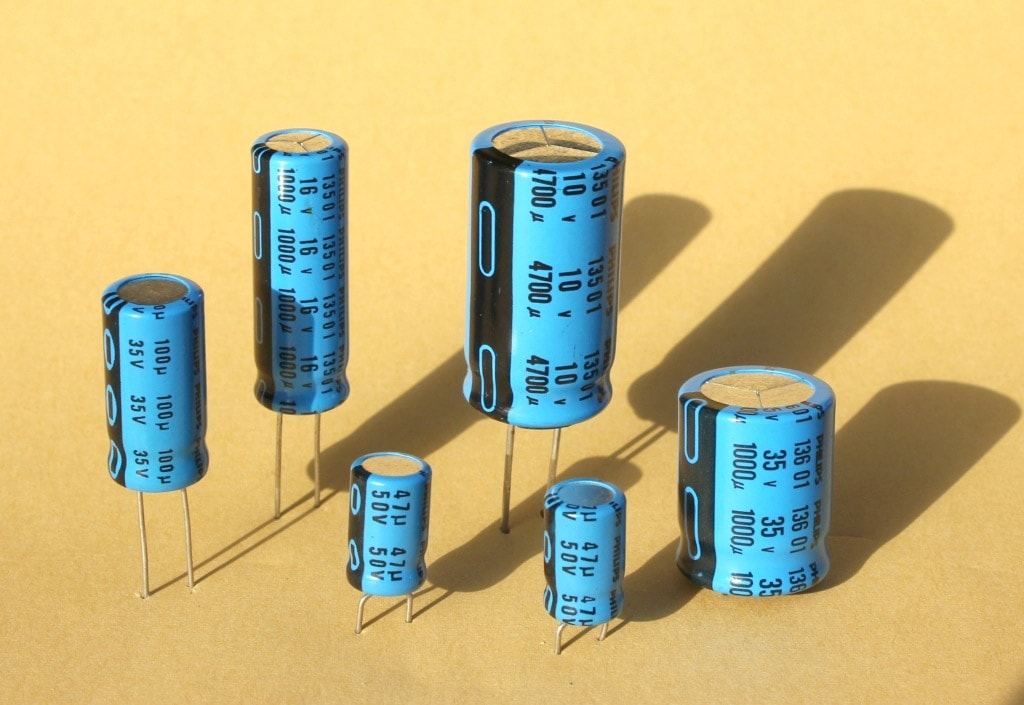
Capacitors are common components in modern day electronic devices. They store a charge that can be released at once to components that need it. Capacitors can also be used to filter specific signal frequencies. When building, repairing or salvaging electronics, you can be certain of encountering them.
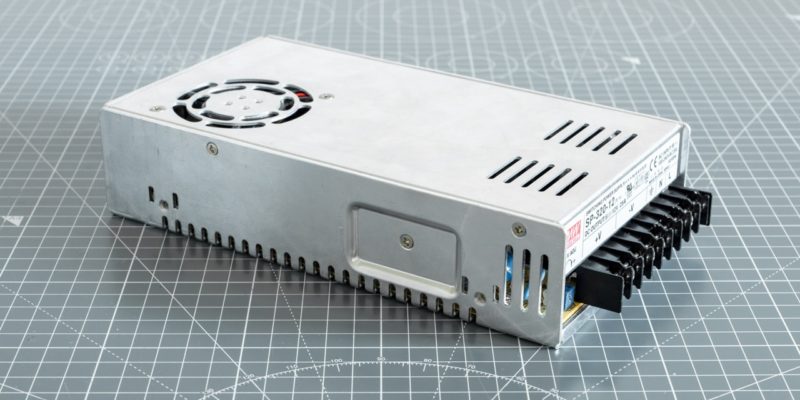
Before working on electronics, it is essential to first discharge any capacitors. Large capacitors (typically used in things like switched-mode power supplies, amplifiers, microwaves and HVAC equipment) can hold enough of a charge to injure or kill you, even if the device has not been plugged in for a while.
In this article, I will explain the best way to safely discharge capacitors, share the most commonly used tools and give you the do’s and don’ts. By the end, you should have a good idea of how to handle capacitors without danger.
Let’s dive in!
Why Do Capacitors Need to Be Discharged?
Capacitors are capable of holding onto charges for long periods of time. Especially if their circuit does not contain a ‘bleeder’ resistor that gets rid of that electric charge when the device is powered off.
If you come into contact with the terminals of a charged capacitor, the charge can pass through your body. Sometimes this can even happen over a small distance, like when your fingers are close to the terminals and the charge arcs over.
Depending on the energy in the capacitor, this can lead to a slight tingling, shock, burns, and in the worst case, death. The latter happens when the current passes through your heart and stops it.
Which Capacitors are Most Dangerous?
It is important to point out here that capacitors themselves do not pose any danger. Instead, it is the charge they contain that can cause harm. Empty capacitors are always safe. This is why the goal of this article is to teach you how to discharge a capacitor.
That said, certain capacitors do hold more charge than others, and because of that you should be more careful with capacitors that are capable of holding large amounts of energy.
There is no easy rule for the amount of energy that can cause (lethal) harm, because there are also other factors that matter. For example, skin conductance, skin thickness, hydration levels and the surface area you touch all play a part in how well current can travel through your body.
In practice, it is the high voltage, high capacity electrolytic capacitors that are typically found on the primary (AC) side of power supplies that you should be most aware of. These have the potential to cause serious harm when charged (which they often still are after a period of non-use).
You will encounter these a lot when salvaging electronic components from power supplies, CRT TVs, guitar tube amps, and other wall powered electronic devices.
The same goes for cheap Chinese electronics, where these types of resistors are often omitted to save on component costs.
Which Capacitors are Considered Safe?
Generally, capacitors rated up to around 50V are considered fairly safe. They can still hurt you, but they do not have enough potential to start significant conduction in your body and kill you.
Something to watch out for, however, is that a capacitor rated up to 30V, for example, can still work at higher voltages. So the voltage rating alone does not tell you the whole story.
Similarly, capacitors rated for a safe voltage but with a very large capacity still pack a lot of energy. Shorting out their terminals creates serious heat, sparks, and possibly an explosion that sprays electrolytic liquid around.
This does not happen with typical run-of-the-mill capacitors, but when you start working with low-voltage capacitors with capacitances of 1 mF / 1000 uF and above, this is something to be aware of.
The Best Approach
Until you know for sure that a capacitor has been discharged, the best approach is to treat every capacitor like it holds a dangerous charge.
While it is possible that the capacitor is safe to handle, you must measure the voltage across its terminals first to be sure. If it is charged, discharge the capacitor using the steps below.
This approach is similar to handling firearms, where you should treat every gun as if it were loaded.
How to Discharge a Capacitor
Discharging a capacitor comes down to connecting a resistive load to the capacitor’s terminals. This creates a path for the current to drain through and allows the resistive load to convert the electrical energy into thermal energy.
Commonly used resistive loads are a power resistor or a light bulb.
Another common way to drain capacitors is to simply short them by placing an insulated screwdriver across their terminals. When working with high voltage capacitors this can be problematic, however.
The insulated screwdriver creates an extremely low resistance path, which lets a high current flow (remember Ohm’s law, V = IR, current is inversely proportional to resistance). A capacitor releasing all of its energy that quickly can be dangerous (sparks, fire, explosions, etc.). Instead of using a screwdriver, it is recommended to use a proper resistive load for discharging, so that the amount of current that can flow is restricted.
Below I will describe the general step-by-step process for safe discharging of a capacitor, and after that I will share the most commonly used resistive loads.
What You’ll Need

Step by Step
- Disconnect any power sources from the capacitor and its circuit. It is important that the capacitor is not actively being powered, otherwise discharging it would pose quite a challenge. If there is a power cable, unplug it from the wall outlet. Additionally, remove any batteries.
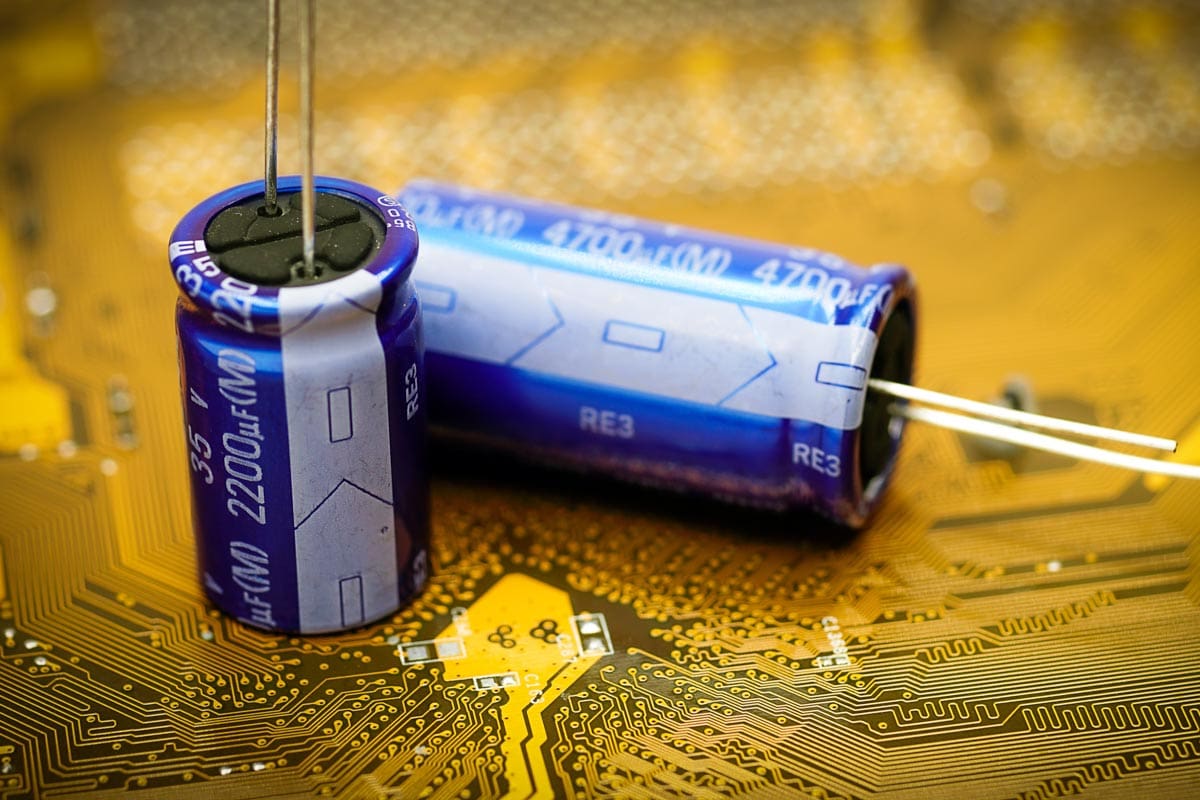
- Identify the capacitor(s) on the circuit board. The most dangerous ones are the aluminum electrolytic capacitors used for high voltages. They look like cylinders with a metal top.
- Turn the circuit board over to get access to the capacitor terminals. Avoid touching any exposed metal on the circuit board with your bare hands.
- Connect the leads of your resistive load to the terminals of the capacitor. There are some caveats here, so make sure to check the corresponding section of the specific type of resistor that you plan to use.
- Give the capacitor time to discharge. This typically does not take more than a couple seconds.
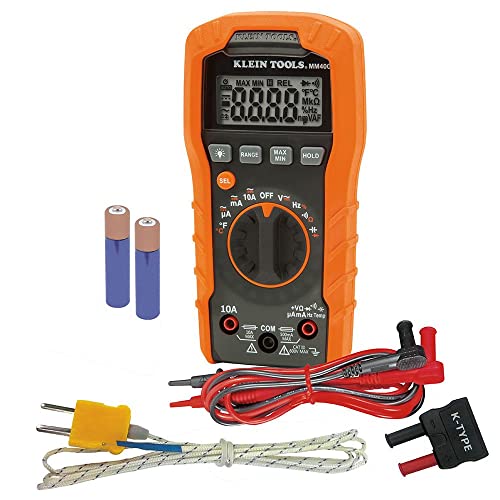
- Take your multimeter and set it to the highest voltmeter setting.
- Connect the multimeter probes to the capacitor terminals. Polarity is not important.
- Check the voltage reading on the multimeter screen. If the reading is not close to 0V, the capacitor needs more time to discharge. Repeat steps 4-8.
You can also measure the voltage across the capacitor before discharging it to see if it actually needs to be discharged. I usually skip this, because it takes about the same time as the discharging process.
Using a Simple Resistor
When using a simple resistor to discharge capacitors, there are several things you have to keep in mind.
Proper Insulation
Don’t touch the resistor leads with your bare hands. Instead, you can use a pair of quality alligator clips to connect the leads to the capacitor.
Resistor Value
When it comes to choosing a resistor for discharging capacitors, it is important to pay attention to both resistance and wattage.
Resistance
The smaller the resistance value of the resistor is, the more current flows, and the faster the capacitor discharges. Speed is not something we are looking for, however, as we prefer to have our capacitors drain slowly and in a controlled manner.
To keep things safe, we want to adjust the value of our resistor based to the voltages we are working with. The higher the voltages, the higher the value of the resistor.
For most applications, something like a 2 kΩ resistor is sufficient. When working with capacitors of >400V, however, you might want to use a resistor of 20kΩ instead.
Wattage
As for wattage, it is important that the resistor can deal with the amount of power going through it. Your typical through-hole resistor is rated for 0.25 Watts, which is not enough for discharging capacitors.
The formula for calculating the power is P = V<sup>2</sup>/R, where P is power, V is the voltage of the capacitor and R is the resistance of the resistor.
After doing the numbers, you will find that a resistor with a wattage of 5 Watts is nearly always sufficient for commonly used capacitors
With a Capacitor Discharge Tool
When using a capacitor discharge pen, you do not have to worry about things like resistor values. It usually tells you right on the box what size capacitors it can safely deal with.
Capacitor discharge tools are essentially still resistors, but they come with a nice set of insulated leads and one or more LEDs. The LED indicates when the capacitor is completely drained and removes the need for manual measuring.
Because of the LED(s), it can be important to connect the discharge tool with the correct polarity. This means connecting the black lead to the capacitor cathode terminal (indicated by the “-” symbol on the capacitor body).
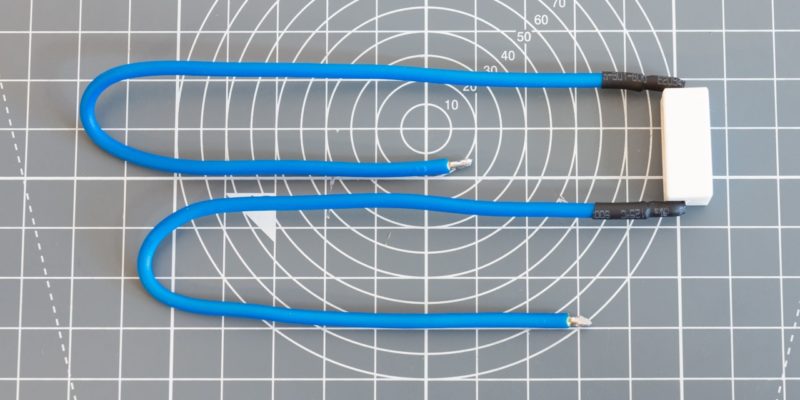
Instead of buying one, you can also make your own capacitor discharge tool.
Using a Light Bulb
Another way of discharging a capacitor is through the use of a lightbulb.
- Simply take a 100W light bulb and screw it into a bulb socket with wires.
- Attach one wire to each of the capacitor terminals. If the capacitor is charged, the bulb will light up.
- Hold the leads in place until the bulb stops glowing. The capacitor is discharged once the bulb has fully dimmed.
The main benefit of using a lightbulb (as opposed to a plain resistor) is that you have a visual indicator of the charge level in the capacitor.
With an Insulated Screwdriver
As mentioned above, sometimes people use an insulated screwdriver to discharge capacitors. The use of an insulated screwdriver to discharge capacitors is not recommended. It can cause damage to the capacitor, circuit board, power supply circuitry, and, most importantly, injure you.
Can You Discharge a Capacitor With a Multimeter?
No. A multimeter should only be used to measure the voltage across a capacitor. Connecting the multimeter probes to a capacitor in different modes than the voltmeter mode can lead to damage to the multimeter, especially on cheaper meters with little protection circuitry.
Will a Capacitor Discharge on Its Own?
Yes, capacitors lose charge slowly over time. The rate at which this happens varies depending on several circumstances. Sometimes it takes minutes or hours, but it can also take hours, days or months.
How Dangerous is a Capacitor?
Capacitors by themselves aren’t dangerous, but the charge they contain is. Large AC capacitors can store charges that can injure and even kill you by stopping your heart. They should be treated with extreme care.
Is It Safe to Discharge a Capacitor With an Insulated Screwdriver?
Technically, draining capacitors with a screwdriver is only ‘safe’ on capacitors that contain a very small charge. But even on those it is better to use a resistor or capacitor discharge pen instead.
Does Discharging a Capacitor Damage or Ruin It?
Only if you short the terminals with something like pliers or a screwdriver. When using a proper capacitor discharge tool, there is no risk of damage or ruining the capacitor.
Conclusion
Capacitors are found in many devices and can be hazardous. Especially high voltage capacitors should be treated with extreme caution. You will encounter them in audio amplifiers, microwaves, televisions, switched-mode power supplies, guitar tube amps and HVAC equipment, amongst others.
With the right tool it is easy to discharge capacitors safely. Resistors, light bulbs or off-the-shelf capacitor discharge tools can all be used to drain a capacitor. Screwdrivers or multimeters should not be used for this purpose.


Back long, long ago in the Before Times, there used to be a “test light” that was a regular incandescent light bulb screwed into a medium screw base socket. It was handy to discharge capacitors because you could see how much charge was left by the brightness of the bulb. Now I’m a 78 year old electronics tech and need such a device. But, my Internet search shows no such invention. I don’t know how much current is stored in a truck’s ECM so I don’t know if those flimsy little LED probes of today would be able to handle the current. But your article put me on to actual battery capacitor discharge devices. That should do the trick and I won’t have to worry about breaking bulbs, either. Thanks.